

Introduction: RGB LED Animation Matrix (16x16)


Hi All, we going to learn how to make Animation on a 16x16 RGB LED matrix.
I use the Arduino mega, but you can use the Uno or what you have.
Supplies
1. Arduino (Uno, Mega etc)
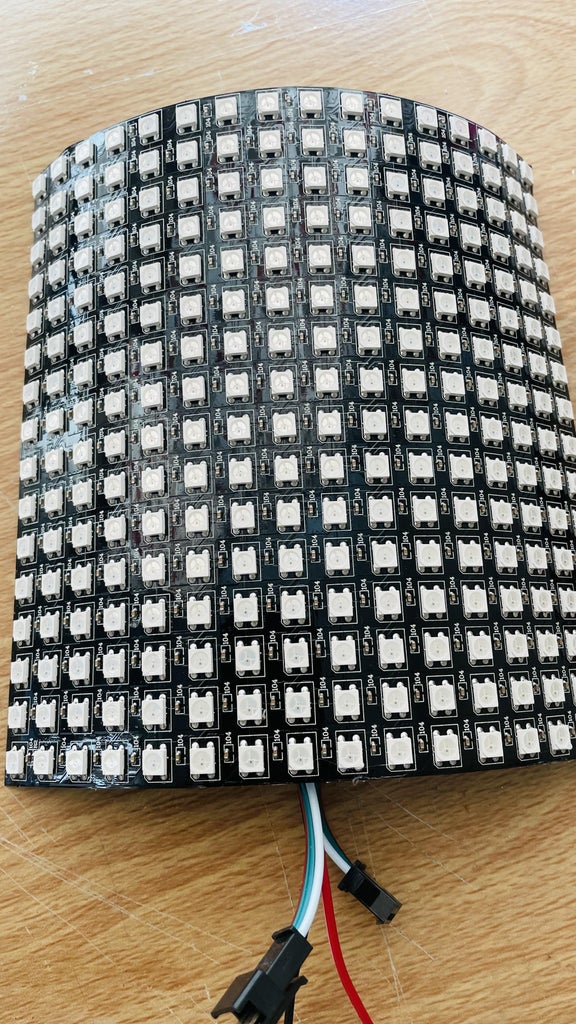
2. 16 x 16 RGB LED
3. 5V power supply
4. Enclosure
Step 1: Setting Up


1. Get you parts set up and ready to go
2. Set everything up and make the connection as shown in the schematic. I use PIN 3 on the Arduino as the DATA line, you can change PIN but you will have to update the code with the new PIN. That should be straight forward.
3. With the connection done, lets get into the code, shall we?
The first part of the code will run three animation and the second part will run one and so on.
Step 2: The Code

Firstly, Install the FastLED.h library to continue.
Include it, and also include avr/pgmspace.h (This will allow you to store the stuffs all in the Flash memory.
as shown in the code Data line is on PIN 3 but you can change it.
All detailed explanation have been included in the code to help you understand it step by step while you build, please review the code if you have any doubt.
Attachments

Step 3: Code Upload and Test


1. Connect the Arduino to your PC and upload the code
2. Upload the code attached and run it on your Board. If all works fine, then you can move to next stage of assembling the parts into your case. if you encounter any problem during this phase then contact me before assembling for assistance to get it running first.
3. If all goes well the next phase is assembling!!!!
Step 4: Assembling


The enclosure I used was from an old Photo frame album which fits perfectly for this.
The only part I redesigned is to make it a two way glass by adding a two way film on the glass, so that it can both be a mirror or a nice LED matrix Animation frame.
Arrange it in the enclosure as you will like it to be, if you do not have enclosure, you can 3D print one quickly for this.
Step 5: Final Results


All Done!
If you manage to get to this stage. well done and keep up for more.
Subscribe for new updates
Enjoy your day!!!!
Here is a short video of it working
Step 6: Video
https://youtu.be/j-nVwWlMvUE


