

Introduction: Duct Tape Duck


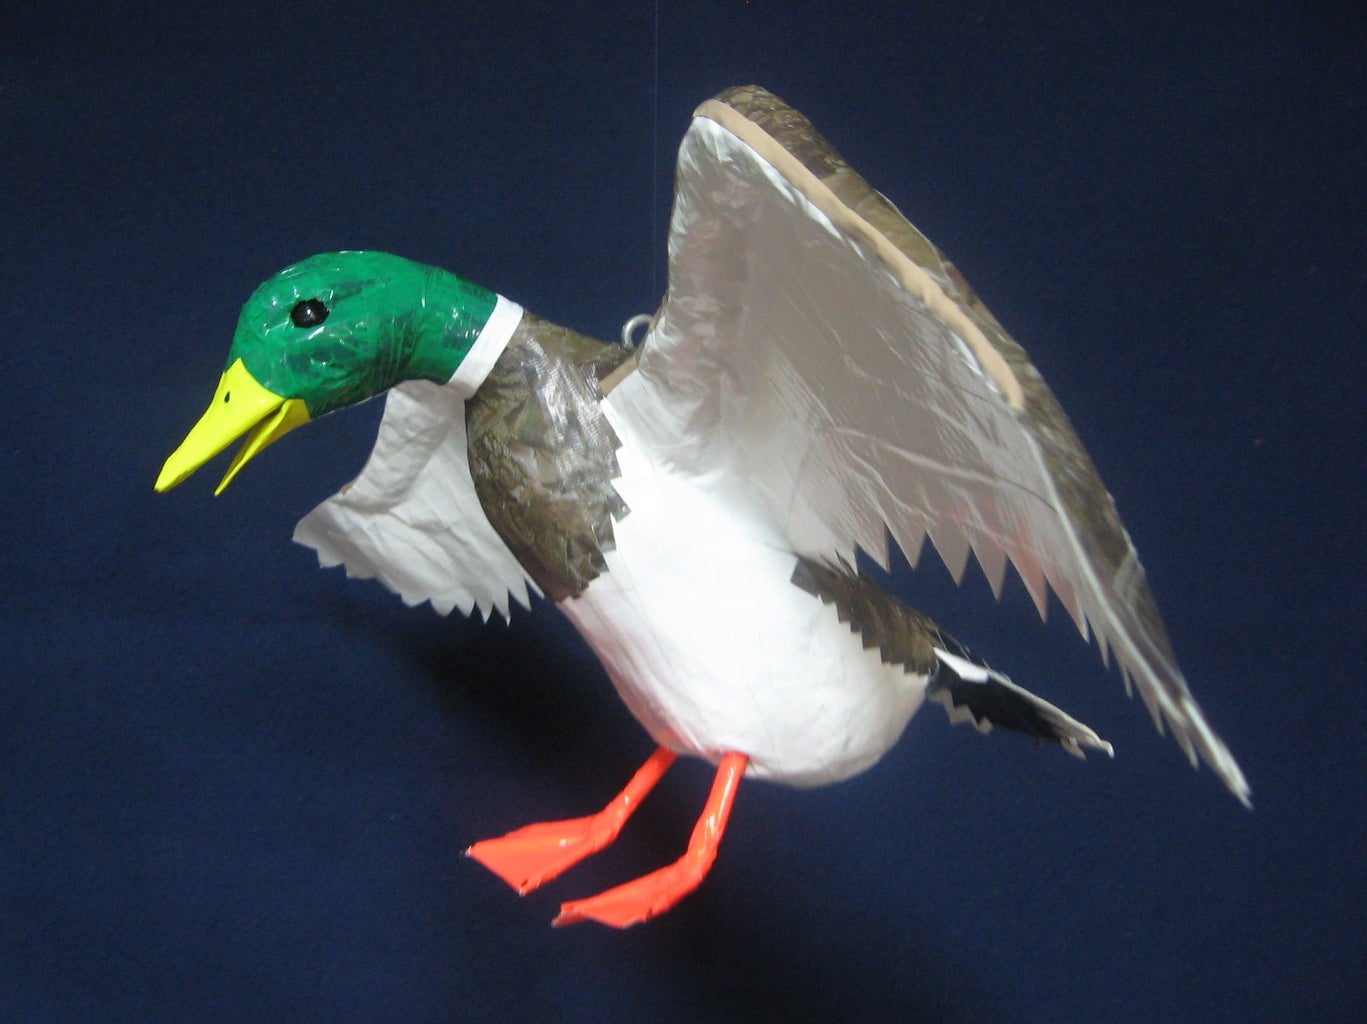


For a long time, I've wanted to make a duck out of duct tape. It's made out of newspaper, cardboard, dowels, a couple of black marbles, and lots and lots of tape.
I hung him in my office where he acts as my own personal attack duck to scare off my enemies. So far, everyone just says "aw, that's cute."
They'll not think he's so cute once he pecks their eyes out.
Read on to see how to make your own!
Step 1: Body Base

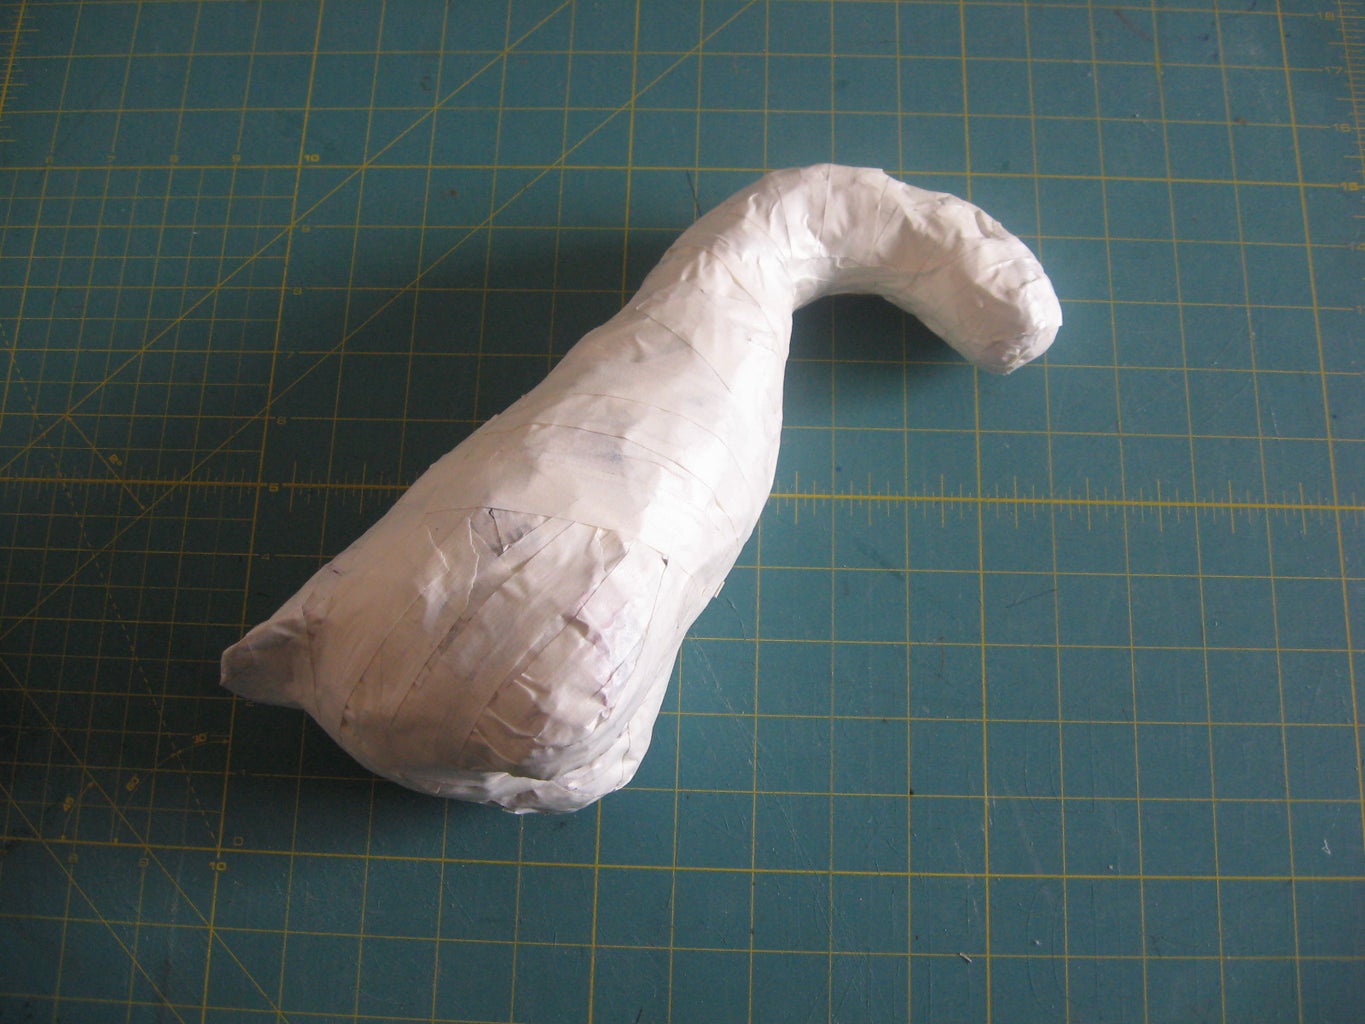
For this project I began by studying some photos of landing mallards. When I had a pretty good idea of what I wanted this to look like, I began the body by creating a bean shape out of newspaper and tape.
Sculpting with newspaper and masking tape is easier than you might think.
You begin by just wadding up newspaper and wrapping tape around it. You can mold it into the shape you want by nipping and tucking the wad of paper together and putting tighter pieces of tape in place.
To add more material you just tape on more wadded newspaper, and a sharp knife can be used to remove material. I've found that a heavy duty snap-style utility blade with the blade extended and locked in place works very well for carving and shaping.
Step 2: Body Shape Details


I added the neck, head, tail section, shoulder area, and leg nubs using the method described above, adding material and shaping it as needed.
Step 3: Body Modifications


Once the basic body shape was put together, modifications were made by slicing and carving with a utility knife, and then re-taping everything back together.
As you work you have to constantly evaluate what you've got, and change it as you go. You can't be afraid to hack off a portion if it doesn't look the way you want.
Note the second photo--I had to do some drastic reconstruction to the head to acquire a decent duck-like head shape.
Step 4: Beak


The beak shape was made with cardboard that was hot glued in place. Newspaper was added with masking tape to fill out and finish the shape.
Step 5: Wings and Tail


The wings were started with newspaper and tape, and cardboard was added with hot glue to further develop the shape.
A small cardboard tail section was also added.
Step 6: Head Details

I used colored packing tape to cover the head. Black tape was used first and then covered with green. I tried a couple of other things but liked the way this looked the best, based on what I had to work with.
I used yellow electrical tape to cover the beak.
Black marbles were glued into small holes cut into the head above the cheeks.
Step 7: Duct Tape Body Covering


I used white duct tape to cover the front half of the body and wings.
Tail feather tips were cut with a utility knife.
Step 8: Back and Chest Covering


Camouflage duct tape was used to cover the back of the bird's body and wings, along with the chest section. I think the camo makes it look really good.
Step 9: Wing and Tail Details


More colored duct tape was used to add the details to the back of the wings. The black tape is actually Gorilla Tape.
After all the details were added, the feather-shapes in the wings were cut with a utility knife.
Step 10: Feet


Webbed feet were made with pieces of dowel and bamboo skewers covered with orange duct tape. These were glued into the little leg nubs that were sculpted into the body.
Step 11: Final Details

Simple details were added to the beak and toes with a black marker, and a screw eye was placed in the duck's back so it could be hung up.
Let me know what you think. If you make one, be sure to post a photo!
Thanks for looking!
Participated in the
Epilog Challenge


