

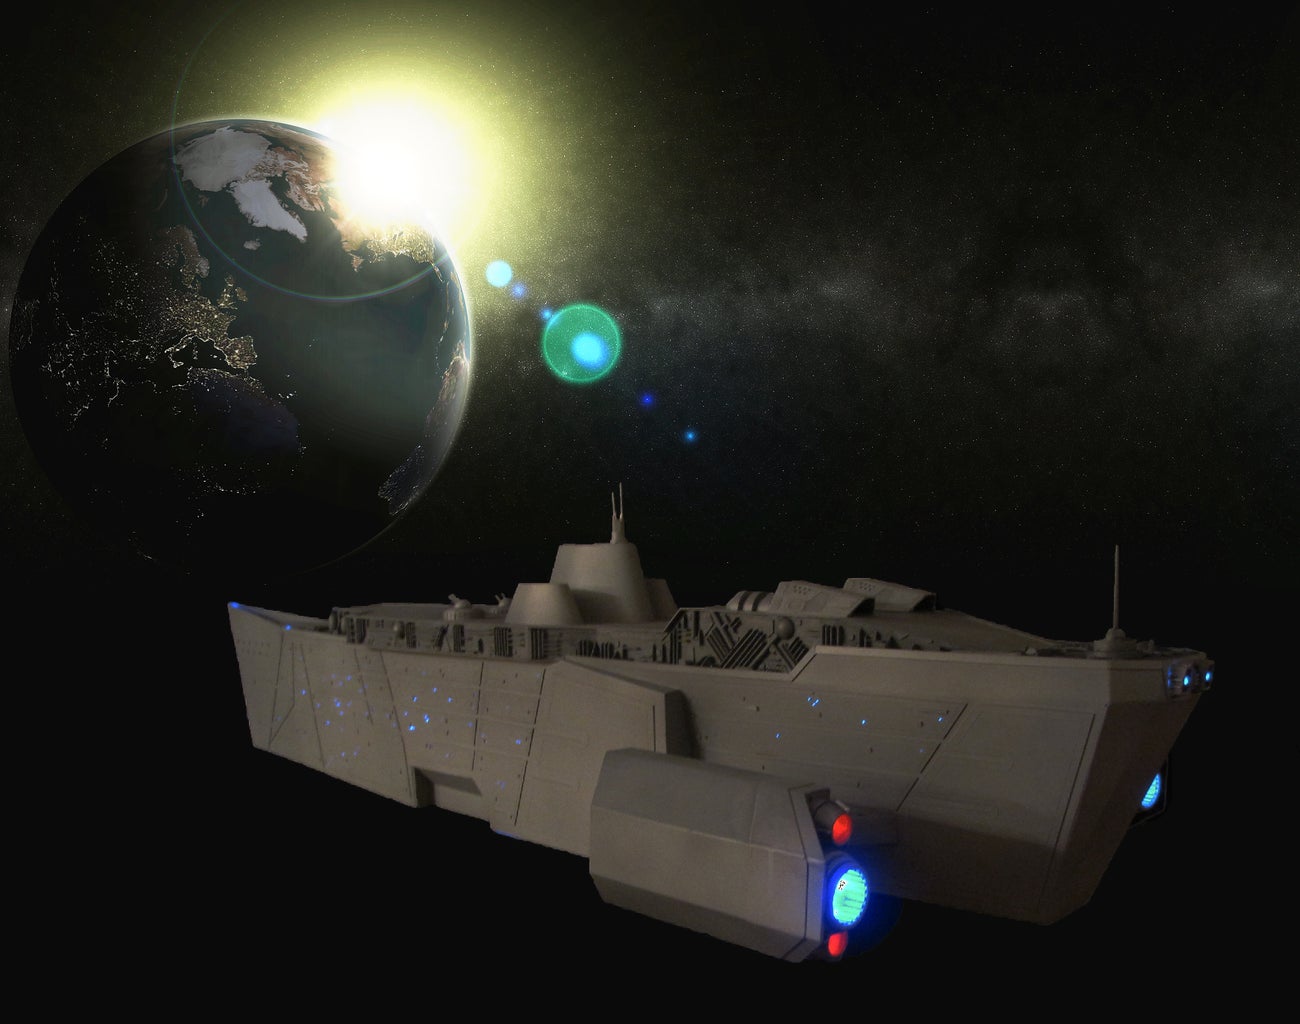
Introduction: How to Build Your Own Model Spaceship

Step 1:

I began with a 1/8' styrene sheets that I cut into all of the major body panels using nothing more than a box cutter and a ruler.
The body panels were than cleaned up with a little sand paper. Most of my sanding needs were met with a simple block of wood and sand paper, but other times required a belt sander.
Step 2:


After the panels had been refined they were glued together with super glue.
Any unsightly gaps were than filled with body filler and sanded smooth.
As you can see there were a lot of gaps on this particular ship
Step 3:


Once the bulk of the ship was complete I began adding small detail panels which I cut from the 1/16' styrene.
I also used a lot of little wood craft pieces that you can find at an craft store like Micheal's or Joann's.
A lot of model builders do what is referred to as kit bashing which is when you take pieces from other model kits, toys, or what have you and use them on their models
I did this throughout my ship
You'll notice that a lot of the detail is repetitive, but I just wanted to add more texture. A lot of model builders like it when every bit of detail serves a purpose, but for my purposes I just wanted to add more depth to the ship so it wouldn't look as flat
Step 4:


The next stage in detailing was etching which was achieved by scoring the styrene with an x-acto hobby knife.
Etching is great for the really fine details
Step 5:


Some of the details on the shop were just styrene. Some of it was pulled out of old toys or even random bits of plastic I pulled out of the trash. Believe it or not there are a few paper clips in there too. Some details were custom made on a mill and some cases a lathe which I was lucky enough to have access to at a friends machine shop.
the two main thins I kit bashed on this ship were an Optimus Primal toy and a Pod racer model
The only actual model pieces I used were the pod racer engines. I mainly used the injection flashing.
Step 6:


Next comes the lights. The small pin hole lights that you see on the hull of the ship were achieved by drilling hundreds of small holes than running fiber optics. (That I pulled from an old Christmas tree) through the holes in bundles to LEDs.
Step 7:

The thruster lights were just LEDs.
Step 8:

What cant be seen in the photos is that all of the lights were controlled individually by six separate switches. IE; if you flick the first switch the main thrusters come on. Flick the second witch and the secondary thrusters come on etc....
The case was custom made from 1/4" styrene and it houses three battery packs six switches and six LEDs
The switches were purchased at radio shack for a $1.50 a piece
Step 9:


After everything was done it was time for paint .
Looking back on the paint I wish I had do more with the paint. Maybe add some decals and painted paneling to give it another layer.
Step 10: Afterthoughts


The experience of building was very fulfilling and I have already began on my second Spaceship. As well as a script for a short Sci- fi fantasy film so there will be more ships and eventually space suits and armor so Im sure my tool box will be growing along with my fleet of ships.
This is the lathe I used
http://www.craftsman.com/shc/s/p_10155_12602_00922106000P?vName=Tools+%26+Equipment&keyword=lathe&prdNo=2&blockNo=2&blockType=L2
Participated in the
Craftsman Tools Contest


