

Introduction: How to Make an Arrow of Light Award


The Arrow Of Light is the highest award a Cub Scout can earn. After completing the requirements it’s presented to him before he moves onto Boy Scouts. I recently had the task of making 8 awards. I was able to find plenty of examples but very few tutorials. This instructable should give you a starting point if you’re making awards yourself. Each award cost me just under $8.00 to make though it will also depend what you already have on hand.
Step 1: Arrow of Light Template


I started out by modifying an image so it would work out as a template. That image was opened in excel and printed out. I included the file incase you need it. I arranged the printout how I wanted it, taped them together and cut them out with a razor blade.
Next I Traced the stencil I made onto a piece of MDF. I then used a scroll saw to cut out the stencil. Finally I sanded out any chatter marks within the template.
Attachments

Step 2: Routing the Arrow of Light


For this part you need a router set up with a template guide bushing. You can get that bushing kit at any hardware store. The router bit you use depends on what look you want. I started out with a round bit but decided it looked better with a strait bit.
Clamp the template to the wood your using. I’m using pine. With the router set at the depth you want, run the router though the template. Make sure the router is completely stopped before you lift it to see your work. Otherwise you risk damaging the template. To make things easier I used a vacuum to pick up the saw dust.
Lastly, use a round over bit to ease the edges. Don't forget your safety gear.
Step 3: Paint and Sand

Find some blue and yellow paint. Paint in the arrow and light beam. You don’t have to be too careful because the excess will be sanded off.
Keep in mind that the paint will seep into the grain along the edge just a tiny bit. You’ll get a clean edge with a sander but it’s not going to sharp %100 sharp due the nature of how pine soaks up paint.
Step 4: Make an Arrow


To make the arrows I used wooden dowel rod, sheet metal, nylon cord, and electrical tape.
Make a silhouette like you would a paper heart. Trace it onto the metal and cut it out. Use a ball peen hammer to texture the metal. Heat all the arrowheads with a torch until they discolor. Use sand paper to remove some of the oxidation from the surface. Grind off any sharp edges. Taper the dowel at the end where the arrowhead is going to go. Use a scroll saw to cut a groove in the end of the dowel. Place the arrowhead into the slit and tie it off with a constrictor knot. I also applied some hot glue on the back.
To make the feather part I overlapped electrical tape, cut it to size, put it on, and cut it to shape. The arrow stripes were printed on computer paper and attached to the shaft with clear packing tape.
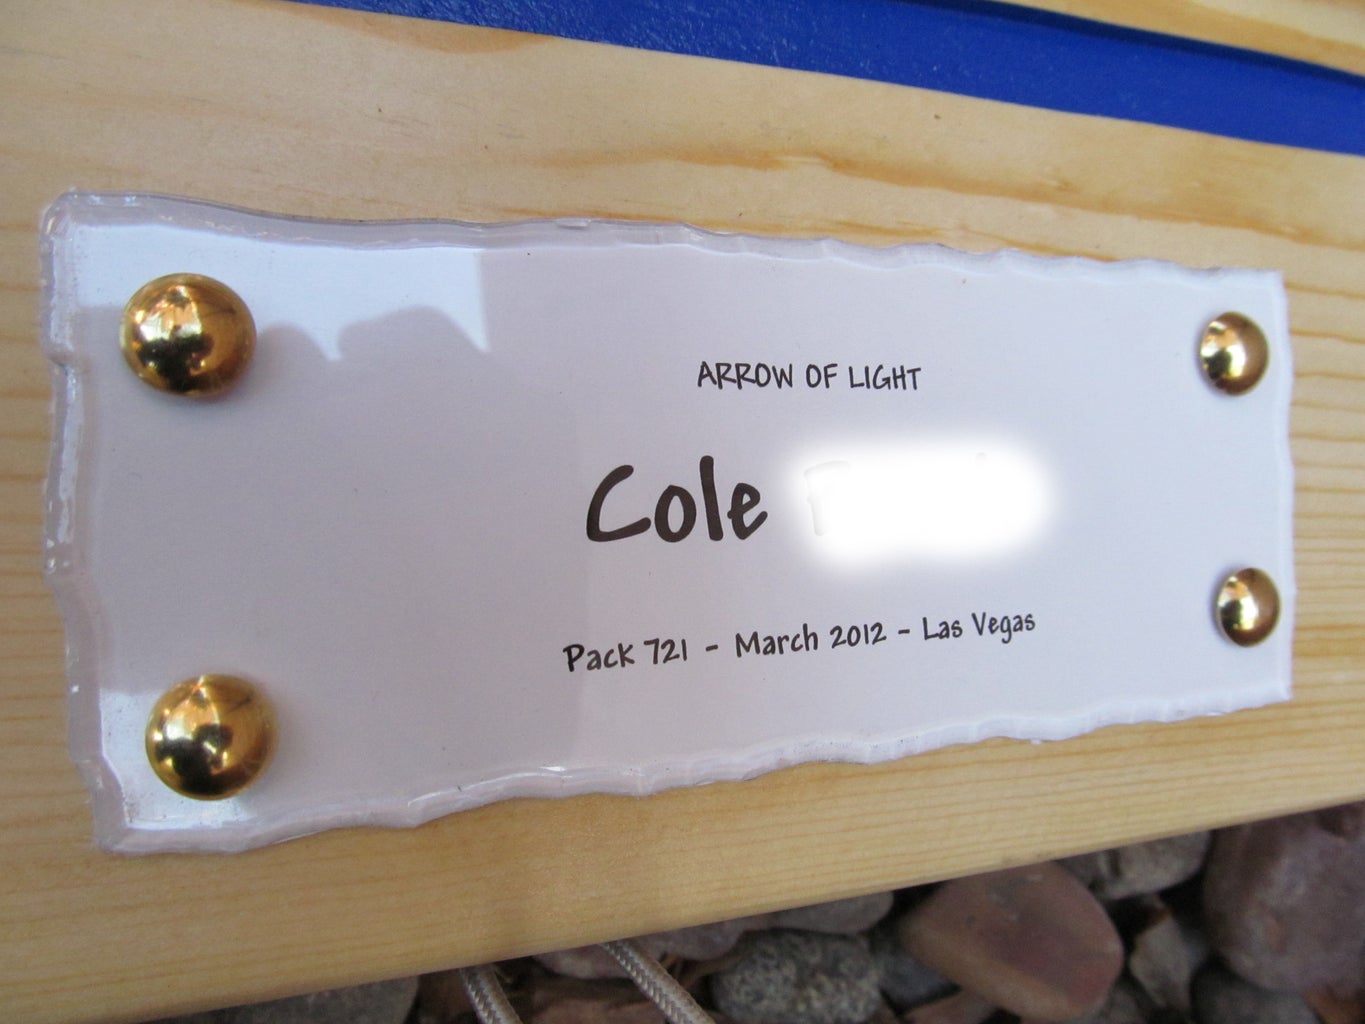
Step 5: Make the Name Plate


The name plates were cut on a table saw out of Plexi-glass. Make sure to apply masking tape on both sides of the plexi-glass where the saw blade will cut through it. Remove the protective covering and with a round over bit in your router, make a random jagged edge. Lightly sweep the edge with a torch flame to smooth the edge. Drill holes in the corners to accommodate the brass tacks.
Use photo paper to print out what you want the award to say. Place the photo paper on the award and the plate over it. Secure it with the tacks and use a razor blade to cut away the excess photo paper.
Lastly, screw in eye hooks to the top edge. Use nylon cord to serve as a way to hang the award and to tie in the arrow. Good Luck.

Participated in the
Make It Real Challenge


