

Introduction: Minecraft Pickaxe - $5 and 45 Minutes


My kids both wanted to be Minecraft characters for Halloween... and what Minecraft costume would be complete without a Pickaxe! I had two requirements for this prop: (1) it couldn't take long to make and (2) it had to look realistic. I looked at the designs that currently existed - many of which were well done and looked great. Unfortunately, they also looked pretty time consuming. I knew there was a better way, and I knew it had to involve cardboard...
What you will need:
* color printer
* photo editor
* scrap cardboard
* liquid nails, wood glue, or some other construction adhesive
* 3M spray adhesive
Step 1: Print Your Pickax


The first step is to find a high resolution picture of a pickaxe on the internet. I've fround that there are lots of papercraft printable Minecraft templates out there, and nearly all have pickaxe accessories that can be used.
Open the picture in Photoshop, or your editor of choice, and scale the pickax to the size that you want. Ours was about 22" high and 16" wide. Save this file as a .pdf. The file can then be opened in Adobe and printed to a color printer. The trick is to print it with no scaling (100% size). To do this, select: Page Scaling>Tile Large Pages. You will have to trim the pages and tape image together. Print two copies - one for each side.
I had access to a color laser printer that had an 11x17 feeder. This made for less cutting and taping, but 8.5x11 page size would work fine too.
Leave a larger border of white around you image. This will be more accurately trimmed off in a later step.
Attachments

Step 2: Cut and Glue Cardboard


Use your paper template to trace out and cut four copies of the pickaxe. These are then glued together with liquid nails or wood glue.
Step 3: Cut the Final Shape


Your paper template can now be trimmed to match the final shape of the pickaxe. I've found the quickest way to do this is with an Exacto-knive and strait edge. Use the trimmed template as a stencil to transfer the shape onto the cardboard.
When your adhesive is dry, the shape can be cut into the cardboard. I used a utility knife. It was tough to cut all of these edges through four layers of cardboard, but it only took about 15 minutes. A jig saw or band saw would have made quick work of this step.
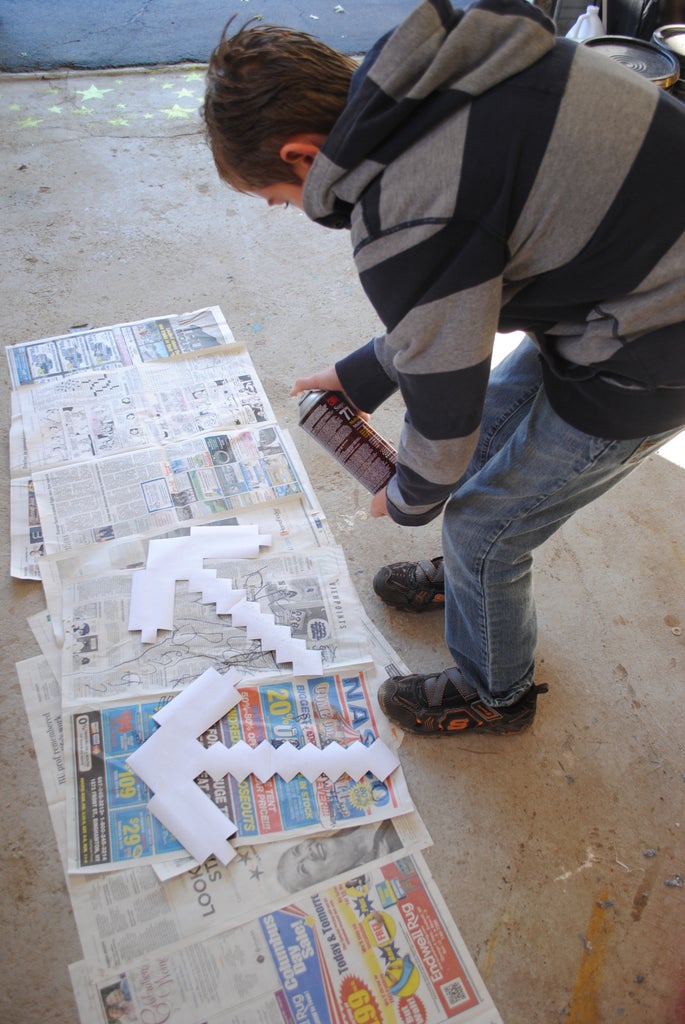
Step 4: Tape and Paint the Edges


I debated leaving the cut edges, but ultimately decided that it looked too crude. Masking tape was used to cover all of the exposed cut edges. This was then spray painted black.
Step 5: Gluing the Printed Image to the Pickaxe
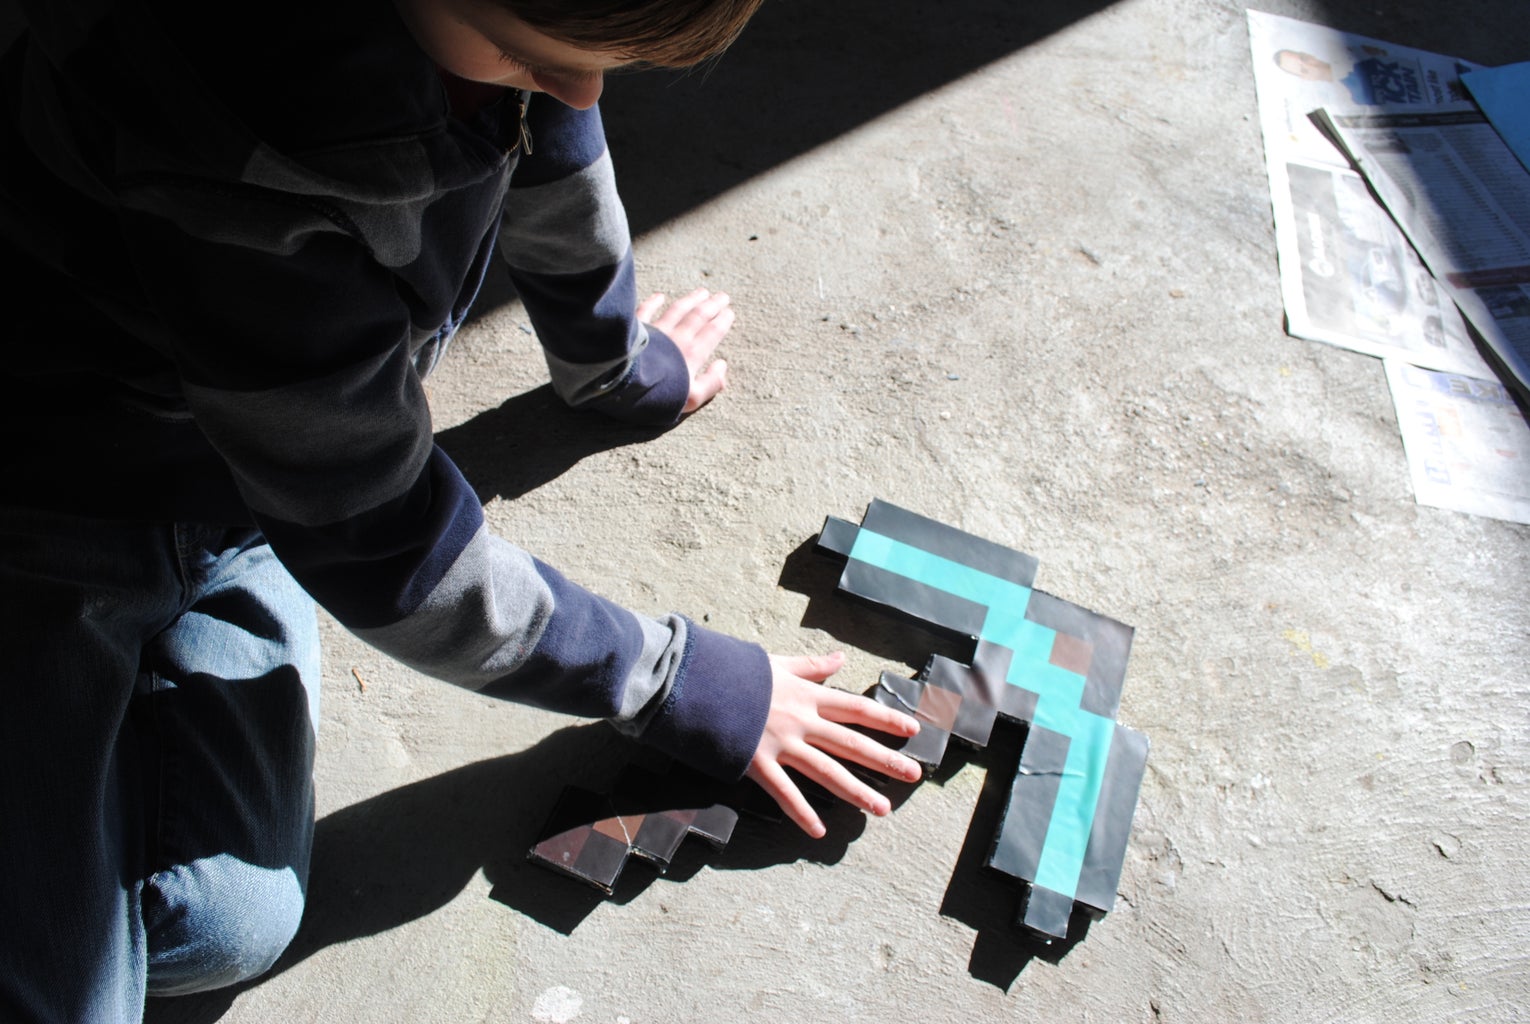
The printed images can then be glued to the painted cardboard pickaxe. We used the 3M spray adhesive - which is one of my all time favorite products. It is perfect for gluing large sections of paper.
The paper will inevitably get some tears or wrinkles during this process. Once these are pressed flat, they are hardly noticeable.
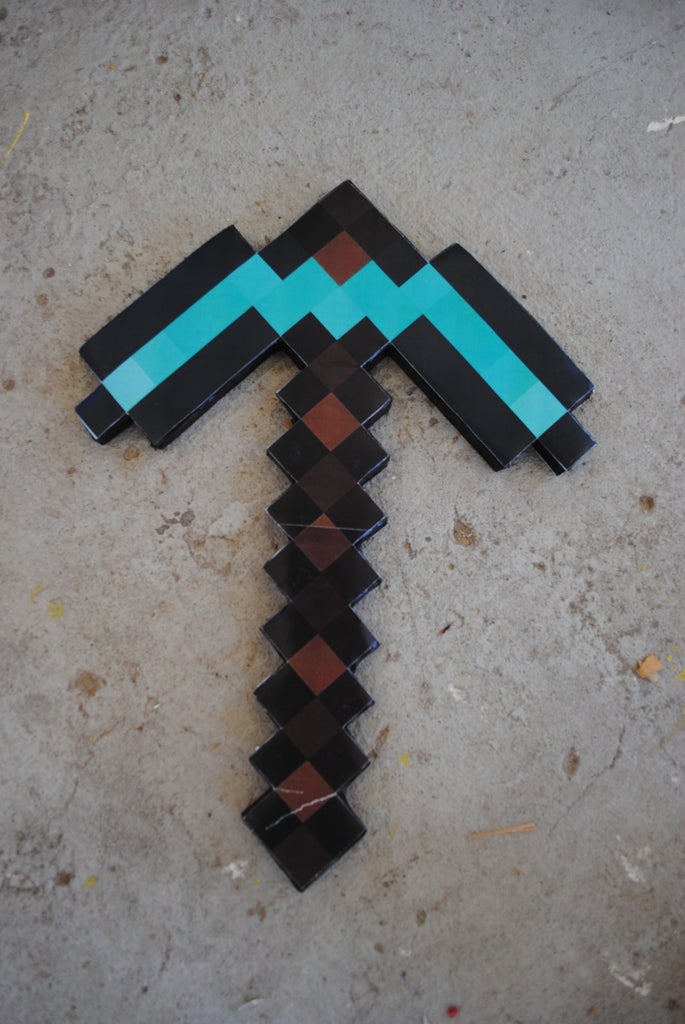
You're done!
The pickaxe is surprisingly durable and just plain fun to wield!

Participated in the
Halloween Props Contest


