

Introduction: TJBot - Use Your Voice to Control a Light


This instructable guides you through connecting a Raspberry Pi to Watson Speech to Text and change the color of a LED through speech. For example, you may say "Turn the light green" to change the color of the LED to green.
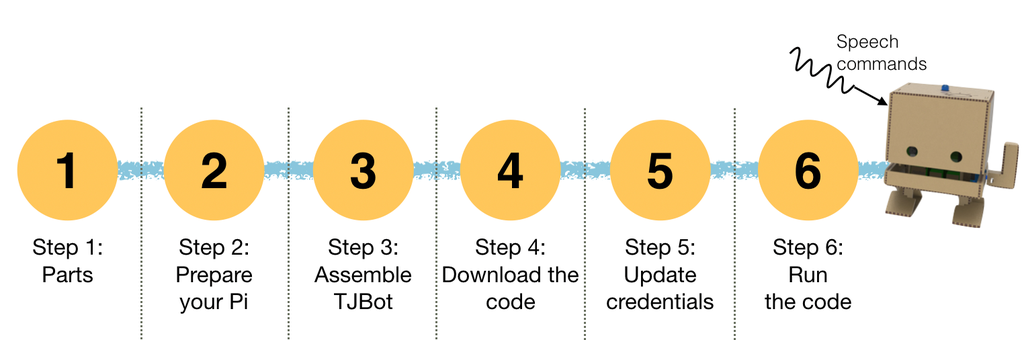
Step 1: Parts
Step 2: Prepare Your Pi
If you have used Raspberry Pi before, install Node.js and the Alsa packages and go to the next step. Otherwise, follow the instructions below to set up your Pi:
Getting Started with Your Pi
Raspberry Pi is similar to a full computer, which means you need a monitor, mouse, and keyboard for it. If you have a TV around, you can connect your Pi to your TV via a HDMI cable. In most of the Pi kits, the SD card is already preloaded with an image of the Raspberry Pi Operating System. You need to put the SD card in the Pi, turn the Pi ON and follow the instructions on screen to complete the installation of the operating system. If you have problems setting up your Pi, you can troubleshoot here.
Here is an easy way to setting WiFi up on your Raspberry Pi via the command line
Install Packages
Open a terminal application on the Pi and execute the following commands to install the latest version of Node.js and npm (Node Package Manager). You need these packages later to run your code.
curl -sL http://ibm.biz/tjbot-bootstrap | sudo sh -
Step 3: Assemble TJBot
Here is a quick video of how to fold the kit. The detailed instructions are available on another instructable: Build TJBot out of Cardboard
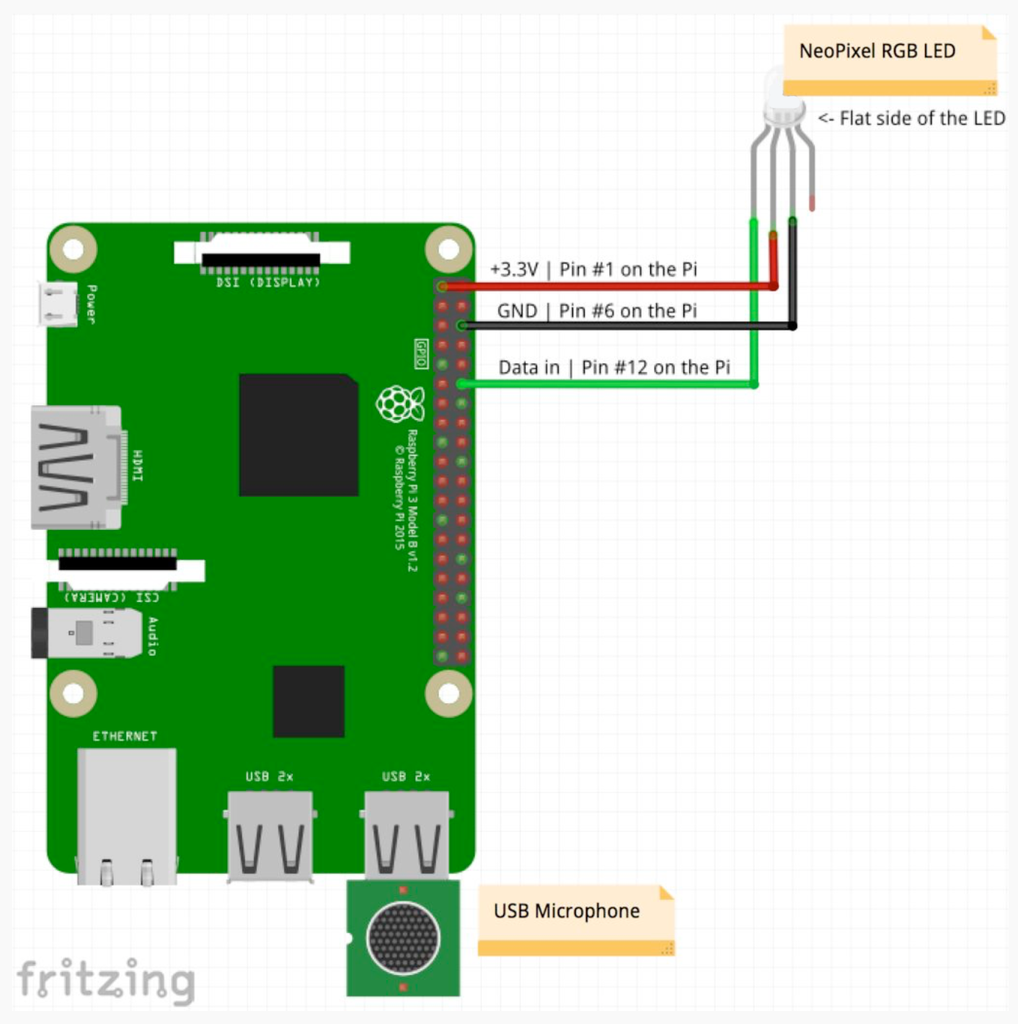
Once your TJBot is ready, get ready to connect your LED to the Pi Pins.
Attention
It's very important to make sure you connect the LED to the right pins, otherwise you may damage your LED or the Pi.
ALWAYS start with the GND pin. GND is the longest leg of your LED. The LED has a flat side. The GND is the second leg from the flat side. Again if you are unsure, DO NOT connect the LED to the Pi.

Connect the GND to GND pin on the pi (see the picture). Then connect 'Data in', the 4th leg from the flat side, to the Pi's GPIO pin. Lastly, connect the third leg from the flat side to the 3.3V on the Pi.
Step 4: Download the Sample Code
The sample code is available at github. Download or clone the sample code and execute the following commands from a terminal to install its dependencies.
Here are the instructions for how to clone a repository from github if you have not done that before.
git clone <a href="https://github.com/ibmtjbot/tjbot.git"> https://github.com/ibmtjbot/tjbot.git
</a>
cd tjbot/recipes/speech_to_text
npm install
Pro tip: if you get an error for npm install that says npm not found, you should first install npm on your machine.
This is the command line to install npmsudo apt-get install npm
Step 5: Update Your Credentials
Create an instance of the Speech to Text service and note the authentication credentials.
Make a copy of the default configuration file and update it with the Watson service credentials.
$ cp config.default.js config.js

$ nano config.js

enter your credentials in the specified places>
Step 6: Run the Code
Once done with testing the LED, you can run the main module:
sudo node stt.js
Now talk to your microphone to change the color of the LED.
Say "Turn the light blue" to change the light to blue. You can try other colors: yellow, green, orange, purple, magenta, red, blue, aqua, white). You can either say "Turn the light on" or "Turn the light off"!
Troubleshoot
Is the LED not lighting up or showing the wrong color? No worries, we can fix it.
Follow this link for troubleshooting.
Enjoy! Don't forget to share a picture/video of your setup #TJBot! :-)
Step 7: What's Next?

You can add new colors to your color palette in stt.js. TJBot uses a NeoPixel RGB LED, which means it can show any combination of red, green, and blue.
We have hidden a disco party for you. Find the code for disco party in stt.js and uncomment the code. Now you can ask TJBot to show you the disco lights by saying "Let's have a disco party"!
Try implementing your own TJBot party and share it with us #TJBot!
Once ready to move on, try the next recipe to make TJBot respond to emotions using Watson.


