Introduction: $10 Smart Camera With Raspberry Pi
LIVE DEMO in the server room at Naran.
Most of us have one or two unused USB webcams lying around in our houses. But those cameras are often collecting dust as their now outdated and have limited capabilities.
Some people are buying WiFi IP cams while others lean towards fully smat cams like the Dropcam by Nest. However, if you already have a webcam, now with Prota OS and Raspberry Pi you have a cost efficient alternative to protect and monitor your home.
Also, thanks to Prota, your webcam can be connected with other web services and devices such as Gmail, LEDs powered by GPIO, smart sockets and so forth and so on. The possibilities are vast.
Step 1: Preparations
Raspberry Pi B/ B+, Raspberry Pi 2
* We recommend you had better use RPi 2 because webcam uses a lot of RPi’s memory.
SD card with Prota OS
* You can download Prota OS here.
Webcam
* We recommend webcam that supports 720p. Webcams with resolution above 720p are too slow to use with RPi.
Step 2: Burn Prota to Micro SD Card and Set Up Your Prota With Raspberry Pi
Mac OS X user
sudo diskutil list
sudo diskutil unmountdisk {the location of disk} sudo diskutil if={the location of image file} of={the location of disk} bs=128kWindow user
Suggest Win32 software
Once you finish loading your SD card with Prota OS, setup your Raspberry Pi.
You don’t need to use terminal. Prota has web-based software, so that you can fully access and control your Raspberry Pi via a browser.
Here’s a quick guide how to set it up.
Step 3: Install the Webcam App and Mount Your Webcam Device Where You Want
If you want to monitor the entrance of your home, make sure there’s a way to supply power to your Raspberry Pi.
The purpose of this example project is to monitor the server room in our office. It’s important to ensure that the server is safe and secure at all times.
And then to confirm whether your webcam works well, try accessing it locally. (At the moment, live broadcasting of the Webcam app doesn’t work well via Cloud Access Service, but locally it should work flawlessly).
Step 4: Motion Detected - Send an Email With a Snapshot
Learn how write an automation story using the advanced manual.
Here’s how you connect your webcam with your email service using the Stories app.
You can cite our story at here.
Select ‘Sensor role’ and ‘Sensor’: Webcam app / Webcam device
Select ‘Event’: Take a snapshot
Select ‘Actor role’ and ‘Actor’: Email app / Email account * Before you set an actor story, you need to enroll an email account to be used in Stories app at Email app.
Select ‘Action’: Send a message
Fill out ‘Instruction fields’: Subject, Message, Receiver, Attachment, Filename
Step 5: GPIO Button Can Turn On/off the Webcam App
Once you set up your Webcam with Raspberry Pi, it would occupy a lot of memory. Therefore someone want to turn off app when broadcasting doesn’t need to watch the server room.
Only two buttons are needed.
Green button - turn on
Red button - turn off
Configure GPIO
Green button: GPIO18
Red button: GPIO 23
Ground: GND
Set GPIO interface at GPIO app in Prota
Make two automation story to turn on/off
Select ‘Sensor’ and ‘Event’: GPIO, detect a falling interrupt on GPIO 18
Select ‘Actor’ and ‘Action’: App Library, turn off the Webcam app
Thanks for reading our Instructable :)
Prota OS will support even more apps that can be used with your Raspberry Pi. Also, if you have any problem with your DIY project, please let us know through comments below or support.prota.info.
Step 6: For Advanced Users. Setup Port Forwarding.
If I know how to configure port forwarding on your Internet router, you can access the webcam video stream from the outside of the home network. The webcam app uses the port 18888 for its video.
You like our projects? Make your own!
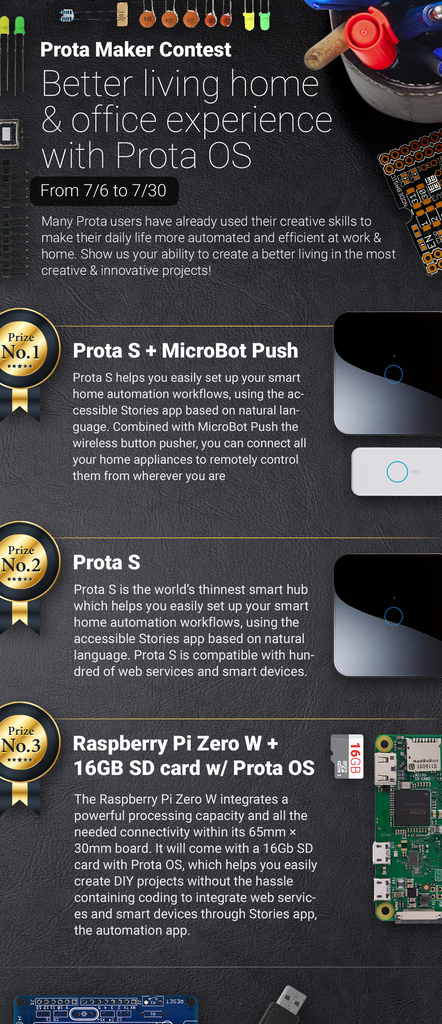
We are currently (and until July 30) running a maker contest. Show us the creative projects you can do with Prota OS and win awesome prizes!
More info here - https://support.prota.info/hc/en-us/community/top...


