Introduction: 3D Printed LCD Case


Hello my fellows from the internet, time ago I bought a 7" LCD screen that I wanted to use with my Raspberry Pi. It came just the LCD and its driver, so I was thinking to built it an enclosure to make it mobile. I designed on solidworks, and it was my first experience using a 3d printer. :)
The STL files will be at the end.
Step 1: Materials
- 7" LCD screen with its driver. I bought mine on Amazon.
- The stl files.
- I stand for the enclosure. I found this at Amazon and it's very confortable
- Some hot glue
- Some super glue. I used Loctite, but I think that other ones work fine.
- Two M2 screw with nuts.
Step 2: Assembly


It isn't difficult to assemble all the parts. The controller of the driver is mounted with the screws on the right part of the enclosure.
For the driver itself you need to some supports, like in the image. I used hot glue to keep the driver in place.
The front part of the enclosure was glued with super glue to the LCD screen.
Step 3: Assembly Continuous...


Having the screen, the driver and the controller in their places, it's time to close the case.
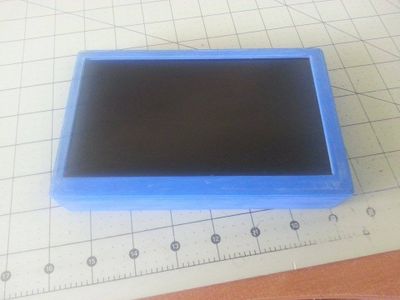
Step 4: Results

Congratulations you have and enclosure for a 7" LCD screen that you can use with everything you want, because it have hdmi, vga and rca.
I used mine with a Raspberry Pi like the one in the picture.


Participated in the
3D Printing Contest


