Introduction: Advent Calendar / Apothecary Cabinet


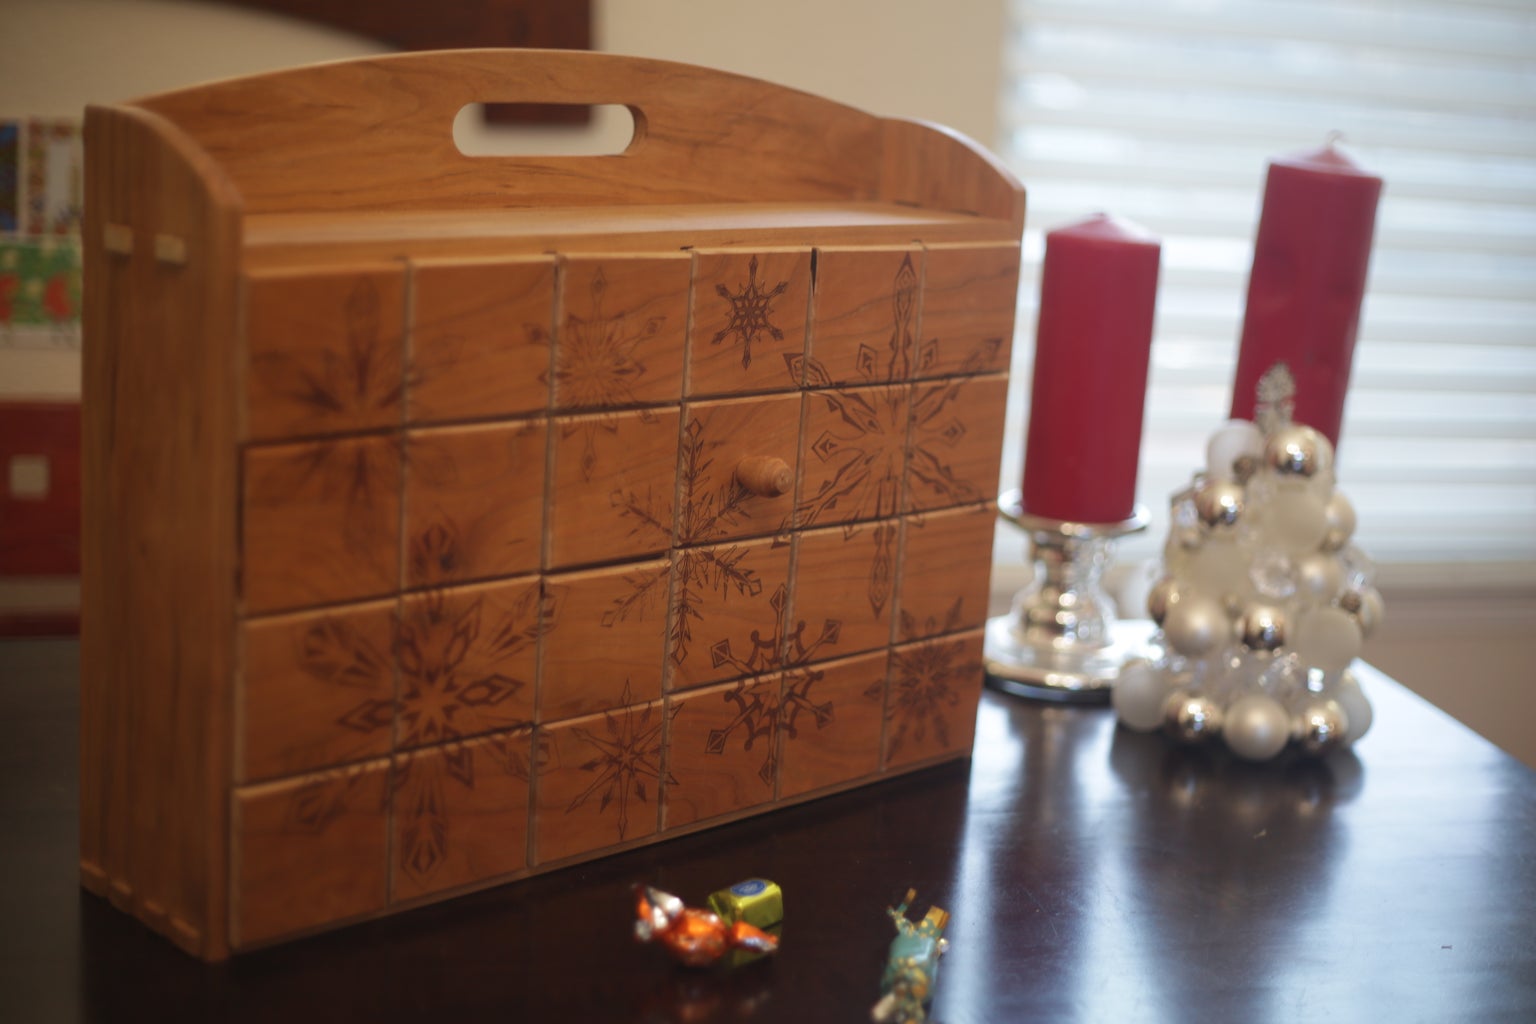
My initial purpose in building this one was to have an Advent calendar, but the form itself is just a 24-box apothecary cabinet, so of course it can be used for many things.
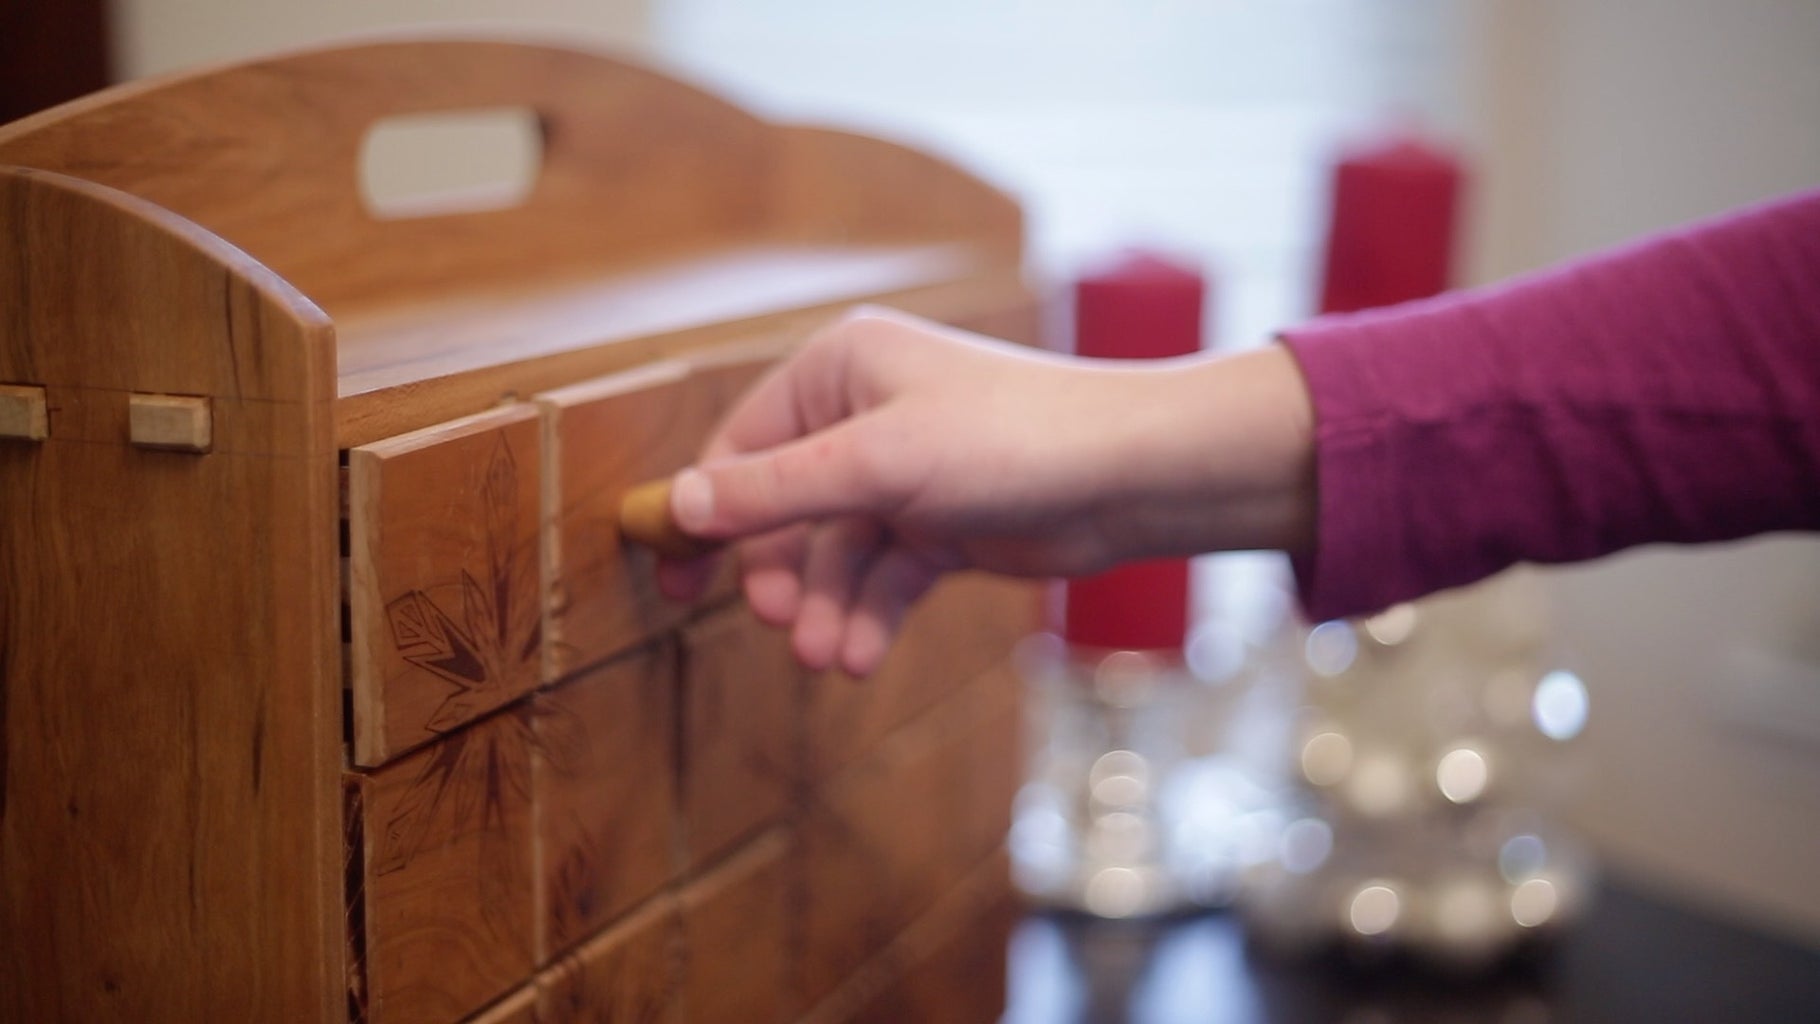
I also wanted to figure out the process to laser-etch designs on the drawer fronts that would span across multiple boxes. In a way, it's sort of a puzzle. To preserve the designs, there are no drawer pulls, but rather each box has a magnet embedded and a single magnetic knob is used to pull out any drawer.
For a video of this build, this is also up on YouTube
YouTube: Advent / Apothecary cabinet build
The process is a mix of traditional joinery, using dovetails and rabbet joints as well as laser cut boxes and laser etched decoration. I chose to make the case and drawer fronts from cherry, the boxes are 1/4" ply.
Materials:
- Cherry (or any hardwood of your preference), 1/4" plywood, Magnets
Tools used:
- General woodworking tools: Table saw, planer, miter saw, drill, chisels, sandpaper, etc.
- Wood and CA glues
- Laser cutter

Step 1: Milling Rough Lumber


I took an ~8' long, rough sawn cherry board and cut it down into several segments for easier milling and flatter sections to start with. The milling process is generally similar. I took this approach:
- Use a jointer to flatten one side and one edge.
- Use those two edges to cut a parallel edge on the table saw.
- Resaw the board roughly in half or 3rds on the bandsaw
- Run the boards through a planer to flatten and reduce the boards to final width. I needed 1/2" and 3/8" boards.
Step 2: Outer Case: Joinery and Glue Up


I wanted to use dovetails and through mortise and tenon joinery, because... reasons? Well, for the challenge and beauty of doing it.
The dovetails were primarily cut using table saw jigs. My setup create a 7 degree angle and uses stop blocks to hold against and I cut both sides, so the dovetails are identical on each side of the board. I started by cutting the tails first, which were cleaned up by hand using chisels.
Like hand-cut dovetails, the marks are transferred to the next boards directly using a knife, and those board I place on another jig, line the saw blade up with the line, make the cut, flip the board, cut and setup for the next line. It's not a perfect process, but it's pretty close and a bit of fine-tuning by hand makes for decent dovetails.
The mortises were marked, symmetrically, and cut out by drilling first and then chiseling out the waste. Because they are symmetrical, I can cut the tenons on the table saw by getting the distance correct, cutting and flipping the board to cut again. The waste is nibbled away at the table saw and cleaned up by hand.
With the sides fitting correctly, a curved top was added with a handle. This was marked, the ends were drilled out with forstner bits, (remember to drill from both sides for a clean cut) and the center cut out with a scroll saw. The top curve was cut away and cleaned up with files and sandpaper for a smooth surface.
My case needed some help to keep it square while gluing, so I clamped it with some shop-made right angle guides while it dried.
(NOTE: I'm showing the case glue up here but you must cut the rabbets in for the shelf dividers -next step, before gluing the case.)
Step 3: Lots of Rabbets... (Not Rabbits)


Cutting this many rabbets in multiple boards is all about setup. Once you get it dialed in, then it's just a lot of repeating cuts.
Using my table saw sled, stop blocks and spacers, once I got the first cut dialed in I could repeat it down the length of the board using the same spacers and aligning the saw blade with my marking lines.
The top and bottom boards were done first to accommodate for the vertical dividers, and once these were done, the sides and vertical dividers also got very shallow rabbets to seat the many small shelves.
All the parts were pre-finished as it would be super difficult to finished when assembled.
Once glued up, the case is done and now to finish the boxes and fronts.
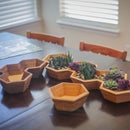
Step 4: Laser Cut Boxes


In the overall sequence, these boxes were completed early in the process, but in this Instructable they seem to fit well here. The vector PDF's I used to cut these boxes are attached to the first page of this I'ble.
I was able to arrange 3 boxes into a cutting session, so that helped batch them out. It took ~30 minutes per session, so I was able to cut these out over several evenings.
Although I'm not hiding or painting the burned edges, I did sand the front and back surfaces to help knock back some of the laser burn marks. Before taking the sheet off the laser, I taped down the sheet to keep pieces in place and in the shop I could then sand the opposite side, flip the sheet over, remove the tape and sand again.
Gluing up 24 boxes can take some time. I was able to enlist my kids, and we all had fun and made pretty quick work of assembly. A bunch of rubber bands and a light sanding to knock the edges back and these were ready to go.
Step 5: Drawer Fronts - Lasers, Magnets and Jigs


I used a wide board and created a bookmatch resaw of it. It doesn't have a strong pattern, so this wasn't crucial, but it looked nice and I know it's there.
The challenge was to keep track of all the parts so they would be attached to the drawers in the right pattern.
I drew up a number of snowflakes in SketchUp, and then picked some I liked, scaled and arranged them to fit the cabinet. Then I broke that large pattern into 4 sections so it would fit on my laser cutter. The overall size was too large to engrave at once on the Glowforge I was using.
With the fronts all engraved, I clamped up a few scraps to hold the parts on my drill press and used a router bit to drill a flat bottom hole in each to hold a magnet. If these were thicker, the flat bottom might not matter and I could use regular drill bits, but I had very little depth to work with. It also helps in getting the magnet close to the surface.
To assemble the boxes and fronts, I needed to create another simple jig that would place them together in the right position.
Then the box front could be slid into place in the jig, the magnet set in the hole with a bit of CA glue and a bit of CA glue was spread around the center to act as the quick holding glue while the wood glue sets up. Some wood glue was spread a bit further out and the box set in place. Then a spring clamp is used to hold the two parts together, slide them out of the jig and set aside for a few minutes to let the CA glue dry. After ~5 minutes the spring clamp can be taken off and used again, so with a few spring clamps to cycle through, I could attach all the fronts in the course of an hour or so.
(NOTE: It should go without saying, but be very sure all the magnets are facing the same direction when glued in.)
Step 6: Magnetic Knob


Turning the knob was wonderfully simple compared to everything that had come before this point. It was so nice to have a quick and rewarding part of the project after spending several weeks to get to this point.
I used a larger magnet in the knob, so just needed to account for the size when turning it. It was glued in using CA glue and placed flush or barely below the surface. It works really well, easily pulls out a drawer, but also easily slid away from a drawer to the next one.
Step 7: Final Thoughts


Overall, I really like the way this all came out. A few things that I didn't anticipate:
You can't carry this just with the handle or it's unbalanced and will tip forward spilling out boxes. Easy to support the bottom and carry it, just an observation.
I was worried about getting too heavy with the laser etched decoration, but there is some inconsistency and lighter areas, so I think I would have turned up the settings a bit and gone a bit darker if I did it again.
I used cheap luan ply for the boxes, and some of it was a bit warped, which actually meant some of the boxes were just a bit wider or thinner. This was ok as my center area was just a little bit wider and I could find places for each box to fit well, but just be aware that cheap ply has an effect, even on small boxes.
The magnetic pull worked out really well, and that was just lucky. It's easy to move around but has plenty of pull when needed. I wasn't sure if it would be strong enough, so very happy it is.
I hope my family will enjoy this for years to come. and hope this is enjoyable and helpful if you decide to create something like it.
Cheers!

Second Prize in the
Magnets Challenge


