Arduino Basics: PIR Sensors

382K46978

Intro: Arduino Basics: PIR Sensors

Welcome to the next installment of Arduino Basics!

This instructable will teach you how to use a PIR sensors with the arduino, and we wil build a simple motion detector!


STEP 1: Supplies

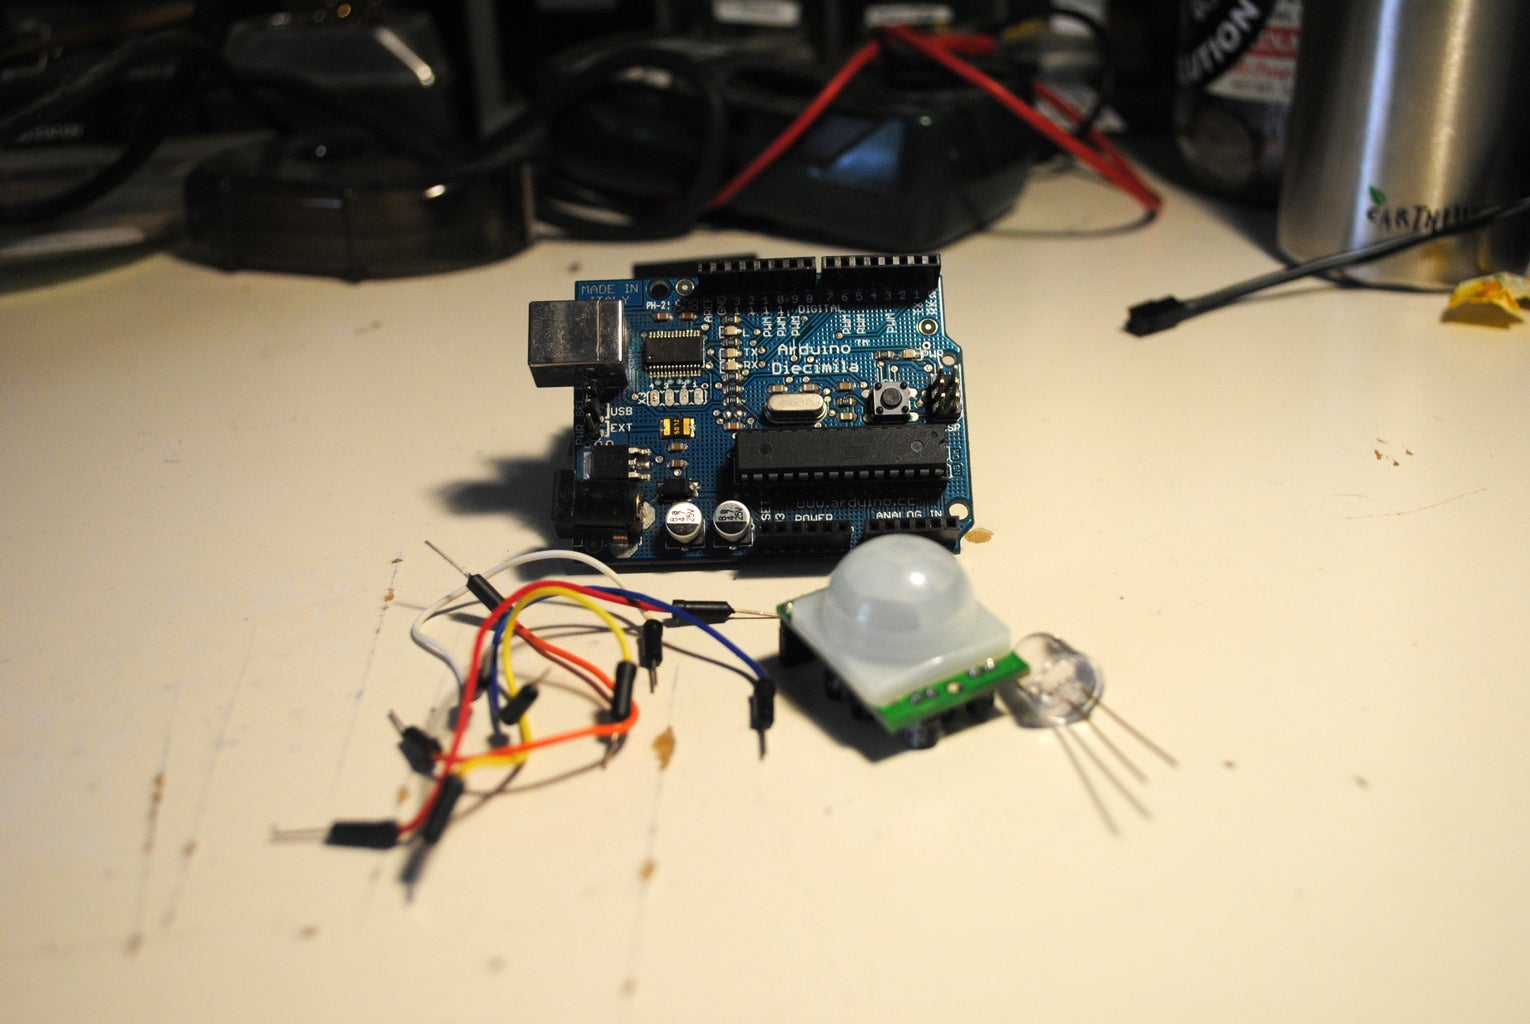
For this instructable you will need the following:

1 arduino (with protoshield to make life easy)
1 LED of any color
1 PIR sensor from Parallax (you can find these at most radio shacks)
Solid wire to hook it up

STEP 2: Setup

The wiring is pretty simple, the PIR sensor has screen printed: + - out

Hook the + to 5v, - to ground and out to pin 7

The take the LED and put power to pin 8 and ground to ground.

If its confusing, take a look at the pictures!

STEP 3: Code

This code is lifted from the arduino.cc site here, the code I used is also attached.

/* 
 * //////////////////////////////////////////////////
 * //making sense of the Parallax PIR sensor's output
 * //////////////////////////////////////////////////
 *
 * Switches a LED according to the state of the sensors output pin.
 * Determines the beginning and end of continuous motion sequences.
 *
 * @author: Kristian Gohlke / krigoo (_) gmail (_) com / http://krx.at
 * @date:   3. September 2006 
 *
 * kr1 (cleft) 2006 
 * released under a creative commons "Attribution-NonCommercial-ShareAlike 2.0" license
 * http://creativecommons.org/licenses/by-nc-sa/2.0/de/
 *
 *
 * The Parallax PIR Sensor is an easy to use digital infrared motion sensor module. 
 * (http://www.parallax.com/detail.asp?product_id=555-28027)
 *
 * The sensor's output pin goes to HIGH if motion is present.
 * However, even if motion is present it goes to LOW from time to time, 
 * which might give the impression no motion is present. 
 * This program deals with this issue by ignoring LOW-phases shorter than a given time, 
 * assuming continuous motion is present during these phases.
 *  
 */

/////////////////////////////
//VARS
//the time we give the sensor to calibrate (10-60 secs according to the datasheet)
int calibrationTime = 30;        

//the time when the sensor outputs a low impulse
long unsigned int lowIn;         

//the amount of milliseconds the sensor has to be low 
//before we assume all motion has stopped
long unsigned int pause = 5000;  

boolean lockLow = true;
boolean takeLowTime;  

int pirPin = 7;    //the digital pin connected to the PIR sensor's output
int ledPin = 8;


/////////////////////////////
//SETUP
void setup(){
  Serial.begin(9600);
  pinMode(pirPin, INPUT);
  pinMode(ledPin, OUTPUT);
  digitalWrite(pirPin, LOW);

  //give the sensor some time to calibrate
  Serial.print("calibrating sensor ");
    for(int i = 0; i < calibrationTime; i++){
      Serial.print(".");
      delay(1000);
      }
    Serial.println(" done");
    Serial.println("SENSOR ACTIVE");
    delay(50);
  }

////////////////////////////
//LOOP
void loop(){

     if(digitalRead(pirPin) == HIGH){
       digitalWrite(ledPin, HIGH);   //the led visualizes the sensors output pin state
       if(lockLow){  
         //makes sure we wait for a transition to LOW before any further output is made:
         lockLow = false;            
         Serial.println("---");
         Serial.print("motion detected at ");
         Serial.print(millis()/1000);
         Serial.println(" sec"); 
         delay(50);
         }         
         takeLowTime = true;
       }

     if(digitalRead(pirPin) == LOW){       
       digitalWrite(ledPin, LOW);  //the led visualizes the sensors output pin state

       if(takeLowTime){
        lowIn = millis();          //save the time of the transition from high to LOW
        takeLowTime = false;       //make sure this is only done at the start of a LOW phase
        }
       //if the sensor is low for more than the given pause, 
       //we assume that no more motion is going to happen
       if(!lockLow && millis() - lowIn > pause){  
           //makes sure this block of code is only executed again after 
           //a new motion sequence has been detected
           lockLow = true;                        
           Serial.print("motion ended at ");      //output
           Serial.print((millis() - pause)/1000);
           Serial.println(" sec");
           delay(50);
           }
       }
  }

You can see from the code, the sensor first calibrates itself and then watches for movement. When it detects movement, the blue light goes on. You can watch the serial monitor to see how long the movement lasts.

STEP 4: Further Projectse

After these steps you have a very simple motion detector. From here you can use the PIR sensor to trigger events (like a siren or a text message that someone is in your room).

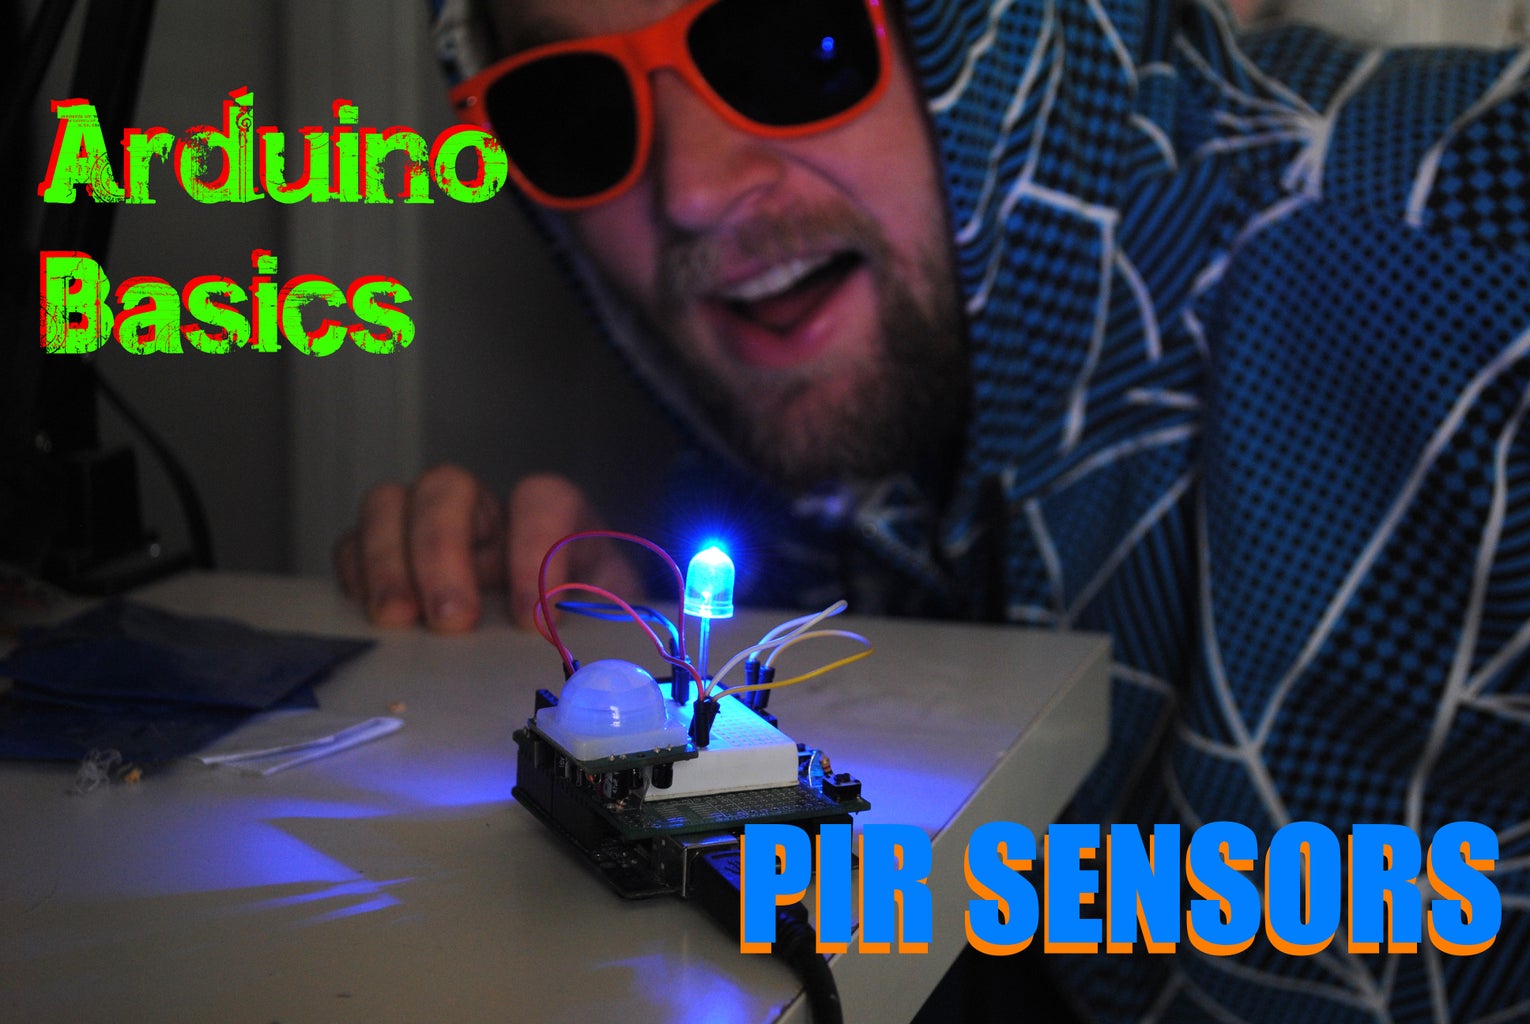
I just chose to use it to protect my stunnaz from blue light fearing monsters. It seems to work so far....

Please post your PIR sensor projects below and stay tuned for even more Arduino Basics!

67 Comments

Hi

Good explanation, program works fine.

But its better to use 330 ohms in series with the LED
thanks to the atmel controller the circuit survives, With other controllers you are less Lucky.

best regards

Gerard

What does pirstate=HIGH mean in the code?

it means pir sensor ill on, after its detected something

I have made the program like that and the sensor have been active in serial monitor. But, the LED can't be light up. Are there any solution to fix this?

Thanks for the info, I will try this out, code looks good. Thanks again

int ledPin1 = 13; // choose the pin for the LED

int ledPin2 = 12;

int ledPin3 = 11;

int ledPin4 = 10;

int inputPin = 9; // choose the input pin (for PIR sensor)

int inputPin2 = 8;

int buzzerPin = 7;

int switchPin = 6; //pin for door sensor1

int switchPin2 = 5; // pin for door sensor2

int pirState1 = LOW;

int pirState2 = LOW;

int val = 0;

int val2 = 0;

int magnetState = LOW;

int magnetState2 = LOW;

int magnetValState = 0;

int magnetValState2 = 0;

void setup() {

pinMode(ledPin1, OUTPUT); // declare LED as output

pinMode(ledPin2, OUTPUT); // declare LED as output

pinMode(ledPin3, OUTPUT);

pinMode(inputPin, INPUT); // declare sensor 1 as input

pinMode(inputPin2, INPUT); // declare sensor 2 as input

pinMode(buzzerPin, OUTPUT);

pinMode(switchPin, INPUT);

pinMode(switchPin2, INPUT);

digitalWrite(switchPin, HIGH);

digitalWrite(switchPin2, HIGH);

Servo1.attach(servoPin);

Serial.begin(9600);

}

void loop() {

val = digitalRead(inputPin); // read input value

if (val == HIGH) { // check if the input is HIGH

digitalWrite(ledPin1, HIGH); // turn LED ON

magnetValState = digitalRead(switchPin);

if (digitalRead(switchPin) == HIGH) {

digitalWrite(ledPin2, HIGH);

delay(1500);

digitalWrite(ledPin2, LOW);

delay(1500);

digitalWrite(buzzerPin, HIGH);

Serial.println("Door brake!");

}

if (pirState1 == LOW) {

// we have just turned on

Serial.println("Motion detected!");

// We only want to print on the output change, not state

pirState1 = HIGH;

}

}

// check sensor 2 after delay

val2 = digitalRead(inputPin2);

if (val2 == HIGH) {

digitalWrite(ledPin3, HIGH);

magnetValState2 = digitalRead(switchPin2);

if (digitalRead(switchPin2) == HIGH) {

digitalWrite(ledPin4, HIGH);

delay(50);

digitalWrite(ledPin4, LOW);

delay(50);

digitalWrite(buzzerPin, HIGH);

Serial.println("Door brake!");

}

if(pirState2 == LOW) {

// we have just turned on

Serial.println("Motion from sensor 2 detected!");

// We only want to print on the output change, not state

pirState2 = HIGH;

}

} else {

digitalWrite(ledPin1, LOW); // turn LED OFF

delay (50);

digitalWrite(ledPin2, LOW); // may be already

//playTone(0, 0);

delay(50);

digitalWrite(ledPin3, LOW); // turn LED OFF

delay (50);

digitalWrite(ledPin4, LOW); // turn LED OFF

delay (50);

if (pirState1 == HIGH) {

// we have just turned of

Serial.println("Motion ended!");

// We only want to print on the output change, not state

pirState1 = LOW;

}

if (pirState2 == HIGH) {

// we have just turned of

Serial.println("Motion ended!");

// We only want to print on the output change, not state

pirState2 = LOW;

}

}

}

someone please help me,how can i combine two pir sensor with two door sensor? im trying this coding,but only sensor 2 detected...

resistor needed across the LED?

I Want to make a Human / living being detector, not a motion detector. How to do that and what should be the changes in code ?
Can PIR motion sensor and arduino nano work together?

Hi,

I have been wondering a few things.

1 does it output only high or low or is there a way to read a numeric value?

2 is it possible to use two pirs and follow the movement according to the 2 pirs, so if more right reading it looks more to the right and left same story.

If anyone knows a pointer for me to look in it is very much appreciated.

Keep up the good work.

I utilized my on board SMD led pin 13. Nice instructions.

PIR sensor implemented for alarm car alarm system

please can you send me a code i am using a pir

I am useing an aurdwendo i need a code can you please help me

hai in my PIR sensor the output pin always goes high even when there is
no motion,I also altered the sensitivity and delay,but there is no
change! any one help me plzz!..

i am starting arduino please help me to interface sensors

hello when I change the "long unsigned int pause = 5000;"

I do not see any change in how long the led stays on.

In fact regardless of how I long set it, it will only stay on for 2 seconds.

pir.pde:98:37: error: invalid operands of types 'long unsigned int' and 'int()' to binary 'operator-'

This error is presented whenever i tried to verify/upload this code.. Help Me! T_T

Great info! thanks

Next time, and for other sensors connection you can use Circuito.io, it's a free tool to generate schematics and code

More Comments