

Introduction: Arduino Color Mixer Controlled by IPhone

Robot contest 18+
This is the video demonstration of what the final product will look like. This could also easily be used to control an arduino robot or anything at all that the arduino is running!
if the video won't play here is the link https://www.youtube.com/watch?v=hqgcAuNUyR0
www.doityourselfharry.com
This is the video demonstration of what the final product will look like. This could also easily be used to control an arduino robot or anything at all that the arduino is running!
if the video won't play here is the link https://www.youtube.com/watch?v=hqgcAuNUyR0
www.doityourselfharry.com
Step 1: How to Tutorial

Here is the how to!
if the vid doesn't open here is the url https://www.youtube.com/watch?v=s9etKD2y-Zk
if the vid doesn't open here is the url https://www.youtube.com/watch?v=s9etKD2y-Zk
Step 2:
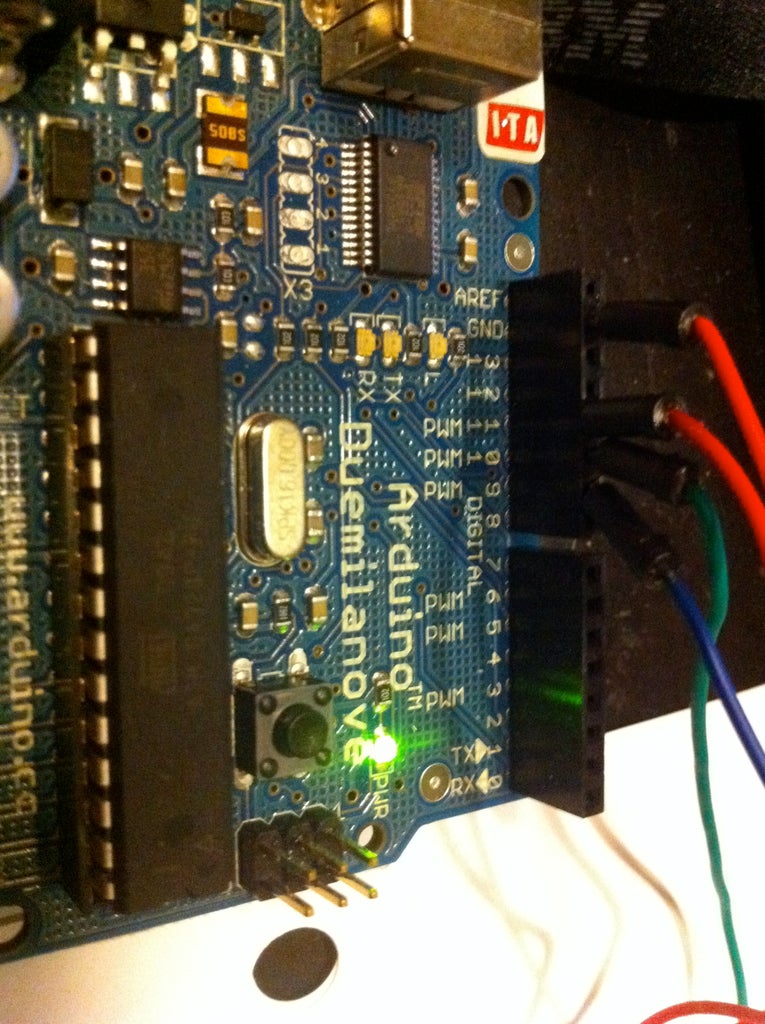
Wires coming from ground, 11 pin, 10 pin, and 9 pin
Step 3: Wiring for LEDs

This should be pretty simple.
You have the wiring from the arduino for each color connected to the positive side of the led and the grounding wire from the arduino is grounding all of them. They are running in parallel to each other and in series with a resistor.
You have the wiring from the arduino for each color connected to the positive side of the led and the grounding wire from the arduino is grounding all of them. They are running in parallel to each other and in series with a resistor.
Step 4:

This is what the final setup will look like.
