Introduction: Arduino Laser Projector + Control App


- XY - 2 dimensional laser scanning
- 2x 35mm 0.9° stepper motors - 400 steps/rev
- Automatic mirror calibration
- Remote serial control (via bluetooth)
- Auto mode
- Remote control app with GUI
- Open Source
Download:
Step 1:
Step 2: Theory


Laser projectors can be divided into two main categories. Either they use a diffraction glass/foil to project a pattern or they have a system which moves laser beam in XY axis directions. The second option usually looks much better because it is possible to program the pattern to be projected. While in the first case, the laser beam is being diffracted and projects a static image, in the second one, the laser still consists of just one beam, that moves very fast. If this movement is fast enough, we perceive it as a pattern because of persistence of vision (POV). This is usually done by having two perpendicular mirrors, each capable of moving the laser beam in one axis. By combining them, it is possible to position the laser beam to the exact location.
For professional applications, galvanometer scanners are usually used. Some of these scanners are capable of doing 60kpps (kilo point per second). That means, they can position the laser beam to 60000 different locations during 1 second. This creates a really smooth projection without the stroboscopic effect. However, they can be really expensive. I have used the stepper motors, which is the cheap, not so fast, alternative.
The laser draws the pattern by orbiting the lines over and over at really high speed. Sometimes there are multiple parts of the pattern that are not connected together. In this example, each letter is separated, however when the laser moves from one letter to another one, it creates an unwanted line. This is solved by a technology called blanking. The whole idea behind is, that the laser is switched of when moving from one, to another pattern. This is done by a high-speed controlling unit, which needs to be synchronized with the scanning system.
Step 3: Obtaining Components

In the list bellow you can find the components I used and the links where I bought them.
- 1x Arduino Uno
- 1x Adafruit Motor Shield V2
- 1x Laser Module
- 2x 35mm 0.9° stepper motors - 400 steps/rev - 5V - eBay
- 3x LED - AliExpress
- 1x HC-06 Bluetooth Serial Module - AliExpress
- 1x Photodiode - AliExpress
- 1x NPN transistor BC547B - AliExpress
- 2x 2K Trimmer - AliExpress
- 1x DC Socket Panel Mount - eBay
- 1x Toggle Switch - AliExpress
And then some material and tools you can find at home. Hopefully ;)
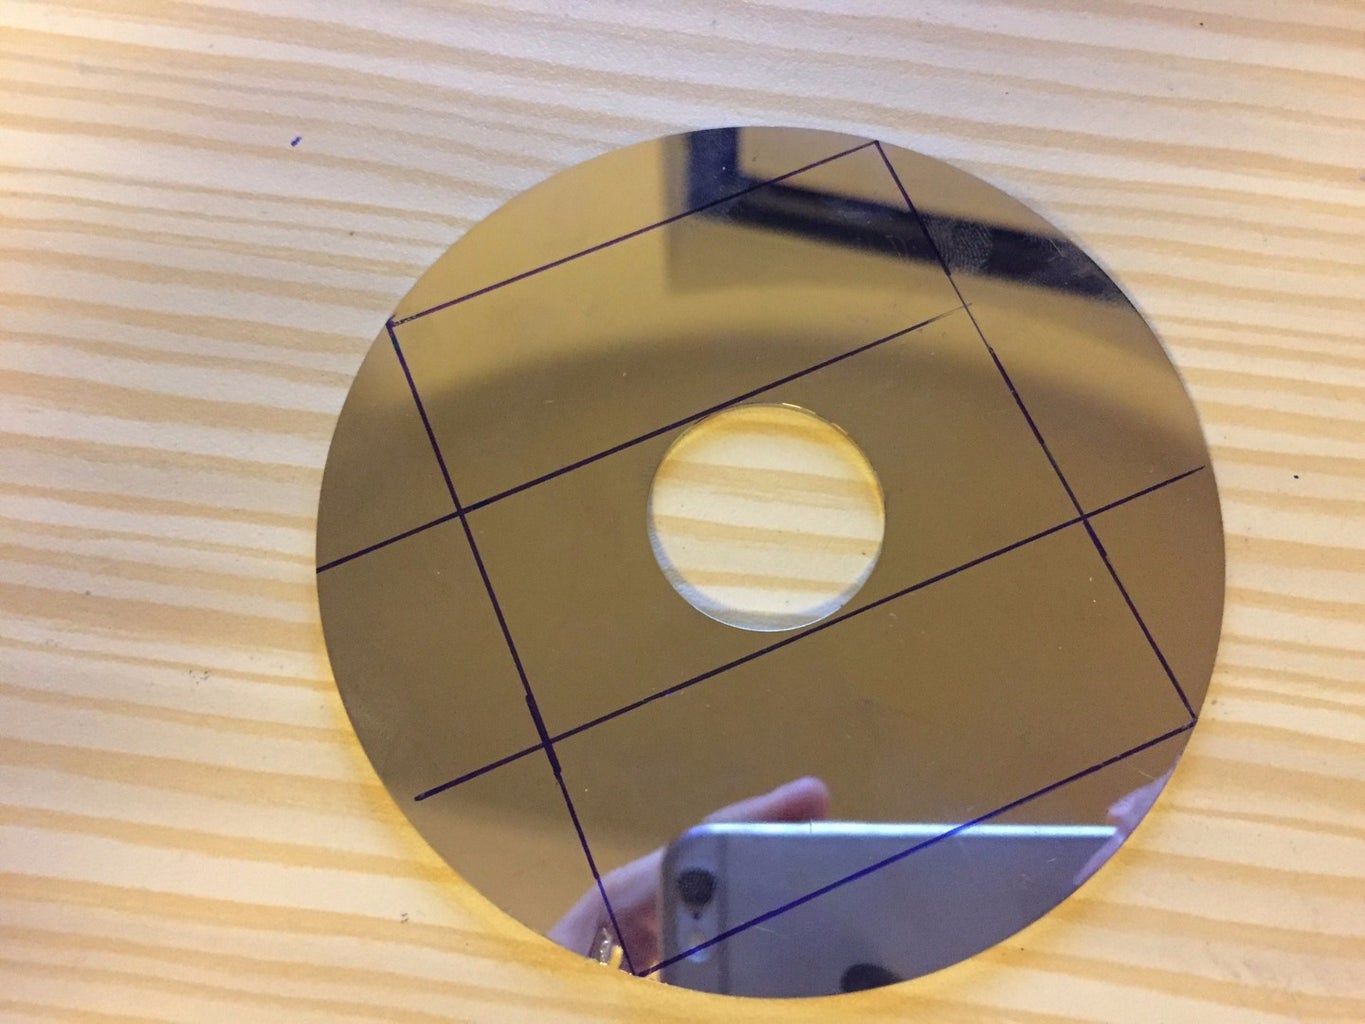
- Mirror (the best is a metallic mirror like HDD Platter)
- Aluminium sheet
- Snips
- Hot Glue (or Pattex Repair Express )
- Wires
- Pliers
- Drill (or scissors in my case :D)
- Box (e.g. Junction Box)
Step 4: Mounting Steppers
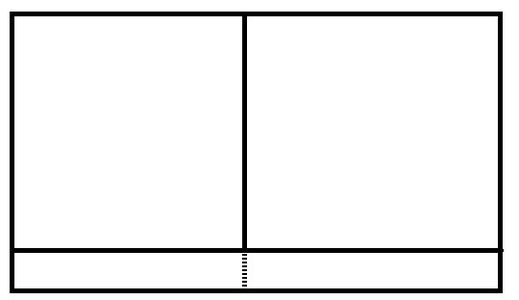
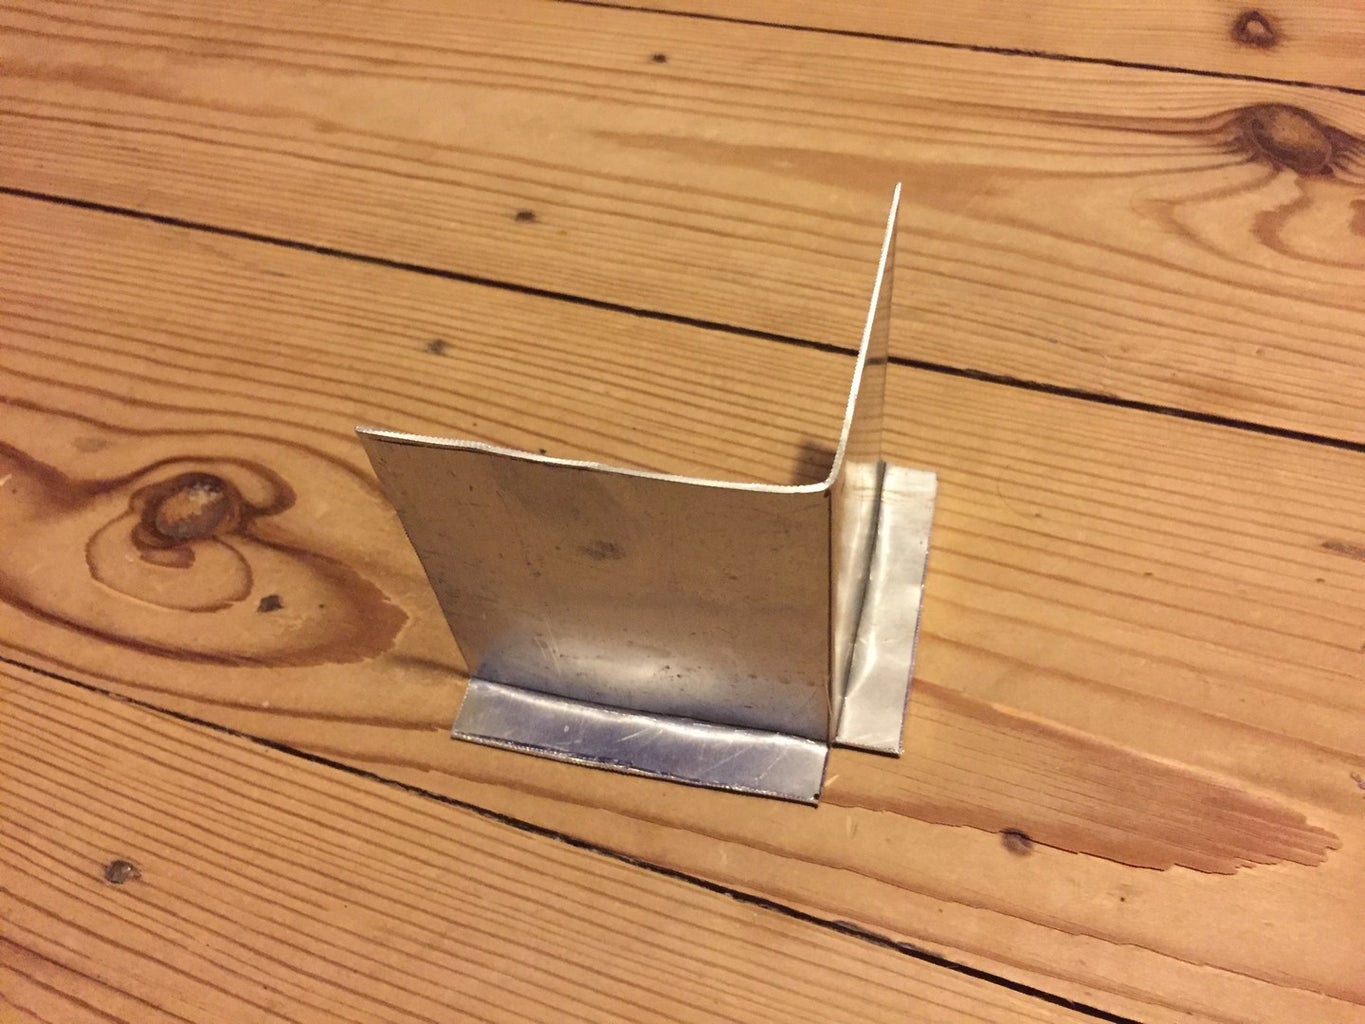
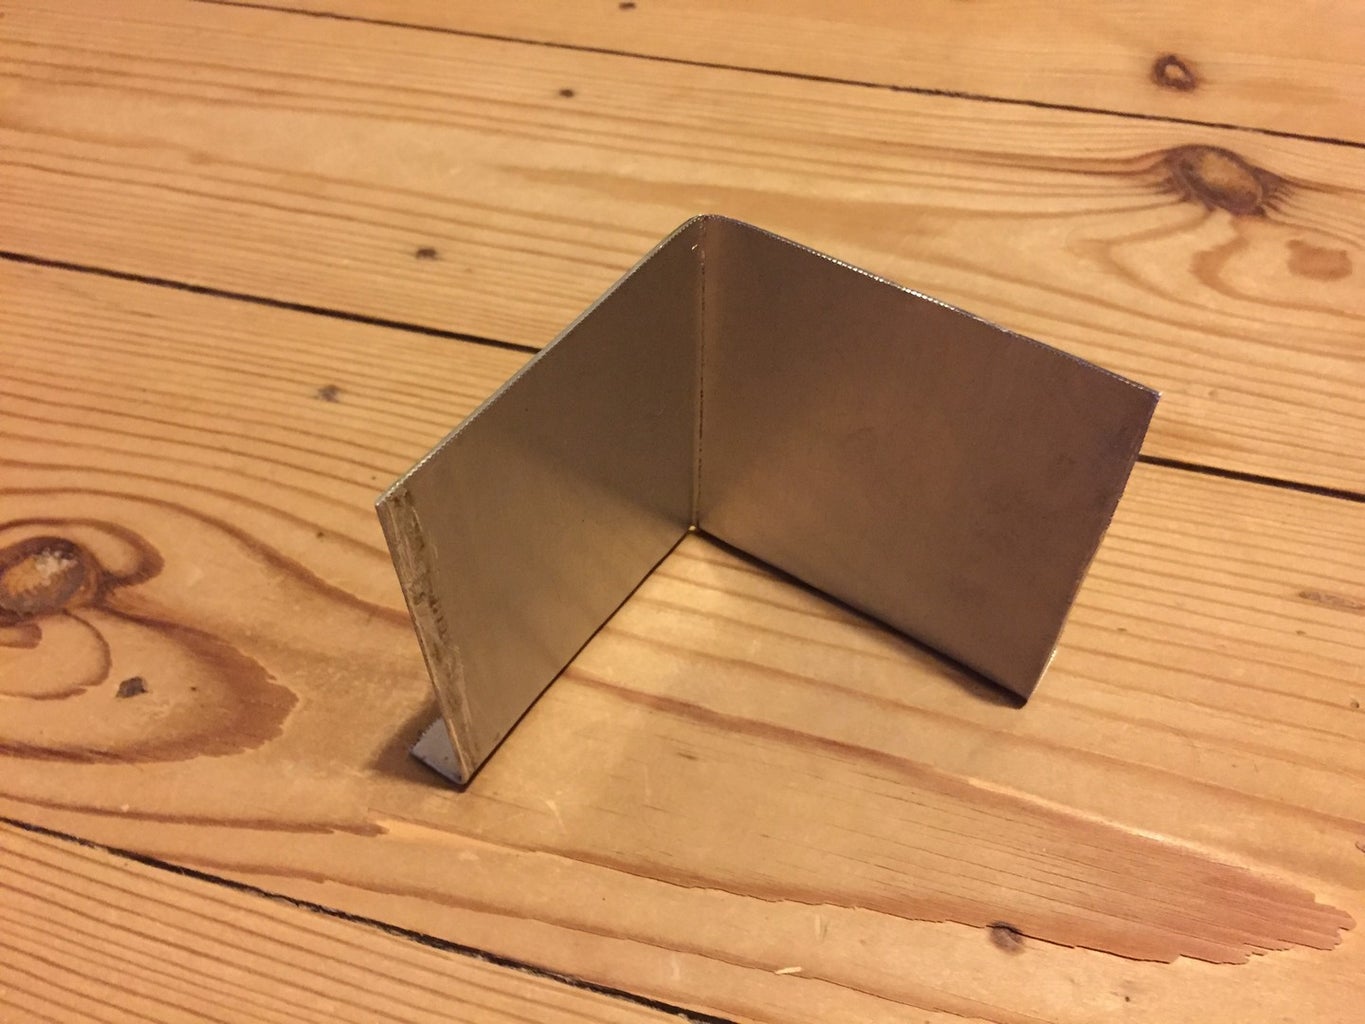
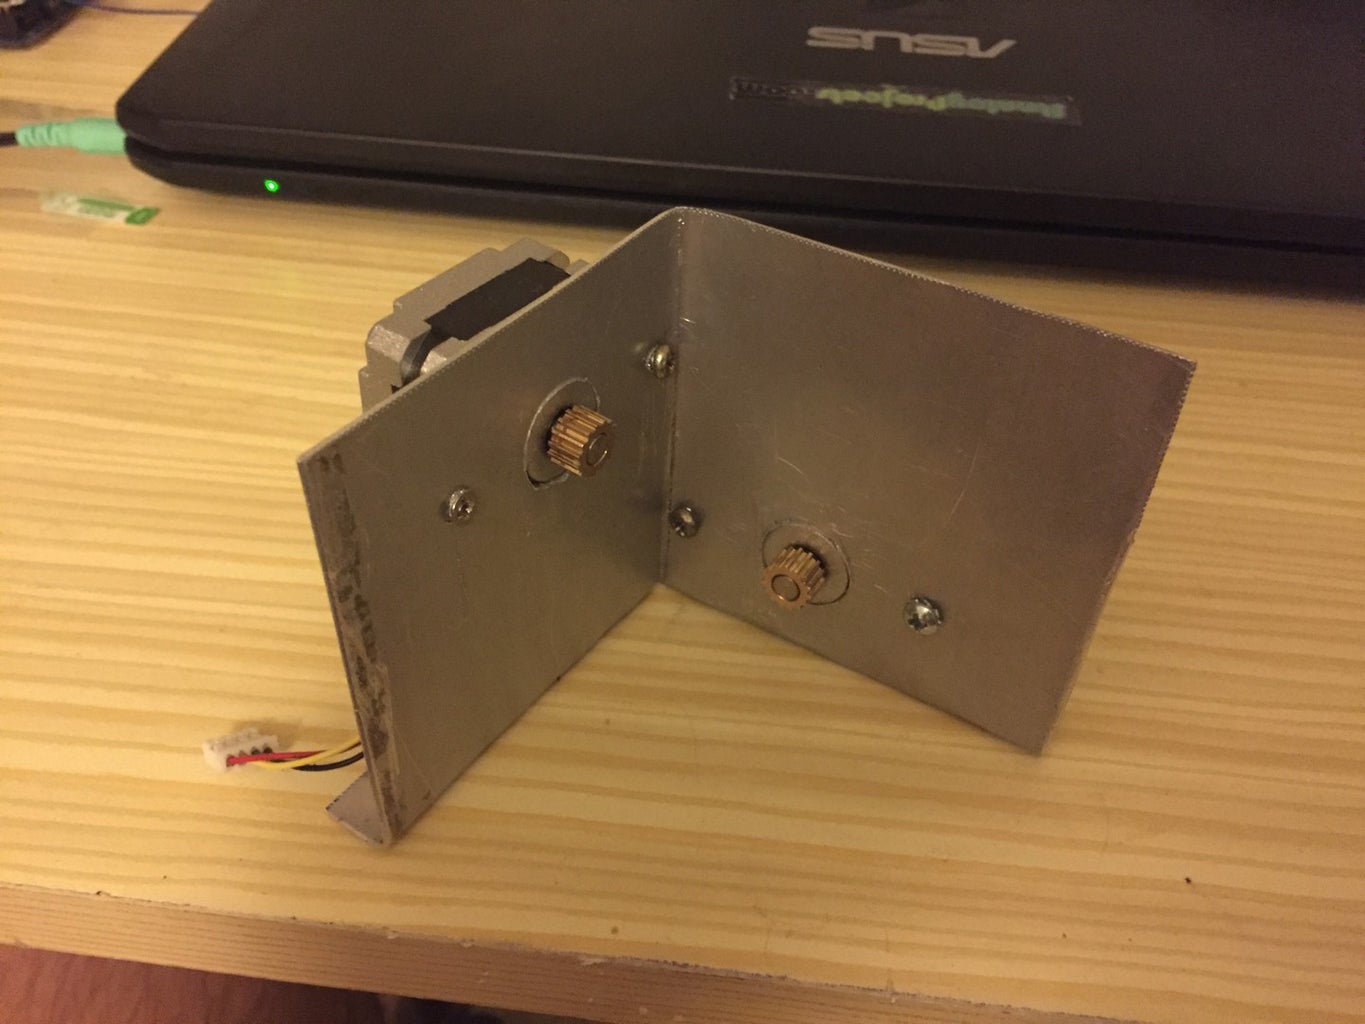
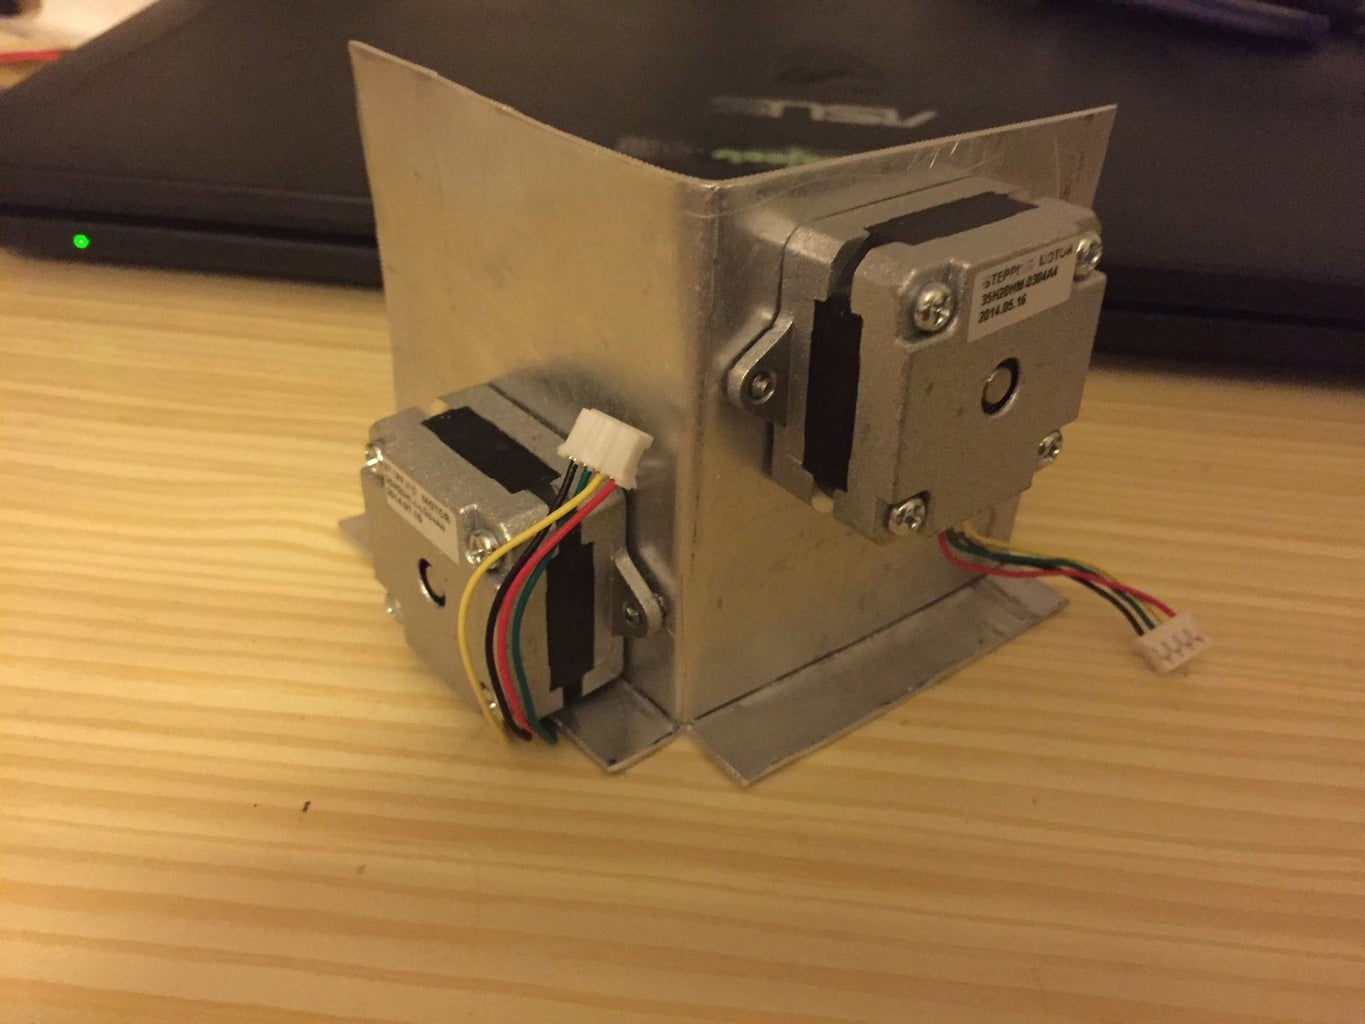
Aluminium sheet needed to be cut and bent into the proper shape. Then holes were drilled and steppers attached.
Step 5: Laser Blanking + Mirror Calibration
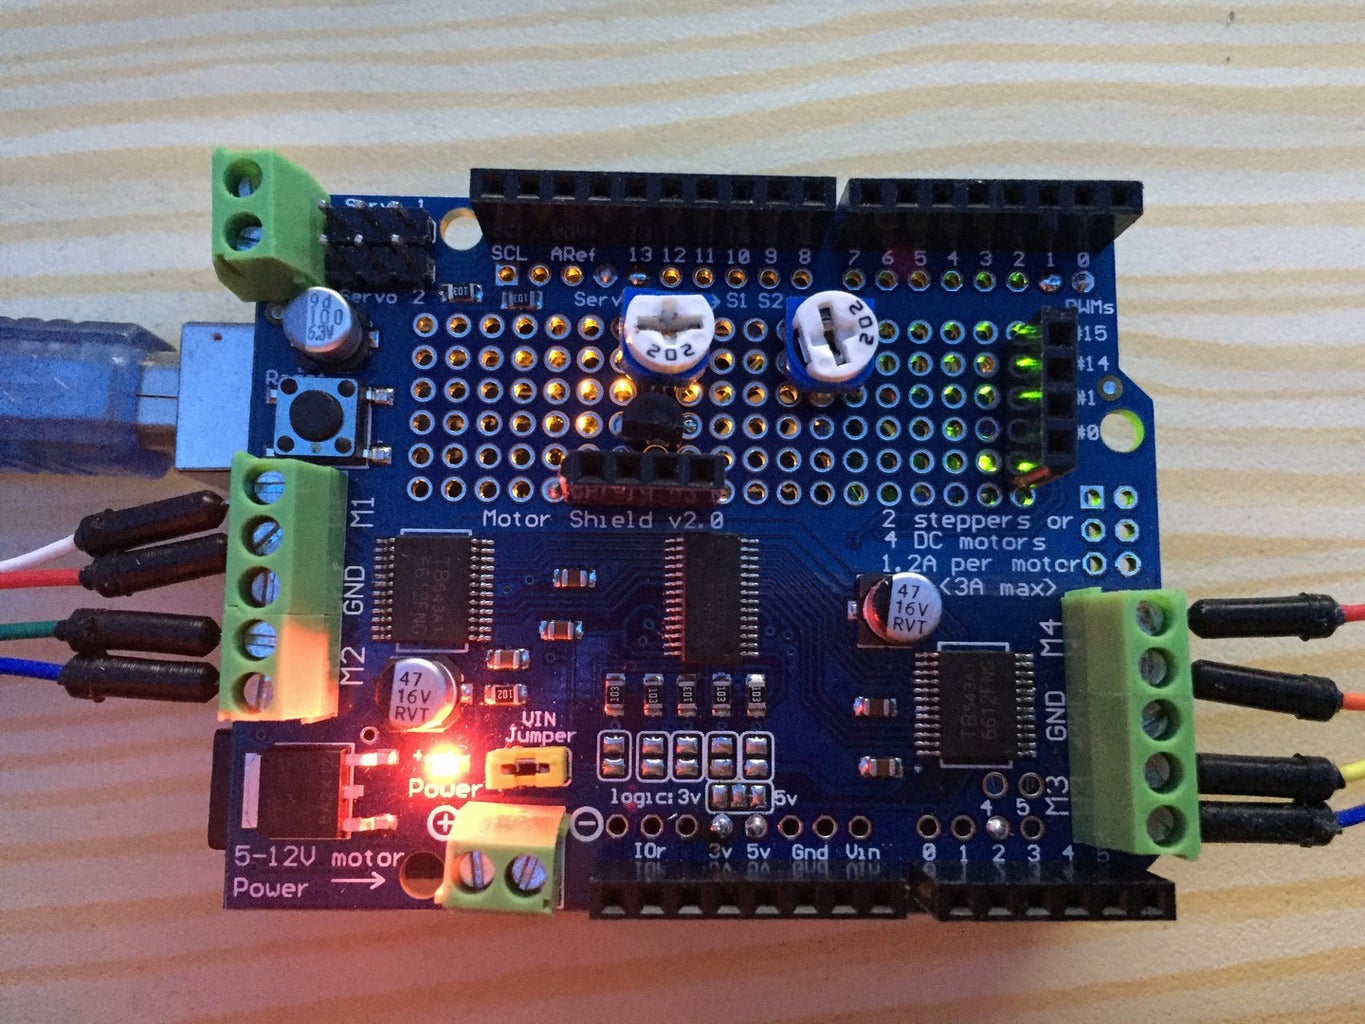
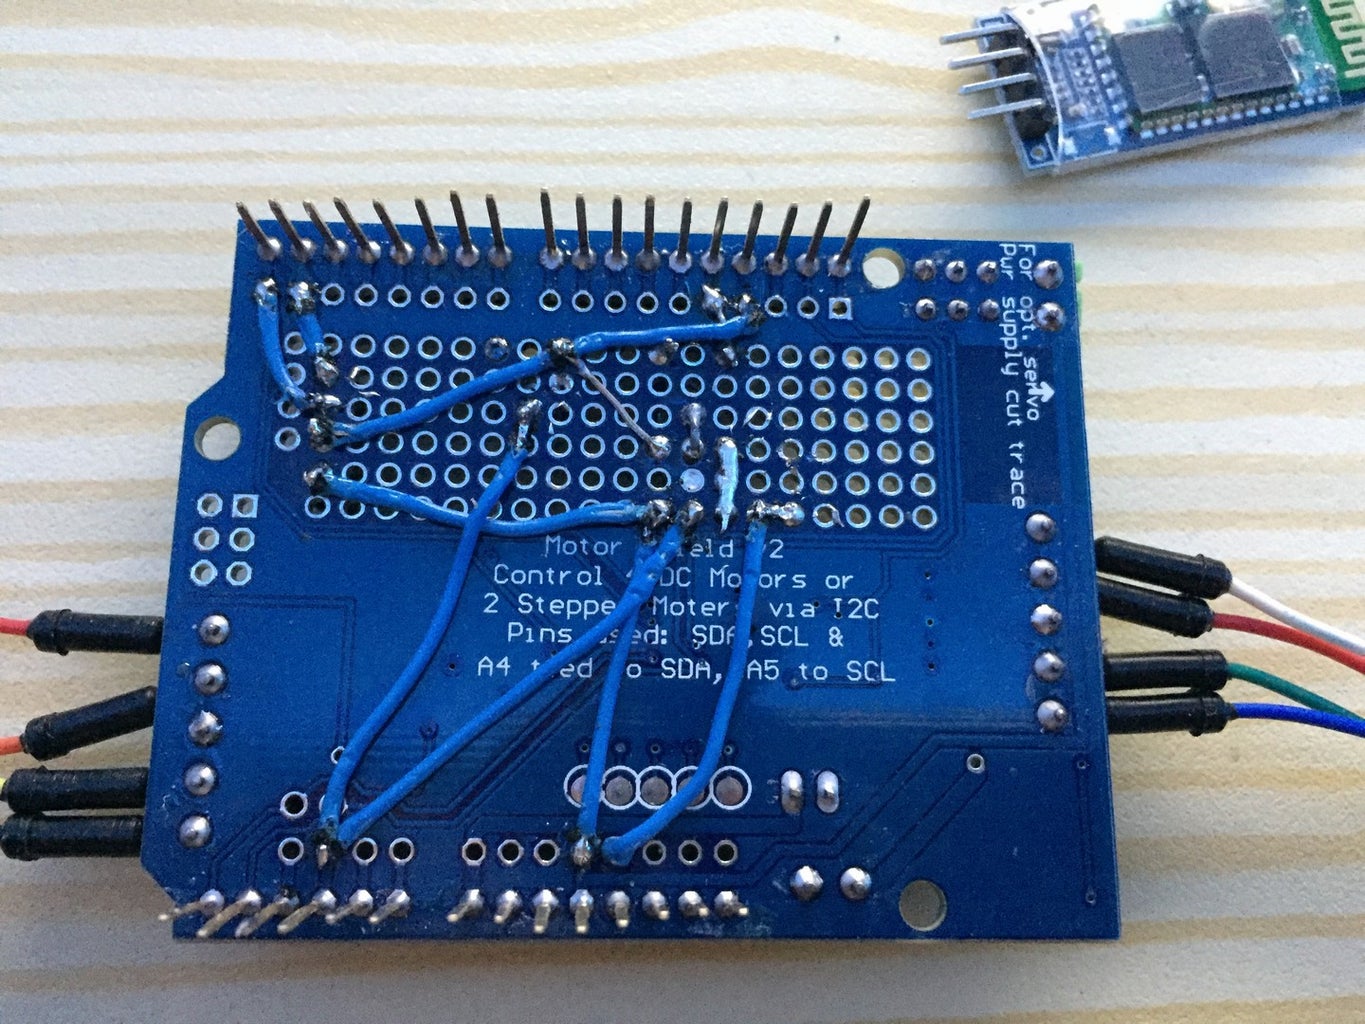
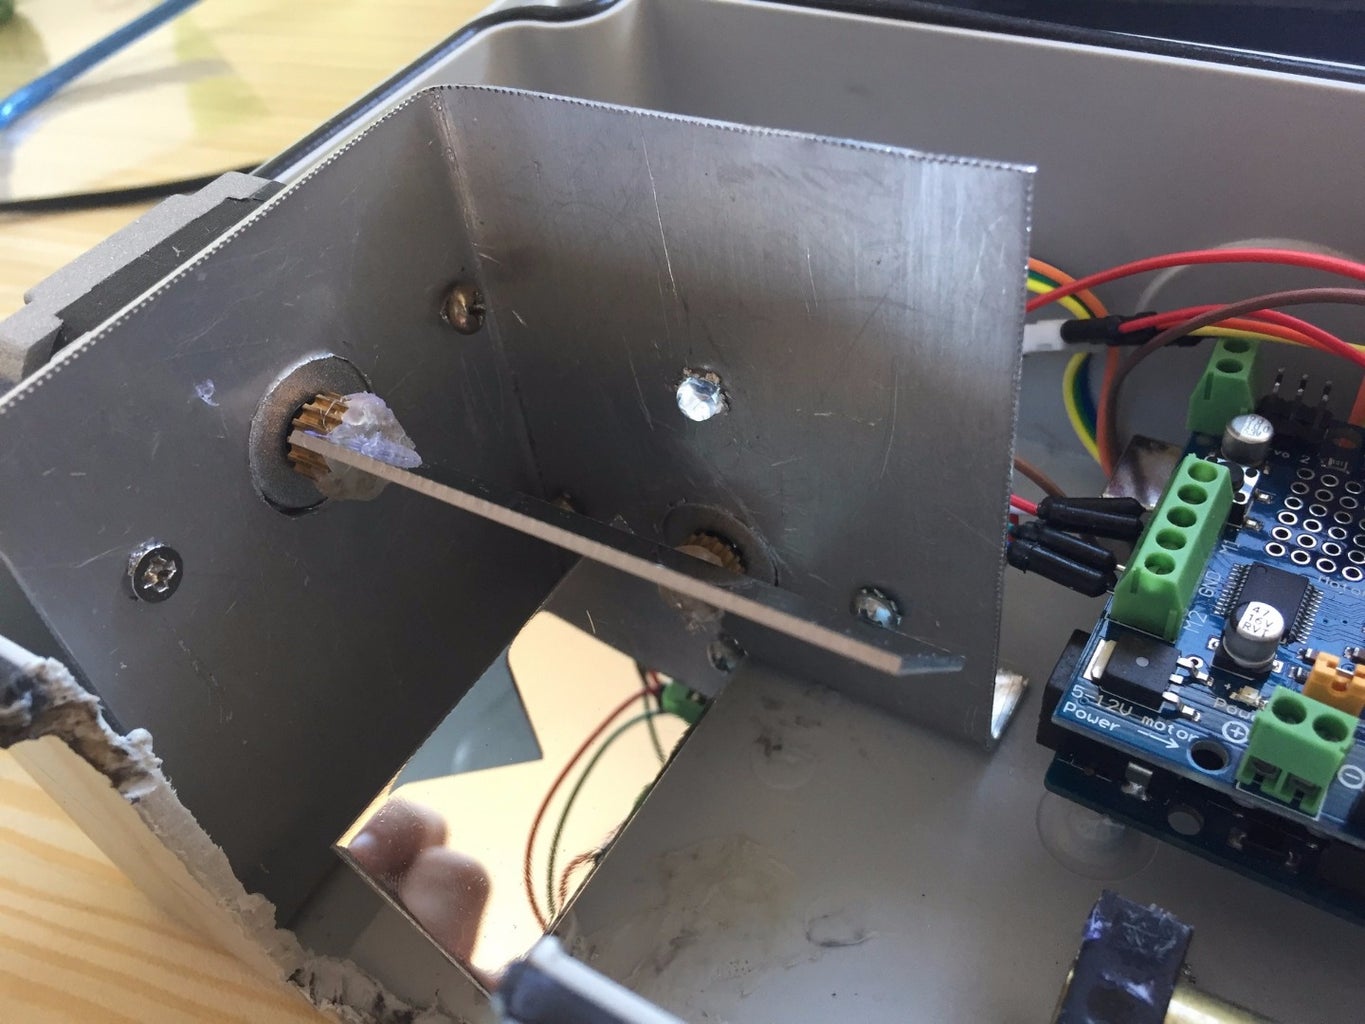
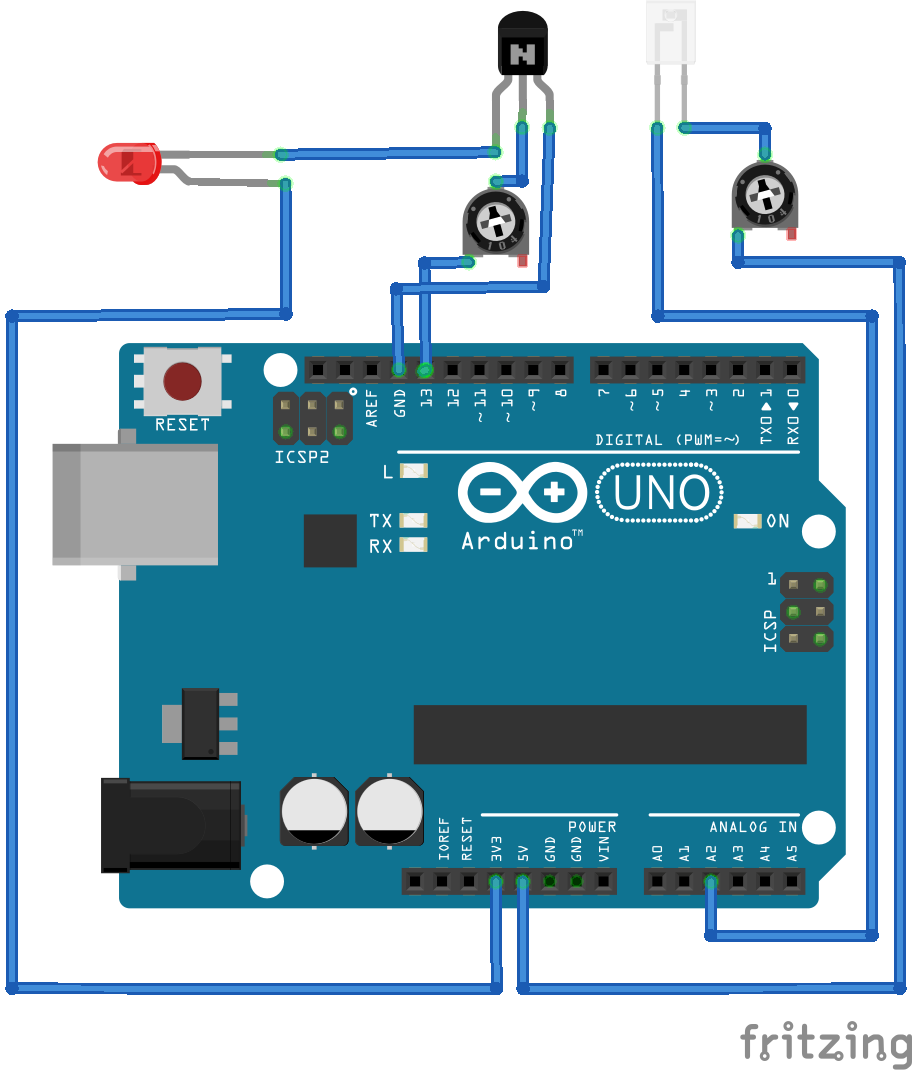
Motor Shield has a small prototyping area that was used for two small circuits.
Laser Blanking
We want to control our laser with an Arduino. However we need to limit current flowing into the laser and also driving it directly from a digital output pin is not a good idea. My laser module already had a current protection. Thus I've built just a simple circuit where transistor is switching the laser on and off. Base current can be regulated by trimmer and controls the brightness of the laser.
Mirror Calibration
Photodiode was placed in the hole in the central axis right above the X-axis stepper. Pull-down resistor circuit was necessary to obtain exact measurements. When calibrating, we are reading values from the photodiode and when the value exceeds a specific value (laser directly shines into it), steppers stop and return to the home position.
pseudo code for calibration
// 1step = 0.9° / 400steps = 360° = full rotation
laserOn();
for (int a=0; a<=400; a++) {
for (int b=0; b<=400; b++) {
photodiodeValue = readValue();
if (photodiodeValue >= photodiodeThreshold) {
laserOff();
returnHome();
}
stepY(1,1);
}
stepX(1,1);
}
laserOff();
unsuccessfull();</p>
Step 6: Final Assembly
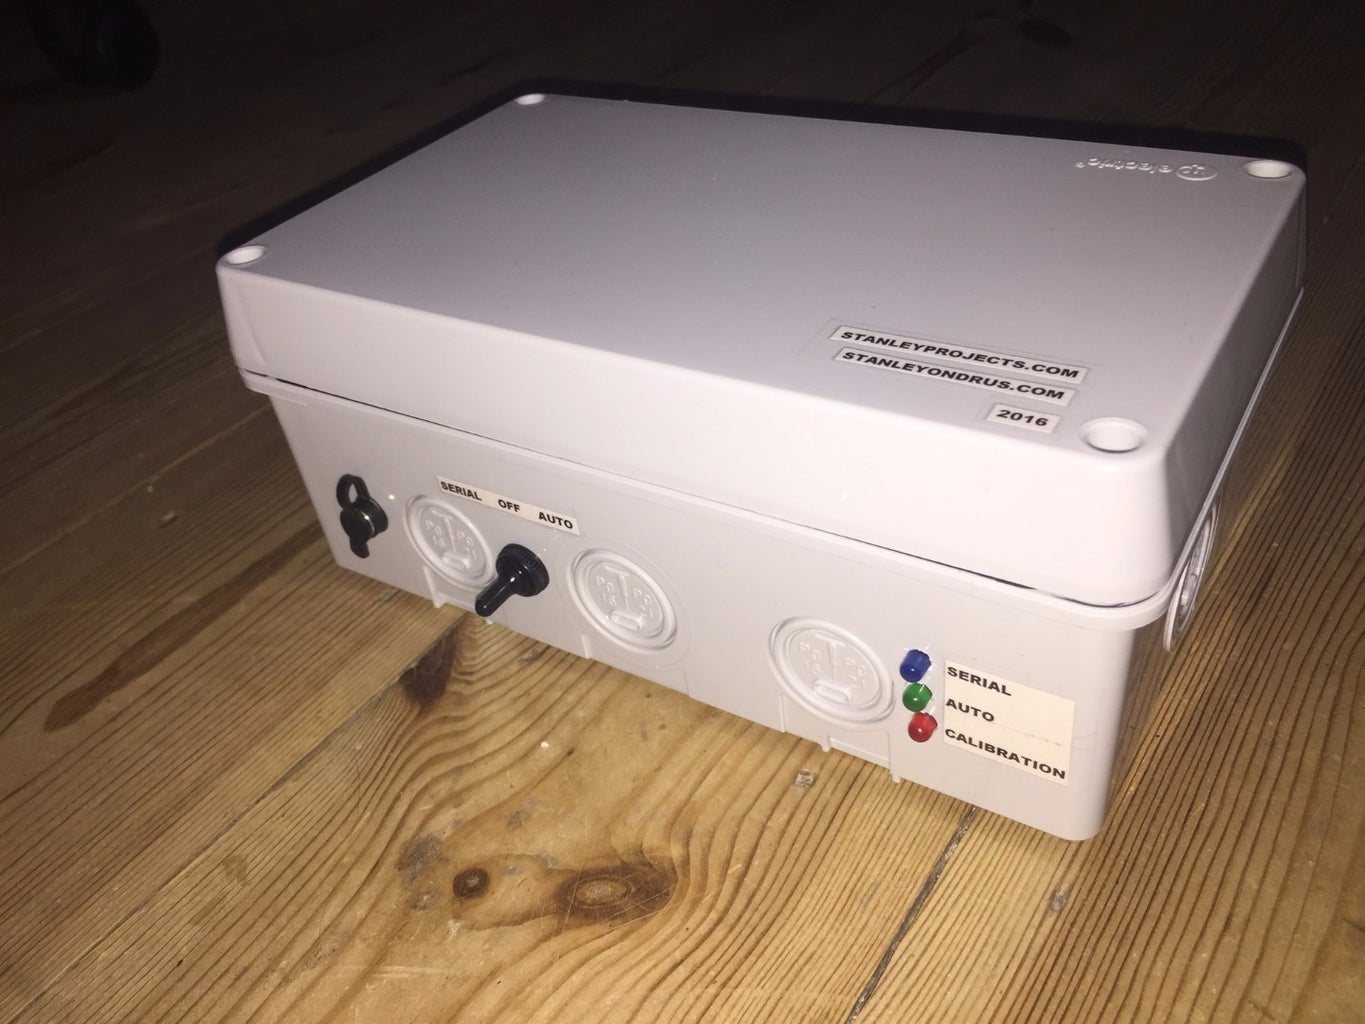

The whole circuit was put into the plastic junction box and tightened by screws. The whole projector is really portable, just plug the power supply, switch the toggle and we have laser show.
Step 7: Laser Control App
The controlling app was made in C# and allows to switch between patterns, adjust the speed and see current actions. It is free to download together with the Arduino code (see Intro).