Introduction: Arduino Music Player With LCD , Buttons and SD Card Module & Speaker With Amp


Have you wondered that you can make a music player with arduino and some other modules? We got you covered! Today let's make a music player!
Supplies
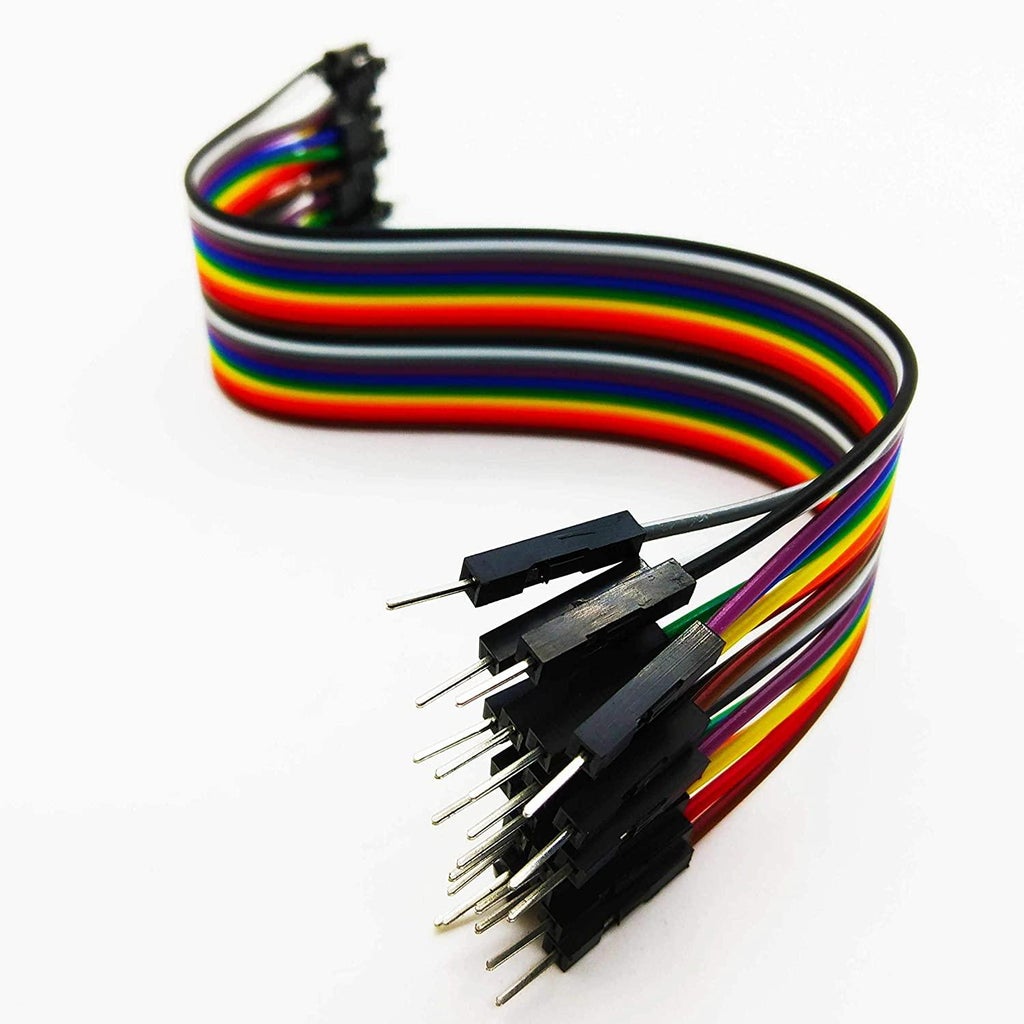


- Male to Male Jumper Wires -12
- SD card Reader Module -1
- Male to female Jumper Wires -12
- 16x2 LCD with I2C board -1
- Ardunio Uno R3(Or Arduino Nano,Nano Every,Nano 33) - 1
- Momentary Switch Buttons - 3
- Small BreadBoard -1
Step 1: Diagram


Lets start wiring up our music player!.
Step 2: Convert Music Files


Now we are going to convert the audio files into .wav so that Arduino could recognize them by using this audio converter https://audio.online-convert.com/convert-to-wav . start by clicking on choose files and selecting the audio file that needs to be converted. Then in Optional settings change bit resolution to 8-Bit , Change Sampling Rate to 16000Hz, Change audio channels to mono. Then click on Show advanced options and change PCM format to PCM unsigned 8-bit. Then Insert the sd card into your PC or Laptop through a SD card reader that plugs in your PC. Then click on the Download button and select the sd card to download. After downloading the music file we have to rename it for example music1 or music5 depending on how many files you have on it. Refer pictures .
Step 3: Code

Now we have to upload the Arduino code to make it work!.
I have modified the code from the nematics lab to make the LCD work and to make it a maximum of 12 songs(You can increase it in the code easily).
(Update 12-11-21: somehow the code doesn't support 12 songs , I'm working on the bug and will update the code :) )
Code download: https://drive.google.com/drive/folders/1edgnT2OzakqiKBk_SL2iJ-L0CHKTTR0x?usp=sharing
Code (if the above link doesn't work ) :
//Code modified by Random Projects//
#include <SD.h> // need to include the SD library
#define SD_ChipSelectPin 4 //connect pin 4 of arduino to cs pin of sd card
#include <TMRpcm.h> //Arduino library for asynchronous playback of PCM/WAV files
#include <SPI.h> // need to include the SPI library
#include <LiquidCrystal_I2C.h> // Driver Library for the LCD Module
LiquidCrystal_I2C lcd = LiquidCrystal_I2C(0x27,16,2); // Adjust to (0x27,20,4) for 20x4 LCD
TMRpcm tmrpcm; // create an object for use in this sketch
int temp=1;
int pp=5;
int next=6;
int prev=7;
void setup()
{
pinMode(pp,INPUT_PULLUP);
pinMode(next,INPUT_PULLUP);
pinMode(prev,INPUT_PULLUP);
lcd.init(); // Initiate the LCD module
lcd.backlight();// Turn on the backlight
tmrpcm.speakerPin = 9; //5,6,11 or 46 on Mega, 9 on Uno, Nano, etc
Serial.begin(9600);
if (!SD.begin(SD_ChipSelectPin)) // returns 1 if the card is present
{
Serial.println("SD fail");
return;
}
lcd.clear();
lcd.setCursor(0, 0); // Set the cursor on the first column and first row.
lcd.print(" Welcome Aravind! "); // Print the string "Hello World!"
lcd.setCursor(1, 1); //Set cursor to 2nd column and 2nd row (counting starts at 0)
lcd.print("Music Player 1");
delay(2000);
tmrpcm.setVolume(5); //
tmrpcm.play("music1.wav"); //the sound file "song" will play each time the arduino powers up, or is reset
lcd.clear(); //try to provide the file name with extension
lcd.setCursor(0, 0); // Set the cursor on the first column and first row.
lcd.print(" P/P Next Prev"); // Print the string "Hello World!"
lcd.setCursor(1, 1); //Set cursor to 2nd column and 2nd row (counting starts at 0)
lcd.print("Now : Music 1");
}
void loop()
{
while(digitalRead(pp)==0 || digitalRead(next)==0 || digitalRead(prev)==0)
{
if(digitalRead(pp)==0)
{
tmrpcm.pause();
while(digitalRead(pp)==0);
delay(200);
}
else if(digitalRead(next)==0)
{
if(temp<4)//temp should be lesser than no. of songs
temp=temp+1;
while(digitalRead(next)==0);
delay(200);
song();
lcd.setCursor(0, 0); // Set the cursor on the first column and first row.
lcd.print(" P/P Next Prev"); // Print the string "Hello World!"
lcd.setCursor(1, 1); //Set cursor to 2nd column and 2nd row (counting starts at 0)
lcd.print("Now : Music");
}
else if(digitalRead(prev)==0)
{
if(temp>1)
temp=temp-1;
while(digitalRead(prev)==0);
delay(200);
song();
lcd.setCursor(0, 0); // Set the cursor on the first column and first row.
lcd.print(" P/P Next Prev"); // Print the string "Hello World!"
lcd.setCursor(1, 1); //Set cursor to 2nd column and 2nd row (counting starts at 0)
lcd.print("Now : Music");
}
}
}
void song (void)
{
if(temp==1)
{
tmrpcm.play("music1.wav");
lcd.setCursor(0, 0); // Set the cursor on the first column and first row.
lcd.print(" P/P Next Prev"); // Print the string "Hello World!"
lcd.setCursor(1, 1); //Set cursor to 2nd column and 2nd row (counting starts at 0)
lcd.print("Now : Music 1");
}
else if(temp==2)
{
tmrpcm.play("music2.wav");
lcd.setCursor(0, 0); // Set the cursor on the first column and first row.
lcd.print(" P/P Next Prev"); // Print the string "Hello World!"
lcd.setCursor(1, 1); //Set cursor to 2nd column and 2nd row (counting starts at 0)
lcd.print("Now : Music 2");
}
else if(temp==3)
{
tmrpcm.play("music3.wav");
lcd.setCursor(0, 0); // Set the cursor on the first column and first row.
lcd.print(" P/P Next Prev"); // Print the string "Hello World!"
lcd.setCursor(1, 1); //Set cursor to 2nd column and 2nd row (counting starts at 0)
lcd.print("Now : Music 3");
}
else if(temp==4)
{
tmrpcm.play("music4.wav");
lcd.setCursor(0, 0); // Set the cursor on the first column and first row.
lcd.print(" P/P Next Prev"); // Print the string "Hello World!"
lcd.setCursor(1, 1); //Set cursor to 2nd column and 2nd row (counting starts at 0)
lcd.print("Now : Music 4");
}
else if(temp==5)
{
tmrpcm.play("music5.wav");
lcd.setCursor(0, 0); // Set the cursor on the first column and first row.
lcd.print(" P/P Next Prev"); // Print the string "Hello World!"
lcd.setCursor(1, 1); //Set cursor to 2nd column and 2nd row (counting starts at 0)
lcd.print("Now : Music 5");
} else if(temp==6)
{
tmrpcm.play("music6.wav");
lcd.setCursor(0, 0); // Set the cursor on the first column and first row.
lcd.print(" P/P Next Prev"); // Print the string "Hello World!"
lcd.setCursor(1, 1); //Set cursor to 2nd column and 2nd row (counting starts at 0)
lcd.print("Now : Music 6");
}
else if(temp==7)
{
tmrpcm.play("music7.wav");
lcd.setCursor(0, 0); // Set the cursor on the first column and first row.
lcd.print(" P/P Next Prev"); // Print the string "Hello World!"
lcd.setCursor(1, 1); //Set cursor to 2nd column and 2nd row (counting starts at 0)
lcd.print("Now : Music 7");
}
else if(temp==8)
{
tmrpcm.play("music8.wav");
lcd.setCursor(0, 0); // Set the cursor on the first column and first row.
lcd.print(" P/P Next Prev"); // Print the string "Hello World!"
lcd.setCursor(1, 1); //Set cursor to 2nd column and 2nd row (counting starts at 0)
lcd.print("Now : Music 8");
}
else if(temp==9)
{
tmrpcm.play("music9.wav");
lcd.setCursor(0, 0); // Set the cursor on the first column and first row.
lcd.print(" P/P Next Prev"); // Print the string "Hello World!"
lcd.setCursor(1, 1); //Set cursor to 2nd column and 2nd row (counting starts at 0)
lcd.print("Now : Music 9");
}
else if(temp==10)
{
tmrpcm.play("music10.wav");
lcd.setCursor(0, 0); // Set the cursor on the first column and first row.
lcd.print(" P/P Next Prev"); // Print the string "Hello World!"
lcd.setCursor(1, 1); //Set cursor to 2nd column and 2nd row (counting starts at 0)
lcd.print("Now : Music 10");
}
else if(temp==11)
{
tmrpcm.play("music11.wav");
lcd.setCursor(0, 0); // Set the cursor on the first column and first row.
lcd.print(" P/P Next Prev"); // Print the string "Hello World!"
lcd.setCursor(1, 1); //Set cursor to 2nd column and 2nd row (counting starts at 0)
lcd.print("Now : Music 11");
}
else if(temp==12)
{
tmrpcm.play("music12.wav");
lcd.setCursor(0, 0); // Set the cursor on the first column and first row.
lcd.print(" P/P Next Prev"); // Print the string "Hello World!"
lcd.setCursor(1, 1); //Set cursor to 2nd column and 2nd row (counting starts at 0)
lcd.print("Now : Music 12");
}
}
It's fine to copy-paste haha
Step 4: Test

Finally... Now we can turn it on, plug some headphones and voila! a music player!!. You can use the buttons for play/pause, next and previous . Here is a working pic .
Step 5: Optional: a Cool Case for It


Now at this point, our project works but let us make a cool case for it!!.
Now in a pinch, you can put it in any case but I decided to use a plastic box and decorate a little bit. You can see the pictures. i started by cutting some holes for the arduino USB port and sd card reader module. then I have put some double-sided tape on the bottom and also put some green color paper because it looked interesting.
Step 6: Conclusion

This is the end of the steps. Now we have successfully made a music player!! . in my next instructable I plan on making a small speaker with amp to go with the music player.


