Introduction: Arduino StopIt Game Revisited


Inspired by this instructable I decided to make my own version of the StopIt game. My main goal was to make it portable.
Basically, the goal of the game is to press the button when the light in the middle turns on, and only when the light in the middle is on. The more times you do it the faster the lights go by, the easier it is to hit the button at the wrong time. After the game is over, the lights will show a score between 1 and 5.
This game is powered by an Arduino and features besides what was in the original:
- An Arduino Nano v3 instead of Uno(the smaller the better)
- A hard enclosed case
- Special Placement of the button
If I won the Dremel I would use it to make projects like this. All the plastic-cutting could have been easier, nicer, and quicker done if I had a dremel. Please vote for me if you think I did a good job!
Materials
- 5x LEDs, one should be a different color
- Arduino nano and cable for programing
- DC barrel Jack
- Push button
- Perf board
- Wire
- Box
- 100ohm resistor
Tools
- Soldering iron and solder
- Drill or dremel
- Patience
I got all my parts from allelectronics.com except the box which I got from Radio Shack. I put up a link for a box from the allelectronics site so you can get it all in one order if you choose. Shipping is a flat rate of $8.00 at that store which is pretty good considering all you could buy. Over $75 is free shipping!
Step 1: Hardware


Before we begin, you can tell by looking at the pictures that I am terrible at soldering. But I got it to work and I am learning, so the moral of the story is don't think that if you can't do it perfectly, you can't do it.
If you decide to use a box my size then you will definitely need a lot of patience. I recommend using bigger gauge wire, its easier to solder and does not break as easily.
Light Board
This should be fairly easy. Cut a piece of perf board and insert your LEDs into the holes, equally spacing them. Make sure the spacing between them is practical; don't make them so close together that you can't drill the holes without joining them. Solder all the joints to the pads on the perf board. Now bend all the negative leads, the shorter ones, to a common ground so you only will have one wire to hook to the nano for the LED's grounds. See the picture for reference. The shorter leg of the LED is the negative.
Now solder a resistor to the common ground of the LEDs and a wire to the other in of the resistor. When choosing a rating take note that too small and you will fry your LEDs but too big and they will be so dim that they don't look good. I suggest 100ohms. Solder wires to the positive ends of the LEDS. So in the end you should have six wires from the light board: Ground, and the 5 led wires.
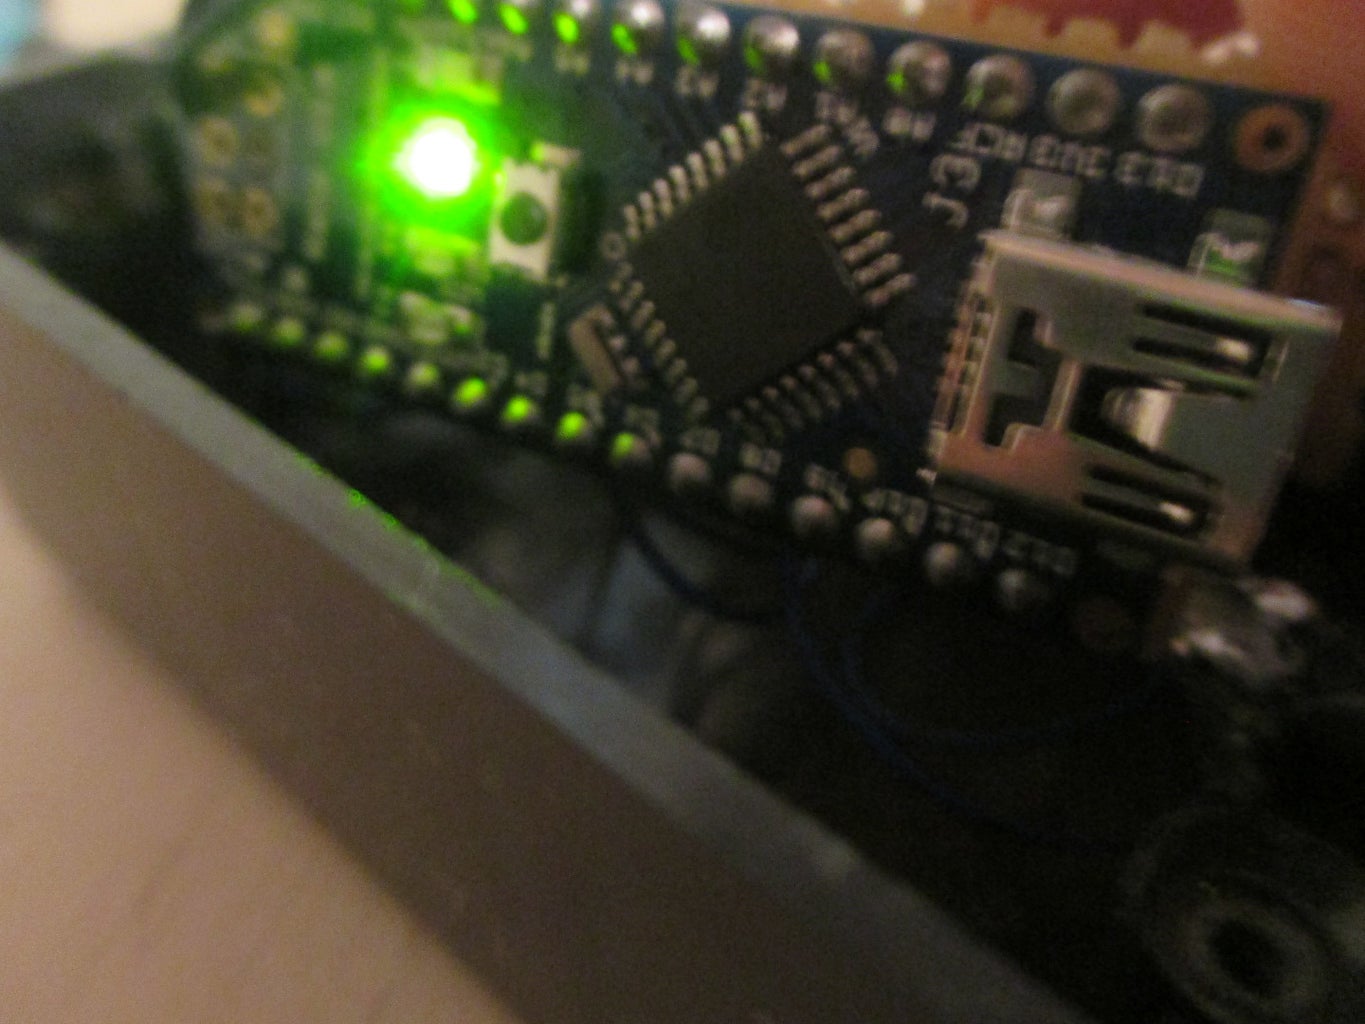
Arduino Nano Wiring
Finished the the light board? Great. Before you continue, in order to avoid future frustration re-check your work. Put the code in the next step on your board and plug the wires in a breadboard. If it works, your half way through and have excellent soldering skills. If not, and only some light up, that's normal. I had that problem. Try, try, try again.
Now insert the Nano in an equally sized perf board. Now, what I did was solder it to the board and then solder the wires onto the pins. But I suggest looking back, that you should stick them in from the same side as the Nano, this will make it 10 times easier to solder. The pdf has the Nano pinout. Anyhow, the layout is:
- D2 +++++++LED #1
- D3 +++++++LED #2
- D4 +++++++LED #3 - middle light
- D5 +++++++LED #4
- D6 +++++++LED #5
Additonally, you will have to solder a barrel jack to the power pins and a button to D8. But, do not solder these until you make the hole and insert them. Otherwise you will have to de-solder, attach the button and re-solder.

Step 2: The Box


If you have a drill this job will take only a couple minutes after measuring. You need to make room on one of the long sides of your box for the five LEDs and on the button and jack on the short sides. I was not able to do this with the size of my box, but you might be able to make a hole for the usb so you can reprogram the Nano if you think of more games that might fit. My holes were actually made without a drill and the measurements done without much ruler work, and more judging by sight but it turned out in my opinion.
Use the pictures above for reference. I hot glued the button and all the wires to prevent shorts once done but I found that only super glue worked for keeping the jack at the surface of the box.
Step 3: Software


This is the easiest step! Upload this code, borrowed from the original author:
Attachments

Step 4: Put It Together


Screw those last screws in, cross your fingers and plug in the power. Did it work? Great! I challenge you to get 5 lights lit up for your score. I can only seldom do it.
Bonus
First, I placed the button where I did on purpose. If you hold the box like a gun with the button pointing away from you I have found that I can hit more quick and accurate. Just my opinion.
Also, there is a bug in the code that I haven't fixed because I like it. Once you get used to the game, the first few pushes are very boring because it is so slow. But, if you press more than one time when the middle light lights up, that will count for that many more correct presses. This speeds the game up!
I hoped you liked it. If you did please vote for me in the remix contest!

Participated in the
Remix 2.0 Contest


