Introduction: Building a Cubesat With an Arduino and Natural Gas (MQ-2) Sensor

Our goal was to make a successful cubesat that can detect gas in the atmosphere
Step 1: Building Cubesat
With legos build a 10cm x10m x10cm cube upwards with a hole big enough for the sensor to be able to collect data. A little bit more than halfway up build the lid so the arduino can go in and out easily.

Step 2: Arduino Wiring
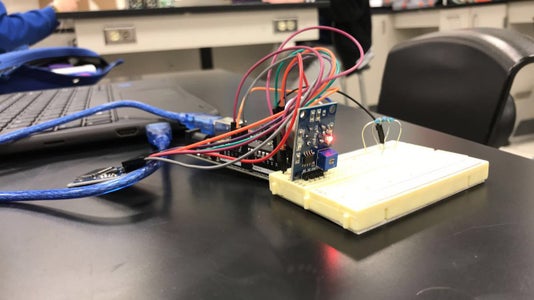
when connecting the wires it is crucial to place them in the correct place. You also have to follow the correct colors with the pins. Make sure you are careful when installing your pins because they aren't very sturdy and could easily be broken. For better reference check out https://create.arduino.cc/projecthub/Aritro/smoke-detection-using-mq-2-gas-sensor-79c54a.
Step 3: Creating the Fritzing Diagram
The fritzing diagram is a visual of the arduino and all its factors. Fritzing is a source to develop software and hardware and helps with building a more permanent circuit. This helped with the making of our arduino by having a go to visual on how to re-make it. Making the fritzing diagram required looking at our arduino and placing the wires and parts to the diagram in order to see how it was made. We used our gas sensor and buzzer to detect gases in the atmosphere of "Mars" for the arduino.
Step 4: Testing
We had to complete 3 tests to make sure our cubesat and arduino are stable and reliable. We had to shake, vibration and fly test. The vibration test was to see if the cubestat could withstand going into the intense changing atmosphere. The shake is to imitate coming out of the atmosphere and settling down. The fly test is to test the stability and the fly up.Our cubesat was successful with all of the tests and our arduino did collect data with the fly test.
Step 5: Conclusion
In conclusion building a cubeSat with a functioning arduino will not be easy! A project like this is based off of research

Participated in the
Arduino Contest 2019


