Introduction: CUSTOM 3D TERRAIN KEYCHAIN


Custom makes everything better, even as simple as a keychain! Suppose your friend or family member comes visit you and you want to give them a nice souvenir. But let's be honest, every souvenir shop sells the same generic thing that will probably end up in the garbage. So why not make something more meaningful?
Living in Alberta, Canada, I am surrounded by some of the most beautiful lakes and mountains in the world and every time someone comes for a visit, I try to make a meaningful gift that represents the lakes and mountains. In this instructables, I will share how you can make a custom keychain that represents a landscape (lake/mountain/terrain)! Not only will it be a meaningful gift but will also be an useful one!
The way I have done it requires quite a few things but you don't need all of it to make your own custom keychain. Always remember: there are many ways you can squeeze a lemon and it's up to you to do it the way you can :)
During the process, I will try to propose a different way to do it.
Supplies
Keyring (you can get these from Amazon/Aliexpress/Craftstore)
Wood (I have used walnut here but you can use any hardwood you have or like)
3D printer (Ideally, you want this to be printed in resin so that the tiny details are there but FDM printer will work too)
CNC (or you can use handtools to curve out the wood)
Adhesive (I have used dollar store 2 part epoxy but anything that can form a good bond will work)
Wood finishes (I have used boiled linseed oil but you can use whatever finish you like)
Sandpapers (for sanding the wood)
Paints & brushes (for painting the terrain)
Meshmixer (to resize terrain STL for printing)
Step 1: GENERATING THE IDEA AND DESIGN

I always like to start with an empty page in a notepad and few colourful pens. I drew an initial size of the whole keychain (that can change in the end), laid out a rough estimate of all the steps to create the keychain and go from there.
Over the years, this method has helped me get projects done with very little hiccups. Generally, when you layout out a drawing or a plan on a piece of paper, you will find out potential problems before you even get started on the project and fixing the plan is always easier than fixing a problem.
Step 2: GENERATING STL AND USING MESHMIXER TO RESIZE IT
First of all, we need to start by deciding on the location that we want to capture in the keyring. Ideally, the location should have a nice range of mountains or valleys so there is a 3D aspect to capture.
Once you know the location, use a map app (like google maps) to find the coordinates of the location. Once you have that, head over to http://jthatch.com/Terrain2STL/. This is where you will be able to generate any STL based off of the world map and it is all free!
In the location tab, I put in the coordinates I picked for this project and clicked "Center to View":

Next, go over to "Model Details" and tweak the settings to your desire and click "General Model":

Once you have the model downloaded, open the STL file using anything that can open the STL file and make sure you have good details in the model (and make sure you are happy with the model too).

Afterwards, open the STL in MeshMixer and resize it for the keyring. Based on my design, the STL should be ~56mm x 29mm. And I am going to be using a 9mm thick piece of wood so the STL needs to be less than that too (I want the whole model to sit within the wood itself). So based on these projected sizes, I resized the model in MeshMixer and ended up with a 56mm x 28.95mm x 7.74mm STL file without destroying the proportion. I am not going to include any steps for doing this in MeshMixer since there are great tutorials all over the internet on how to do it, better than what I can do.

Once you are done, move on to the next step.
Step 3: 3D PRINTING THE STL


I am using a resin based 3D printer (Anycubic Photon) to print the terrain. Resin printers can produce insane details so I figured this will be the perfect fabrication method. So I sliced it using a slicer (Chitubox), printed it, cured it in the sun and removed the supports.
WARNING: Resin printers are great and there is no doubt in that. But the resin itself is toxic and some people tend to react to it (chemical burns) very badly. So do not try to find out if you can react to it and ALWAYS follow safety protocols. Wear nitrile (not latex) gloves (and eye protection too) and make sure you don't spill any on your dress either (maybe wear an apron too). Be extra careful with the resin and always work in a well ventilated area.
ALTERNATE WAY: If you don't have a 3D printer and don't want to splurge yourself with one, you can try to make the terrain with modelling clay. They are cheap and with patience, you can create a very good representation of a terrain.
Step 4: PRIMING, PAINTING & SEALING THE MODEL


Now that you have the 3D printed (or if you have made it out of clay) model, it's time to prime it. Priming always helps the colour to adhere to the model better. For the project, I used rustoleum painter's touch grey primer but any primer will work.
Once primed, time to paint the model! Since this is a tiny model, patience is the key. Grab a satellite snapshot of the terrain you have picked and start painting the model. I will not go through the techniques of how to paint the terrain since there are great tutorials out there to teach yourself or you can always take help from someone else to paint it. In my case, my awesome wife took care of the painting and it turned out great!

After the paint, you can leave it as is and move to the next step or you can add an extra layer of protection to the paint job and add a top coat to it. I used an acrylic based top coat spray on the painted model. This is not an absolute required step but top coat always help the paint to keep looking like new for a long time and help protect the paint from scratches too (after all, this is going to be used an a keychain!).

Step 5: DESIGNING & CUTTING THE KEYCHAIN


Once the model is ready, take some measurements to make sure you have the final dimensions before cutting the wood.
Since I am using a CNC for cutting the wood, I used a CAD software to create the outline for the CNC to cut.

Afterwards, I feed the DXF file to the CAM software (I used ESTLCAM) to program the cut. Once programmed, I used pronterface to feed the gcode to the CNC and it did it's magic.
Once the piece is cut, use your model to make sure that it fits. In my case, I had to sand the sides of the models to make it fit and also had to cut off the round inside edges that were left by the CNC (CNC routers cannot cut square corners for pockets). Once the fit is checked, it's time to start making the wood look good!
Step 6: SANDING & FINISHING THE WOOD


Sand the wood piece using 100, 120, 240, 320 and 400 grit sand papers (making sure that you are wearing mask while doing it) to give it a nice smooth surface.
Once the sanding is done, move on to finishing the wood to bring out its beauty. You can use whatever wood finish you prefer or have on hand. I used boiled linseed oil because it is very easy to apply and brings out the richness of walnut. Once the finishing is done, take a moment to appreciate how beautiful the wood looks (and what an wonderful job you have done until now).
WARNING: If you are using any sort of oil to finish the wood, you will probably be using tissue/rag/sponge/brush. Finishing oils are notorious for spontaneous combustion if you don't properly dispose off the rag (oil generates heat when curing and that causes the combustion). There are two primary ways to mitigate this. One way is to put the rag in a water filled metal container (like a paint container), put the lid on the container and take it to your nearest fire station on your way to work or grocery (doesn't have to be the same day since the rag is in metal container filled with water). The other way is to lay the rag flat on a concrete or metal surface (not crumbled) and let the oil cure. Once the oil is cured (the rag will be hard), the rag can be safely thrown away (make sure it is fully cured/dry).
Now that all the pieces are ready, it's time to assemble the keyring!
Step 7: ASSEMBLING THE KEYRING


For attaching the 3D model with the wood, I used a dollar store 5 minute epoxy (cheap and works great although smells terrible!). Squeeze some of it into the grove of the wood and mix it using a toothpick or something disposable. Once mixed thoroughly, spread it all over the grove and slowly push the model into the grove. Press it in for a bit and let the epoxy cure for 5 minutes.
The keyring that I used is available in Amazon/Aliexpress/Craftstores and are very cheap too:
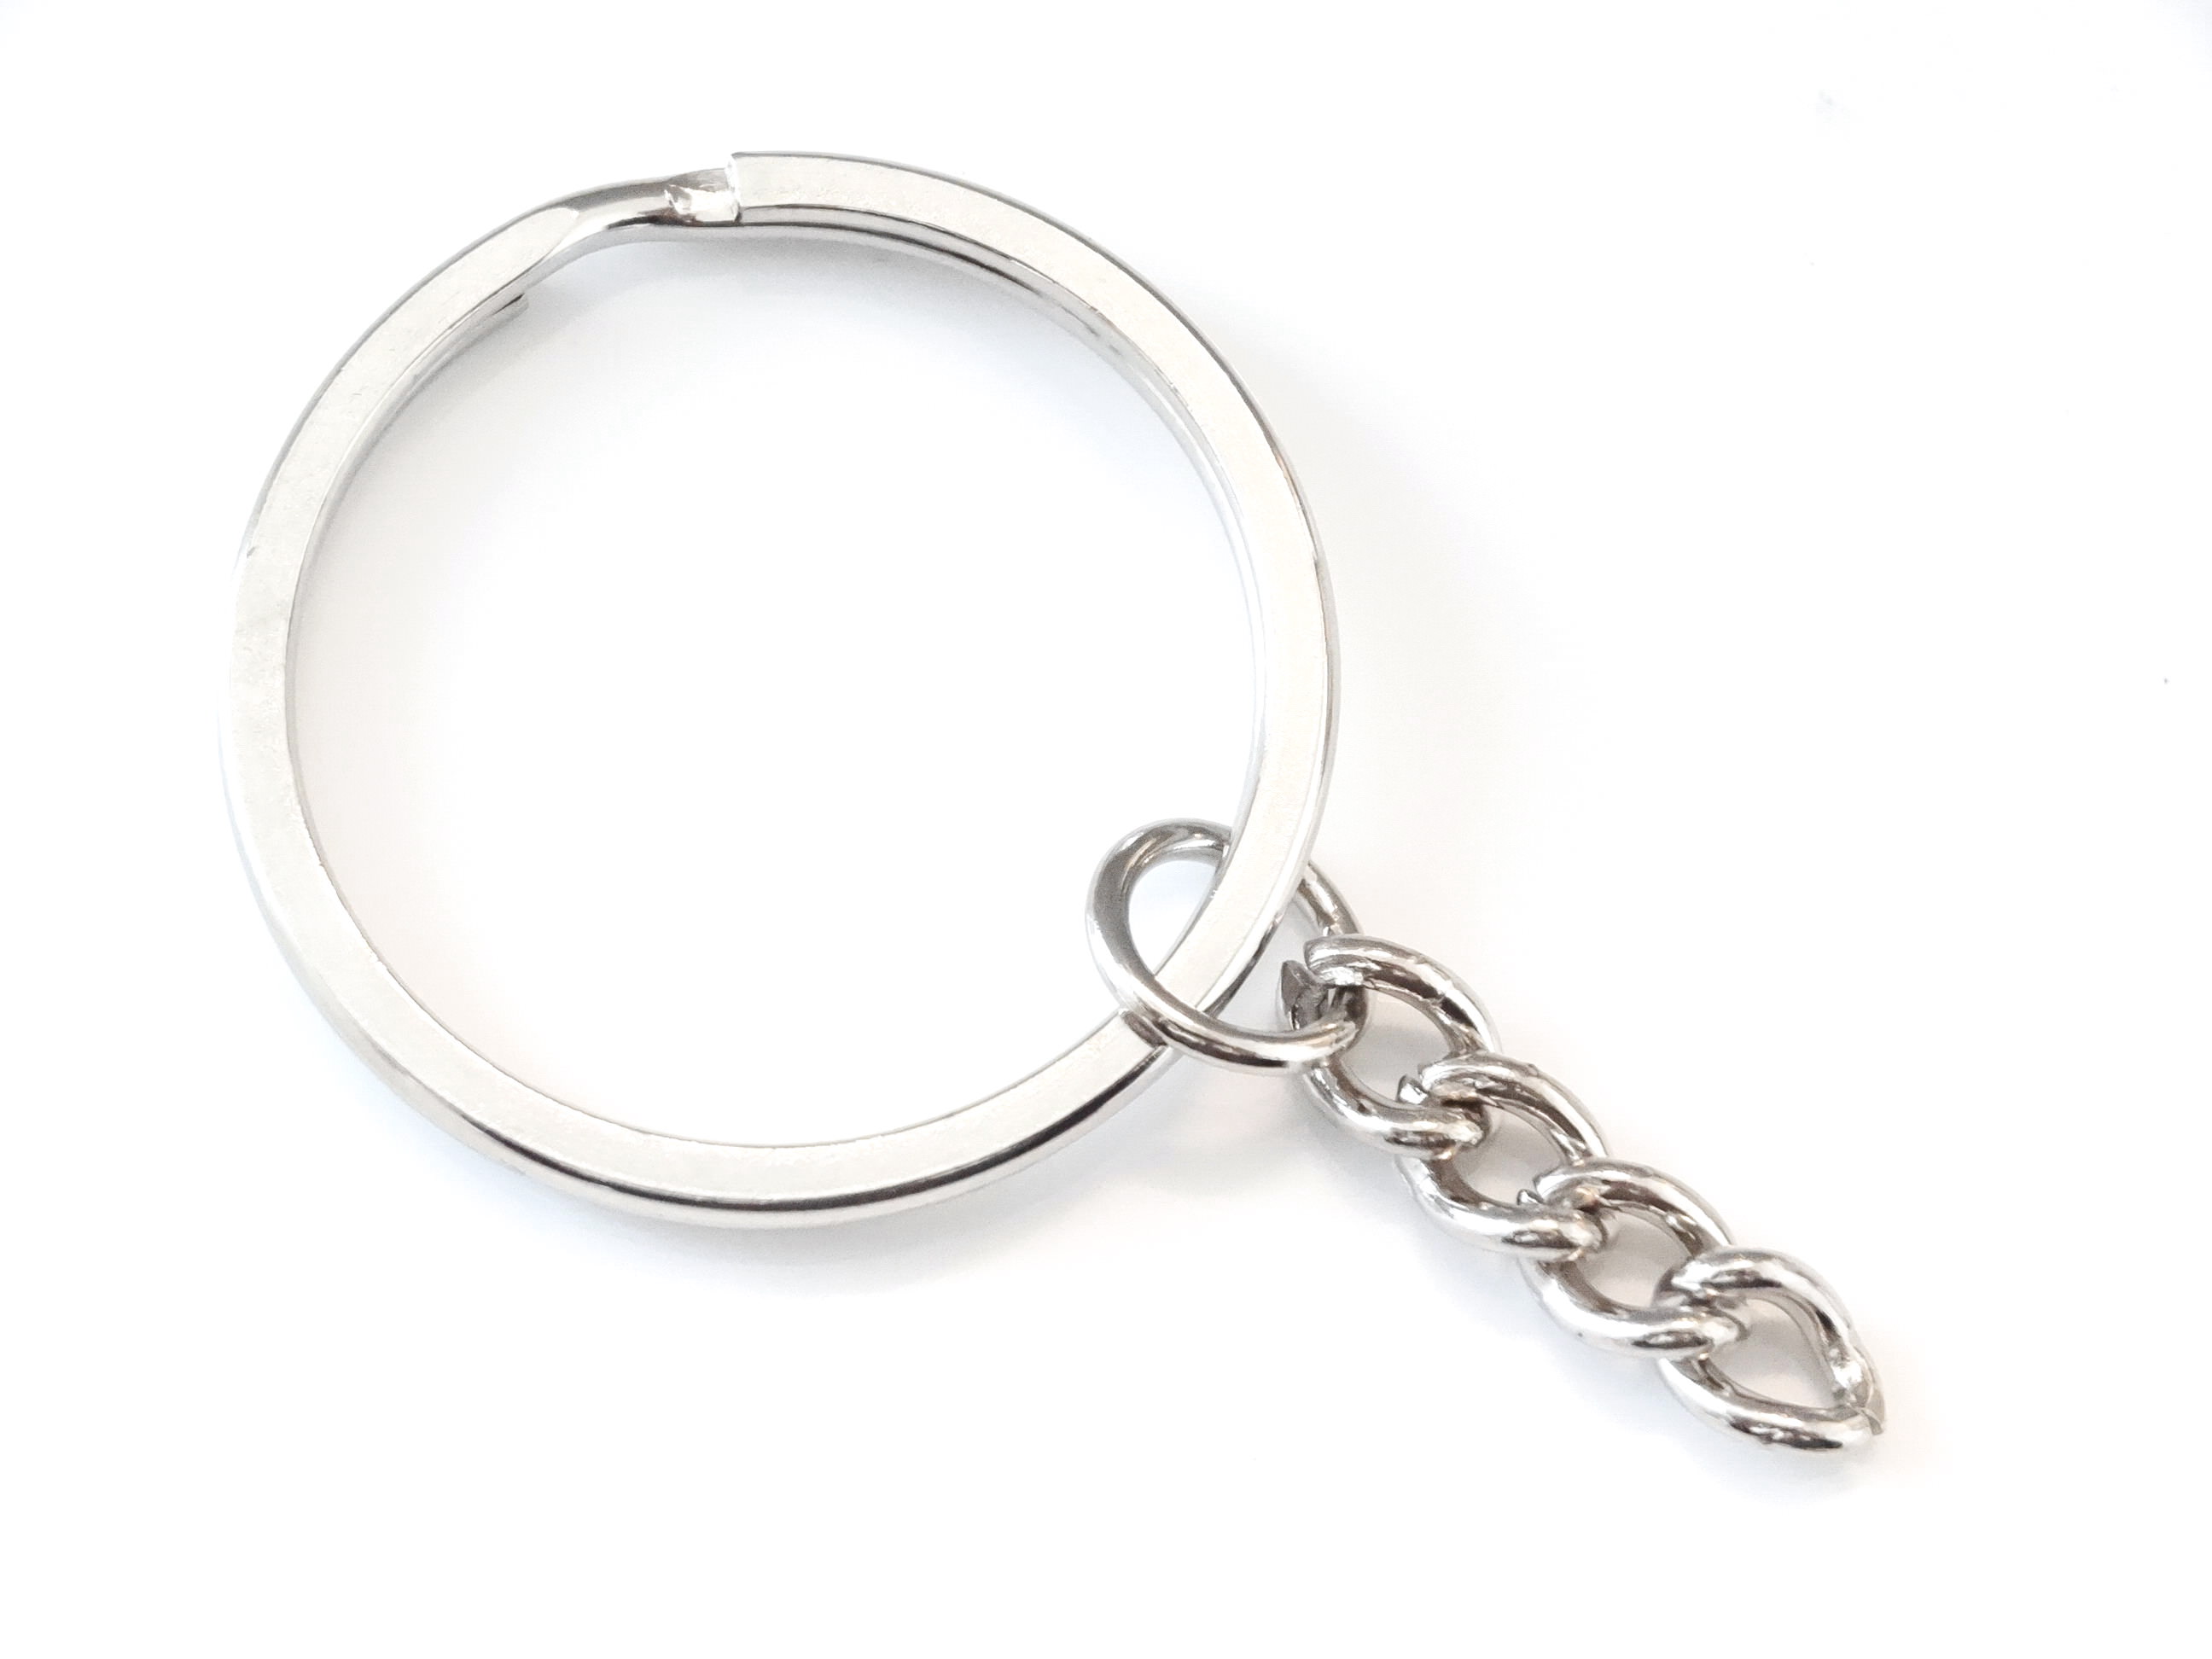

Put the key chain through the hole at the top and you are done!

Take a moment to appreciate it and start using it or put it in a nice box to gift it to someone!
And thank you for following my instructables :) HAPPY MAKING!!!!!!!!