

Introduction: Cardboard Geodesic Dome

This tutorial will show you how to build a small geodesic dome out of cardboard. I originally made mine for my cat, but you can use the principles in this tutorial to scale this up or down to fit your needs. This took about 5 hours.
Supplies
- Cardboard (not too thick)*
- A few sheets of paper
- X-acto knife or box cutter
- Pencil
- Fine-tip ball-point pen
- Ruler
- Stapler/staples or brads
*I had about 2500 in² (17.5 ft²) and used most, but not all of it.
Step 1: Choose Dome Size

There are two main decisions you need to make about your dome: (1) What 'level' of dome complexity and (2) how big you want it.
(1) The idea behind a geodesic dome is to take a perfect (half) sphere and tessellate, or give flat faces to it. The more faces, the more it smooth it is like the sphere. There are many levels of tessellation, but for the sake of my sanity, I chose "2V" (as defined by Desert Domes website), which has 40 faces. If you want to choose higher levels, be my guest, you can see the details in link.
(2) Now, you need to decide how big you want your dome to be. This will be entirely up to you, based on the amount of cardboard you have and what you intend to use your dome for. Here are some handy dome dimension calculators for a "2V" dome, which has 10 AAA triangles and 30 ABB triangles:
I recommend using the radius method (note that it is radius, not diameter!) to get a rough triangle size, then use the triangle size calculator if you want to use rounder numbers.
If you want to follow my example, I used 13" (shooting for a 26" diameter dome) to get a rough triangle size, then rounded the A length to 8", which gives a B length of 7 1/16" for a final radius of 12.9443".
Step 2: Create Triangle Templates

A "2V" dome has two types of triangles: AAA and ABB, where A and B represent different lengths. To cut these out of cardboard, you will need to create templates out of paper.
If you want to make your own templates, here is how I recommend doing it:
- Near the bottom of a piece of paper, draw a line horizontally representing the base of the triangle, that is A long (in my case, 8")
- Find the middle of this line, and draw a perpendicular line vertically.
- Place one end of the ruler at the end of the horizontal line, then intersect the ruler with the vertical line at the distance of the other two sides (either A or B, depending on the triangle).
- Draw the third side, connecting the ends of the first two lines.
- Draw parallel lines to each side a certain distance away. These will be flaps that are used to connect the triangles. I made mine 5/8".
- Make angled lines around each corner so that when you fold the flaps up they don't hit each other. I made mine 1/2" away from each corner.
- Draw a series of dots along the inner triangle. I spaced mine 1" apart.
You will need to trace around these templates, so I recommend using thick paper or cardstock.
If you want to make templates the same size as mine, I have provided PDF files below for the AAA and ABB triangles. When you print them, be sure your printer options are set to "Actual Size" and not "Scale to Fit Page".

Step 3: Trace Triangles

Use your templates to trace the necessary triangles onto your cardboard. Some things to note:
- Put the glossy side of the cardboard down, trace on the dull side.
- Alternate your triangles up/down to save space
I found the best way to trace the triangles was to:
- Firmly hold the paper down the whole time to avoid slipping
- Draw a dot at each corner (helps to realign triangle if it slips)
- Manually trace the angled corner sections with pencil
- Use the ruler to help trace the long edges (dull pencil helps)
- Use the ball-point pen or other sharp object to poke holes into the cardboard (through the dots in the template) along the fold edge
Step 4: Cut Out Triangles

This is the most effective way I found to cut out the triangles:
- Don't use scissors, it will bend the cardboard too much.
- Use X-Acto knife or box cutter to score/cut the top layer of cardboard
- Lift the cardboard up and push the knife all the way through to cut the other layer(s)
Step 5: Fold Flaps

Use a hard ruler to fold each flap up along the perforated line.
Step 6: Assemble the Dome

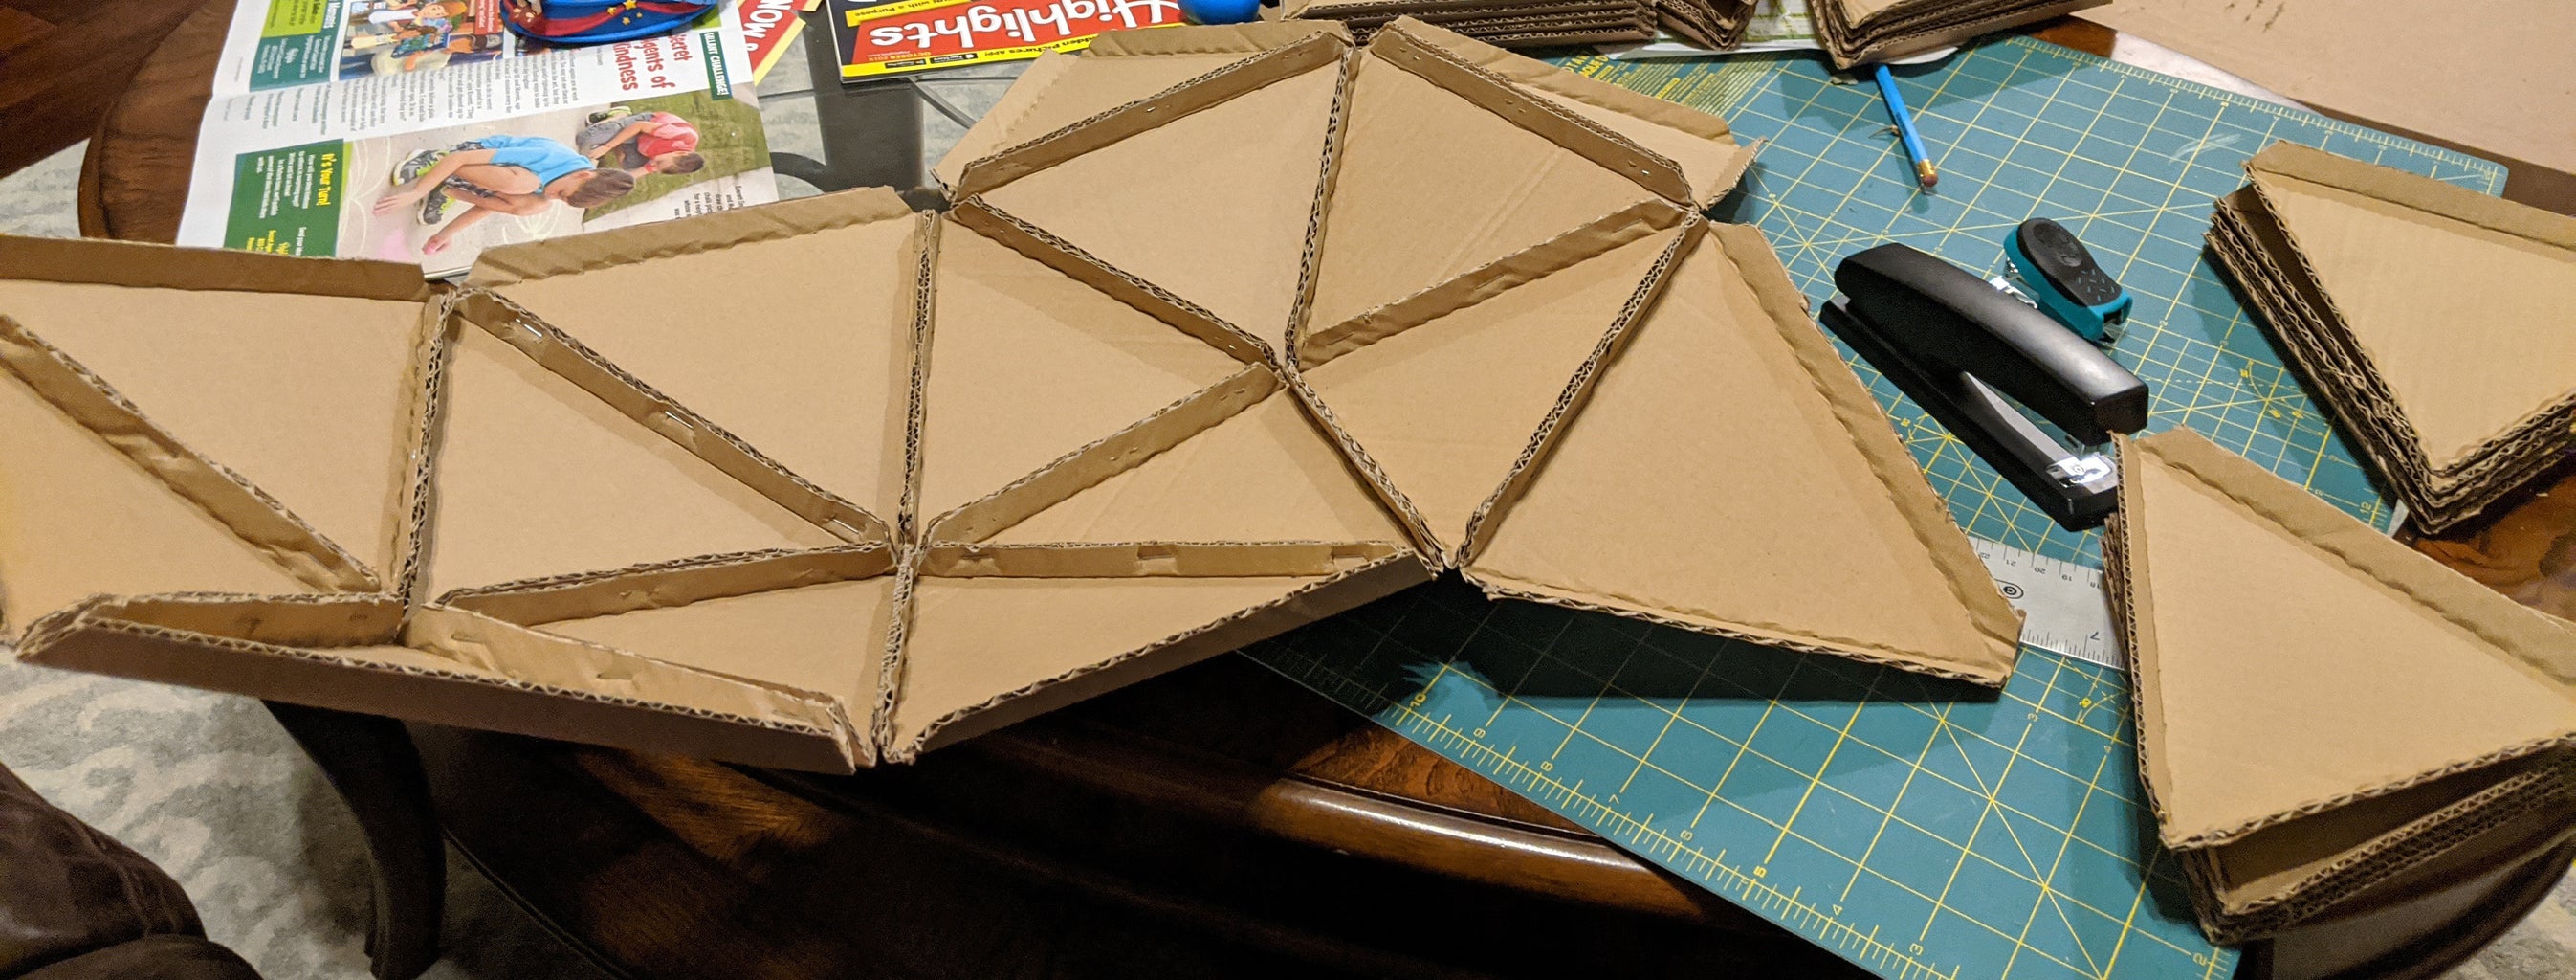
Assemble the dome according the diagram, keeping the seams on the inside.
I used staples, 3 in each edge, but it was difficult to get the staples through. I used a larger stapler for edges where I could fold the triangle down to get better access to the edge, and a smaller stapler (with less "lip") to do the final edges where I couldn't fold the triangle down.
I suspect you could use brads to similar effect, or come up with your own solution.
If you want to leave a cat door, leave off one of the lower AAA triangles.
Step 7: Insert Cat

If your cat is anything like mine, this will be no trouble at all.

Second Prize in the
Cardboard Speed Challenge


