Introduction: Connect Your Arduino to External Services

Hello there! This tutorial will show you how to connect your connected Arduino or IOT device of choice to an external service. For the sake of this tutorial, we'll be working with Easy Window (a fictitious but programmable smart window), If This Then That and Adafruit IO.
We'll be using If This Then That (IFTTT from now on) to open our Easy Window curtains when it's sunny outside.
Step 1: Requirements
This tutorial expects you already know how to connect you Arduino board to Adafruit and set up a feed. In case you need a quick reminder on how to do this, you can follow this tutorial (in Dutch).
- Your Arduino board of choice. It must be WiFi enabled.
- A micro USB cable
- A computer with the Arduino IDE installed
- An account on Adafruit IO (signup link)
- An account on If This Then That (signup link)
Step 2: Setting Up Your Adafruit IO Feed

Let's set up the Adafruit IO feed we'll need to send our data to:
- Log into Adafruit IO and click on "Feeds" in the menu bar in the top left.
- Click on "Actions", then "Create a New Feed". We'll name it "WindowCurtains", but you can name it any way you like.
- Click on "Create" and you're done!
Step 3: Setting Up the If This Then That Applet


We will use IFTTT to open our Easy Window curtains when it gets sunny outside. In this step, we'll choose a trigger condition and connect it to Adafruit IO in order to send data to our WindowCurtains feed.
Once you have your IFTTT account ready, you can make your first applet.
- On the IFTTT website, go to the top right corner and click on your username, then choose "New Applet".
- Now we need to choose our trigger. Click on the highlighted "+this" button and search for Weather Underground, then select the service.
- Look for the "Current condition changes to" tile, select it and choose "clear" from the drop-down menu.
With our trigger set up, we can now choose our action service.
- Search for Adafruit and select the service.
- Choose "Send data to Adafruit IO".
- Choose the feed you want to send data to. This should be the one you created in the previous step.
- In the "Data to save" field, type "Open". This is the data that will be sent to the Adafruit feed.
- Click on "Create action", review your conditions on the next screen and click "Finish" if you're done.
Step 4: Connecting Our IOT Device to Adafruit IO and WiFi

Now that we've set up the Adafruit IO feed and the IFTTT applet, we're going to have a look at how we can let these services communicate with our IOT device.
- Open the Arduino IDE.
- Go to File > Examples > Adafruit IO Arduino > adafruitio_14_neopixel
- Go to the second tab named "config.h"
- Under the first comment section named "Adafruit IO Config" you'll find these lines of code:
#define IO_USERNAME    "your_username"
#define IO_KEY         "your_key"
Substitute "your_username" and "your_key" with your Adafruit IO username and AIO key and leave in the quotation marks.
Under the second comment section there should be these two lines of code:
#define WIFI_SSID "your_ssid"<br>#define WIFI_PASS "your_pass"
Substitute "your_ssid" and "your_pass" with your router's WiFi credentials leaving in the quotation marks.
Important: you Arduino will only work on 2.4GHz networks. To check if your network is operating on the right frequency, go to your computer's WiFi settings > select your network > Properties. Look for something on the lines of "network band" and make sure it's 2.4GHz. On Windows 10 it looks like in the screenshot above.
Step 5: Getting Our Hands Dirty With Arduino Code

In the same adafruit_14_neopixel sketch as the previous step, find all lines with "color" writte in them and substitute it with "WindowCurtains". Then do the same with "neopixel" and change it with "EasyWindow"
Under the second comment section named "Example Starts Here", substitute
#include "Adafruit_NeoPixel.h"
#define WINDOW_PIN 5
#define PIXEL_COUNT 5
with
#include "EasyWindow.h"
#define WINDOW_PIN 5
At the end of the handleMessage void, we'll write and if statement that opens our Easy Window curtains if these conditions are met:
if (WindowCurtain.message == Open) {
window.open();
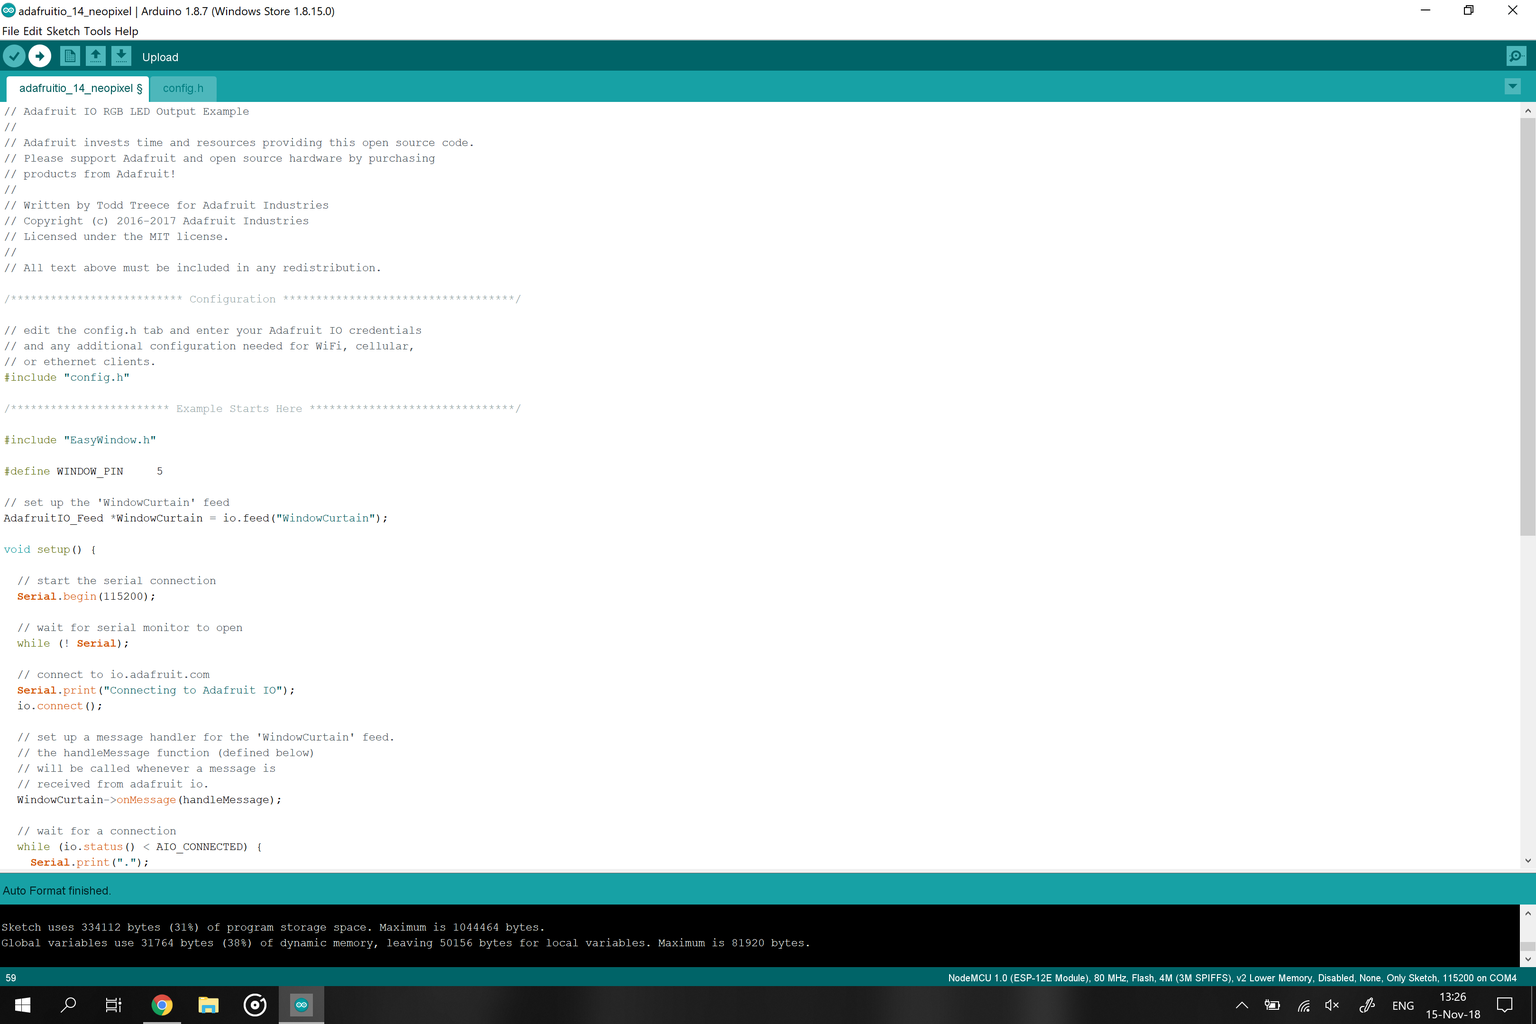
} Your final code should look like this: // Adafruit IO RGB LED Output Example
// // Adafruit invests time and resources providing this open source code. // Please support Adafruit and open source hardware by purchasing // products from Adafruit! // // Written by Todd Treece for Adafruit Industries // Copyright (c) 2016-2017 Adafruit Industries // Licensed under the MIT license. // // All text above must be included in any redistribution.
/************************** Configuration ***********************************
/ edit the config.h tab and enter your Adafruit IO credentials
// and any additional configuration needed for WiFi, cellular,
// or ethernet clients.
#include "config.h"
/************************ Example Starts Here *******************************/
#include "EasyWindow.h"
#define WINDOW_PIN 5
// set up the 'WindowCurtain' feed
AdafruitIO_Feed *WindowCurtain = io.feed("WindowCurtain");
void setup() {// start the serial connection Serial.begin(115200);
  // wait for serial monitor to open
  while (! Serial);
  // connect to io.adafruit.com
  Serial.print("Connecting to Adafruit IO");
  io.connect();
// set up a message handler for the 'WindowCurtain' feed. // the handleMessage function (defined below) // will be called whenever a message is // received from adafruit io. WindowCurtain->onMessage(handleMessage);
  // wait for a connection
  while (io.status() < AIO_CONNECTED) {
    Serial.print(".");
    delay(500);
  }
// we are connected Serial.println(); Serial.println(io.statusText()); WindowCurtain->get();
  // Easy Window init
  window.begin();
}
void loop() {// io.run(); is required for all sketches. // it should always be present at the top of your loop // function. it keeps the client connected to // io.adafruit.com, and processes any incoming data. io.run();
}
// this function is called whenever a 'WindowCurtain' message
// is received from Adafruit IO. it was attached to
// the WindowCurtain feed in the setup() function above.
void handleMessage(AdafruitIO_Data *data) {
// print RGB values and hex value
Serial.println("Received command: ");
Serial.println(data->value());long WindowCurtains = data->toEasyWindow();
  if (WindowCurtain.message == Open) {
    window.open();
  }
}
Step 6: Upload Your Code and Test It
You can now upload your code to your Arduino board. Connect it to your computer with the USB cable and press the "Upload" button in the top left corner of the Arduino IDE (it looks like a right pointing arrow).
If all goes well, your code should be uploaded to your board without any hiccups. You can check the connection status in the IDE's serial monitor from Tools > Serial Monitor. When your device's connected, you'll get a message saying "Connected!" and if it's clear outside, IFTTT will send a "Open" message to the "WindowCurtains" feed, triggering Easy Window to open the curtains. This should also be mirrored in the serial monitor with "Received command: Open".
Congratulations! You've reached the end of the tutorial and learned how to connect your Arduino IOT device to IFTTT and trigger specific conditions.


