Introduction: Cubesat W/ Temp and Humidity Sensors

Intro:
Hello we are LEGO2Mars, our team includes Ashlee D, Cade C, Dee G and Riley D. We are four juniors who are trying to create a model Cubesat that will collect the temperature and humidity of the atmosphere. Please follow us through our journey of creating our Cubesat!! we are excited to complete this project. Also, if you would like to replicate our model cubesat the following instructions will help you!
Materials: Legos, Temperature and Humidity sensor, LCD screen, arduino, bread board, String, Wires, Glue, battery, Adapter, male to female wires, programming.
Requirements: 10x10cmx10cm, 1.3kgs, correct coding, has an arduino.
Step 1: Coming Up With a Design

When deciding how we would accomplish our goal of a Cubesat we need to accommodate all of the requirements that were asked of us. a 10x10cm cube, 1.3kg weight, and we need to have an arduino inside our cubesat that would collect our data. These were our sketches that helped us come up with the the perfect design. We knew we wanted to build our Cubesat with legos we just need to make sure we had every piece fit inorder to make it 10x10x10 cm.
Step 2: Finding the Correct Equipment

The equipment that was required in order to make this cubesat work were many Legos, a Temperature and Humidity sensor, one LCD screen, one arduino, one bread board, 3 pieces of String, super glue,one battery, one battery connector, one adapter, 15 male to female wires, and coding for the arduino.
Step 3: Finding Correct Coding for Sensors


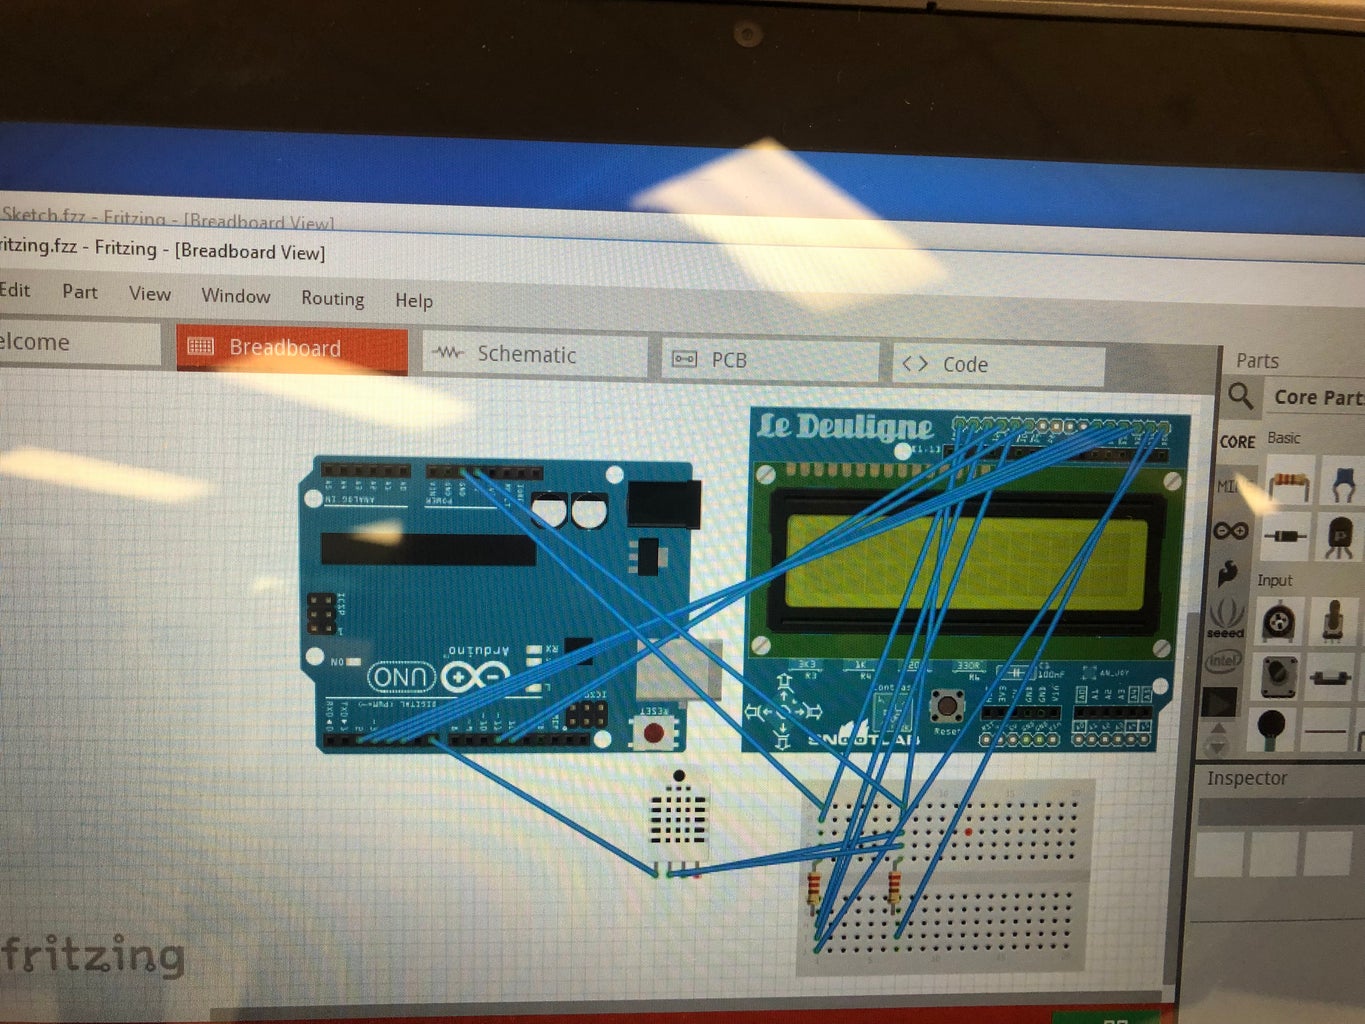
Our teammate Dee g. was the leader of coding. He wired the whole arduino and put the whole coding onto the ardiuno to send our sensors information about the temperature and humidity that our cubsat will pick while in orbit.
Coding:
#include dht DHT;
#define DHT11_PIN 7
void setup() {
Serial.begin(9600);
}
void loop() {
int chk = DHT.read11(DHT11_PIN);
Serial.print("Temperature = ");
Serial.println(DHT.temperature);
Serial.print("Humidity = ");
Serial.println(DHT.humidity);
delay(1000);
}
Step 4: Building Cubesat

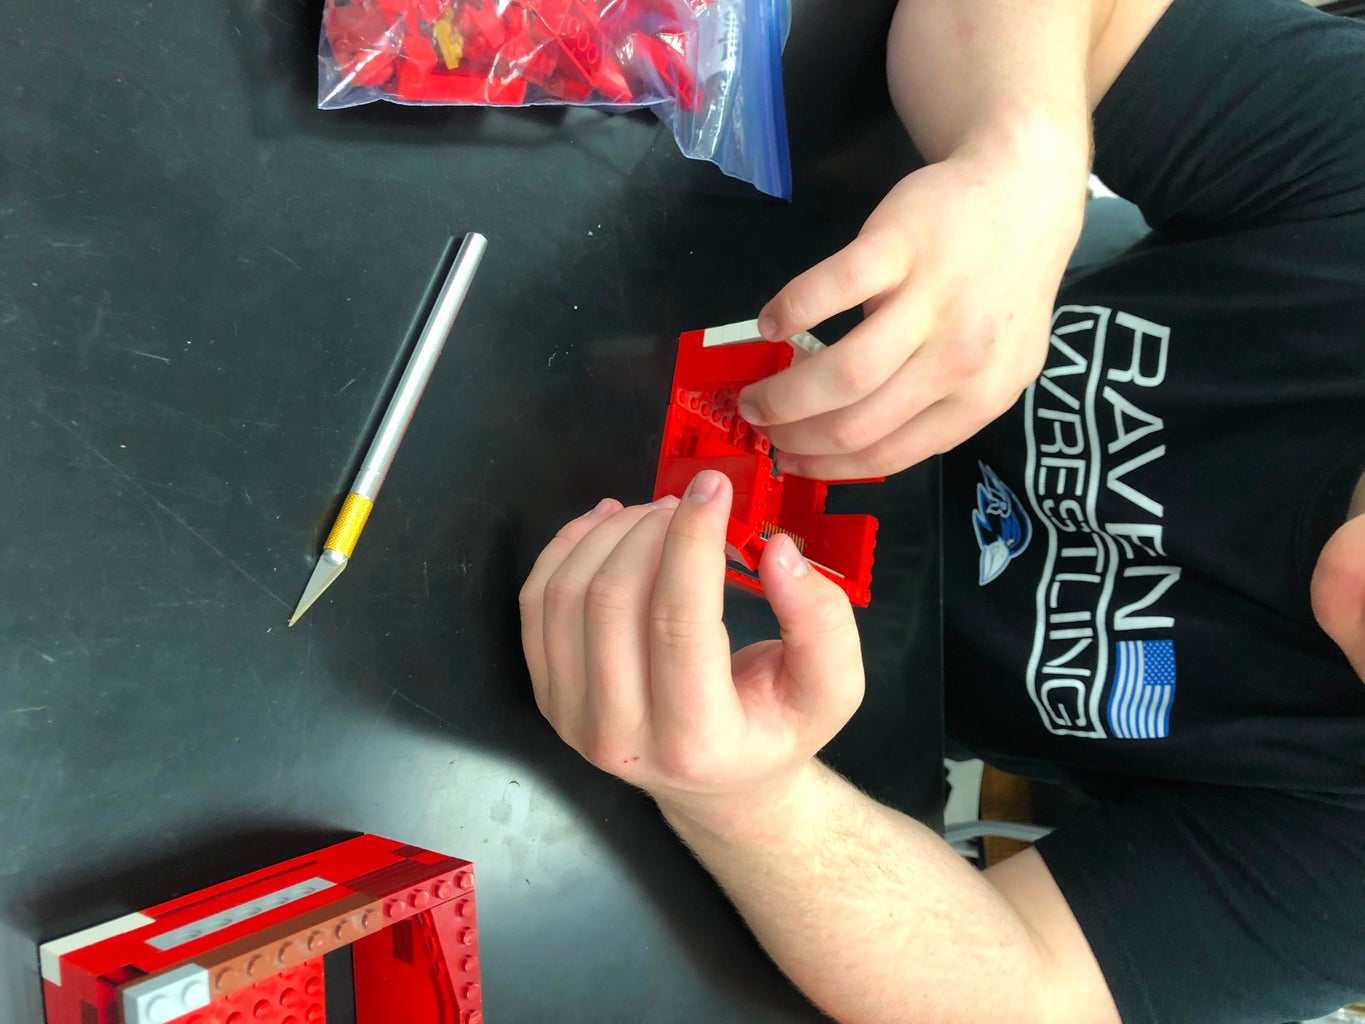
Cade C. was our main Cubesat builder. However we did have a couple members that also helped assist on building the cubesat: Riley D, and Ashlee D. we decided to build our cube sat out of legos. we thought that they would be easy to build with and that they would be sturdy enough to orbit. When we were adding following touches we made sure to glue necessary piece together to enable stability and make sure everything was secure.
Step 5: Fit Arduino and Sensor Screen Into Cubesat
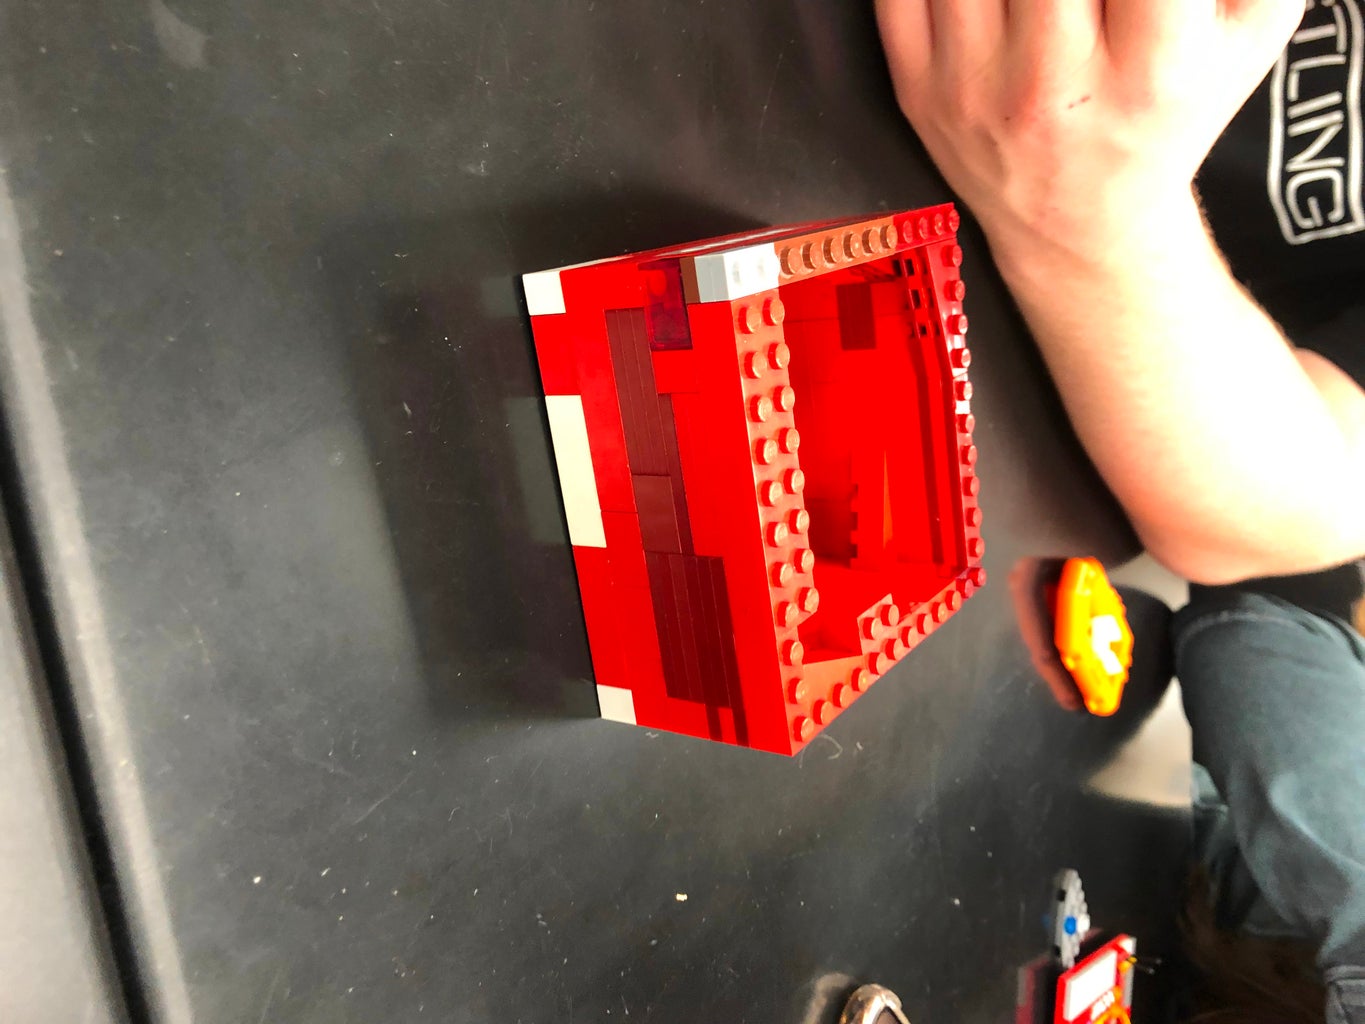
In order to fit all of the needed equipment to collect data into our cubesat model we had to make a couple adjustments. In our original design we wanted there to be a shelf. However, the shelf was getting in the way of all the wires so we made the decision to remove the shelf. We also had to shave off the edges of the cubesat to fit the Lcd screen into the compartment. Then we also had to glue our legos together to insure stability.
Step 6: Test Flights


Flight test instructions:
Cubesat must be attached to orbiter and swing at full power for 30 seconds without evidence or indication of damage to the cubesat, the orbiter, the string, any associated or related materials.
Results:
During our flight test everything went as planned and worked to completion. Nothing was damaged, everything we intact. Maintained a constant speed and orbit.

Step 7: Vibration Test


Vibration test:
We do a vibration test to establish confidence that the satellite can withstand the launch environment and still function afterwards. In order for your Cubesat to pass verification, it must withstand vibration in the X,Y,and Z directions at frequencies higher than assumed to occur during launch. all hardware should be firmly secured prior to testing.
The following vibration testing will be inspected for- electrical connectors and general integrity.
Results:
T= Period= repeating pettern of time= (seconds) Sec/cycle
F= frequency= cycle per second
T=.16 seconds
F=1/6 6/1= 6 Herts
electrical connectors-stayed connected and sealed.
Integrity- nothing loosened
Step 8: Final Testing


Length of String: 88cm
60 degree
Temperature before orbit: 24 degrees C
Temperature after orbit: 25 degrees C
Humidity before orbit: 53%
Humidity after orbit: 48%
Step 9: Overall Project

This project overall was very fun and exciting. It was very informal and a great experience. Thank you for reading through our journey of creating our cubesat through our instrucutable. We hope that this will help others learn how to create their own.

Participated in the
Arduino Contest 2019


