Introduction: DIRECTION AND SPEED CONTROL OF DC MOTOR USING LABVIEW(PWM) AND ARDUINO


Hello guys first of all sorry for my funny english.In this instructable i am going to show you how to control a speed of a dc motor using labview Let us get started.
Step 1: THINGS REQUIRED


1-Arduino UNO
1-DC Motor
1-Green Led
1-Red led
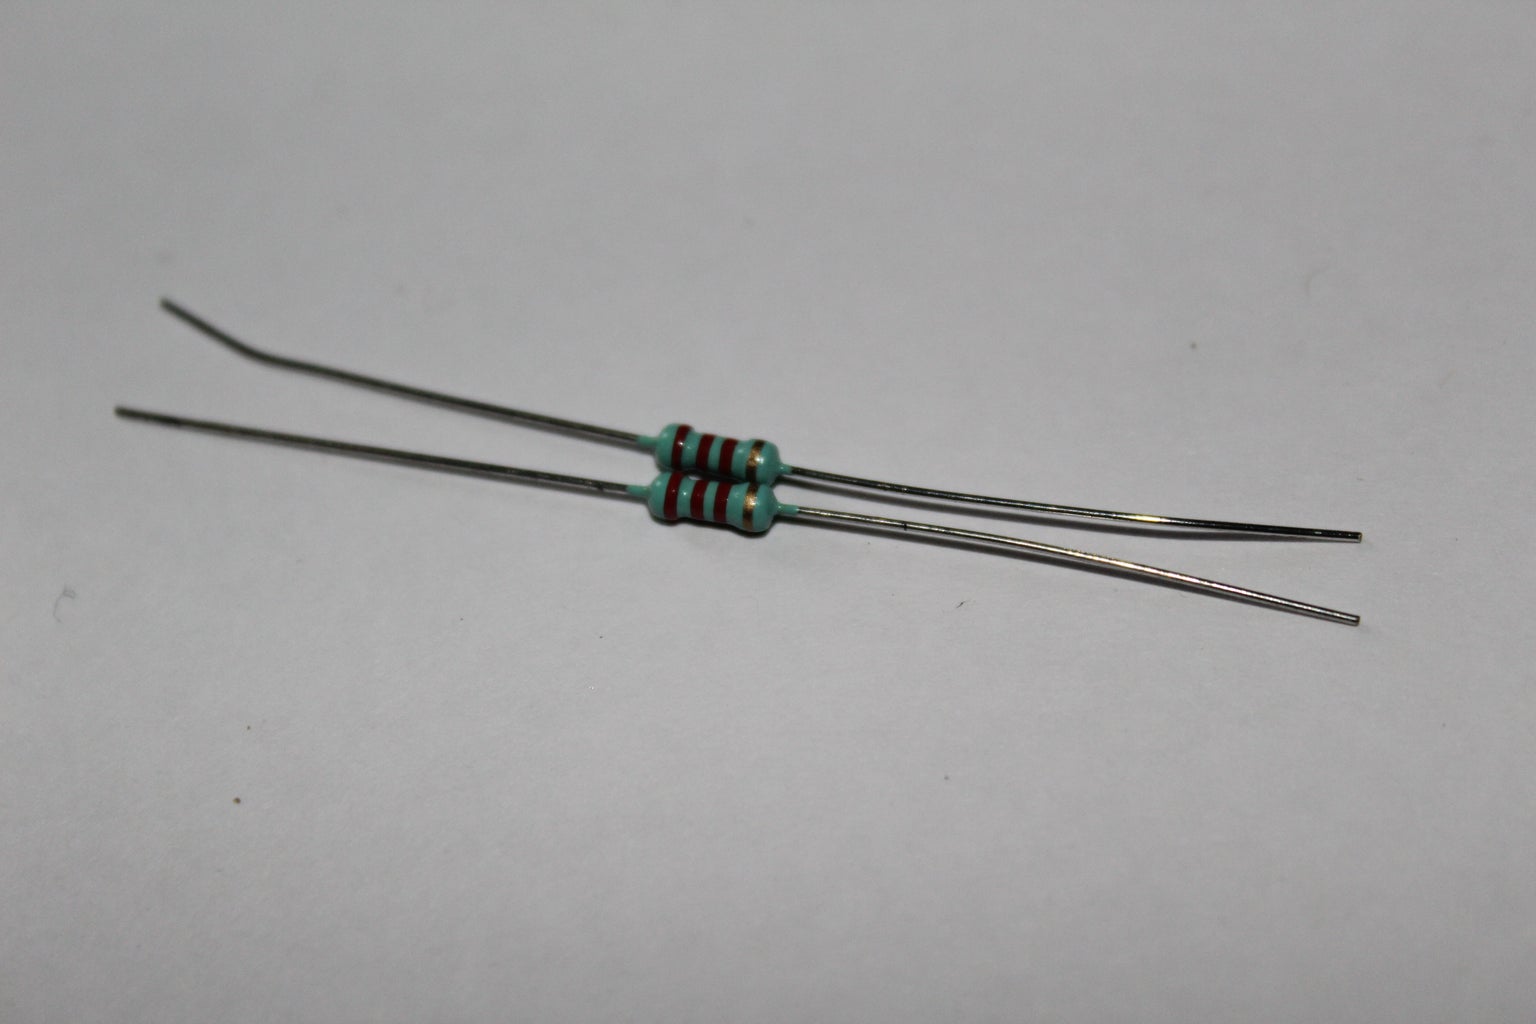
2-220ohm Resistor
Some jumper wires
One small piece of pcb.I recommend you to use small dc motor which is shown above.
Step 2: CIRCUIT DIAGRAM

D9-->Motor (+ve)
D11-->Motor (-ve)
D3-->Green LED(+ve)
D6-->Red LED(+ve)
Two resistors are used to limit the current.Two leds are used to indicate forward and reverse direction.
Step 3: SOLDERING

I have maken my connection in a pcb u can also use breadboard.
Step 4: ARDUINO CODE AND LABVIEW FILE
Open your Arduino ide and upload the attached ino code.Download the Labview file and open it and make sure that NI drivers and Arduino Interface for Labview are all installed.

Step 5: WORKING

If everything is set go ahead and open your Labview siftware. Open the downloaded labview file.Press ctrl+E and Ctrl +T.It will make the two dialog box well alligned.Now referesh the ports and select the port in which your arduino is connected.Click the run button RX and tx leds in the arduino will get blink.Now adjustthe speed in front panel using curzor motor will start rotate.If the cursor is moved to left side the direction of the motor will get reversed.The direction is also indicated by two leds.For more information watch the video.If everything works fine you know quite lot of about labview.


