

Introduction: DIY 200w Smart Mini Inverter


Hi, readers in this instructable I will show you how I made this Smart Mini Inverter! Before making this project, I would like to tell you some things which have inspired me a lot to make this project.
The first thing is that a few days ago I was going to the market to buy some things. Then I saw that some children were studying sitting near the bulb light. Seeing him read made me very happy! But how much western light has been cut. whose remaining pages could not be found.
The second incident that happened to me was that about a week ago there was a huge storm in our town. Due to the storm there was a problem of electricity in our town. Due to non-availability of electricity, people of villages are not able to do much of their work. Like charging your Smartphone, facing darkness at night and many such problems are happening to us.
And that's the reason why I build this smart mini inverter to face all difficulty
Purchase This DIY Smart Mini Inverter PCB From Tindie
It comes with a smart intigrated Circuit Board. To make it more smart here I am using The one of the most Popular & Experienced PCB Manufacturer Company - PCBWAY
If You Need This PCB or Need a PCB To make your own Project. I recommend PCBWAY Because It's PCB is looks impressive. If you want same PCB Then scroll down & Read Step 1 There you found a Gerber File of This PCB.
Supplies
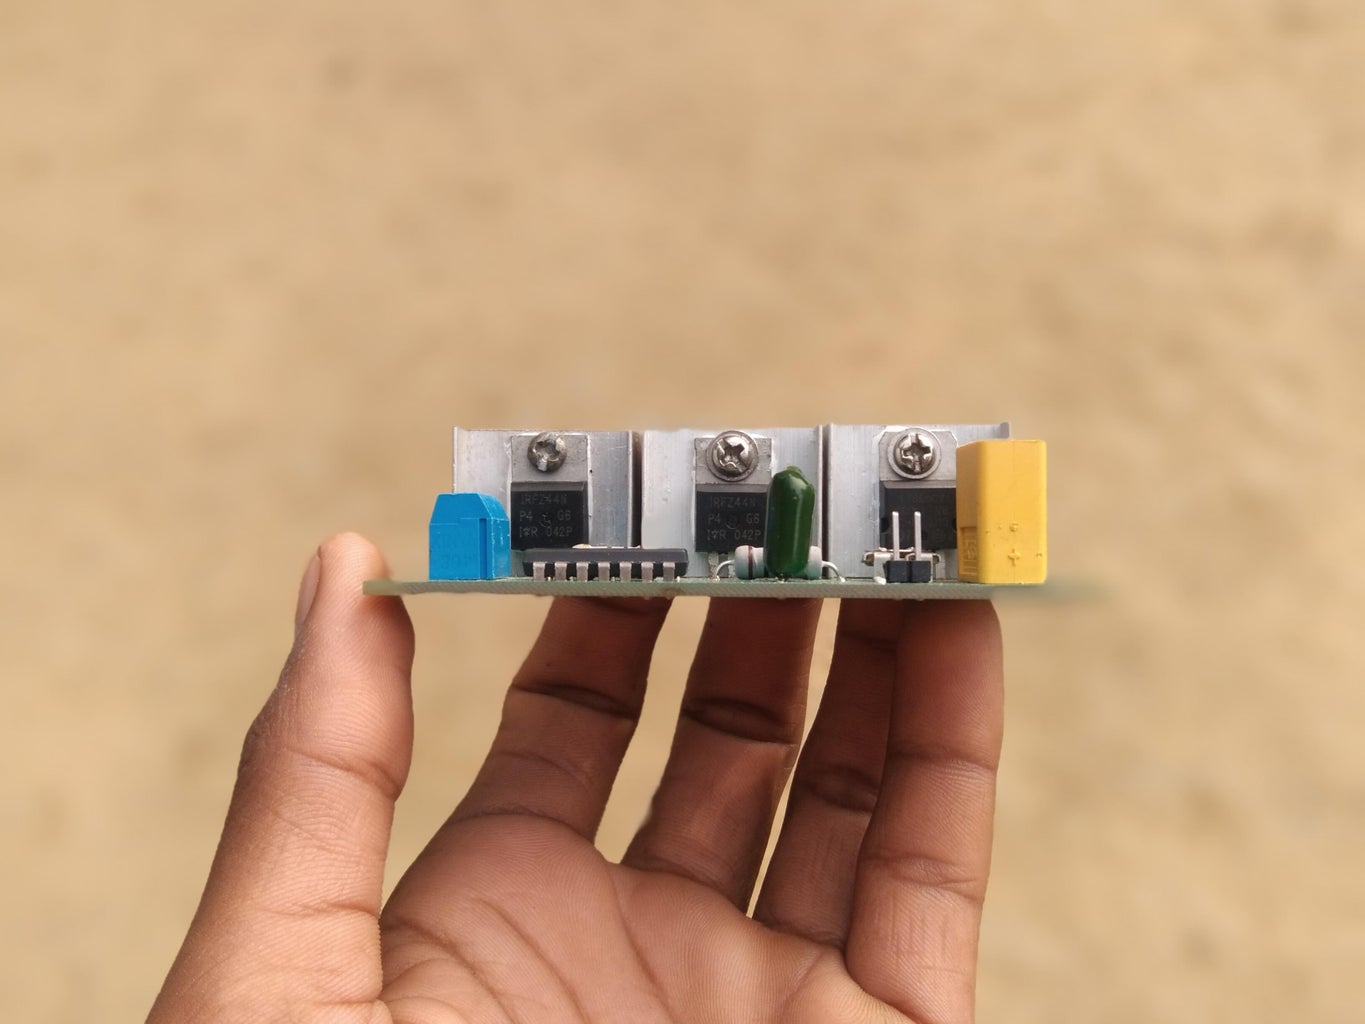
Required Components
- CD4047BE IC
- XT60 Connector
- IRFZ44N Mosfet
- 100ohm 1w Resistor
- Male Headers Pin
- 0.22uf 100v Capacitor
- Voltage Regulator LM7805 IC
- 20k ohm Variable Resistor
- Good Quality Heat Sink
- Printed Circuit Board
Reqired Tools
Power Supply
- Power Socket ( Amazon )
- 12-0-12 Transmitter ( Amazon / Makerbazar )
- Loom Solar Lithium Battery ( Loom Solar )
Step 1: How It Works?
Ever wondered how a mini inverter PCB works? Today, we'll break it down step by step. Let's start with the heart of the inverter—the transformers. These components play a crucial role in converting DC power to AC power.
The protagonist demonstrates the flow of electricity through the PCB, showing how DC power is converted into AC power. As DC power enters the inverter, it passes through various components, including capacitors and diodes, which contribute to the smooth conversion process. Transistors act as gatekeepers, controlling the flow of electricity and ensuring a stable output. They are the key to maintaining the desired voltage.
The protagonist assembles the mini inverter PCB, connecting all components carefully. As we put it all together, each component plays a vital role in the seamless functioning of the mini inverter PCB. This mini inverter PCB is connected to a power source, and a small device powers up, demonstrating the successful operation.
There you have it—a simplified guide to understanding how a mini inverter PCB works. Experiment, learn, and share your insights with the Instructables community. Happy tinkering!
Step 2: Design PCB & Order From Pcbway

Embarking on a project and need a professional touch? In this Instructable, we'll guide you through ordering a top-quality PCB from our sponsor, PCBWAY
Start by finalizing your PCB design using your preferred design software. Once satisfied, save your design files in Gerber formats. For designing a PCB I recommend EasyEDA Because it's preferred for beginners.
Head to PCBWay's website. If you don't have an account, sign up—it's quick and easy. Sign up PCBWAY now to get a US $5 coupon. That means your first order is free of cost only you have to pay the shipping charges. After Sign Up Upload your Gerber files and specify your requirements. Choose the quantity, PCB thickness, and color to match your project needs.
PCBWay provides an instant quote based on your choices. Review the quote, and if everything looks good, proceed to checkout. Enter your shipping details and payment information to complete the order. PCBWay ensures a secure and straightforward checkout express. In no time, your custom PCBs will arrive at your doorstep. PCBWay's commitment to quality ensures your project gets the attention it deserves.
If you need a PCB Then Click here and order The PCB. When you place an order, I will get 10% donation from PCBWay for a contribution to my work. Your little help may encourage me to do more awesome work in the future. Thank you for your cooperation.
The finished project, including the professionally manufactured PCB, powers up successfull Thank you to our sponsor, PCBWay, for making this project possible. Elevate your projects with quality PCBs. Happy creating!
Step 3: Assembling the PCB


In this step we'll guide you through the essential skill of soldering, using a mini inverter PCB. Before diving in, familiarize yourself with the mini inverter PCB layout. Identify soldering points, components, and ensure you have a clean, well-lit workspace.
Precision is key. Apply just enough heat to melt the solder and create a strong bond. Avoid excessive heat to prevent damage to the components. Regularly clean the soldering iron tip with a damp sponge to ensure efficient heat transfer. A clean tip results in clean, reliable solder joints
Safety first! Always wear protective eyewear, and ensure your workspace is well-ventilated to avoid inhaling solder fumes. With practice, you'll master the art of soldering. Take your time, be patient, and soon you'll confidently solder your mini inverter PCBs.
After Soldering all components on the pcb make sure to cut the extra parts of components. And after all when you solder all components on pcb also clean the pcb by using ISO Propyl Alcohol. IPA clear your pcb and provide your pcb a professional look. For Best Soldering I recommend Sequre SIO12 Pro Soldering Iron.
Step 4: Connect Transformer to PCB


In this step, we'll guide you through the process of connecting the transformer wires on your DIY 200W Mini Smart Inverter PCB. This crucial step brings your project closer to fruition, enabling it to transform DC power into usable AC power.
Examine your transformer and identify the primary and secondary wires. The primary wires usually have higher gauge numbers than the secondary ones. Strip a small portion of insulation from the ends of both primary and secondary wires. Ensure that the exposed wire is clean and ready for soldering.
Locate the designated spots on the PCB for the primary transformer connections. Solder the primary wires to their corresponding points on the PCB, ensuring a secure and clean connection. Similarly, locate the spots on the PCB for the secondary transformer connections. Solder the secondary wires to their designated points, ensuring a reliable connection.
Once soldered, carefully insulate each connection using heat shrink tubing or electrical tape. This step is crucial to prevent short circuits and ensure safety.
Step 5: Connect AC Output to Transformer
DiYers! In this step, we'll guide you through connecting the AC output to the transformer in your 200W smart mini inverter PCB project. Ensure you've completed the previous steps before diving into this one.
Locate the AC output terminals on the transformer. They are usually labeled as "AC" or "Output." Refer to your transformer's datasheet for specific details. Strip a small section of insulation from the ends of your AC output wires. Ensure that the exposed copper is clean and free from any debris.
Carefully connect the AC output wires to the corresponding terminals on the transformer. Tighten the screws securely to establish a reliable connection. Verify that each wire is securely connected to the correct terminal. Take a moment to inspect for any loose connections or exposed wires.
Wrap each connection with insulation tape to prevent any accidental contact and ensure electrical safety. Now You've successfully connected the AC output to the transformer. In the next step, we'll guide you through testing your inverter to ensure everything is functioning as expected by providing a power supply on PCB.
Step 6: Power to PCB

In this step, we'll guide you through the process of supplying power to your 200W smart mini inverter PCB. Make sure you've completed the previous steps, especially the connection of AC output to the transformer.
Before applying power, double-check that all connections to the transformer, especially the AC output, are secure and properly insulated. Safety first! Strip a small section of insulation from the ends of your power wires. Ensure clean and undamaged copper for reliable connections. Locate the power input section on your inverter PCB. It is typically labeled as "Power In" or similar. Refer to your PCB documentation for precise details.
Carefully connect the power wires to the designated power input terminals on the PCB OTW already connected a XT60 Connecter For secure power input. Connect the other ends of your power wires to the chosen power source, whether it's a battery or a power supply. For Best Results I recommend Loom Solar Lithium Battery. Make sure the power source voltage matches the requirements of your inverter. Verify that all connections are secure and correct. Inspect for any loose wires or potential issues.
Step 7: Mini Inverter Significance


Why It's Important:
1. Emergency Power Supply: Imagine a sudden power outage. Your inverter can become a lifeline, providing temporary power to essential devices like lights, communication equipment, or medical devices. Its compact size makes it ideal for emergency preparedness.
2. Portable Power Solution: Whether you're camping, traveling, or working in remote locations, this mini inverter ensures you have a reliable power source for charging laptops, smartphones, or running small electronic appliances.
3. Educational Tool: Building this inverter offers a great learning experience for electronics enthusiasts. It provides insights into the principles of power conversion, circuit design, and control systems.
4. Environmental Impact: By enabling the use of renewable energy sources (e.g., solar panels or wind turbines) through DC input, your inverter contributes to a more sustainable and eco-friendly power ecosystem.
In conclusion, your DIY 200W smart mini inverter is not just a technical achievement; it's a practical solution with broad applications. It empowers individuals with a reliable and adaptable power source, showcasing the intersection of technology and everyday convenience.
Unlock your creativity and join the journey of DIY wonders! Follow for a daily dose of innovative projects, step-by-step guides, and a dash of inspiration. Let's turn ideas into reality together!

Participated in the
Anything Goes Contest


