Introduction: DIY Mini Rabbit Bell With Fusion 360 Electronics
When friends talk about how for the 70/80/90 generation, if they could receive a music greeting card for their previous birthdays 🎵, That was a very happy thing. Gently unfold the paper greeting card and play the Happy Birthday song slowly. One day after the birthday, while looking at the birthday wishes on my friend's writing card again, I listened to the Happy Birthday Song. The happy birthday memories of being with my friend at that time returned, and the corners of my mouth involuntarily rose, expressing a sense of happiness and happiness. This is one of the beautiful memories of that era.
Thinking of this, why don't we create a DIY mini rabbit bell related to the Year of the Rabbit! 🐰🔔 You can stick it on the door as a doorbell or give it to friends as a birthday gift. I hope in many years, you can still recall the mini rabbit we all learned together in the spring of 2023.
There are the design steps we are going to do:
- Identify the electronics components
- Search or design the electronics libraries
- Design schematic file
- Design the outline of PCB board
- Route PCB board
- Generate Gerber or ODB++ files for manufacture
- Manufacture PCB board
- Solder components in PCB board
- Sharing and Fun time!
Step 1: Identify the Electronics Components
The journey of a thousand miles begins with a single step, selecting the necessary components according to your design needs. The mini rabbit PCB circuit board we are sharing today will use the following components.
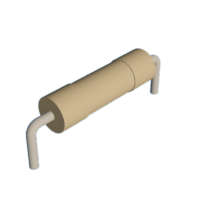
- Resistor 220 ohm, R1, R2
- Resistor 1000 ohm, R1K
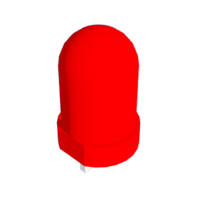
- LED1, LED2
- 1220 Battery + Battery Holder
- Triode, S8550
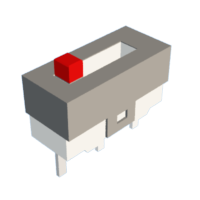
- Switch, S1
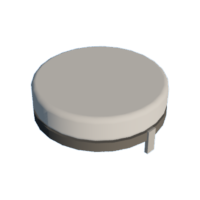
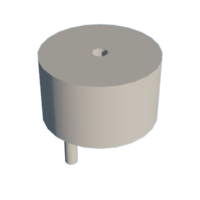
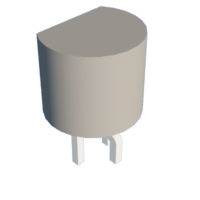
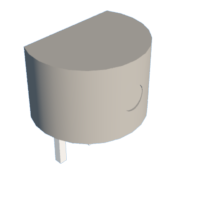
- Buzzer
- Triode, T1MUSIC FOR ELISE
The BOM list is attached for your reference.
Step 2: Search or Design the Electronics Libraries
You could search the library you want to use in Fusion 360 Library Manager or using the Fusion add-ins (SanpEDA or UltraLibrarian) from Fusion 360 App Store, or create the library by yourself. Here we provided the library and the corresponded 3D Model for your usage if needed.
Please following the steps to create the library which has 3D Model in Fusion 360.
1. Upload "RabbitCircuit.flbr" to Fusion 360
2. Upload all 3D Model files to Fusion 360
3. Open the uploaded library in Fusion 360
4. In Content Manager panel > Switch to Footprint panel
5. Right click the footprint > e.g. CR1220
6. Create New 3D Model > Save The File to the destination you want to save the linked 3D Model in later.
7. In Fusion 360 Data Panel > Rigth click the uploaded 3D Model in step #2 which named CR1220 > Select Insert into Current Design
8. Click OK button
9. Click Finish button in the toolbar
10. Save Changes > OK to save changes
11. Then you will see the 3D Model is added for the footprint and device.
Step 3: Design Schematic File
Create Fusion 360 Electronics File > Create Schematic file > Add devices from library > Connect nets for the schematic file.
Here we attached the f3z file which included the schematic, 2D PCB and 3D PCB for your reference.
Step 4: Design the Outline of PCB Board
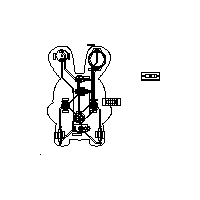
Switch from schematic file to board file, you will get a rectangle board file with the devices outside of the outline by default. But the key point for this project is the PCB board outline, so we delete the default rectangle board file, and then use Insert DXF/DWG function in Fusion 360 Electronics to get the expected board outline.
We inserted the attached Rabbit.dxf which got from others and not selecting the layer 0 in the Inserted DXF/DWG dialog, then we could see the PCB board outline is a Rabbit!
This is a very helpful function in Fusion 360 Electronics to create an interesting PCB board as you want.
Attachments
Step 5: Route PCB Board
Drag the devices to place in the position you want they are in the board, then route the wires.
Additionally, we draw the circles for Rabbit eyes on 21 tPlace layer to make it looks better.
Finally, add polygon pour for the board.
Later Push to 3D PCB to get the result.
You could also change the soldermask color and others in the CAM Preview dialog and then push to 3D PCB again you will see the updated one.
Step 6: Generate Gerber or ODB++ Files for Manufacture
When the board file is finished, you could generate Gerber or ODB++ Files for manufacture.
Send the Gerber or ODB++ files to your manufacture and wait for your boards.
Step 7: Manufacture PCB
After several days waiting, we received the sample PCB board from manufacture.
We ordered 3 colors.
Step 8: Solder Components in PCB Board
Solder components in PCB board ~~~
Such a cute Rabbit, isn't it? :)
Step 9: Sharing and Fun Time!
Hope you enjoy!
Step 10: Acknowledge
- Fusion 360 Electronics Design - Richard Liu
- PCB Manufacture and Solder - Panpan Fan, Jackie Chen
- Article and Images - Helen Chen


