

Introduction: DIY Night Lamp Automated With Arduino


Hey there, I know programming an arduino might be a little daunting for non users, but with this instructable you will be able to automate some lights so they only turn on at night.
I will supply the code in this instructable as well as the "lay man's" "wiring diagram"
For the sake of safety and kids may be reading this I will not be working with anything high volt, you can use a relay and what not but for demonstration purposes we will be working with LEDs and 5v.
Supplies
Arduino Uno/nano
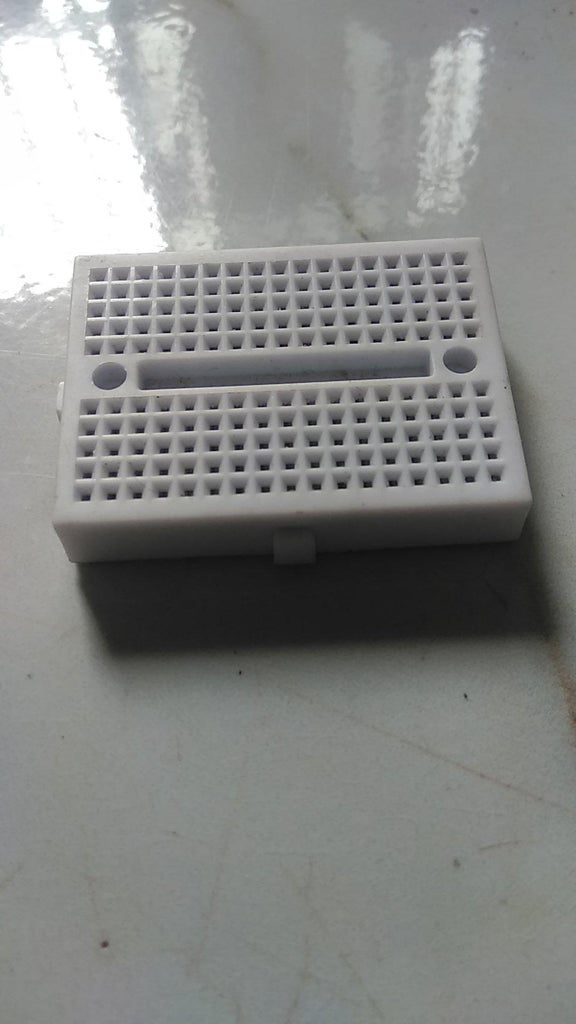
Breadboard
Jumper cables
LDR (light dependent resistor)
Some LEDs
1K ohm Resistors
Something to hold it all.(whatever fits your theme).
I used a horn.
Step 1: How It Works - LDR


I just quickly want to explain how this works, so the LDR is a light dependent resistor, it's resistance changes with light intensity.
It actually gets more resistant with lower light levels, so we will be using it as a sensor to tell our arduino how dark it is outside.
Hands on practice
Connect your LDR to your arduino,
- One leg of the LDR to gnd (ground) pin and the other to a resistor 10k ohms.
- the other resistor leg goes to ground
- the LDR and 10k ohm resistor junction goes to pin A0 of arduino.
- upload the code below to your arduino (you do know how to do that right?)
- click the little magnifying glass icon on the upper right of your arduino UI
This opens the serial monitor.
Expose your LDR to the brightest your room can ever be.
Also cover the LDR.
Notice the different values.
NB: take note of the range of values you get around when you would like your lights to come on automatically.
THE CODE
int sensorPin = A0; // select the input pin for LDR
int sensorValue = 0; // variable to store the value coming from the sensor
void setup() {
Serial.begin(9600); //sets serial port for communication
}
void loop() {
sensorValue = analogRead(sensorPin); // read the value from the sensor
Serial.println(sensorValue); //prints the values coming from the sensor on the screen
delay(100);
}
Step 2: Setting Up the Circuit


Keep the LDR connection as before.
1) connect your LED with the shorter or negative leg to ground, and the longer or positive leg to pin 13.
Remember, the longer leg has positive amount of material, the longer leg is positive. (If that makes sense)
2) upload the code below, and change the value of the LDR "trigger" to the one you noted earlier.
Note, ensure you connect a resistor between pin 13 and the positive leg of the LED. like in the last image, and edit the code where it says so in the code.
Upload the code below.
I added some shots of the serial monitor.
Note it responds to the differing values.
THE CODE
int sensorPin = A0; // input pin for LDR
int LEDpin = 13; //pin 13 for LED
int sensorValue = 0; // variable storage for the sensor value
void setup() {
Serial.begin(9600); //sets serial port for communication
pinMode(LEDpin, OUTPUT); //LEDpin as output
punMode(sensorPin, INPUT); // sensorPin as input
digitalWrite(LEDpin, LOW);
}
void loop() {
sensorValue = analogRead(sensorPin); // read value from sensor
Serial.println(sensorValue); //prints the value on serial monitor
delay(1000);
if (sensorValue < 100) { edit your evening value here
Serial.println("The night is falling, time to light it up");
digitalWrite(LEDpin, HIGH);
}
else {
digitalWrite (LEDpin, LOW);
Serial.println("the long night is up, let the sun take over");
}
}
Now all that's left is to wire up all your LEDs making sure to connect them in parallel (all positives together and same for negatives).
the positive sides go to pin 13 and the negative sides go to gnd pin.
Step 3: String It All Together


oh well, we got it all together and it works.
In my case I wanted an horn that would go on the wall and shine the light on the wall.
so I attached the LEDs in there, and my actual circuit was outside, a little bit concealed.
It is important to note that the LDR should not be placed in the lamps brightness area.

Participated in the
Lamps and Lighting Contest


