

Introduction: DroNest Drone Paper Plane Deployer


Hi I'm Chance, I graduated from several different private schools and charter schools as a collective and attended Davis Tech College for Robotics and Automation, and will bee soon attending SLCC for my full APE (Pre-Engineering) associates.
Welcome to the world of paper airplane experimentation like you've never seen before! The DroNest Paper Plane Deployer is an innovative 3D-printed attachment designed to take your paper airplane testing to new heights, quite literally. By attaching this device to the bottom of your racing drone, you can launch paper airplanes from high altitudes, gaining valuable insights into their aerodynamics and performance. In this Instructables guide, we'll walk you through the simple steps to assemble, attach, and launch your paper airplanes with the DroNest Paper Plane Deployer.
Supplies


- Fusion360 to design the best things ;)
- DroNest Paper Plane Deployer (3D printed) - https://www.thingiverse.com/thing:6245453
- Drone - https://amzn.to/3RJtgg8
- Paper airplanes (various designs for testing)
- Drone controller
- Batteries for drone and controller
- Safety goggles (if you feel like it)
- Clear open outdoor space
- 3D printer - https://amzn.to/45dI5ub
Step 1: 3D Printing the DroNest Attachment


3D Print the DroNest Attachment for your drone, i printed mine in Green Glow in the dark PLA
it is designed for a fpv racing kwad but can me attached to a normal Quadcopter with zip ties or tape.
Download DroNest Attachment here! - https://www.thingiverse.com/thing:6245453
Step 2: Attach the DroNest

Now for the stuff if you don't have a racing Drone/Kwad and you have any other kind of drone you can attach the DroNest attachment to the bottom of your drone facing down either with zip ties tape or glue the choice is yours.
It is all the same as long as the attachment is facing down towards the ground and not interfering with the propellers when the paper airplane is loaded.
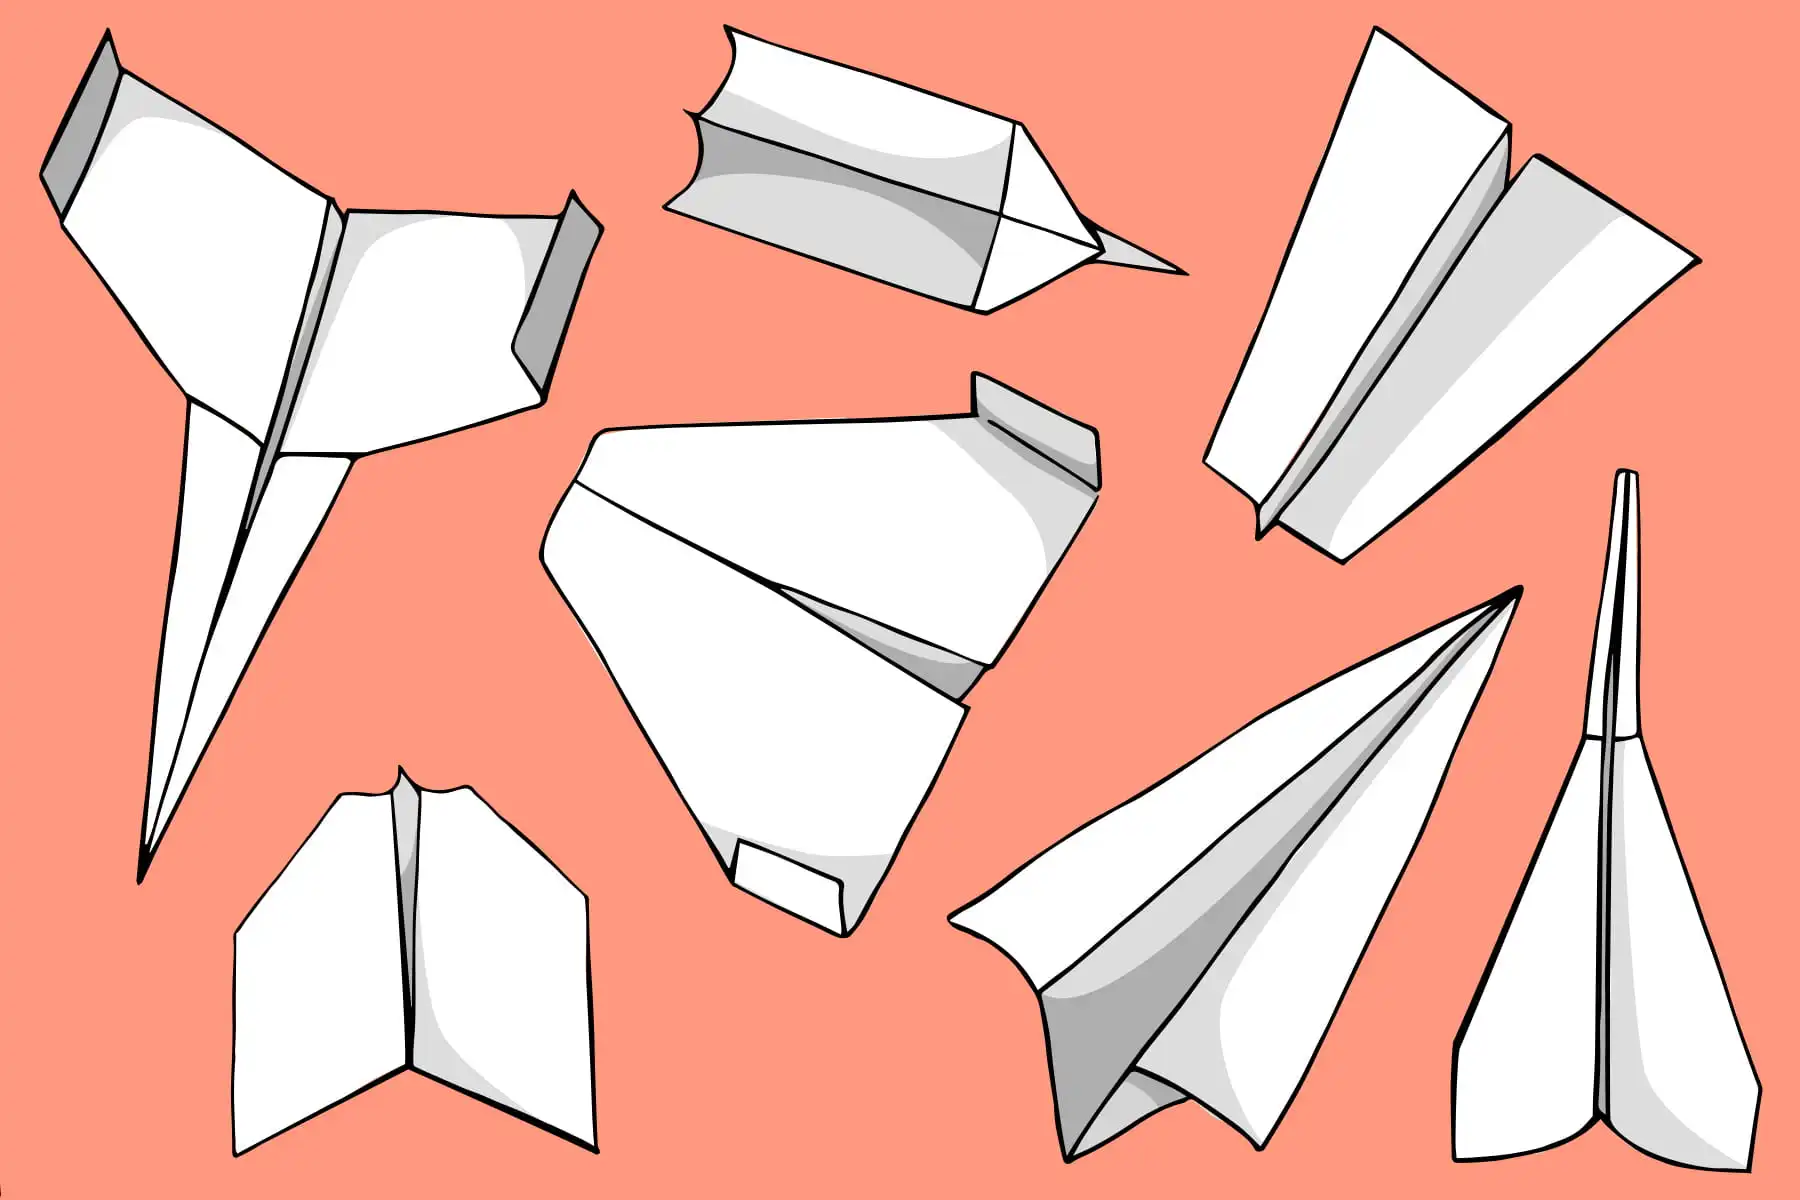
Step 3: Choose Your Plane!

Now comes the fun part, this is where your creativity comes into play and you get to design and test different airplane designs maybe it's something you've seen online or maybe it's something that you are coming up with and creating. Either way this tool is a great way to test the flight of any paper airplane.
Step 4: Attach Your Plane

To attach your plane or whatever aerial paper device you have created slide it into the slit on the 3D print DroNest attachment make sure that it sits in the attachment snugly but not stuck in so far that it will not come out.
If you're slit is not large enough for your paper airplane creation or your printer tolerances are not great and it did not print it at the perfect size take a knife or nail and scrape some plastic away to make your opening slit better if needed. If you are under 13 please have adult supervision and permission to do this step.
Step 5: Analyzing Results

Finally analyzing your results of how your airplane's behaviors.
This step allows you to improve and tweak your airplane as needed to make the perfect Ariel adjustments. In my picture attached above the yellow represents the track which my airplane followed in the video.
Point a represents the Drone releasing the airplane and point B represents where the Drone ended and crashed.
The Red X represents the airplane stalling. An airplane stalling means the nose has pitched up too high and the airplane is tail heavy. For a normal plane this is okay because it has some system of propulsion behind it but for a normal paper airplane that does not have any propulsion behind it and just gently Glides through the air this is an issue.
Because my airplane stalls right after it becomes leveled that tells me my airplane is either tail heavy or the fins on the back of my airplanes wings are curved up too much and tilting the airplane's nose too high causing it to stall.
By analyzing our images of our airplanes we can optimize how they fly and get them all balanced out to optimize their flight path.
You know you have a great paper airplane when it catches itself immediately after falling and has a very slight downward trajectory. The goal is to keep your airplane coasting and gliding as long as possible. The ability to launch your airplane from up high is a huge Advantage for tracking this.
When you go out to fly bring a friend with you to record the paper airplane so that you can focus on Landing your drone, to prevent you from crashing.
Step 6: Have Fun

I'm going to continue creating new paper airplane designs because it really is a passion of mine.
When you use the DroNest have fun and be cautious of your surroundings while flying your drone.
I left a donation picture attached above of my venmo and PayPal. I'm currently going to school for 3D printing as well as aerospace engineering I am 19 years old and any financial support would be greatly appreciated, also feel free to message me with any ideas or to share your results with me!

Participated in the
Make it Fly Student Design Challenge


