Introduction: Easy Knit Mittens
Mittens are a great project to stretch all your knitting muscles, and they knit up quickly.
This project is an excerpt from my free Instructables Knitting Class, so please check it out to learn more introductory techniques, including how to fix mistakes.

Grab your size 8 double pointed needles and some worsted weight yarn. Knit a swatch and check your gauge: recommended for this project is the same as the hat project: 4.5 sts/6 sts per inch or 17 sts/23 rows = 10cm in st st.
To start a project on double pointed needles, use a single DPN and the long tail cast on to make all the stitches. This mitten pattern is available in three sizes, noted where stitch numbers vary as S (M, L). You may wish to print or keep open the Knitting Glossary for this class while working on this project because the pattern is full of abbreviations (just like real life knitting patterns!).
To keep up with what I'm working on, follow me on YouTube, Instagram, Twitter, Pinterest, and subscribe to my newsletter. As an Amazon Associate I earn from qualifying purchases you make using my affiliate links.
Cast on 24 (26, 28) sts.

Step 1: Distribute on DPNs

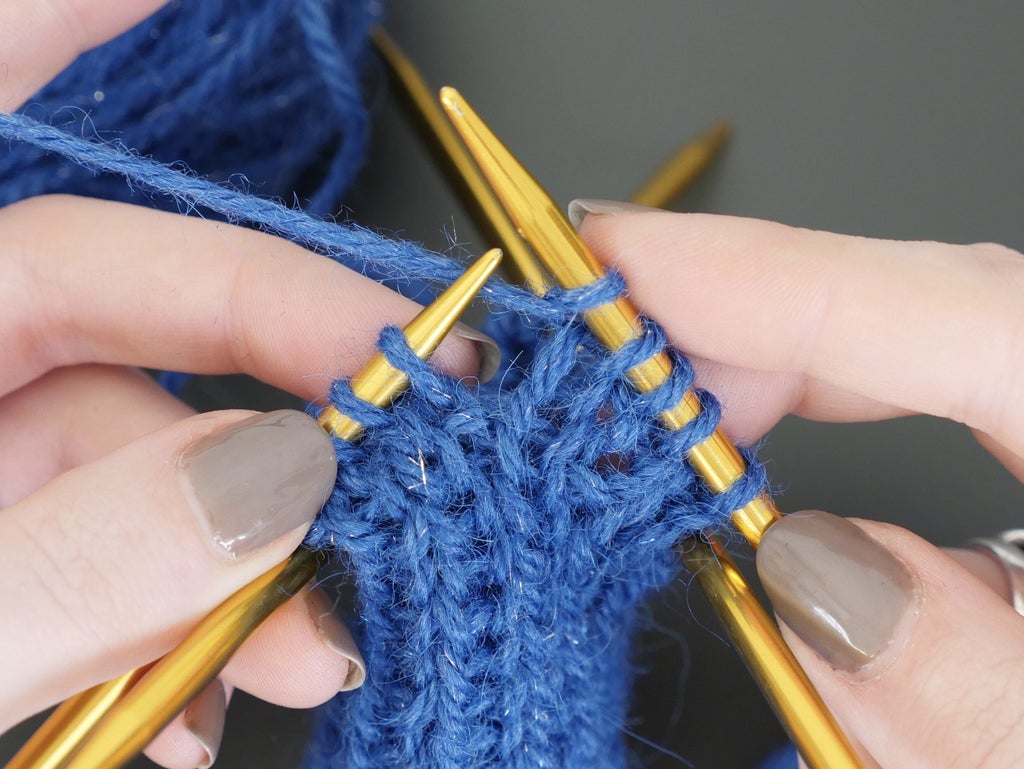
Distribute your stitches across three DPNs as 8, 8 (10, 12), 8. This arrangement can be tricky to manipulate, but do your best to create a triangle with the needles, and check to make sure the row isn’t twisted.


The working needle will always be on top of the other two, so arrange the first needle as such, pick up the fourth needle in your right hand, and join to knit in the round in K1, P1 ribbing. When you’ve knit all the stitches on the first needle, push them to the center of the DPN, reposition that needle under the next one, rotate your project, and continue on. Continue K1, P1 rib for 16 rows.

Step 2: Increasing Stitches
On the next row, knit all stitches. We'll call this row 1.


On row 2, knit 4 stitches, and now we're going to create a new stitch. Twist a loop of your working yarn onto the right needle. Congrats, you just learned your first stitch increase! We'll call it M1 (short for "make one"). There are other ways to make stitch increases, but we'll save them for another lesson!

Continue stitching: (K4, M1) twice more. K4 (6,8). (M1, K4) twice. M1 at the end-- row totals 30 (32, 34) stitches.


Left mitten row 3: K to last 4 stitches, place stitch marker (PM), M1, K1, M1, PM, K3: 32 (34, 36) stitches
Right mitten row 3: K3, PM, M1, K1, M1, PM, K to end of row: 32 (34, 36) stitches
Row 4: Knit all stitches.
Row 5: K to marker, slip marker from left needle to right (abbreviated SM), M1, K to marker, M1, SM, K to end of row: 34 (36, 38) stitches
Rows 6-13: Repeat rows 4 and 5 four more times: 42 (44, 46) stitches

Step 3: Save Some Thumb Stitches for Later

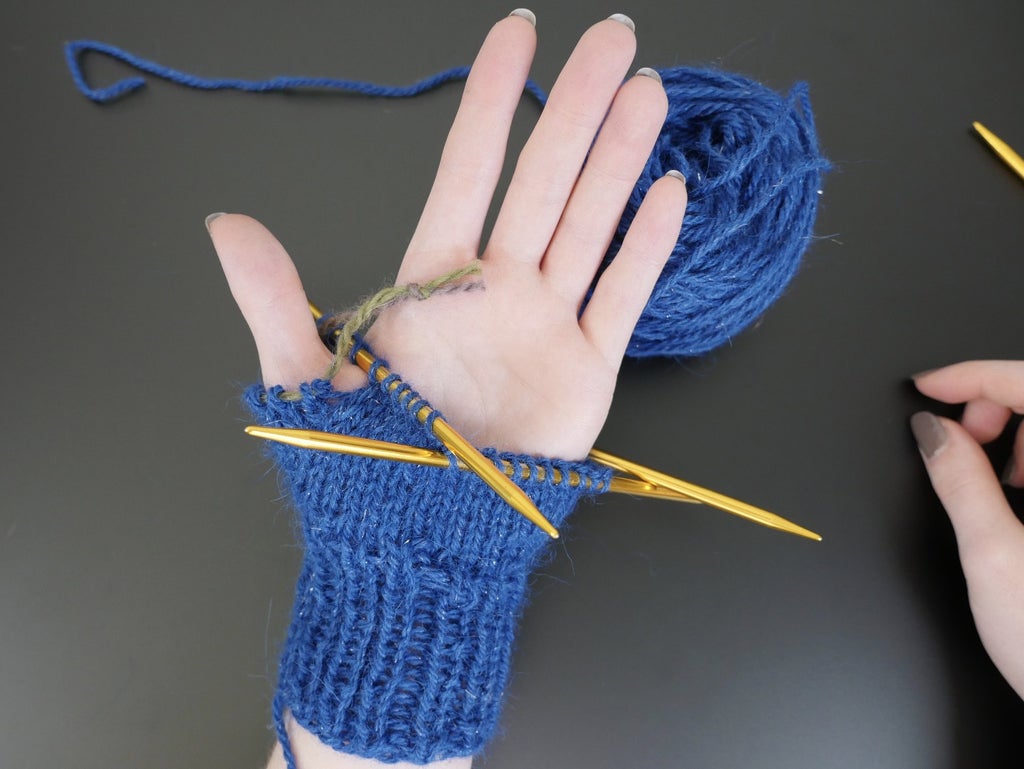
Before moving on to the rest of the hand, we need to set aside some stitches for the thumb, which we'll add later. Thread a piece of scrap yarn approximately 10 inches/25cm through a yarn needle.


Left mitten row 14: K to marker, remove marker, slip 10 stitches onto scrap yarn using a yarn needle, K to marker, remove marker, K to end of row: 32 (34, 36) stitches. Knot off the scrap yarn, leaving a loop big enough to fit your thumb through.
Right mitten row 14: K to marker, remove marker, K3, slip 10 stitches onto scrap yarn using a yarn needle, remove marker, K to end of row: 32 (34, 36) stitches. Knot off the scrap yarn, leaving a loop big enough to fit your thumb through.

Take a break and try on your proto-mitten. Congrats on creating some awesome shaping! The M1 increase creates gaps in the stitches that may be noticeable to you now. Don't worry, those gaps are easy to tighten up with a yarn needle at the end of the project. There are other types of stitch increases you can learn that have smaller/different gaps.
K 14 (18, 22) rows or until the hand reaches the last knuckle of your pinky finger.
Step 4: SSK Decrease
Now it's time to shape the top of the mitten, and try out a new kind of stitch decrease: the SSK, which is short for "slip, slip, knit." The first decrease you learned was k2tog aka "knit two together," a right-leaning decrease. SSK is a left-leaning decrease. No, we're not talking about politics! The appearance differences are subtle, but using a mixture of the two will result in a classy symmetrical look for your mittens.


First row of decreases: K1, then slip two stitches from left to right needles as if to knit.


Place the left needle back into those two stitches and knit the two stitches together. K10 (11, 12), k2tog, K1. Repeat. 28 (30, 32) stitches

Knit three rows.
(K1, SSK, K8 (9, 10), k2tog, K1) twice.
Knit two rows.
(K1, SSK, K6 (7, 8), k2tog, K1) twice.
Knit one row.
(K1, SSK, K4 (5, 6), k2tog, K1) twice.
Knit one row.
(K1, SSK, K2 (3, 4), k2tog, K1) twice.


Cut a 12-inch tail and thread it onto a yarn needle. Pass it through all stitches twice, cinch down, and weave in the end (or just stitch the tail to the inside of the mitten and wait to weave it in until the very end). You're almost there! Now on to finish the mitten by adding the thumb.

Step 5: Picking Up Stitches
It's time to add a thumb to your mitten! It will only take a moment compared to the work you've already put into creating the cuff and hand.


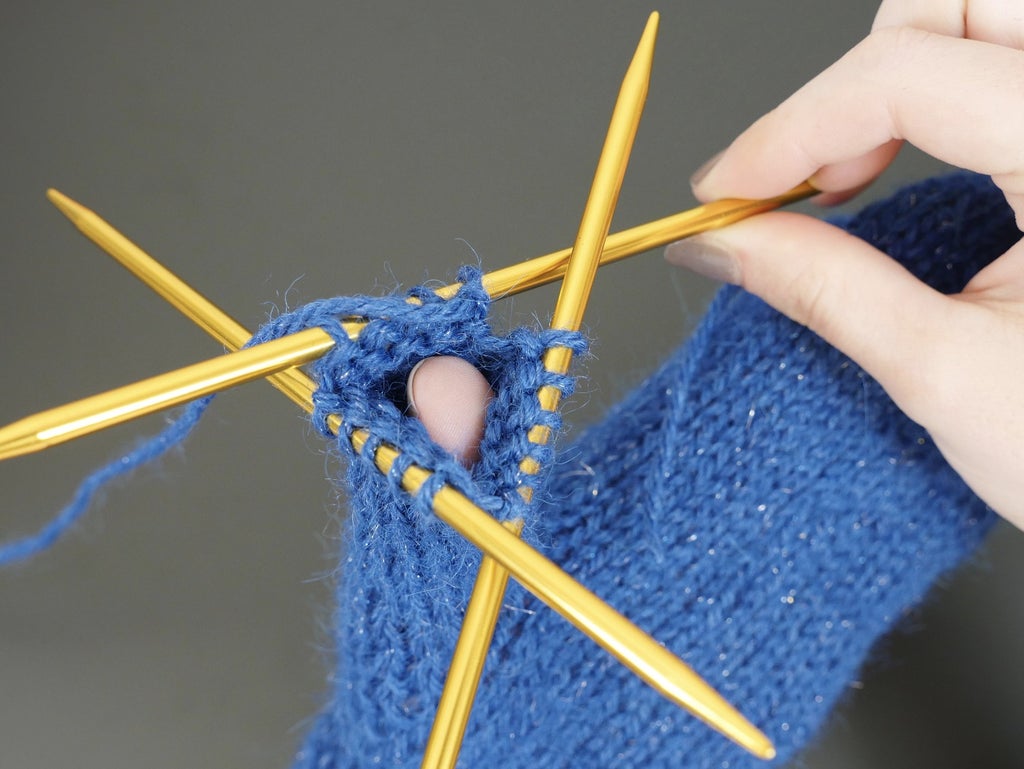
Cut off the knot in your scrap yarn, and carefully slip stitches onto two DPNs (5 sts on each).

To create stitches along the remaining side of the thumb, we'll need to pick them up from the available edge. Position a new strand of yarn and empty needle as to knit, and insert the needle into an opening close to the previous needle-- don't worry about being too exact here! Holding the yarn tail with your right hand will help you keep it taut. Wrap your working yarn counterclockwise around the needle and pull it back through to create a knit stitch.


Repeat to pick up a total of 4 (4, 6) stitches evenly between the other two DPNs.


Step 6: Knit & Shape Thumb


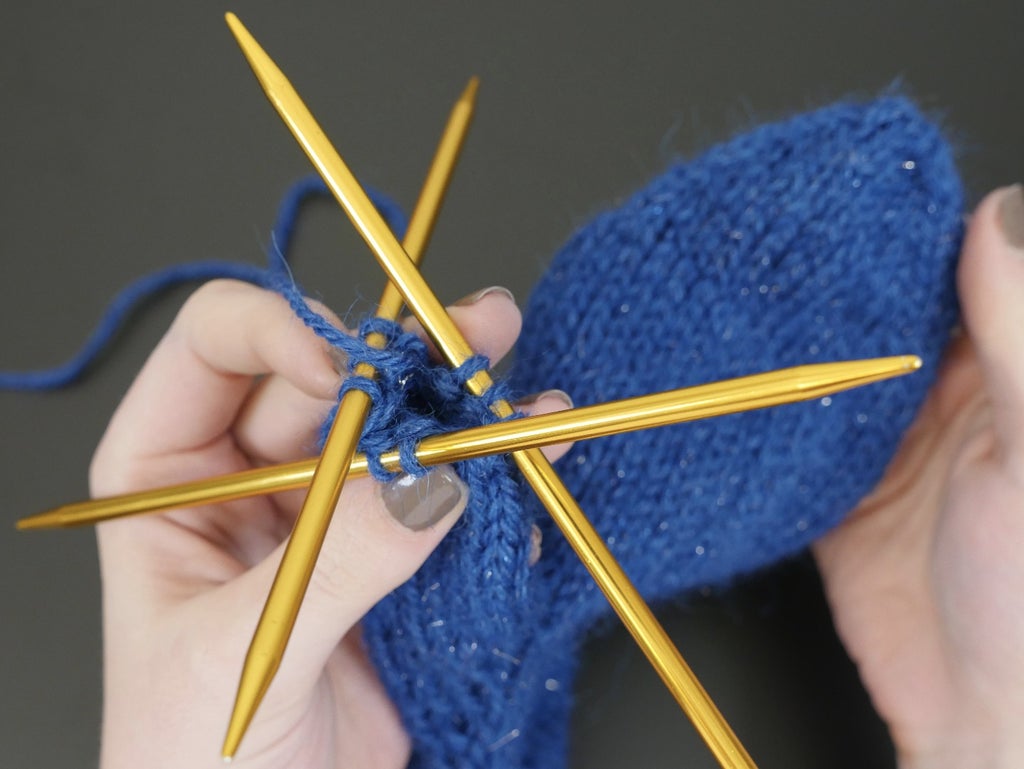
Continue knitting thumb on DPNs in st st for 13 (14, 16) rnds or until it reaches the tip of your thumb. Final rnd: K2tog 7 (7, 8) times.

Step 7: Finishing Touches!


Just like the tip of the hand section, cut your yarn and use a yarn needle to thread it through all stitches, removing the DPNs as you go. Pull the yarn tight and thread it through the loops again before weaving in the yarn end.


Use the yarn tails to help close any gaps around the thumb. Turn the mitten inside out and weave in the remaining yarn tails before cutting them short.
This project is an excerpt from my free Instructables Knitting Class, so please check it out to learn more techniques!


