Introduction: Flood Alarm System [DragonBoard 410c] [Qualcomm]
![Flood Alarm System [DragonBoard 410c] [Qualcomm]](https://content.instructables.com/FF6/05JJ/J1P8N1RT/FF605JJJ1P8N1RT.jpg?auto=webp&fit=bounds&frame=1&width=1024auto=webp&frame=1&height=300)
This project was done to a Hackathon contest on April 18-19th. We spent 32 hours to make this project and then we presented it to a jury. The theme of the contest was Public Services in Smart Cities, so we decided to develop a flood alarm system.
The main objective of an alarm system is to provide high quality informations in a clever time for life protection, property and environment.
When you talk about floods, the flood alarm system is a simple and helpful arrangement. This system basically suits when deluge gets on a high level that verges to cause traffic jams and accidents.
Step 1: Components and Requirements
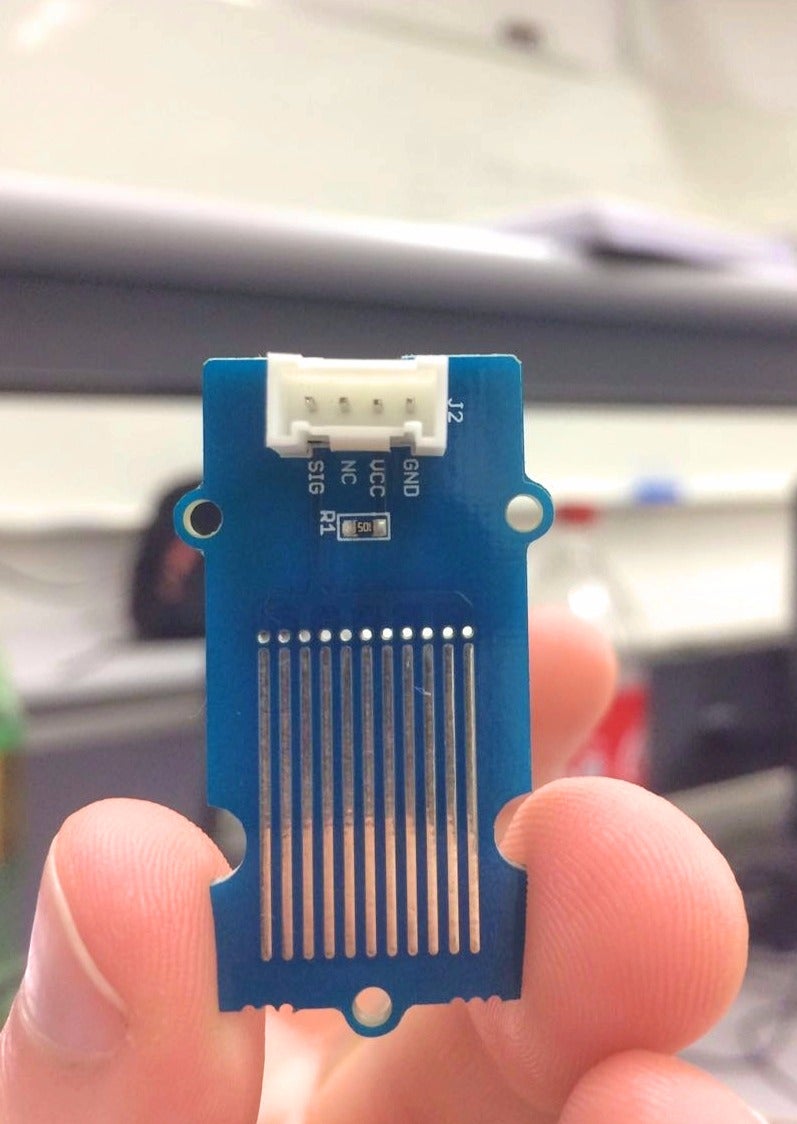


As we were in a hackathon, Qualcomm provided us a kit with all the components, except the ultrasonic sensor, which was provided by robotics lab.
So here are the components for flood alarm system:
• 96Boards Sensor Board
• Ultrasonic Sensor
• Humidity, Temperature Sensor
• Sensor Connectors
• Jumper Connectors
• Grove System
• Protoboard
• DragonBoard 410c
• 4 LEDs
The Humidity Sensor and Water Sensor module are part of Grove system. Also, the 96Boards Sensor Board was used as a shield, so we puggled it on top of the DragonBoard 410c.
Now, the requirements:
• Basic knowledge of Arduino programming
• Basic knowledge of Linux OS
• Basic knowledge of Python, C++, Java or Javascript
• Basic knowledge of electronics
P.S. The DragonBoard 410c OS Support is Android 5.1 (Lollipop) on Linux Kernel 3.10, Linux based on Debian 8.0, and Windows 10 IoT Core.
Step 2: Connections and Explanations

With the sensor connectors, connect all the sensors on 96Boards Sensor Board like the image above. Don't forget to plug the LEDs on the protoboard.
Here are the functions that the sensors will assume:
• Ultrasonic Sensor - It measures water's height.
• Humidity, Temperature Sensor - It measures relative humidity, local temperature and detect rainfall.
• Water Sensor - It indicates wheter the sensor is dry or damp.
An alert is issued through the LEDs according to the sensor's info, defining actions level since regular status till evacuation.
Step 3: Programming
Now that we are done with the hardware part of the alarm system, it's time to work on the software.The code was made with Python programming language and you can download it commented on the link.
Remember, we worked with Linux OS and Python, but you can also work with any OS and programming language referred in step 1.
Attachments

Step 4: Conclusion

To conclude our project, we printed a shape that suits our alarm system with a 3D Printer. According to the image above there is our finished project.
So, along with this project we'll be able to control traffic jam, avoid accidents, among other things to help the community and its people.
Every comment or suggestion will be very welcome! We appreciate your support!
Thank you for reading!
This project was developed by:
• Enzo Soares Leite Antunes Soares
• Guilherme C. Gasperotto
• Lucas Piovani Carneiro
• Luis Henrique Martins da Silva
• Rápolas Lisboa Senwaitis
• Rodrigo Padilha Marques
• Wesley Soares de Andrade


