Introduction: Glue Gun Holder With Flickering LEDs


My students are great, but they're still middle school students. That means they forget to do things like unplug glue guns at the end of the class. This is a fire hazard and a waste of electricity so I created a glue gun station with lights that remind us to turn everything off. Items you will need for this project:
- Two pieces of 1/4" plywood 24"x18"
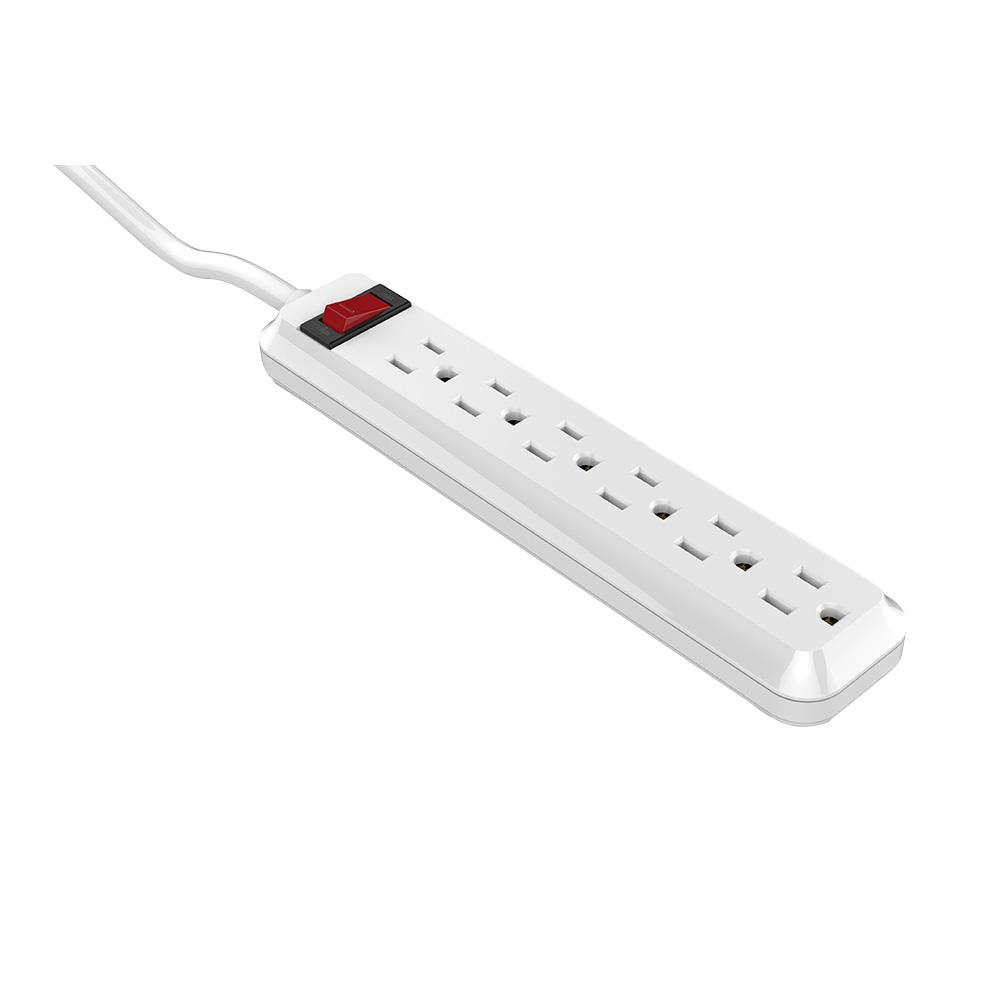
- Power strip (example - size and shape are important)
- Breadboard
- Arduino Uno
- 12V RGB LED strip (SMD5050)
- 3 x 10k Ohm Resistors
- 3 x Logic Level N-channel MOSFETs
- Hookup wires
- 12V Power Supply (I used a cord from an old lamp)
- 5V USB cable and brick to connect Arduino to power strip
- Wood glue
Step 1: Cut Pieces
I used a 50W Epilog laser with a 24"x18" bed to cut two 1/4" pieces of plywood into the pieces for my structure. I cut five versions out of cardboard before I was ready to cut the final version. Instead of using the wood for the front panel, I used a piece of plexiglass because I wanted my students to see the Arduino and the breadboard. I have attached the Corel Files. There is one for the back and one for everything else.
Attachments

Step 2: Connect and Program LED Strip


All the credit for the wiring goes to Ian Buckely's Ultimate Guide to Connecting LED Light Strips to Arduino including the Fritzing image of the circuit. He explains how the MOSFETs manage the power requirements of the 5V Arduino and the 12V LED strip.
- Connect Arduino pins 9, 6, and 5 to the gate legs of the three MOSFETs, and connect a 10k resistor in line with each to the ground rail.
- Connect the Source legs to the ground rail.
- Connect the Drain legs to the Green, Red, and Blue connectors on the LED strip.
- Connect the power rail to the +12v connector of the LED strip (note that in the Fritzing image the power wire is black).
- Connect the Arduino ground to the ground rail. Connect your 12v power supply to the power and ground rails. In the image here, I have my power and ground rails connected to a 12V battery pack and the Arduino plugged into a computer for testing.
I wanted a fake fire flickering look to the LEDs. There are a lot of different tutorials for using single color LEDs in combination to create a fire effect, but not that many for using an RGB strip so I developed my own code. It uses a high random value for red, lower for yellow and a tiny amount of the blue with a short random delay before changing color. It's pretty effective in my opinion. I've attached the code and pasted it below.
int ledPinRed = 6;
int ledPinGreen = 9;
int ledPinBlue = 5;
void setup()
{
pinMode(ledPinRed, OUTPUT);
pinMode(ledPinGreen, OUTPUT);
pinMode(ledPinBlue, OUTPUT); }
void loop() {
int Red = random(200,255);
int Yellow = random(10,30);
int Blue = random(0, 5);
analogWrite(ledPinRed, Red);
analogWrite(ledPinGreen, Yellow);
analogWrite(ledPinBlue, Blue);
delay(random(100)); }
Attachments
Step 3: Assemble and Glue


After you cut all the pieces, assemble them using wood glue. Be liberal with the glue on all surfaces that will touch. Clamp pieces together and wipe up any excess that squishes out with a damp paper towel. Let each stage dry for a little while before going on to the next:
First, attach the left and right sides to the shelf and bottom pieces.
Then attach the back to sides, shelf and bottom pieces.
The top piece does not have finger joints and it's very awkward to clamp. I smeared all of the edges with glue and then hammered a tiny nail in either end and in the middle (yellow arrows).
Lay the back flat on a table to attach the brackets and drip trays. Some glue will squish out the back onto the table. A couple of damp paper towels will catch that. Wipe off all the excess glue. Allow it to dry flat until brackets and drip trays are secure.
Step 4: Add Lights


Fit everything together in the cubby space at the bottom of the stand. Feed the power strip cord out the hole on the right. Feed the power cords for the LEDs and Arduino out the hole on the left. Plug everything into your power strip and place it first. Make sure to compensate for oversized plugs and test that you can put on the front panel. I had to angle the power strip a little because my brick for the USB cord was deeper than the others. Once you have everything where it will fit, use double sided tape to secure the power strip in place.
At this point, I plugged the Arduino into a 5V USB brick in order to power it using the power strip. I also connected a 2.1 mm barrel jack to the breadboard to provide the power to the LEDs. The barrel jack I used (linked under the materials list) was confusing to wire so I've labeled the pins in the picture above. So when you turn on the power strip for the glue guns, you also turn on the LEDs and Arduino. There's a 5-10 second wait after you flip the switch before the lights turn on.
Feed the LED strip out the hole on the left and then through the tiny hole in the side piece. Peel off the sticky backing and press it firmly around the edges of the stand....After about a month of use, the LED strip came loose from the edge, hanging from just a few really sticky spots. I applied some Tacky Glue to the back and clamped it all around. Since then, it's stayed in place. You may want to use this strategy from the beginning.
Step 5: Finish Assembly and Mount


Apply a liberal amount of glue to the front piece where it will connect with the sides, bottom and shelf. Keep in mind you won't be able to wipe up any excess on the inside and you don't want any to get into your electronics. Feed all your cords through the slot and put the front piece in place. Apply glue to the dividers where they connect to the front, shelf and back. Clamp and let dry overnight. (I didn't actually end up doing this part. Since I wanted to be able to access the inside and I used plexiglass for the front, I decided not to glue it permanently. Instead, I used a whole bunch of packing tape.) I also taped the cords for the Arduino and LEDs to the side of the holder so they wouldn't get tangled with the glue gun cords.
Find a stud in your wall or use anchors to secure the stand to the wall. I used two screws about 2/3 of the way up. The weight is carried by the table it rests on, but you don't want it to tip over when someone tugs on a cord.
The students really like using it. I haven't had any problems with glue guns left on when they're not it use. The lights make it very obvious when it's on. I might make a two-gun station for some other teachers who don't do as much construction as we do in my classroom. If so, I'll add those files here as well. Let me know if you make it!

Participated in the
Make it Glow Contest 2018


