Introduction: GoPro Time-lapse Rig for Dashboard (Lego)


Ever wanted to capture the journey to your vacation? Well, now you can! This rig for the GoPro allows you to complete that family road trip montage by making a time-lapse of the journey.
Made out of Lego, this is a simple rig to hold your GoPro in place while driving down the road. This was originally designed for use in a motorhome, but can easily be modified to fit a wide variety of vehicles.
A sample video has been added, which was recorded using this mount. A watermark was added in the lower right corner after the trip. Enjoy!
If you don't mind, please consider voting for this in the "On a Budget" contest. Thanks!
IMPORTANT: Make sure to position the mount where it is not in the driver's line of vision. Check with your state's law on acceptable positioning.
Attachments

Step 1: Holding the GoPro


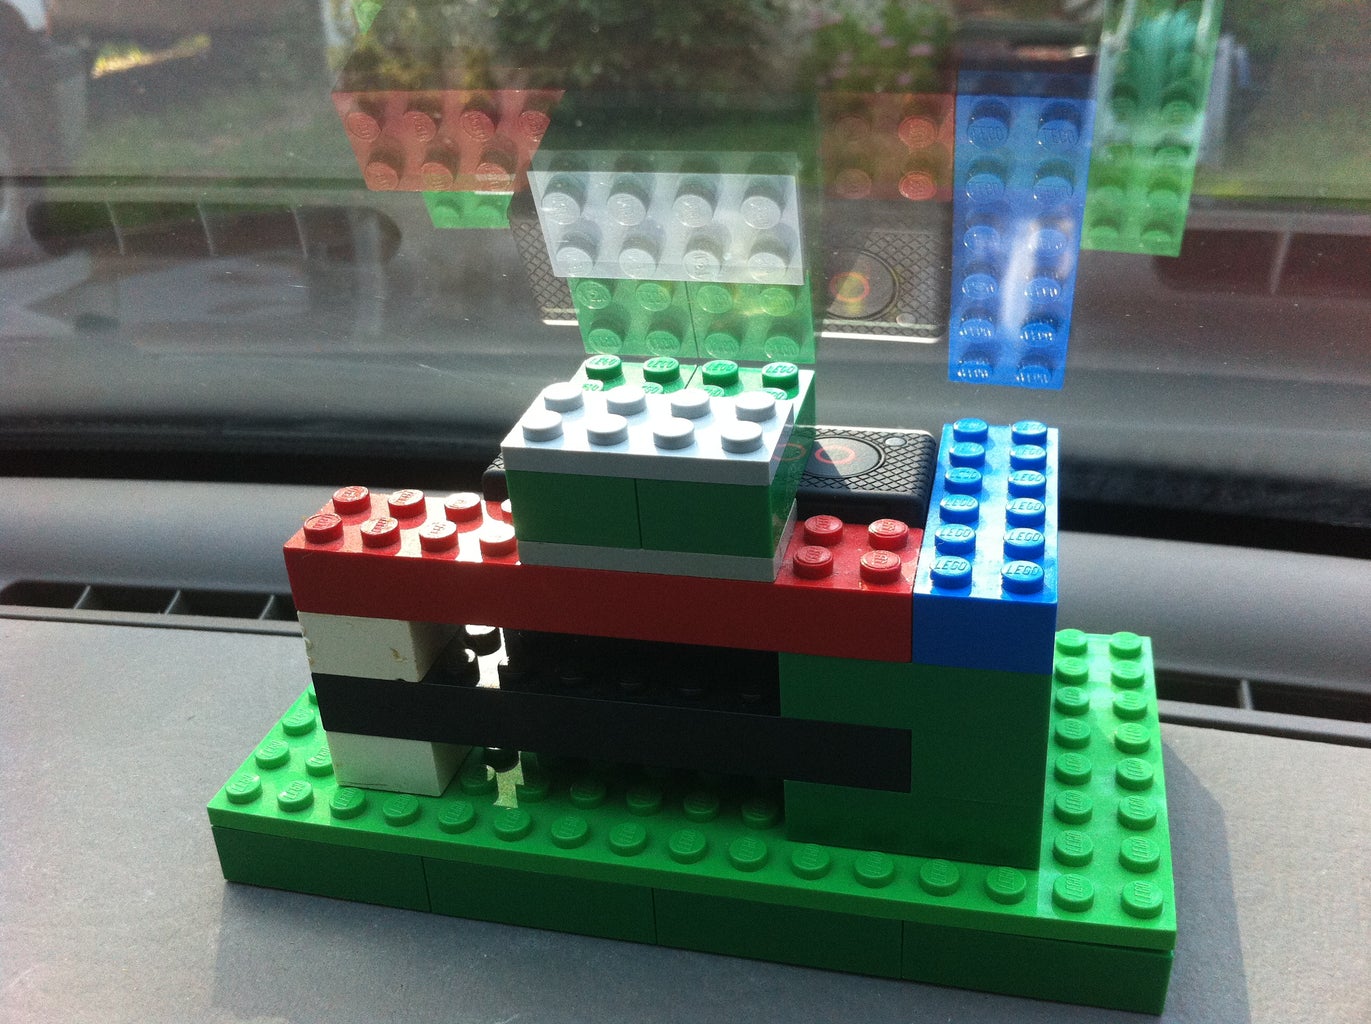
Okay, so we are going to build the part that holds the GoPro in place.
This gets a little bit complicated, so I’ve provided some pictures to help with the description. Basically, we want to have the Lego hold on to the GoPro tightly enough that it doesn’t shake loose while going over a speed hump. Lego on the regular stud grid does not grab on to the GoPro, so we are going to place a long flat tile in the front to help hold it in. We are also going to put a “lid” on top to prevent it from jumping out of the mount.
Make sure to brace the mount as much as possible. I made the two walls connected at the corner. Leave room for the cable on the USB side of the GoPro to keep it charged on your journey.
Next up, bracing the GoPro at the right angle!
Step 2: Bracing the GoPro

Now we want to take the GoPro, mount, and a few bricks out to your vehicle. Place the GoPro in the mount and turn on the WiFi. Use the GoPro app to get a near-real-time view from the GoPro and position it so that it covers the section of road you want to see.
Hold the mount with one hand and start stacking bricks with the other to get a rough idea how big the braces need to be. Take the rig back inside, and use additional bricks to build up a complete base. Pictures are provided for what I did to brace mine. Yours will vary depend on the slope of the dashboard.
Next up, setting up time-lapse mode!
Step 3: Set Up GoPro Time-lapse


To set up a time-lapse, we need to adjust settings on the GoPro. If you already know how to do this, you might want to check out the recording capacity table I provided.
To supplement the directions below, you can enlarge the images above and hover over the boxes that tell you what to press.
To go to time-lapse mode:
Power on, press the “mode” button four times. Press the shutter button. Press “mode” one more time. Press the shutter button. This brings you to the setup screen for time-lapse interval. Press “mode” to jump between the selections. Here is a table listing of lengths of time-lapses for a 16GB SD card and 5MP photos:
Holds a little more than 5000 pictures. Speeds are assumed at 60 MPH.
0.5 Second = ~40 Minutes
1 Second = ~80 Minutes (~1.25 Hours) (Once every 1/60 of a mile)
2 Seconds = ~165 Minutes (~2.5 Hours) (Once every 1/30 of a mile)
5 Seconds = ~415 Minutes (~7 Hours) (Once every 1/12 of a mile)
10 Seconds = ~830 Minutes (~13.75 Hours) (Once every 1/6 of a mile)
30 Seconds = 2500 Minutes (~41 Hours) (Once every 1/2 of a mile)
60 Seconds = 5000 Minutes (~83 Hours) (Once every mile)
Press the shutter button to select which option you want. Then, press and hold the shutter button until you see the video camera sign pop up. Press the “mode” button three times to get to time-lapse mode.
Next up, installing it in your vehicle!
Step 4: Installing the GoPro Rig
Now you are ready to install. Grab a USB cable (Mini) along with an adapter to fit your car. Slide the GoPro into the mount. Power it on, go to time-lapse mode, and start recording! Plug the USB in, and situate the GoPro on your dashboard. You may wish to use a piece of non-slip material to keep it from sliding around.
Enjoy the rig!