Introduction: HOME AUTOMATION BASED ON LOCAL MQTT SERVER USING RASPBERRY PI AND NODEMCU BOARD


Till now I have made several tutorial videos regarding controlling appliances over internet. And for that I always preferred Adafruit MQTT server as it was easy to use and user friendly also. But all that thing were based on internet. That means we can control appliances only when we have proper internet connection otherwise that wont work at all. So this time, I came up with Home automation based on Local MQTT server in which we can control appliances without any need of internet. All the appliances will be connected to single network and we can easily control them using our smart phone app.
We can also measure the data of various sensors attached on our pcb. So let’s see how it works and how to make it.
Step 1: Components Required
- Raspberry Pi 3B board
- SD card
- Nodemcu Board
- 4 x 5V Relays
- DHT11 sensor
- 4 x BC547 transistors
- 4 x 1n4007 diode
- 4 x 330 ohm resistor
- 7805 IC
- 9v Power Adapter
- DC power socket
- 2 pin Green Connectors
Step 2: Circuit Diagram

Step 3: Ordering PCBs for This Project
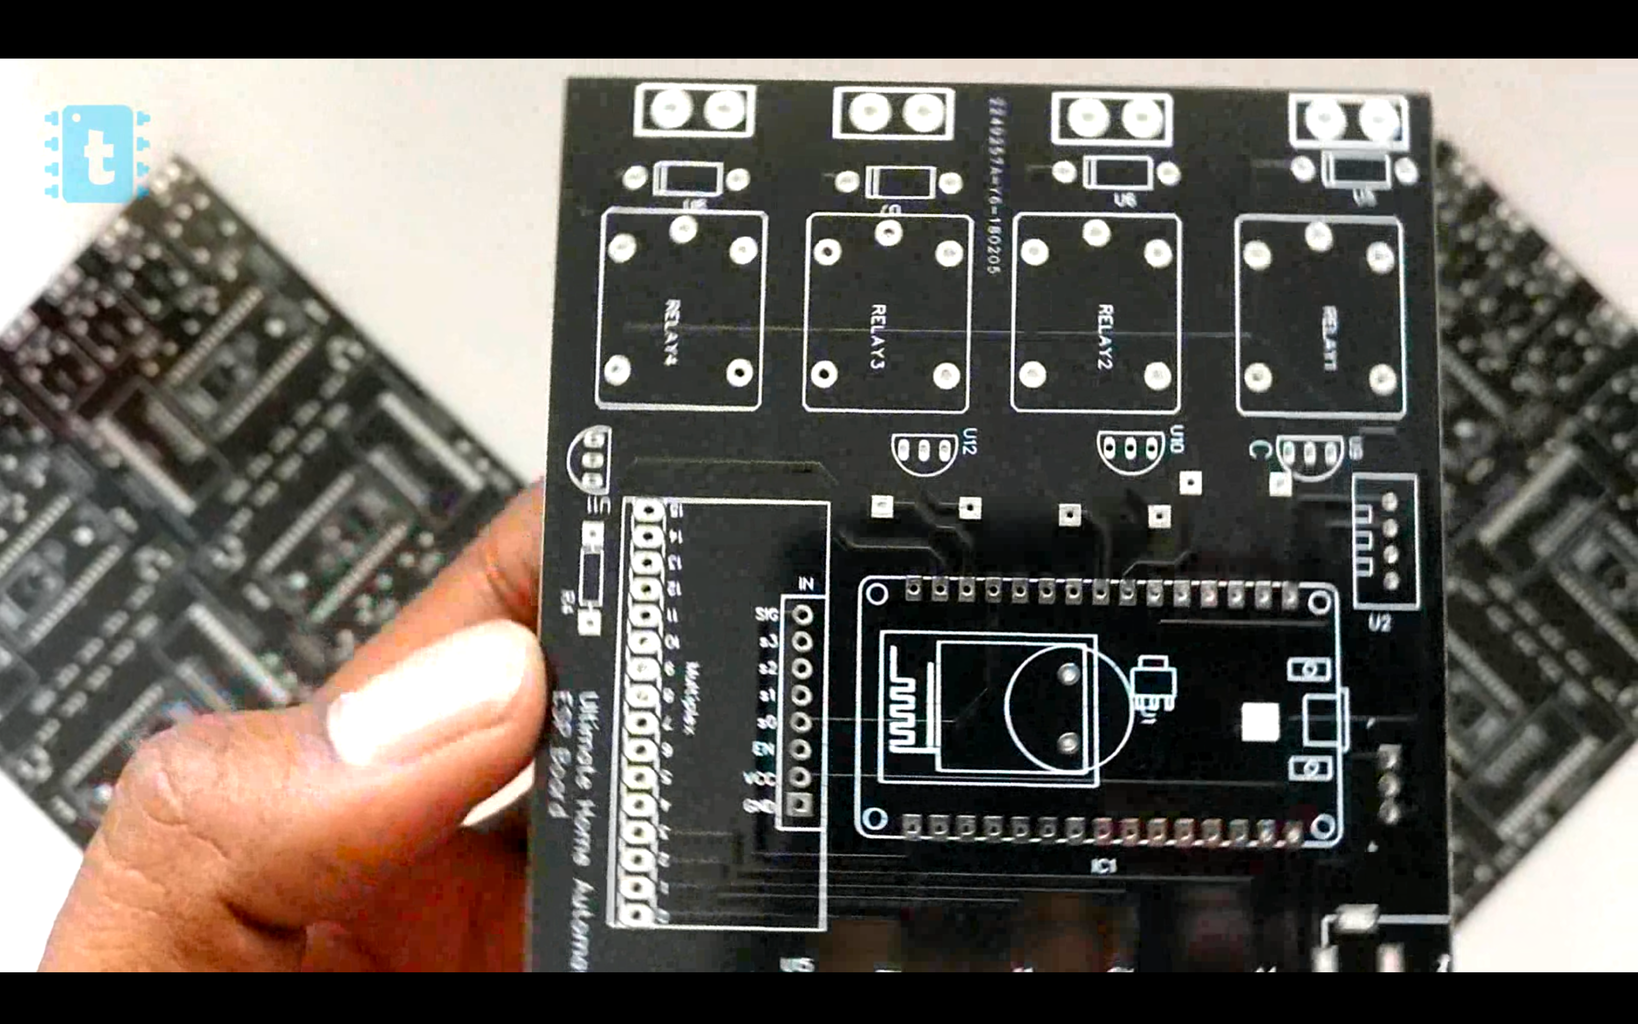
This project requires a lot of components to be connected with each other. If you go for a General Purpose PCB, then It will be a hectic and a long process for you. Better to go for a custom designed PCB. It’s very simple to order your own PCBs from jlcpcb.com . You just need to make an account, upload the gerber file of the PCB and place your order. You’ll be receiving PCBs at your door step.And hey, do you know the price for this PCBs?
It’s just $2 for 10 PCBs. Yes, you heard that right, in just $2, you’ll get 10 amazing PCBs with premium quality at your doorstep. I always prefer JLCPCB for the PCBs used in my projects and will suggest you too to go for it. If you want to get the gerber file of the PCB used in this project , you can download it for free from, www.easyeda.com/techiesms/ultimate-home-automation. After downloading the gerber file, upload it on JLCPCB and place your order. Simple.
Step 4: Installing Mosquitto MQTT Broker on Rpi
First of all, download the latest version of raspbian jessie from raspberry pi’s official website. Before installing the image, first of all format the SD card with the app, SD card formatter.
Then load the image into the SD card with the help of the software called Etcher
After you successfully boot the image into the card start up the device, connect it with internet through wifi. Open up the terminal and enter these commands one by one,
sudo apt-get update
sudo apt-get upgrade
sudo apt-get install mosquitto
sudo apt-get install mosquitto-clients
After doing this, you’ll be able to use your Pi as an MQTT broker..
Step 5: NodeMCU As MQTT Client

In this project, I’m using NodeMCU as a controller which has MQTT client code uploaded on it. Code for this project is uploaded on my GitHub account. For using that code, you need to have the Adafruit MQTT Library and DHT11 library installed on your system.
The only change you need to do inside the code is that, first you need to enter the WiFi credentials in it. Then you need to enter the local ip address of you raspberry pi board acting as a MQTT server. To get the IP address of your Raspberry Pi board, open up the terminal and enter the command ifconfig and press enter.
The code for NodeMCU board is uploaded on my GitHub account. So you can easily download and use that code for your project.
Step 6: Tutorial Video
I have made a full tutorial video in which I have cover each and every part of this project. I have also shown how to configure that MQTT dashboard android application. So kindly watch out this video.


