Introduction: HOW TO SIMULATE ARDUINO ON PROTEUS


Materials required
To simulate Arduino projects in proteus, there are few soft wares you will need:
1. Proteus software (Can be version 7 or version 8). I used version 8 in this tutorial
2. Arduino IDE
3. Arduino libraries Library for proteus.
You can check the video for demo https://youtu.be/UvI3YpyxYPk
Step 1:

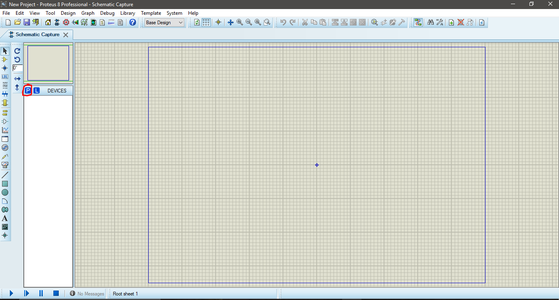
Open the proteus software and carry out the necessary steps to create a new project, to import the board click on the terminal selector which is the P symbol on the schematic capture tab by the left hand side of the interface (Refers to the picture for demo).
Step 2:
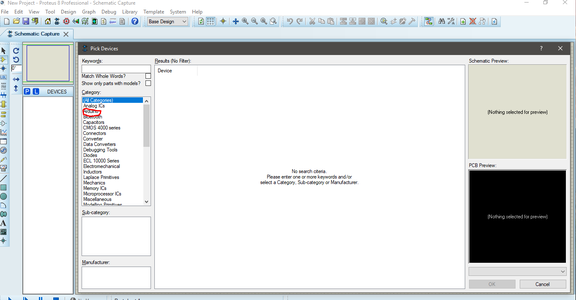

You can quickly click on the Arduino component which will display the various board available, in this project I will be using Arduino Uno Board, you can also select LED of any color which will be use for a simple LED blink simulation.
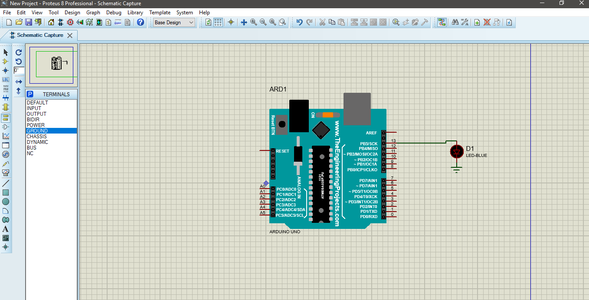
Step 3:

For the circuit we will be considering, the schematic is shown below, connect according to the schematic.
Step 4:

It is now time to launch your Arduino software, go to file, click on EXAMPLES > BASICS > BLINK And Verify the code.
Step 5:


Go to the Proteus project and right click on the Arduino Board, the select edit properties as seen in the image below. Now is time to upload the Arduino code to the virtual board.
It will pop out some files, search ( %temp% ) in the file name, check the diagram below for reference. The computer will then display some files in which you will see the file for the blink sketch you just verify, click on the Arduino file and select the file with the extension (.ino.hex), open it and click OK.
Step 6:
You can then proceed to simulate the project using the play button on the proteus interface.
Thank you for following the tutorial.
REFER TO THE VIDEO FOR DEMO

Participated in the
Arduino Contest 2020


