

Introduction: How to Make VU Meter Using Arduino (Bluetooth Speaker Version)

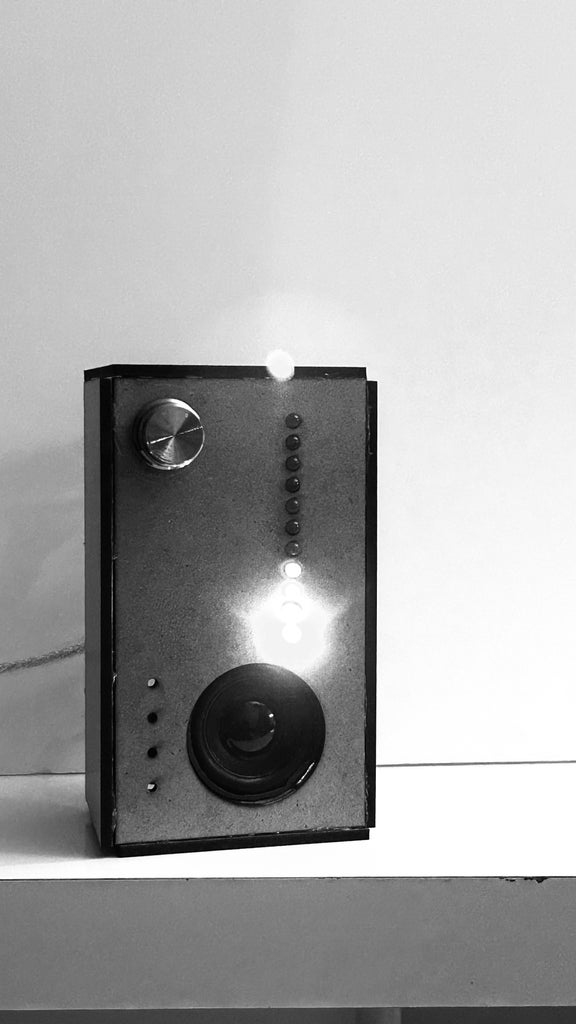
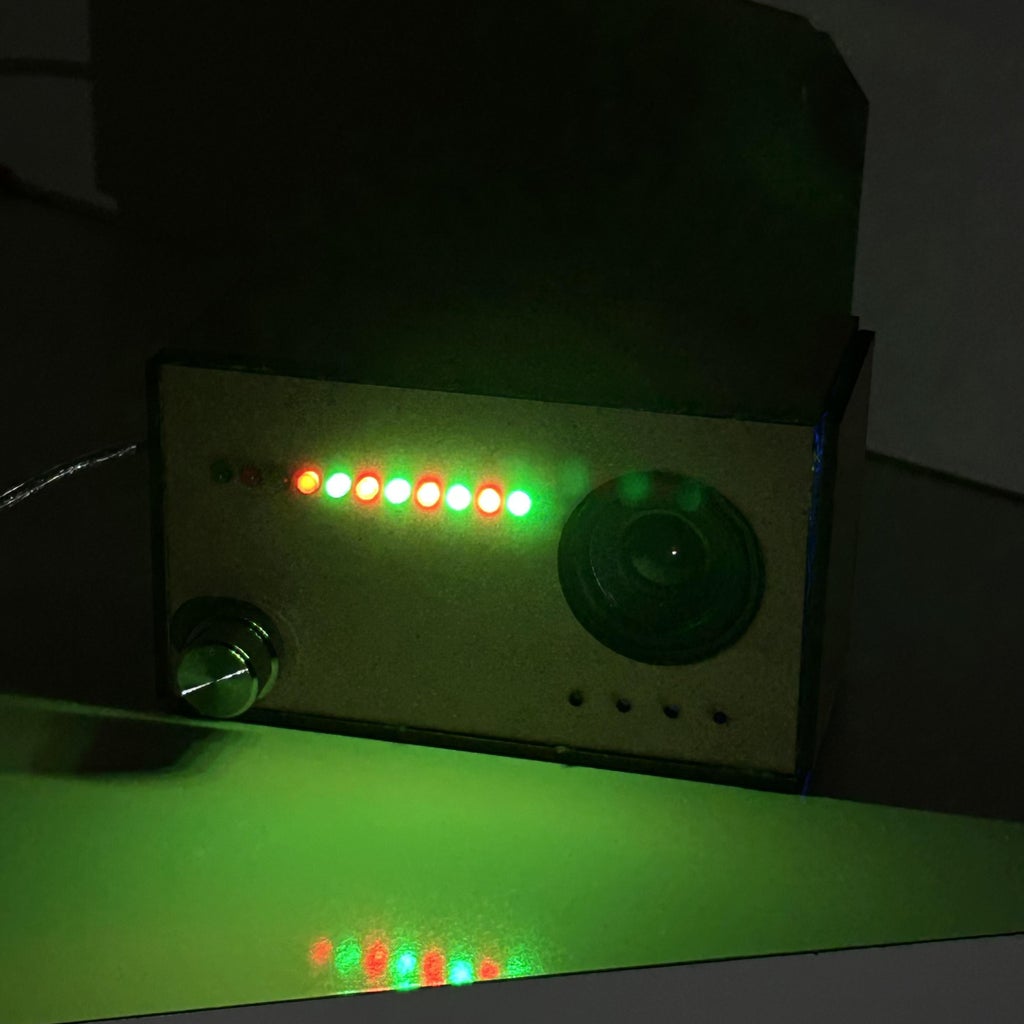
A VU meter is also called a “Volume Unit”. It determines the level of audio. It is mostly used for audio effects and visualizing the audio level.
“0 VU is equal to +4 dBu, or 1.228 volts RMS, a power of about 2.5 milliwatts when applied across a 600-ohm load. 0 VU is often referred to as “0 dB”.The meter was designed not to measure the signal, but to let users aim the signal level to a target level of 0 VU (sometimes labeled 100%)”.The analog VU meters “smooth” the measurement of the audio waveform via the mass of the needle slowing down the display of the loudness, effectively showing the perceived loudness of the signal, not necessarily the actual highest point. glancing over OP’s code, there doesn’t appear to have any sort of smoothing effect (aside from the time the code takes to execute, negligible in this case, as the Wikipedia article mentions 300 ms rise time) so OP’s device does not properly replicate an analog VU meter.

Supplies

- Arduino Uno (with Adaptor or 9V battery)
- Resistors – 100 Ohm (x11)
- LEDs (Different Colours) – 11
- Hookup wire – 1.5 to 2 meters
- 3.5 mm Audio Jack -1
- PCB -1
- Bluetooth speaker
- Potentiometer
Step 1: VU Meter Circuit

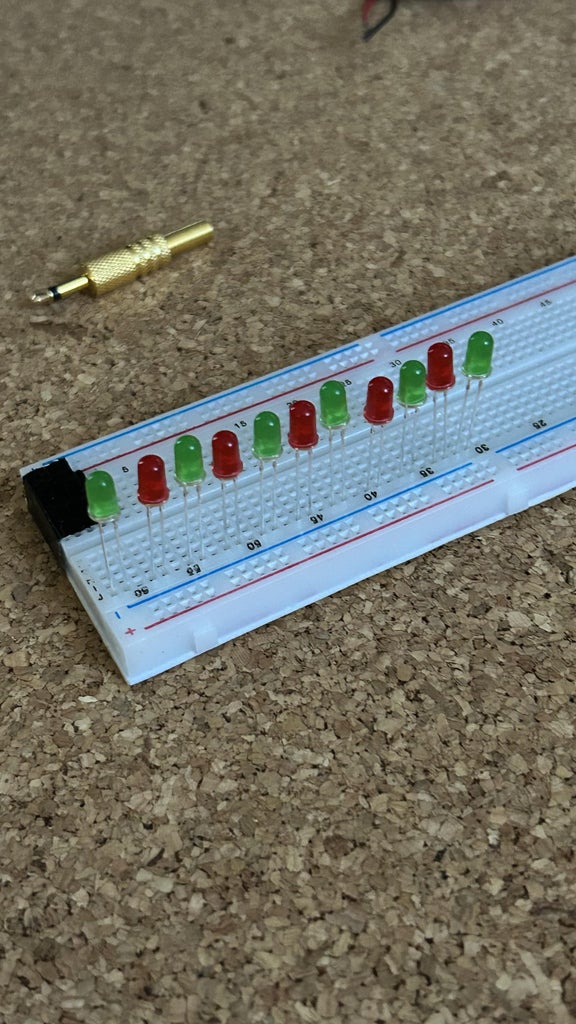
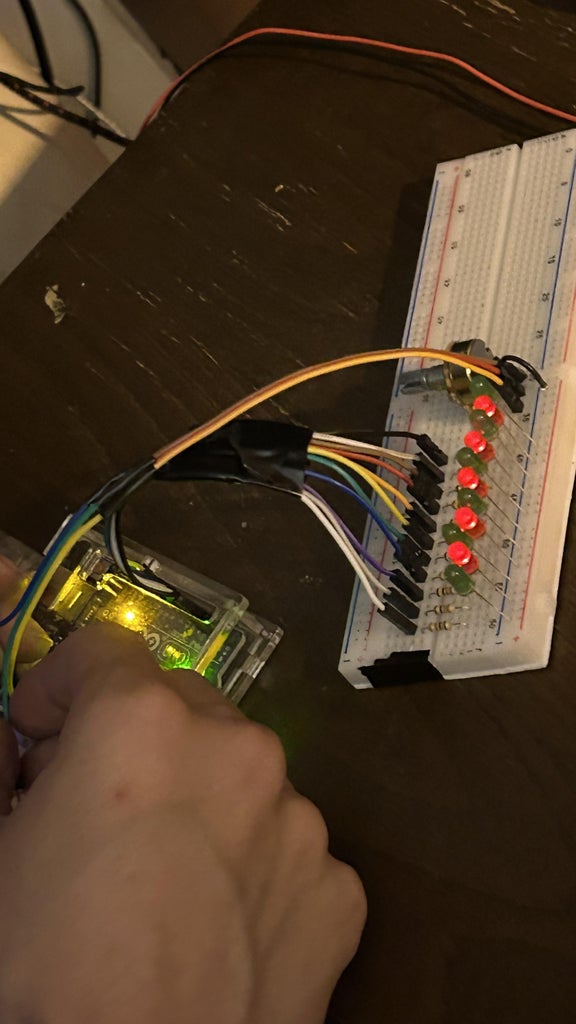


VU Meter Circuit
Step 2: VU Meter Code for Arduino

VU Meter Code For Arduino
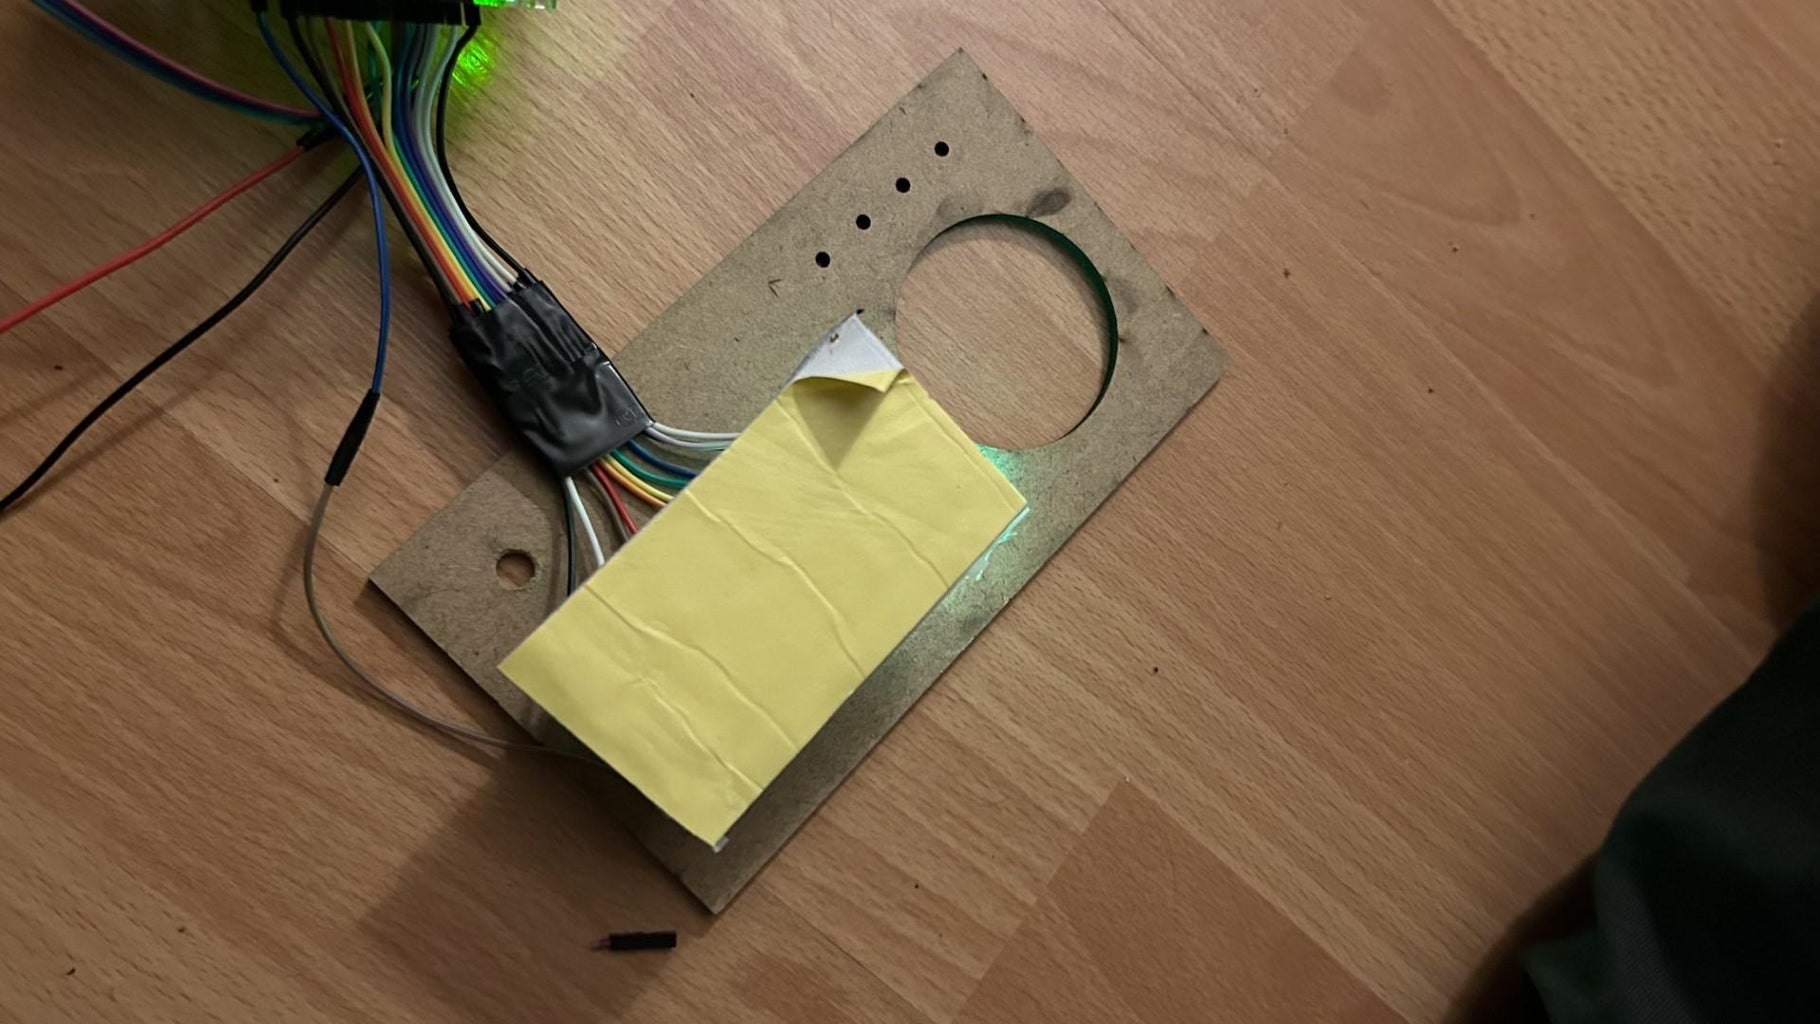
Step 3: Potentiometer

The potentiometer, which is the metal part, adjusts the intensity by adjusting the resistance of the leds.
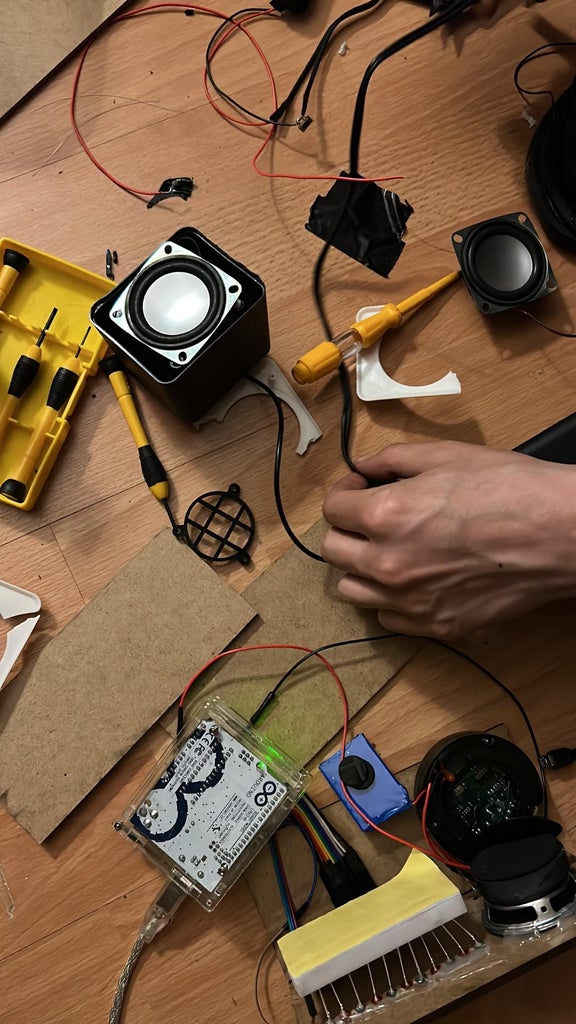
Step 4: How to Adapt Bluetooth Speaker


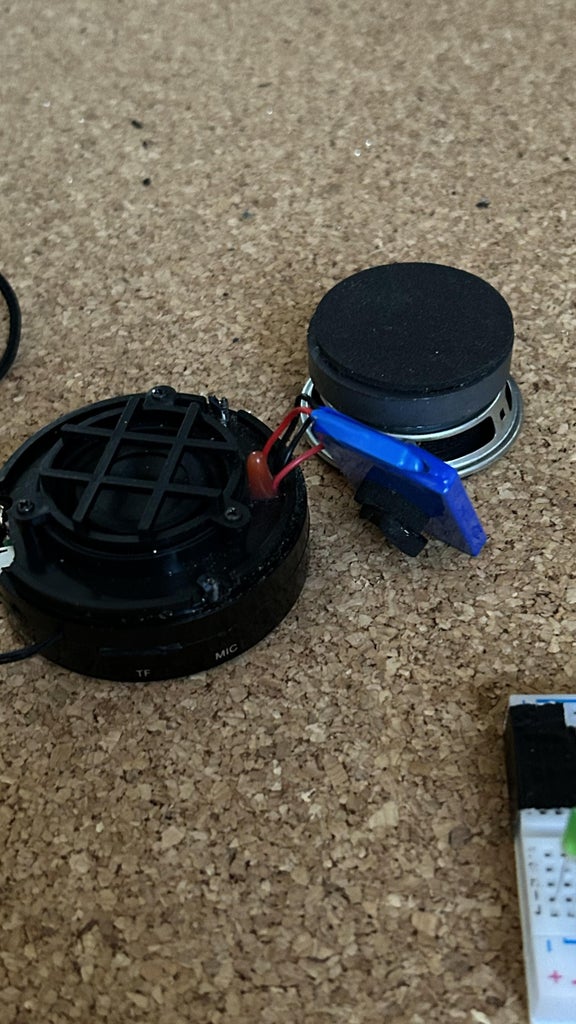
These parts shows that which cable adapt to bluetooth system


