Introduction: How to Make a Light Alarm With an Arduino Uno


Alarms are widely used in different aspects in our daily life. They highly decrease the property losses and security risks. So how does an alarm work? Follow the below steps to make a light alarm then.
Step 1: Preparation

SunFounder Uno board - http://bit.ly/2v5HrkE
NPN Transistor S8050 (super kit V3.0 - http://bit.ly/2ud56B3)
USB cable
Several jumper wires
Passive buzzer
10KΩ resistor
220Ω resistor
2 LEDs
Light Torch
Breadboard
Step 2: Principle

The LED has photoelectric effect: the LED will generate weak current after being exposing under strong light. Thus a transistor can be used to amplify the weak signal, and input the amplified current to SunFounder Uno board via port A0, the buzzer connect to port D5 of Uno will beep and LED on port 12 will light up under a high level.
You can check the schematic diagram above.
Step 3: Wiring for Transistor

Connect the cathode of one LED to ground, and anode to base of transistor;
Connect the collector of transistor to port A0, and the emitter to +5V voltage;
Then the 10KΩ resistor one end to port A0, and another end to GND. Now we have finished the wiring part for the transistor.
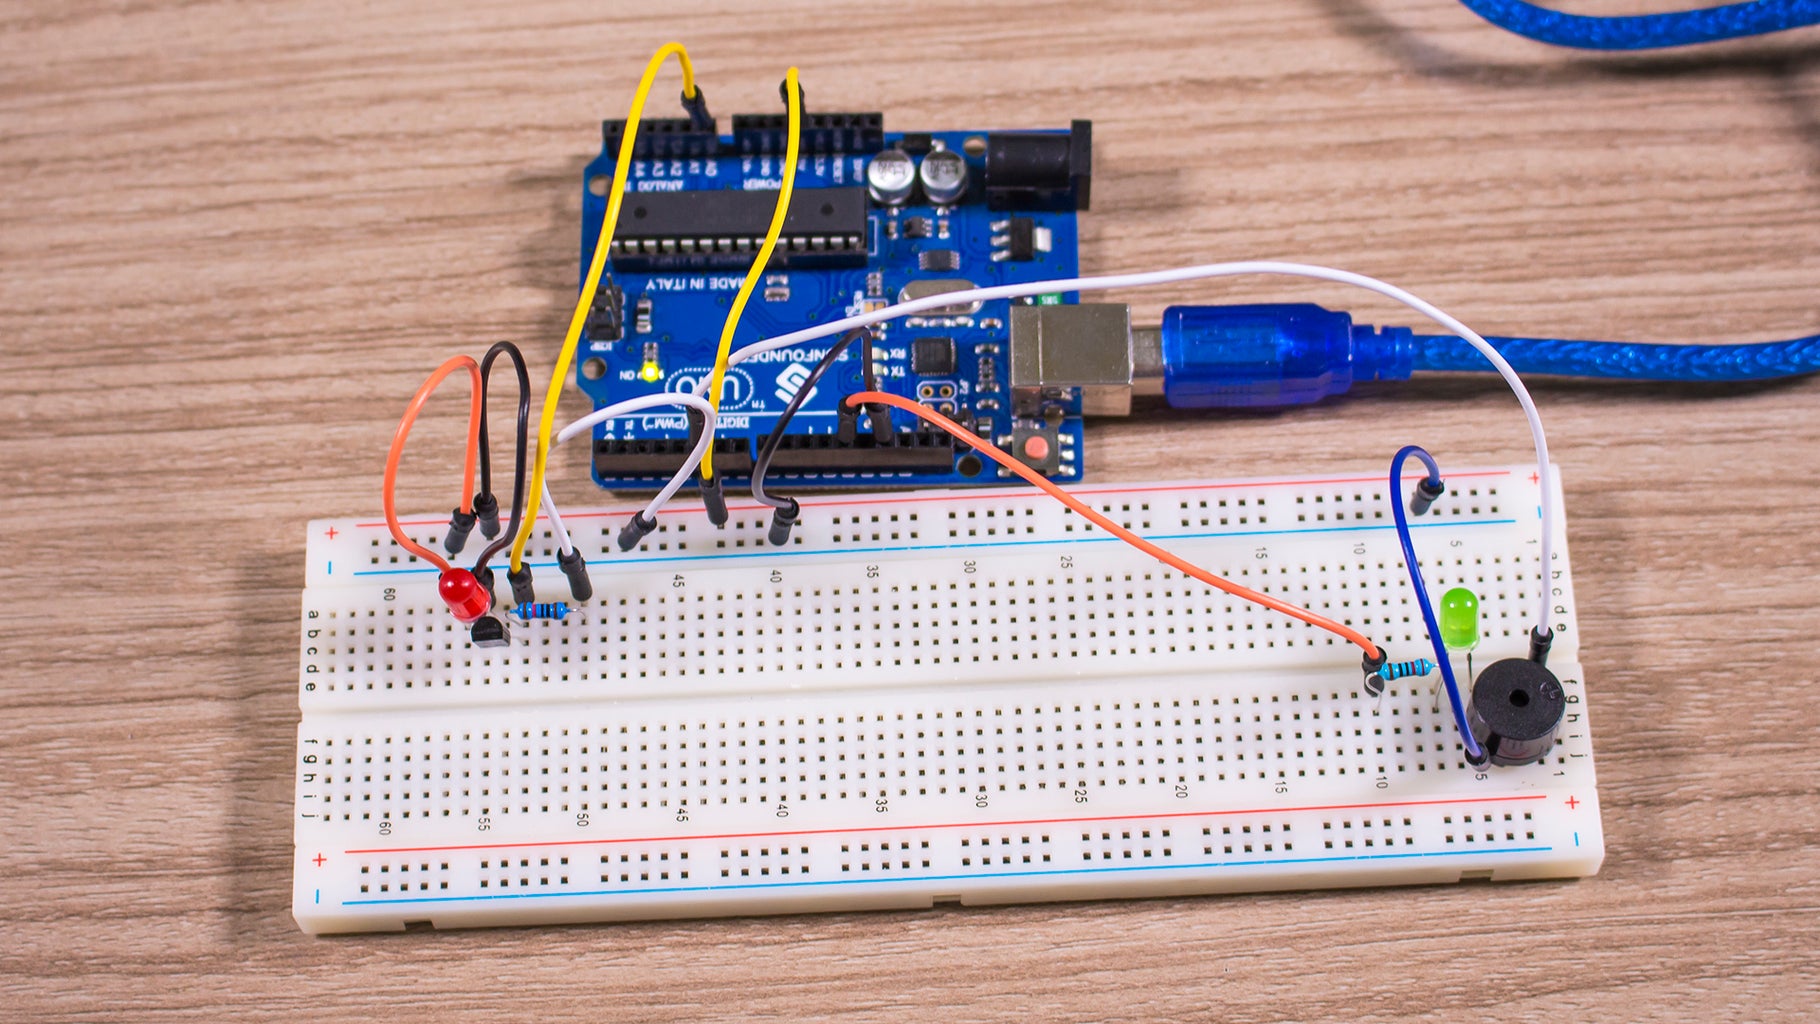
Step 4: Wiring for Alarm

So next is to complete the wiring for alarm.
Connect the anode of buzzer to port 5 of SunFounder Uno board, and the cathode to GND.
Step 5: Add a Resistor

Connect another LED’s anode to the 220Ω resistor, then port 12 of SunFounder Uno, and the cathode to ground.
Step 6: Program and Upload the Code
The code of the light alarm is quite simple.
Check the following code:
void
setup(){
Serial.begin(9600); // start serial port at 9600 bps:
pinMode(12, OUTPUT);
}
void loop()
{
int n = analogRead(A0); //read the value from analog pin AO
Serial.println(n);
if (n > 0) //If there is a voltage
{
pinMode(5,OUTPUT); //set the digital pin 5 as an output
for(int i=100;i<1000;i+=2)
{
tone(5,i,20);
}
digitalWrite(12, HIGH);
pinMode(5,INPUT); //set the pin 5 as an input
}
else
{ digitalWrite(12, LOW);
}
}
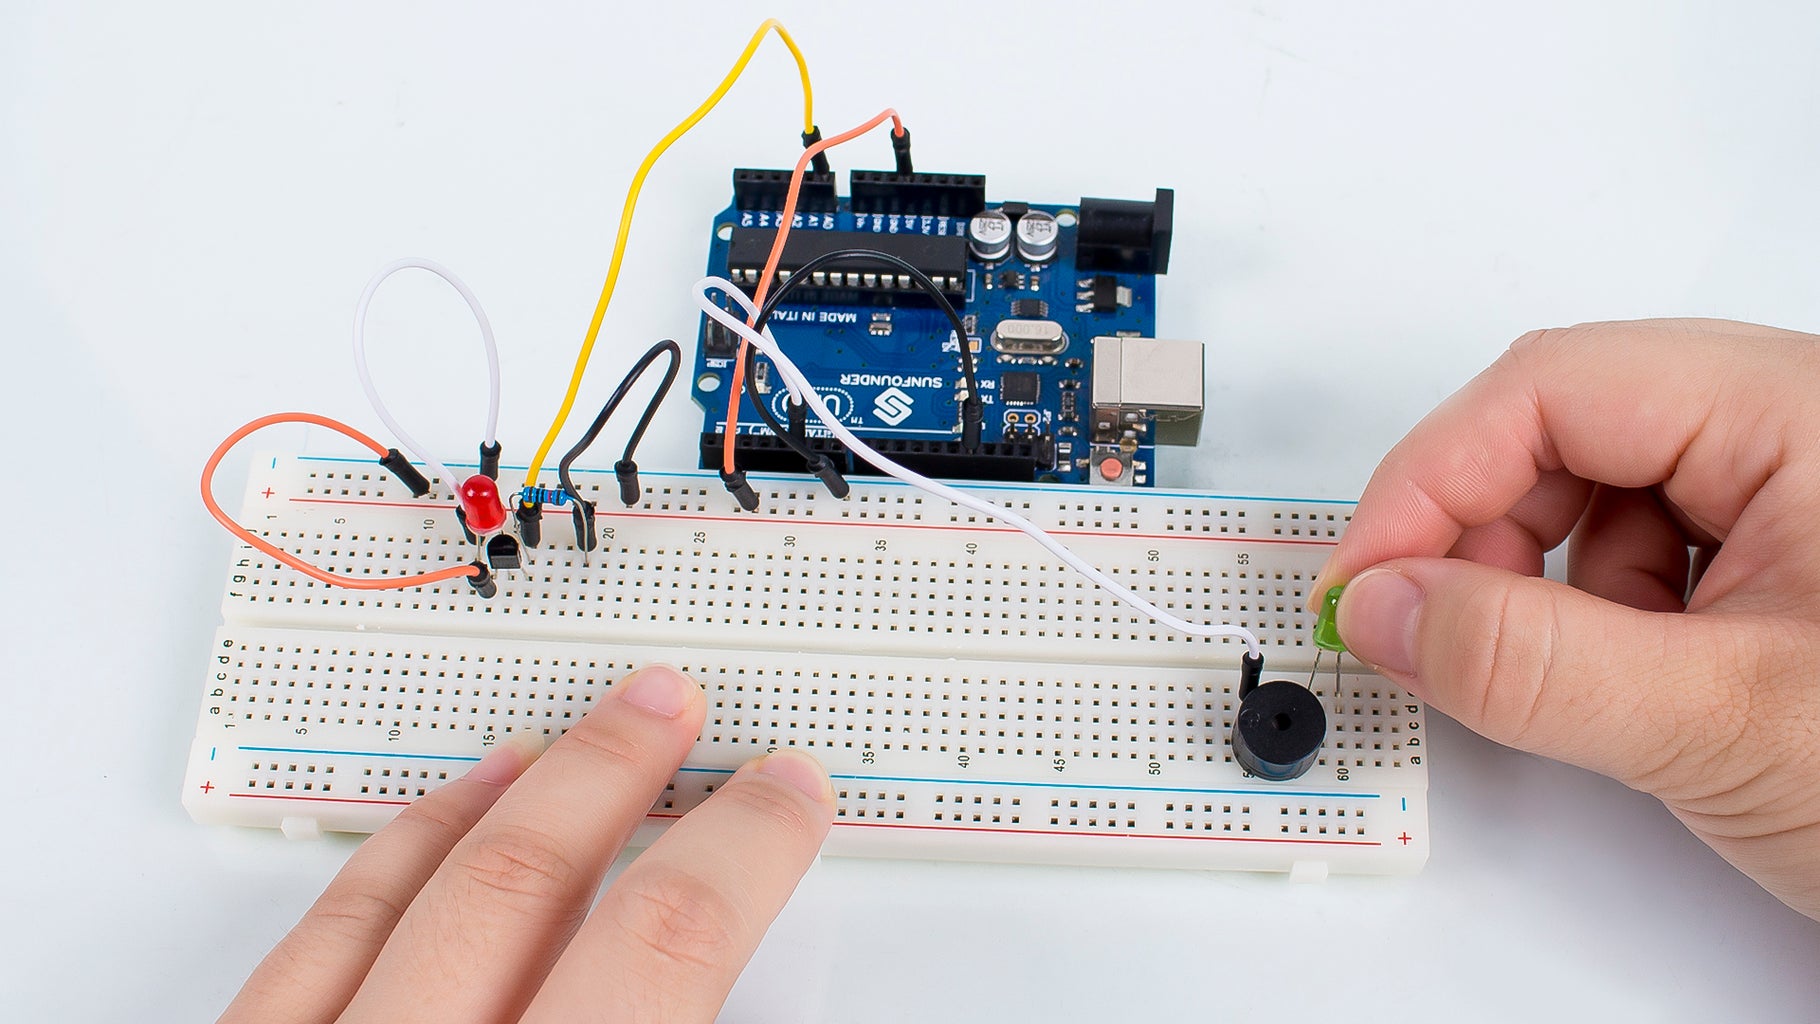
Step 7: Phenomenon

Turn on the light torch, and expose the LED used as photosensitive component under the torch’s light. Then the buzzer beeps and the LED near the buzzer light up.
Turn off the torch, the LED dims, and buzzer stops beeping.
Turn on the torch, the buzzer beeps and LED lights up again.


