Introduction: IFTTT + Raspberry Pi + Prota OS for Home Automation
What is IFTTT?
To sum up, IFTTT is a remote control for the Internet. The app let's its users to create automation rules based on if this than that logic. For example, if you post a picture on Instagram — IFTTT can save the photo to Dropbox.
IFTTT app now has 148 channels that — as the Verge points out — works as a Lego set made our of web companies.
For us, makers, adding the vast IFTTT library of channels can be very useful and fun, so in this instructable we will learn how to do exactly that.
To keep it simple we will draw a smart button using electric paint and connect it to the service using Prota Webhook application for Raspberry Pi.
Here's what we used:
- 1 tube of Bare Conductive electric paint
- 1 Raspberry Pi
- 2 jumper wires
- 1 sheet of paper
- Prota OS (https://prota.info/prota/pi/)
- IFTTT iOS/ Android app
- IFTTT maker channel to connect to Prota
With custom drawn smart buttons you can _______________.
turn on lights
send email
play music
find your phone
save track on Spotify
..& more!
Of course once you will learn how to connect your Raspberry Pi to IFTTT service, you will not be limited to making programmable buttons. One more good example could be as following: if a camera connected to your Raspberry Pi detects motion, Prota can send a webhook to IFTTT and from there IFTTT can add details to a Google spreadsheet. In addition, Prota could send an email with security footage and IFTTT could send that image directly to your Dropbox.
Step 1: For the Sake of Simplicity, Let's Draw a Circuit and a Button Using Electric Ink.
Step 2: Make a Button Using a Sheet of Paper Like This. Then Connect the Circuit That You've Just Made to Raspberry Pi Using Two Jumper Wires.
Step 3: Go to Http://myprota.me and Install the GPIO App.
You can install from the App Repository.
Step 4: Go to the GPIO App and Click on the Active Pin.
Step 5: Select INTERRUPT Mode.
Optionally you can set pull up/ pull down modes. Pull up mode is that when a sensor is triggered whenever a rising interrupt is detected, and Pull down mode means that a sensor is triggered whenever a falling interrupt is detected.
Step 6: Test Your Button!
When you press the button down, the edge should be rising and when you release, the edge should be falling.
Step 7: Go to the Ambiency App and Press on the + Sign to Add a New Story.
Step 8: Select GPIO As a Sensor and Email App As an Actuator. We Will Connect to IFTTT Service Using the Webhook App.
Step 9: Once You Confirm the Webhook App As an Actuator, You Will Have to Enter a Web Request URL From the IFTTT Maker Channel.
Step 10: To Get Your Unique URL Go to IFTTT.com and Type Maker in the Search Bar. Then Click on the Maker Icon.
Step 11: Then Click on Receive a Web Request.
Step 12: Click Create New Recipe.
Step 13: Name Your Even and Click Create Trigger.
Step 14: Now Choose Another Channel That Should Be Triggered Once the Web Requested From Raspberry Pi Is Sent.
Step 15: Go Back to Maker.ifttt.com and Click on How to Trigger Events.
Step 16: When You Open How to Trigger Events, Type in Your Event Name and Copy the URL.
Step 17: Paste the URL Link in the Webhook App. Then Click the Green Button.
Step 18: Click the Green Button Again.
Step 19: Name and Save Your Automation Rule by Again Clicking on the Green Button Again.
Congratulations, you are done! Now go create one more rule.
You like our projects? Make your own!
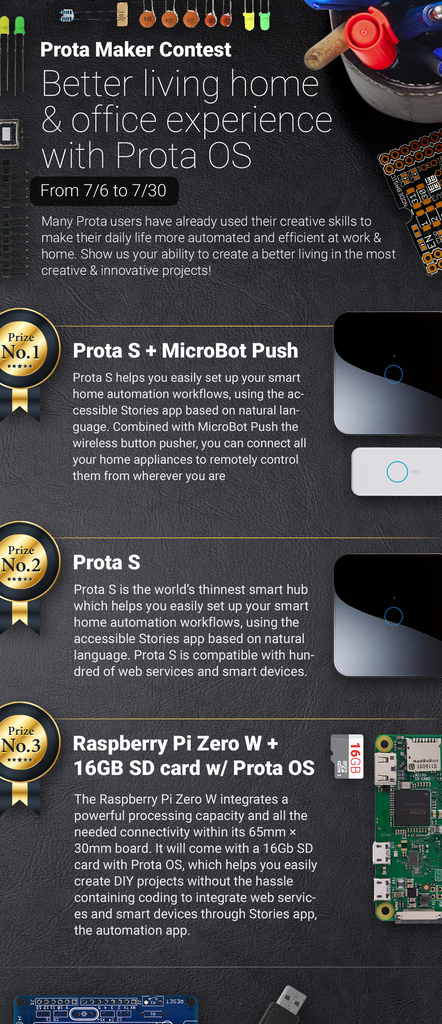
We are currently (and until July 30) running a maker contest. Show us the creative projects you can do with Prota OS and win awesome prizes!
More info here - https://support.prota.info/hc/en-us/community/top...


