Introduction: IOT Based Smart Weather and Wind Speed Monitoring System

Developed By - Nikhil Chudasma, Dhanashri Mudliar and Ashita Raj
Introduction
The importance of weather monitoring is existed in a lot of ways. The weather parameters are required to be monitored to sustain the development in agriculture, green house and to ensure the safe working environment in industries, etc. The primary motivation behind taking up this project is the large utility of the wireless weather monitoring in varied areas ranging from agricultural growth and development to industrial development. The weather conditions of a field can be monitored from a distant place by farmers and won’t require them to be physically present there in order to know the climatic behaviour at the agriculture field/greenhouse by using wireless communication.
Supplies
Required Hardware:
- Raspberry Pi B+ Model
- Arduino Mega 2560
- A3144 Hall Sensor
- IR Sensor Module
- DHT11 Temperature and Humidity Sensor
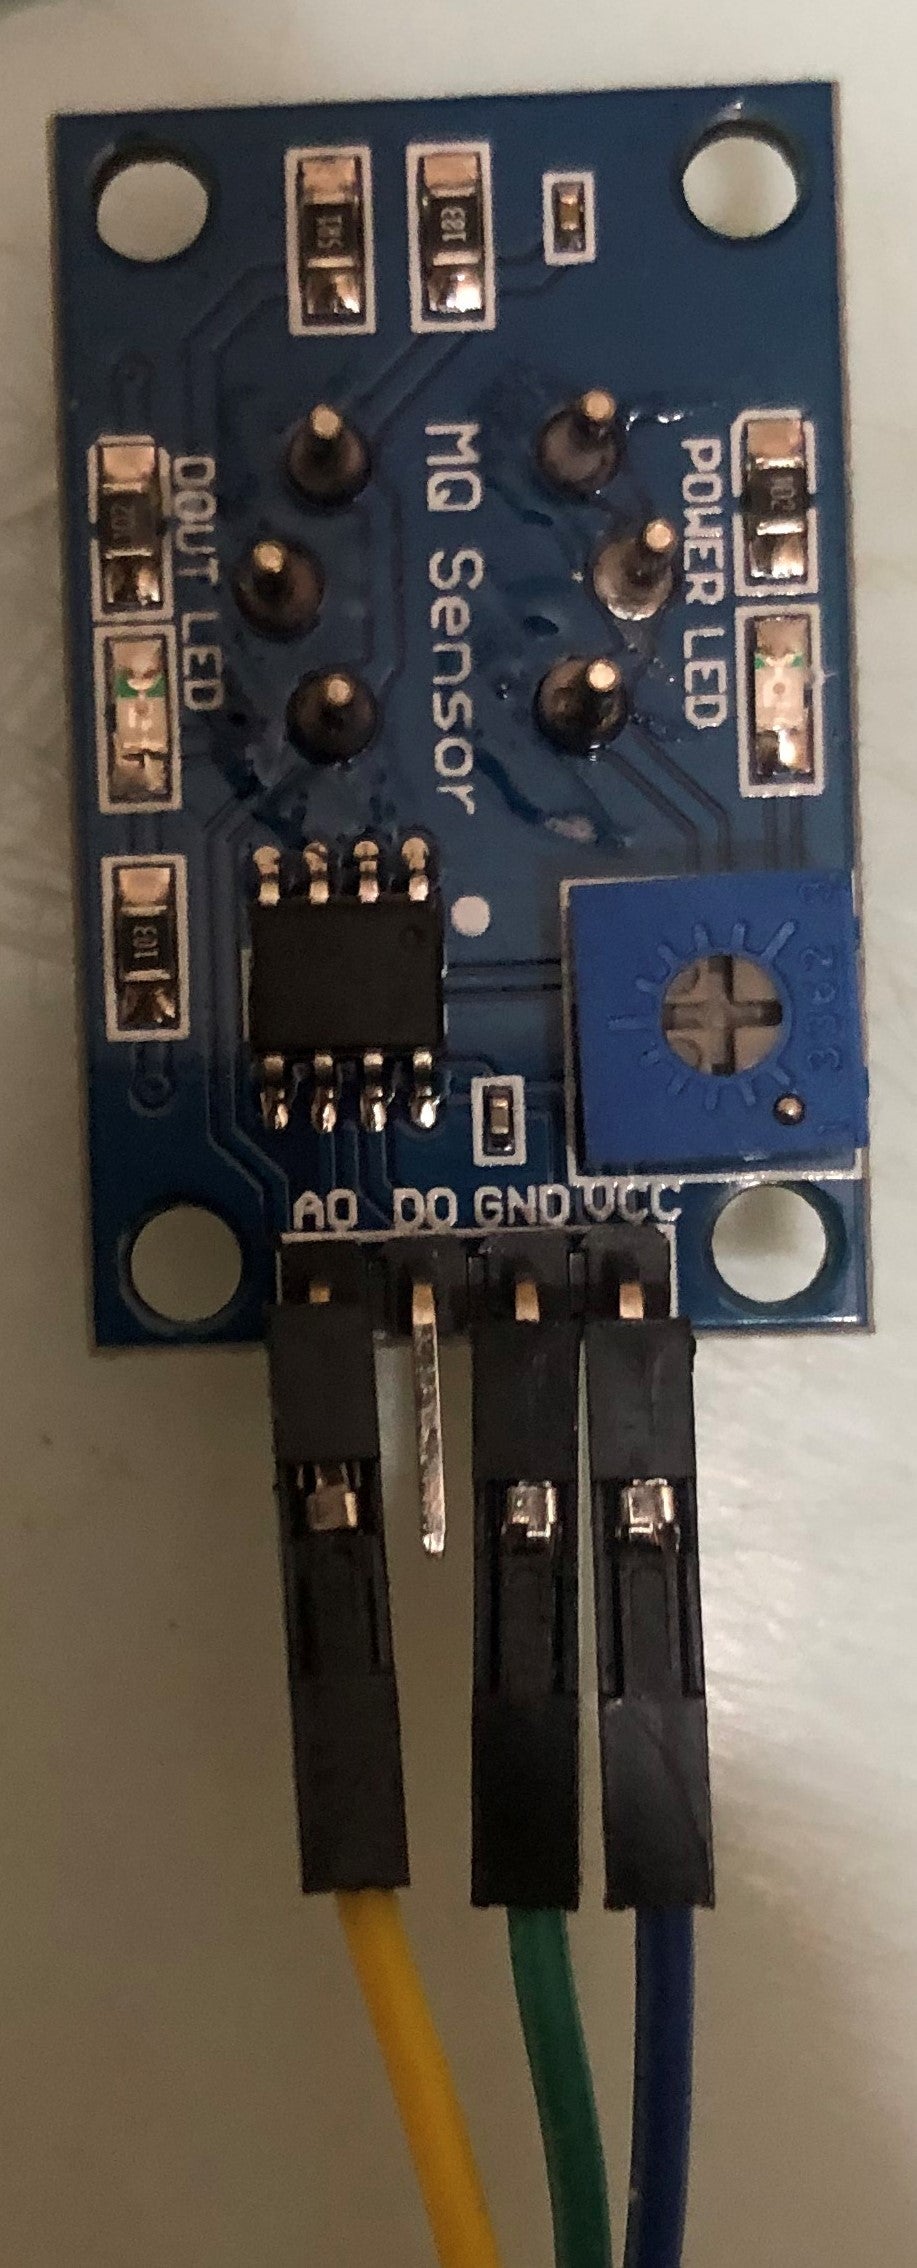
- MQ-7 Gas Sensor
- ML8511 UV Sensor
- Miniature Ball Bearing
- Threaded Bar, Hex Nut and Washer
- Neodymium Magnet
- 10K Resistor
- PVC Pipe and elbow
- Ball pen
Required Software:
- Arduino IDE
- Node Red
Step 1: Development of Anemometer


- Cut the PVC pipe with the length greater then the bearing thickness.
- Fit the ball bearing inside the pipe cut piece.
- Join the back cap of the pen on the outer periphery of the pipe cut piece at 0-120-240 degree
- Attach paper cups at the writing side of the pen.
- Fit the threaded Bar inside the pipe using the washer and nut, mount the A3144 hall sensor as shown in the image.
- Attach the magnet on one of the three pens such that the magnet should come exactly on top of the hall sensor when the pens are assembled.
Step 2: Development of Wind Direction Unit


- Cut a piece of pipe and make a slot to fit the wind vane.
- Fit the ball bearing inside the cut piece of pipe.
- Fit threaded bar inside the pipe and mount a CD/DVD at one end. Above the disc leave certain distance and fit the ball bearing fitted pipe piece.
- Mount IR Sensor Module on the disc as shown in image.
- Make wind vane using scale and make a obstruction which should be exactly opposite to IR transmitter and receiver after the assembly of vane.
- Assemble the vane in the slot.
Step 3: Assemble Wind Speed and Wind Direction Unit.

Assemble the wind speed and wind direction unit developed in step 1 and step 2 using pvc pipe and elbow as shown in the image.
Step 4: Circuit Diagram and Connections


The table shows the connections of all the sensors to the Arduino Mega 2560.
- Connect 10Kohm resistor between +5V and Data of Hall Sensor A3144.
- Connect Vcc, 3.3V and Gnd of all the sensors respectively.
- Connect USB type A/B cable to Arduino and Raspberry Pi
Step 5: Program for Arduino

- Install the libraries of the DHT11 sensor and MQ-7 which are included here.
- Copy and paste the Arduino code included here.
- Connect the Arduino board using the cable to Raspberry Pi
- Upload the code in the Arduino board.
- Open Serial Monitor and all the parameters can be visualized here.
In the Arduino IDE:
Step 6: Node Red Flow


The images show the Node-Red flow.
The following are the nodes used for showing data on dashboard
- Serial-IN
- Function
- Split
- Switch
- Gauge
- Chart
Do not use MQTT out nodes as they are used for publishing the data on remote server like Thingsboard. The current instructable is for local network dasboard.
Step 7: Dashboard


The images show the dashboard which show all weather parameters and real time graphs respectively.
Step 8: Testing
The real time results shown on the dashboard