Introduction: Make an Electric Boat and Control It Using Smartphone


Make, make your own boat,
And control it wirelessly,
Hurry, everyone gets on board,
We’re beginning in one, two, three!
And oh, don’t forget to gather the essentials such as a DC motor, servo, some polystyrene, fan, evive, and as always, loads of DIYing!
Step 1: Things Needed
Step 2: Making the Hull of the Boat


Let's start by making the hull of the boat using polystyrene.
Take the polystyrene sheet and make the design of your water boat onto the sheet.
Once the design is ready, take the cutout.
I have made one hollow hull and one is the solid hull.
Glue the hollow hull onto the solid hull using glue.
Once done, keep it aside.
Step 3: The DC Motor and Fan


We need a fan to make our boat move in the forward direction. Also, we need a DC Motor to make our fan rotate.
Thus take a small piece of polystyrene and attach the DC Motor onto this piece using the glue.
Take the fan and fix it on the free shaft of the DC Motor.
Fix this piece onto the hollow layer of the boat.
Step 4: Completing the Assembly


Now we need to make the boat change the direction.
Thus, we will take a small piece of metal.
Take the micro servo and attach a double-sided horn onto the free head.
Fix the metal piece onto the servo horn using Hot Glue.
Now fix this below the DC Motor using Double-sided tape. Make sure that the metal piece remains into the water.
Thus, our assembly is finally complete.
Step 5: Circuit Diagram

Make the connection as shown in the given figure.
Servo Motor- S1 Channel
DC Motor- M1 Motor Channel
Step 6: Code
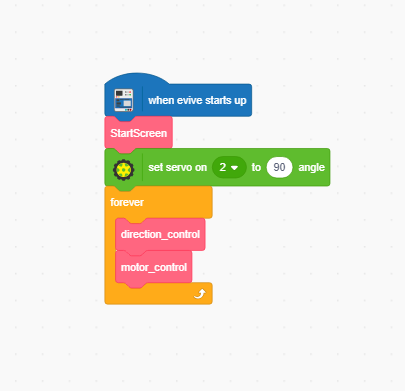


Attachments

Step 7: Working
The fan connected to the DC Motor is used for the movement of the boat in the forward direction. The servo is used so that the boat can turn in left or right direction.
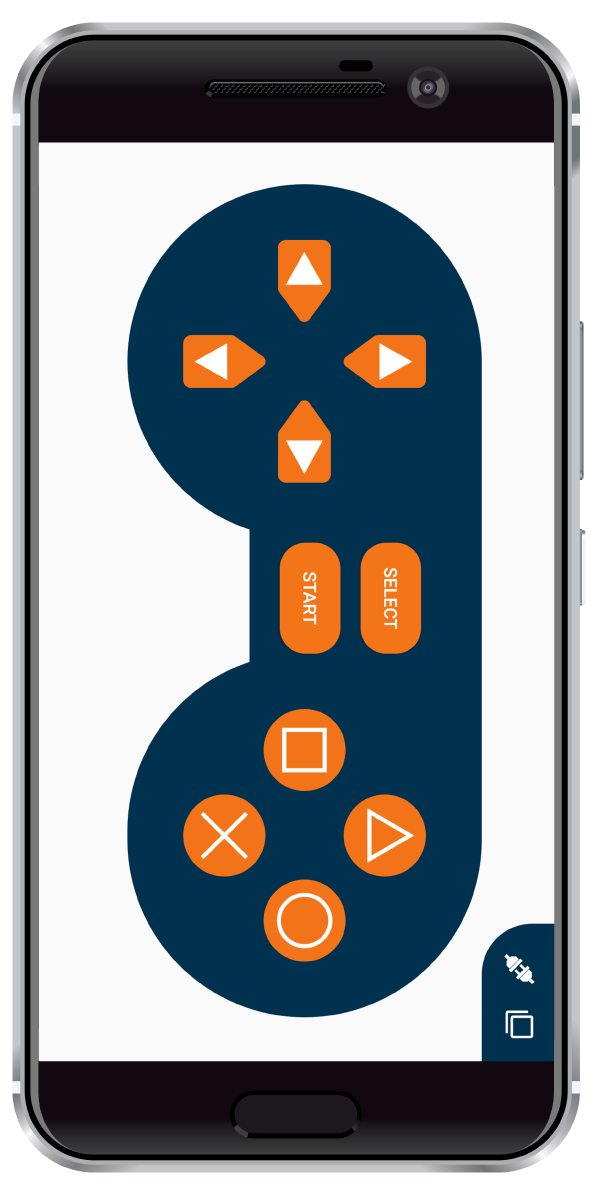
We will be controlling the boat using the Gamepad feature of Dabble.
- Start key – Start the motor
- Select – Stop the motor
- Up key – Move the boat forward
- Left – Turn Left
- Right – Turn Right
Step 8: Conclusion
With this, your DIY Smartphone-controlled electric boat is set to sail through the waters to new places!
Just so you know, our launch is getting closer and we couldn’t any more excited! Here is where you can get to know all about it!


