

Introduction: Making a Pen Out of Paper


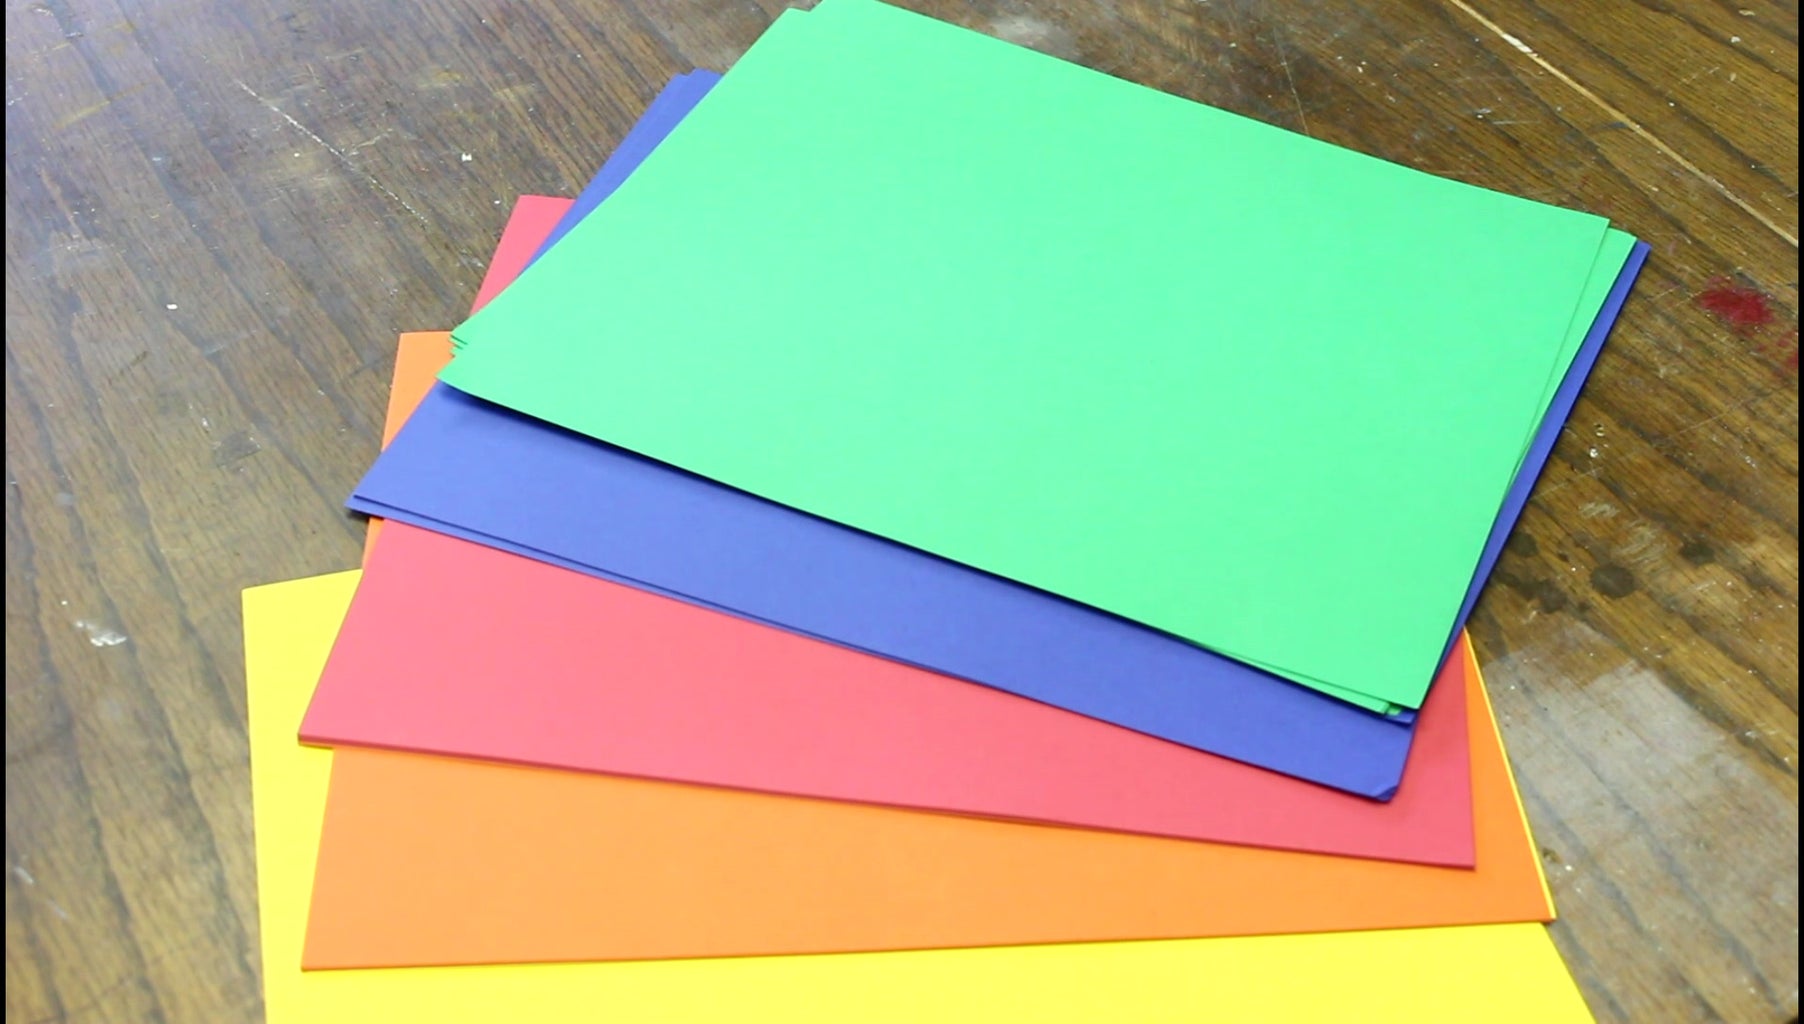
Micarta is made from layers of paper or fabric and resin. This pen is actually made out of paper. 20 layers of cardstock cut into 1" squares and then glued into a pen blank.
It was then turned on the wood lathe and assembled into a pen kit. I would guess the total to be 250 sheets of paper for this pen! I love the colors, the material and having a useful item that started it's life as paper...
Step 1: Making Micarta


The concept is simple enough. Micarta is simply multiple layers of cloth or paper and resin.
In this case, I use polyester resin for the job as it is relatively inexpensive and you will need a LOT of it. I used 10oz for my 20 sheets of cardstock.
After mixing up the resin, I laid the paper out on a laminate surface and poured on some resin. That was then rolled on with a glue roller to get complete coverage on the blank. Add another sheet of paper and repeat.
The stack will begin to get slippery as go forward with all the resin. It is also very messy!
Once you've got all 20 sheets good and soaked line up your stack and let's talk about clamping...
I don't think serious clamping is needed. I think with all that resin and weight of the stack you could just leave it be. Now, I wish I had been able to convince myself of that fact back in April when I made this. I was sure I needed LOTS of clamping pressure.
So I used wood cauls and maximum pressure. I ended up with a bad kink in the final blank. So, my advice would be to just add a piece of wax paper and maybe a board on top, then walk away and let the stack cure for 24 hours.
Step 2: Making Micarta Cubes!


Once cured the material is extremely strong! I tried bending it and whacking it with a hammer. It seems to care little for my attempts to cause it pain.
So, I cut it into 1" long strips on the table saw! That got its attention.
I then used my cross-cut sled to cut the strips into 1" squares. I would need about 30 squares or so to make my two pen blanks
Step 3: Are We There Yet? Not Even Close....


Next step is to glue the squares together into the pen blank.We will need two blanks 2 1/4" in length.
I added a strip of blue tape to the bottom of each stack of 14 squares and began to mix up some epoxy. I'm using epoxy resin this go round as I didn't need much to glue the squares together and it doesn't smell as bad as the polyester resin.
Make sure to get resin between each piece and add some to the top. Then just fold the tape over and let them cure for another 24 hours.
Once cured remove any squeeze out from the blank with a sharp chisel. It makes drilling easier when working with a square block.
Step 4: More Blank Prep


There are a ton of steps to pen turning. In fact, there is very little turning at all.
When I was pen turning for gifts or sales I would make 10 or so at a time. It's easier to do these steps in batches then as one-offs.
Next step is drilling the hole for the brass tubes. The brass tubes come with your pen kit. Most specialty woodworking stores have a variety of pen kits available. I'm using a Sierra/Gatsby style pen and that requires a 27/64" hole.
The brass tube is then glued in with 2 part epoxy. It's best to rough up the brass a bit with some sandpaper to give the glue more holding power. Also, make sure you don't get any glue inside the brass tube. This will make the next step more difficult. I wait a couple hours to make sure the epoxy has cured before the milling process.
The last step before turning is to square up the blank to the brass tube. If you skip this step you will not be able to mount the pen blank on the mandrel and you run the risk of a lopsided pen.
I use a special tool called a pen mill. It drills down into the brass tube and assures a flat perpendicular surface to the tube. When you see polished brass, you know you're ready for some pen turning,.
Step 5: Turning the Pen!


Pen turning requires many extras, and it's not just the prep process. You'll need some more specialty equipment for the turning as well.
You will need a pen mandrel and bushing. The mandrel is universal for all pen turning, but the bushing are particular to the kit you're making. So I bought bushing specifically for my Sierra/Gatsby kit.
The bushing fit into the blank and register against the polished brass tube. Then the whole assembly is put on the mandrel and secured with a nut.
We made it. Congratulations everyone, we're finally ready for some turning.
I'm turning this with a carbide cutter. Micarta is very hard, and even with a blank this small, it took nearly twenty minutes for me to turn it down to size. Your goal is to get the blank down flush with the bushings
After a while of making cool looking streamers, I added my dust collector attachment to the lathe. Rainbow streamers are awesome, but getting the pen turned properly was more important and I need to see what I was doing!
Step 6: Sanding and Polishing


Once the blank is flush, it's time to sand and polish.
I started with 400 grit sand paper as the carbide left a very nice surface. I sanded up to 800 grit then switched over to my polishing pads. Since this blank was soaked in resin, you don't need to add a finish. My micro mesh pads start at 1500 and go up to 12,000. The resin will polish out to a high sheen.
Remove the blank, then we can assemble the pen. You can see here how little material is left after turning. Don't feel bad if your blanks blowout at the lathe.
Step 7: Assembly and Completed Pen


Follow the directions that came with your kit. After I when through my kits specs I ended up with these two halves. The assembly is just a matter of press fitting the two halves into the blank.
I cannot tell you how many pens I have broken at this point. Take your time. Go slow. Busting a blank at this point sucks.
Here I'm using a pen press specifically made for this. You can totally use a clamp or even a vise. If you end up making a LOT of pens, I would recommend a pen press at some point.
Once pressed together, just add your ink refill and enjoy your new pen. Made out of paper!
Thanks for looking!

First Prize in the
Epilog Contest 8

Runner Up in the
Glue Challenge 2016


