Introduction: PacMan and Custom Characters on Arduino With a 16x2 LCD I2C YwRobot LCM1602 IIC V1

Hello everybody, this is my first instructables!
I made this guide because I had a lot of problems to drive the YwRobot LCD I2C with Arduino because of problems related to software libraries.
After much research and testing, at the end, I found some libraries that are compatible and fully working. I have also experimented them using custom characters and so I decided to share my experience with you.
In the end I made a simple animation with a pacman custom charcter that eats all the pills on the lcd...
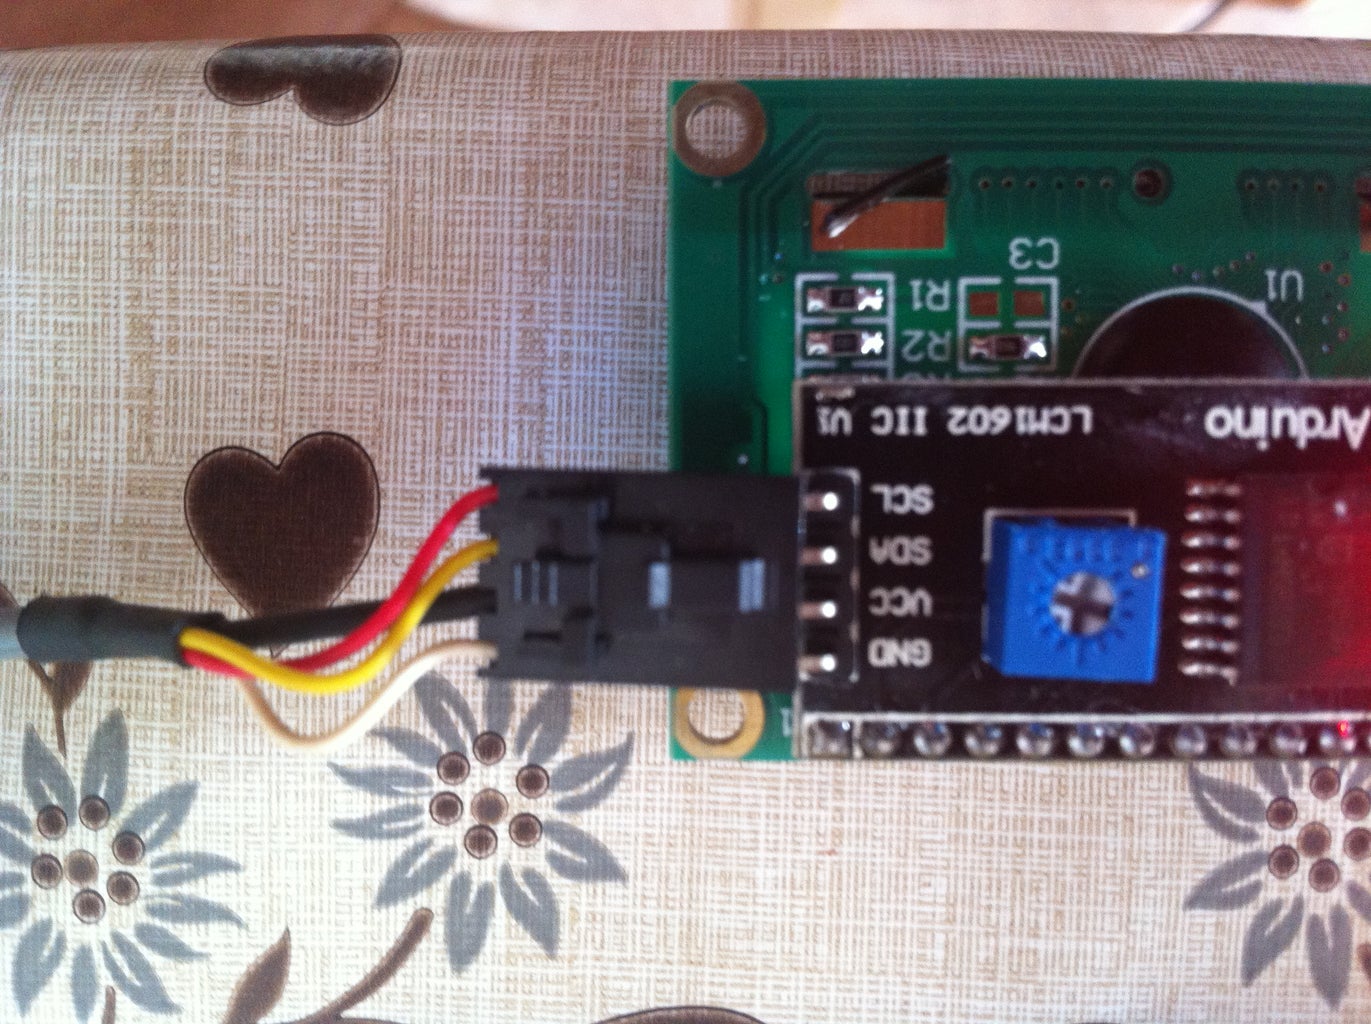
Step 1: Wiring: Connect LCD to Arduino
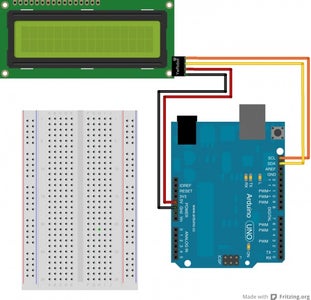


there is no need to connect the wires to a breadboard, in fact we will connect them directly to Arduino.
It's quite simple since there are only 4 wires to connect:
Gnd to Gnd
5v to 5v
SDA to SDA
SCL to SCL
see the pictures above for reference
Step 2: Get Libraries and Write Some Custom Characters Code
Download this library and import into your Arduino Ide.
I got this library from DFRobot.com web site.
Attachments

Step 3: Testing the Display
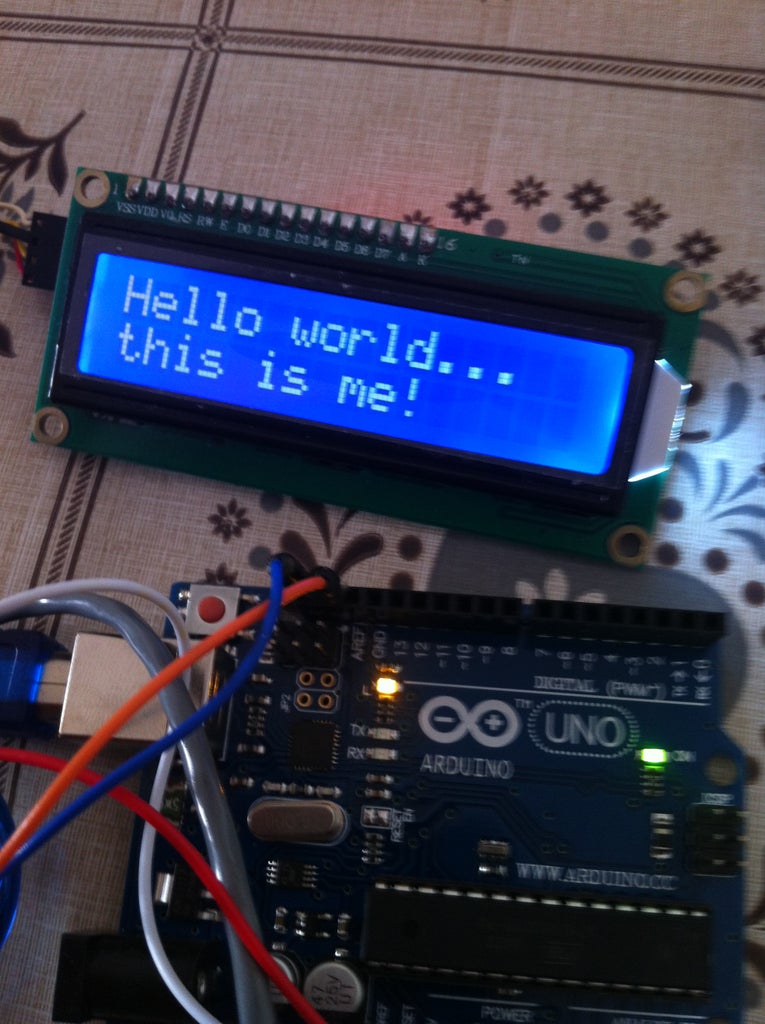


First of all turn on your Arduino and see the display...
with a screwdriver, adjust the brightness by turning the potetiometer screw on its back, until you will see some boxes.
Into you Arduino Ide open a new Scratch and write the code attached:
this code will displays a simple 2 lines string:
//using DFRobot.com libraries
//Compatible with the Arduino IDE 1.0
//Library version:1.1
#include <Wire.h>
#include <VirtualWire.h>
LiquidCrystal_I2C lcd(0x27,16,2);
void setup(){
lcd.init(); // initialize the lcd
lcd.backlight();
lcd.home();
lcd.setCursor(0, 0);
lcd.print("Hello world...");
lcd.setCursor(0, 1);
lcd.print("this is me!");
while(1);
}
int backlightState = LOW;
long previousMillis = 0;
long interval = 1000;
void loop(){
}
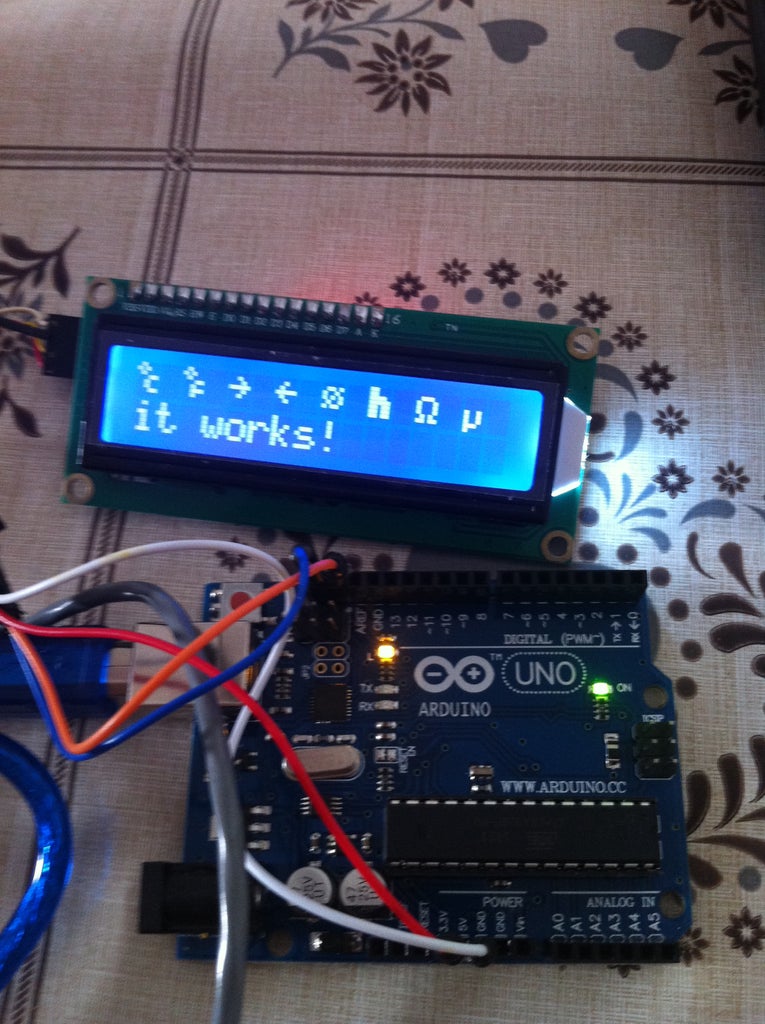
//the easiest way to create your own custom character is to create them visually using this web site:
<a href="http://mikeyancey.com/hamcalc/lcd_characters.php" rel="nofollow">http://mikeyancey.com/hamcalc/lcd_characters.php</a>
and then paste the byte array into your Scratch.Step 4: Writing Simple Pacman Animation Code
Into you Arduino Ide open a new Scratch and write the code attached.
You will see a simple pacman on your display eating all the pills.
Attachments

Participated in the
Tech Contest

Participated in the
Teach It! Contest Sponsored by Dremel


