Introduction: Raspberry Pi Security Camera

This is a step by step instructable on how to create an IoT, motion activated security camera using a Raspberry Pi. You will learn how to create a flask web server and form that allows the user to adjust the camera's sensitivity and recording time, manually start/stop a recording, and/or take a picture that will be saved to locally.
Supplies
- Raspberry Pi 3
- Pi camera
- PIR motion sensor
- SD card
- Power source
Step 1: Assemble the Hardware


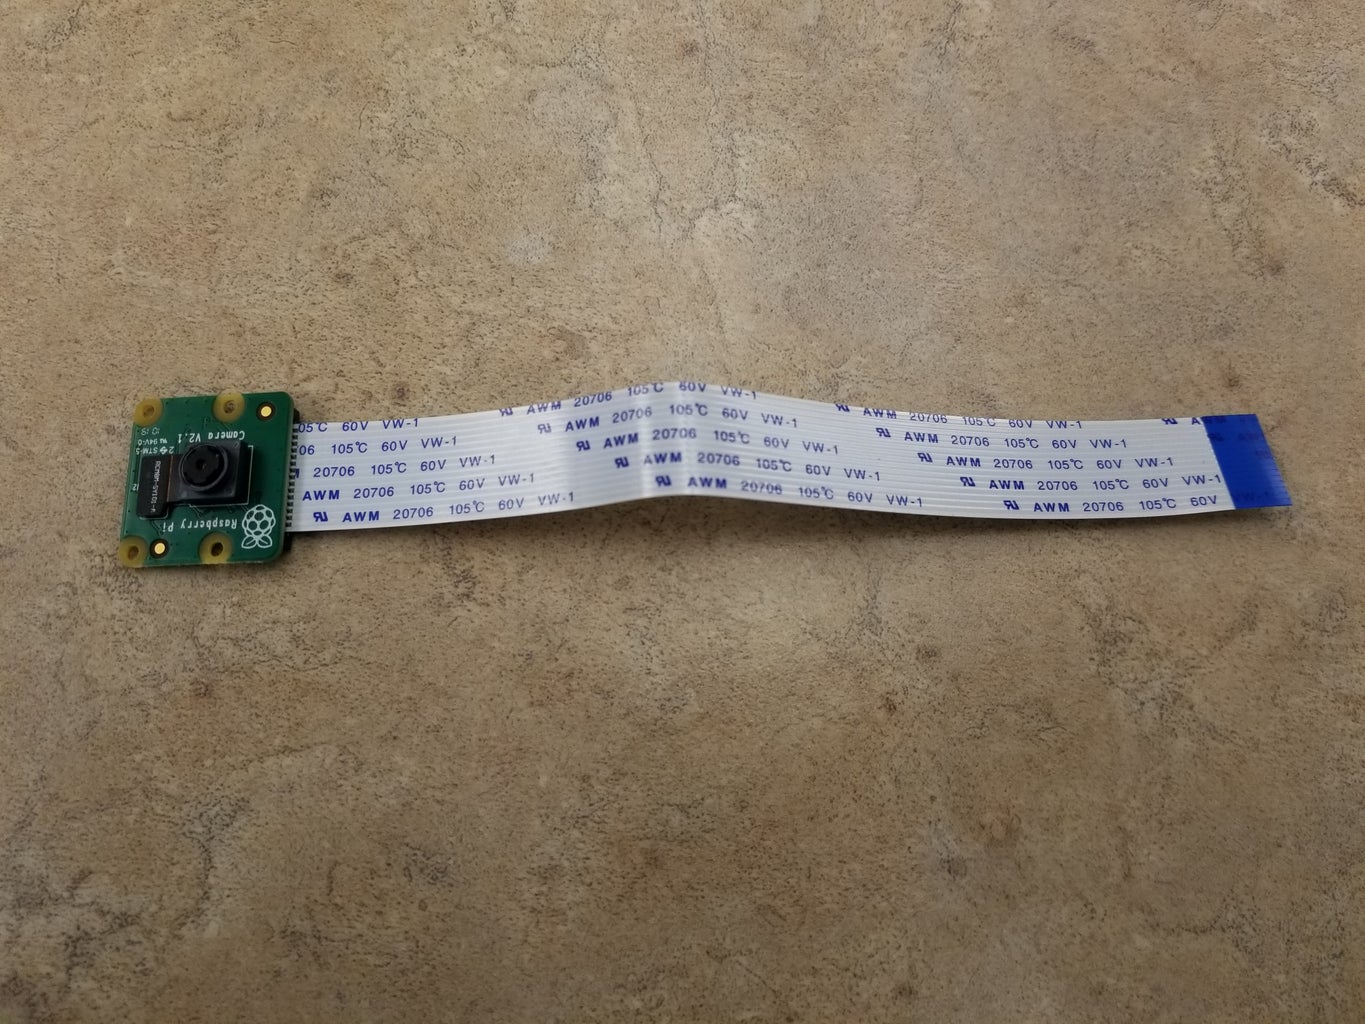

While the Pi is turned off, insert the micro-SD card into the Pi. Insert the camera module ribbon cable into the camera module port on the Pi. Then, connect the 3 pins (labeled VCC, OUT, and GND) of the PRI motion detector to the Pi's GPIO pins. Connect the VCC to 5.5V of power, the GND to ground, and the OUT to pin 11 on the Pi.
Step 2: Ensure That Your Pi Is Connected to the Internet

Now, turn on the Pi by connecting it to a power source and verify that you are connected to the internet using the ping command. If you don't know how to connect your Pi to the internet, click here.
sudo ping <a href="http://www.google.com" rel="nofollow"> www.google.com</a>
If you are successful, you should see that data is being received by google.
Additionally, you can use ifconfig to see your IP address.
<p>sudo ifconfig</p>
Step 3: Set Up the Camera
Use the following command to open the configuration interface, and enable the camera in the "interfacing options".
sudo raspi-config
After rebooting, you can display the status of your camera to ensure that it is properly connected.
vcgencmd get_camera
Lastly, install the picamera module.
pip install picamera
Step 4: Install Flask
Install the flask and flask-restful module for Python:
sudo apt-get install python-dev python-pip
python -m pip install flask flask-restful
Next, we will install a python flask module used for creating forms.
pip install flask-wtf
Step 5: Create a Form Class
Make a directory called iotProject to store all of your files in.
sudo mkdir iotProject
Create a python file named "camControl.py".
sudo nano camControl.py
In this file we will create our form class, which allows us to create a web form with text boxes and a drop down menu for the user to be able to change the camera's settings, manually start/stop a recording, and capture video.
<p>from flask_wtf import FlaskForm<br>from wtforms.validators import DataRequired
from wtforms import SubmitField
from wtforms import validators, IntegerField, BooleanField, SelectField</p><p>class camFrame(FlaskForm):
    videoDuration = IntegerField('Recording Time (in seconds)')</p><p>    sensitivity = IntegerField('Motion Sensitivity (range 2500-10000)\nThe higher the number, the less sensitive the camera is',
       validators=[validators.NumberRange(min=2500, max=10000, message='Value Out of Range')])</p><p>    options = SelectField('Options', choices=[('none','No action'),('rec', 'Start Recording'), ('stop','Stop Recording'),
        ('pic', 'Take Picture')])</p><p>    submit= SubmitField('Submit')</p>
Step 6: Creat a Flask Template

To create the user interface, you must design a Flask template which uses the form that you just created. This file will be written in html, and stored in a folder called templates, which should be in the same directory as your form.
Inside of your templates folder, create a file called index.html. Within this file, replicate the code shown above.
Step 7: Render the Template
Now it's time to create a file that renders the template. Create a file named appCam.py (make sure you are no longer in the templates folder). Any dynamic content used in the template must be used as a named argument in the call to render_template().
<p>import camControl<br>from flask import Flask, render_template, request, Response
from flask_restful import Resource, Api, reqparse</p><p>app = Flask(__name__)
app.config['SECRET_KEY'] = '13542'
api = Api(app)</p><p>parser = reqparse.RequestParser()
parser.add_argument('dur', type=int, help='Duration of video when movement is detected')
parser.add_argument('sens', type=int, help='Level of movement required to trigger a recording')
parser.add_argument('opt', type=str, help='Manually record a video or capture an image')</p><p>class Update(Resource):
    #Stuff for wtforms
    def post(self):
        args = parser.parse_args()
        #rc.input(args['dur'], args['sens'], args['opt'])
        #write to the text file that talks to the camera running in parallel
        cameraSettingsFile = open("cameraSettings.txt", 'w')
        cameraSettingsFile.write(args['dur'] + '\n') #write dur
        cameraSettingsFile.write(args['sens'] + '\n') #write sens
        cameraSettingsFile.write(args['opt'] + '\n') #write opt
        cameraSettingsFile.close()
        return {'dur': args['dur'], 'sens': args['sense'], 'opt':args['opt']}</p><p>@app.route('/', methods=['GET','POST'])
def index():
    """Controller home page"""
    form = camControl.camFrame() #this is a form
    if request.method == 'POST':
        print(request.form)
        args = [i for i in request.form.items()]
        #rc.input(int(args[0][1]), int(args[1][1]), args[2][1])
        cameraSettingsFile = open("cameraSettings.txt", 'w')
        cameraSettingsFile.write(args[0][1] + '\n') #write dur
        cameraSettingsFile.write(args[1][1] + '\n') #write sens
        cameraSettingsFile.write(args[2][1] + '\n') #write opt
        cameraSettingsFile.close()
    imageDictionary = {"filename":"image.jpg"}
    return render_template('index.html', form=form, image = imageDictionary)</p><p>api.add_resource(Update, '/update/')</p><p>if __name__ == '__main__':
    app.run(host='0.0.0.0', port =80, debug=True, threaded=True)</p>
Step 8: Create a Camera Operator Class
Now we want to create a file called camOperator.py. In it we will make a camera class with methods to operate the camera, utilizing the already available PiCamera functions. We will use an instance of this object in the next step where we will combine the functionality of the camera and the motion sensor.
The methods defined in this class change the "record" settings on the security camera using the sensitivity and duration inputs that the user provides, while establishing default values for these variables if user input is not present.
<p>import RPi.GPIO as GPIO<br>import time
import picamera
from datetime import datetime</p><p>GPIO.setmode(GPIO.BOARD)
GPIO.setup(11,GPIO.IN)</p><p>detect = 0</p><p>class cameraOperator:</p><p>    def __init__(self):
        #constructor
        self.cam = picamera.PiCamera()
        self.data = []
        self.dur=10
        self.sens=2500
        self.opt="none"</p><p>    def record(self,dur):
        #Records for the given duration set by the controller
        videoName = str(datetime.now())
        videoName = videoName.replace(':',')
        videoName = videoName.replace('.',')
        self.cam.start_recording('/home/pi/iotProject/videos/'+ videoName + '.h264')
        time.sleep(dur)
        self.cam.stop_recording()</p><p>    def operation(self, dur, sens):
        #Main operation of the camera which constantly checks to see if a human is nearby, if a human stays around long enough, we start recording!
        global detect
        i = GPIO.input(11)
        if i == 0: #When output from motion sensor is LOW
            detect=0
            time.sleep(0.1)
        elif i == 1: #When output from motion sensor is HIGH
            print("motion detected "+str(detect))
            if detect >= sens*10:
                self.record(dur)
                print("RECORDED")
                detect = 0
                time.sleep(0.1)
            detect += 1</p>
Step 9: Create the Record Module
The last program needed for this project will be written in a file named rec.py. This file tells the camera when to record, how long to record, and if/when to take a picture. It does this by constantly checking and reading the user data written to the text file from step 5. If the file has been updated it adjusts the sensitivity and duration values accordingly and then, if a recording or picture is taken, it saves the content to the pi, either in a .h264 or .jpg file format.
<p>'''<br>Runs in parallel with the flask server, reading control variables set by the server forms.
The server control variables are set in a separate file once the forms are submitted. The
rec module reads these variables and updates the camera based on them.
'''
import camOperator
from datetime import datetime
import time</p><p>rc = camOperator.cameraOperator()
cameraSettingsFile = open("cameraSettings.txt", 'w')
cameraSettingsFile.close() #here, we open and close in write mode in order to delete the contents within the file before the main loop runs</p><p>#A continuous loop which watches to see if humans are nearby. If they are, then
#the camera begins recording. This function runs in paralell with the flask
#server that controls this camera.
recordingInProcess = False
while True:
	#check/record
	if (recordingInProcess == False):
		rc.operation(rc.dur,rc.sens)
	#change the settings of the camera based on the server
	cameraSettingsFile = open("cameraSettings.txt", 'r')
	settingNum = 0
	for setting in cameraSettingsFile.readlines():
		if settingNum == 0: #Duration change
			rc.dur = int(setting)
		elif settingNum == 1: #Sensitivity change
			rc.sens = int(setting)
		elif settingNum == 2: #Action change
			rc.opt = setting
		settingNum += 1
	cameraSettingsFile.close()</p><p>	#execute an action
#	if rc.opt == "none":
#		continue
	if rc.opt == "rec\n" and recordingInProcess == False:
		print("Running record command from controller")
		#Generate name for video based on current time
		videoName = "snappedVid_"+str(datetime.now())
		videoName = videoName.replace(':',')
		videoName = videoName.replace('.',')
		rc.cam.start_recording('/home/pi/iotProject/videos/'+ videoName + '.h264')
		recordingInProcess = True
	elif rc.opt == "stop\n" and recordingInProcess == True:
		print("Stopping record command from controller")
		rc.cam.stop_recording()
		recordingInProcess = False
		cameraSettingsFile = open("cameraSettings.txt",'w')
		cameraSettingsFile.write(str(rc.dur)+'\n')
		cameraSettingsFile.write(str(rc.sens)+'\n')
		cameraSettingsFile.write("none\n")
		rc.opt = "none\n"
	elif rc.opt == "pic\n" and recordingInProcess == False:
		print("Snap a pic command from the controller")
		pictureName = "snappedPic_"+str(datetime.now())
		pictureName = pictureName.replace(':',')
		pictureName = pictureName.replace('.',')
		rc.cam.start_preview()
		time.sleep(5)
		rc.cam.capture('pictures/' + pictureName + '.jpg')
		rc.cam.stop_preview()
		cameraSettingsFile = open("cameraSettings.txt",'w')
		cameraSettingsFile.write(str(rc.dur)+'\n')
		cameraSettingsFile.write(str(rc.sens)+'\n')
		cameraSettingsFile.write("none\n")
		rc.opt = "none\n"</p>
Step 10: Start the Server

SSH into the pi and start the server using the command line shown above.
Step 11: TRY IT OUT!


Access the webpage using the IP address and you should be able to control the camera remotely!
Participated in the
Raspberry Pi Contest 2020


