Introduction: A Smart JPEG Camera for Home Security


Introduction
This instructable will cover the basic steps that you need to follow to get started with open sources such as Watson nodes(Visual Recognition V3, Text To Speech) for IBM Bluemix, Node-RED, OpenCV, MQTT v3.1. MQTT(Message Queueing Telemetry Transport) is a Machine-To-Machine(M2M) or Internet of Things (IoT) connectivity protocol that was designed to be extremely lightweight and useful when low battery power consumption and low network bandwidth is at a premium. It was invented in 1999 by Dr. Andy Stanford-Clark and Arlen Nipper and is now an Oasis Standard.
I've already published an instructable of the Smart Gas Valve For Safety. In addition, I'm going to communicate between A Smart JPEG Camera and A Smart Gas Valve for M2M Communication by MQTT. Specifically, this instructable will cover how to code the Node-RED on Raspberry Pi2 as a MQTT client by connecting to your home wireless network and how to send sensor data. I will be using A Smart Gas Valve for M2M communication by MQTT.
- How to use the Bluemix platform (Docs)
Step 1: Table of Contents
- Step 0: Introduction
- Step 1: Table of Contents
- Step 2: Bill of Materials
- Step 3: Setting up the Camera & PIR Sensor with Raspberry Pi
- Step 4: Programming NodeRED on Raspberry Pi2
- Step 5: Setting up MQTT v3.1 on Raspberry Pi2
- Step 6: Checking your NodeRED codes with MQTT on Raspberry Pi2
- Step 7: Programming Python JPEG Camera
- Step 8: Adding IBM Watson, IBM NoSQL DB, Play-Audio, and Twilio
- Step 9: Adding autostart files for every boot
- Step 10: Testing M2M Communication
- Step 11: (Optional) Using OpenCV
- Step 12: Download list
- Step 13: List of references
Step 2: Bill of Materials
- Raspberry Pi2 X 1ea
- Pi-1,2,3 are Possible.
- Installation guide
- Download image files
Installing VNC : You can connect Raspberry Pi2 with Macbook Pro or Windows.
Pi Camera Board X 1ea
- Wifi dongle X 1ea
- Description
- If you have Pi-3, it's unnecessary.
- PIR motion sensor X 1ea
- Android smartphone's portable battery X 2ea
- Nod-RED software X 1ea
- Free open source
- Use the version pre-installed in Raspbian Jessie image since November 2015
- Installation guide
- MQTT v3.1 software X 1ea
- Free open source
- Installation guide includes at Step 5
NodeRED's IBM Watson Nodes for Bluemix
- Text to speech node X 1ea
- Visual Recognition X 1ea
Speaker X 1ea
- Minion X 1ea
- You can easily buy it from eBay.
Step 3: Setting Up the Camera & PIR Sensor With Raspberry Pi


Assembly steps for Smart JPEG Camera
(1) Connect the Raspberry Pi2 with a PIR motion sensor as shown above in the circuit diagram.
(2) Connect the PIR motion sensor with Raspberry Pi2.
- Raspberry Pi2 <----> PIR motion Sensor
- 5V ---------------- VCC
- GND ------------- GND
- GPIO 18 -------- OUT
(4) Assemble carefully the Pi camera with Raspberry Pi2.
(5) Connect a portable battery with Raspberry Pi2. (Use any portable battery to connect with the same size connector cable on Raspberry Pi2. )
Assembly steps for Smart Gas Valve : here
Step 4: Programming NodeRED on Raspberry Pi2


How to start Node-RED on web-browser.
(1) Write down command shown below to a terminal window. node-red-start
(2) You can find an IP address as below. 'Once Node-RED has started, point a browser at http://169.254.170.40:1880' (It depends on your IP address)
(3) Open your web browser.
(4) Copy the IP address and paste on the web browser.
(5) It will display a visual editor of Node-RED on the web browser.
(6) You can start coding with visual editor on the web browser.
(7) Try dragging & dropping any node from the left-hand side to right-hand side. It's really easy to code. ( You can conveniently use the visual editor offline as well as online. ) Download the 'SmartGasValve_NodeRED.txt' file. (1) Click the number (1) at the right-hand side corner shown in NodeRED on the web browser.
(2) Click the Import button on the drop down menu.
(3) Open the Clipboard shown in the above 1st picture.
(4) Lastly, paste the given JSON format text of 'SmartJPGCameraNoCredits_NodeRED_ver0.1.txt' in Import nodes editor.
Step 5: Setting Up MQTT V3.1 on Raspberry Pi2


Setting up MQTT v3.1 on Raspberry Pi2
This message broker(Mosquitto) is supported by MQTT v3.1 and it is easily installed on the Raspberry Pi and somewhat less easy to configure. Next, we step through installing and configuring the Mosquitto broker. We are going to install & test the MQTT “mosquitto” on the terminal window.
curl -O http://repo.mosquitto.org/debian/mosquitto-repo.gpg.key
sudo apt-key add mosquitto-repo.gpg.key
rm mosquitto-repo.gpg.key
cd /etc/apt/sources.list.d/
sudo curl -O http://repo.mosquitto.org/debian/mosquitto-jessie.list
sudo apt-get update
Next install the broker and command line clients:
- mosquitto – the MQTT broker (or in other words, a server)
- mosquitto-clients – command line clients, very useful in debugging
- python-mosquitto – the Python language bindings
sudo apt-get install mosquitto mosquitto-clients python-mosquitto
As is the case with most packages from Debian, the broker is immediately started. Since we have to configure it first, stop it.
sudo /etc/init.d/mosquitto stop
Now that the MQTT broker is installed on the Pi we will add some basic security.
Create a config file:
cd /etc/mosquitto/conf.d/

sudo nano mosquitto.conf
Let's stop anonymous clients connecting to our broker by adding a few lines to your config file. To control client access to the broker we also need to define valid client names and passwords. Add the lines:
allow_anonymous false

password_file /etc/mosquitto/conf.d/passwd

require_certificate false
Save and exit your editor (nano in this case).
From the current /conf.d directory, create an empty password file:
sudo touch passwd
We will use the mosquitto_passwd tool to create a password hash for user pi:
sudo mosquitto_passwd -c /etc/mosquitto/conf.d/passwd pi
You will be asked to enter your password twice. Enter the password you wish to use for the user you defined.
Testing Mosquitto on Raspberry Pi
Now that Mosquitto is installed we can perform a local test to see if it is working:
Open three terminal windows. In one, make sure the Mosquitto broker is running:
mosquitto
In the next terminal, run the command line subscriber:
mosquitto_sub -v -t 'topic/test'
You should see the first terminal window echo that a new client is connected.
In the next terminal, run the command line publisher:
mosquitto_pub -t 'topic/test' -m 'helloWorld'
You should see another message in the first terminal window saying another client is connected. You should also see this message in the subscriber terminal:
topic/test helloWorld
We have shown that Mosquitto is configured correctly and we can both publish and subscribe to a topic.
When you finish testing all, let's set up below that.
sudo /etc/init.d/mosquitto start
Step 6: Checking Your NodeRED Codes With MQTT on Raspberry Pi2


When you have already used the JSON format of the 'SmartGasValve_NodeRED.txt' on Node-RED, it's automatically set up & coded each data. I have already set up the each data in each node.
(1) Click each node.
(2) Check information inside each node has been prefilled.
(3) Please don't change the set data.
(The above can be customized for more advanced users.)
Step 7: Programming Python JPEG Camera


Programming Python JPEG Camera
First of all, you should test the camera module in the terminal window.
raspistill -o test.jpg
You should see the test.jpg in '/home/pi'
cd /home/pi
mkdir pythonPir
cd pythonPir
sudo nano pircameraNodeRED.py
Type the below (the enclosed file) Or Put ‘pircameraNodeRED.py’ file into '/home/pi/pythonPir' folder.
import RPi.GPIO as GPIO
import time
import picamera
import datetime
timeFormat = 0
GPIO.setmode(GPIO.BCM)
GPIO.setup(17, GPIO.IN) # For M2M Communication from Gas Valve signal
GPIO.setup(18, GPIO.IN)
camera = picamera.PiCamera()
while True:
input17 = GPIO.input(17) #Pin number 17 activates
input18 = GPIO.input(18) #Pin number 18 activates
now = datetime.datetime.now()
timeFormat = now.strftime("%Y%m%d_%H%M_%S.%s") #To put date and time in images
if input17 == True or input18 == True: #If PIR Sensor detects something, the Picamera will take.
print('Motion_Detected_%s' %timeFormat)
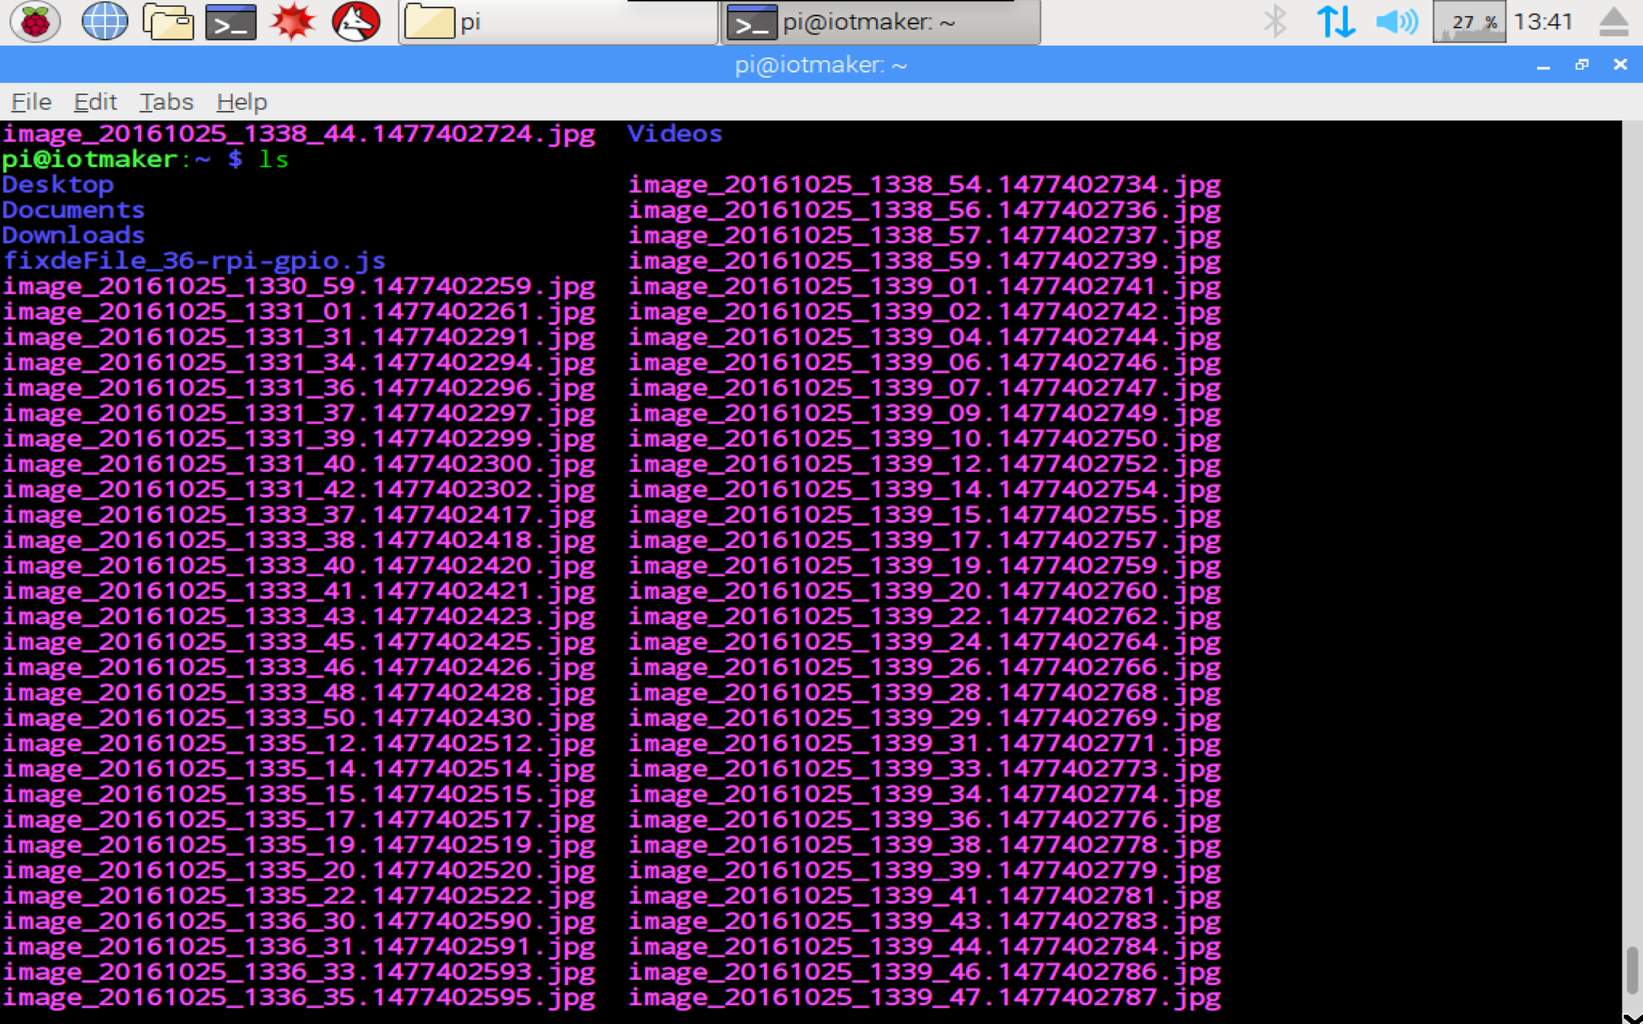
camera.capture('image_%s.jpg' %timeFormat) #To take a picture
time.sleep(1) #sleeping time 1 secondWhen you finish typing, you should press the keys 'Control' + 'x' and press 'y' to save this file.
Making an image file server
cd /home/pi
mkdir camserver
sudo nano requirements.txt
Type the below (the enclosed file) Or Put ‘requirements.txt’ file into '/home/pi/camserver' folder.
numpy==1.10.1
websocket-client==0.35.0
websocket-server==0.4
ibmiotf==0.2.3
pip install --user -r requirements.txt
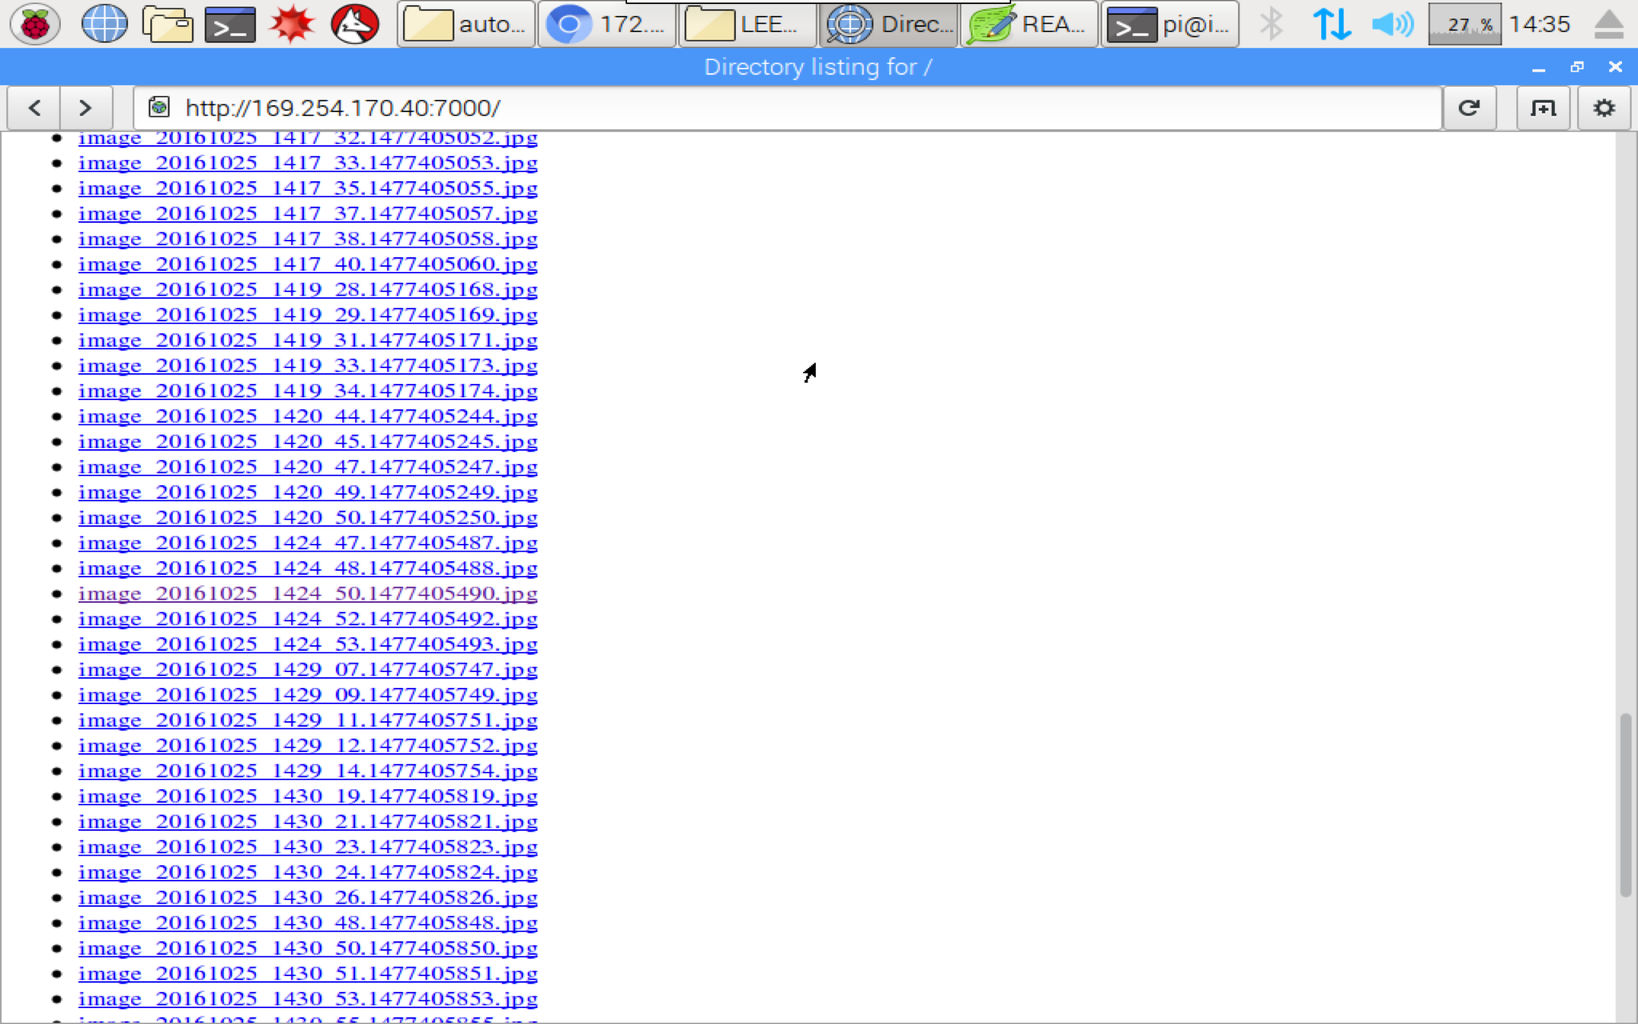
Execute an image file server in /home/pi/ below.
cd /home/pi
python -m SimpleHTTPServer 7000
Step 8: Adding IBM Watson, IBM NoSQL DB, Play-Audio, and Twilio


Searching the Nodes
Node-RED comes with a core set of useful nodes, but there are a growing number of additional nodes available for installing from both the Node-RED project as well as the wider community. You can search for available nodes in the Node-RED library or on the npm repository.
- For example, we are going to search Twilio at the npm web. Click here.
- Then, we are going to install Twilio on Raspberry pi.
Installing npm packaged node
To add additional nodes you must first install the npm tool, as it is not included in the default installation. The following commands install npm and then upgrade it to the latest 2.x version.
sudo apt-get update
sudo apt-get install npm
sudo npm install -g npm@2.x
hash -r
cd /home/pi/.node-red
- For example, 'npm install node-red-{example node name}'
- Copy the 'npm install node-red-node-twilio' from the npm web. Paste it on a terminal window.
Ex: node-red-node-watson, node-red-contrib-play-audio, node-red-dashboard, node-red-node-pidcontrol, and, node-red-node-cf-cloudant.
npm install node-red-node-twilio
- You will need to restart Node-RED for it to pick-up the new nodes.
node-red-stop

node-red-start
- Close your web browser and reopen the web browser.
Step 9: Adding Autostart Files for Every Boot.

How to make autostart files at every boot.
- Mosquitto
cd /etc/xdg/autostart/
sudo nano flyMosquitto.desktop
Type the below (this will enclose the file) Or Put ‘flyMosquitto.desktop’ file into autostart folder.
[Desktop Entry]
Type=Application
Name=flyMosquitto
Comment=Fly my mosquitto
Exec=cd /etc/mosquitto/conf.d/
Exec=mosquitto
- Node-RED
sudo systemctl enable nodered.service
- Python JPEG Camera
cd /etc/xdg/autostart/
sudo nano pircameraNodeRED.desktop
Type the description below or put the ‘pircameraNodeRED.desktop’ file into /etc/xdg/autostart/ folder.
[Desktop Entry]
Type=Application
Name=pircameraNodeRED.py
Comment=Start my security camera
NoDisplay=false
Exec=python /home/pi/pythonPir/pircameraNodeRED.py
NotShowIn=GNOME;KDE;XFCE;
Name[en_US]=pircamera.py
- Image file Server
cd /etc/xdg/autostart/
sudo nano imageFileServer.desktop
Type the description below or put the ‘imageFileServer.desktop’ file into /etc/xdg/autostart/ folder.
[Desktop Entry]
Type=Application
Name=imageFileServer
Comment=Start an image file server
NoDisplay=false
Exec=cd /home/pi
Exec=python -m SimpleHTTPServer 7000
Step 10: Testing M2M Communication.


Importing the enclosed files in each NodeRED.
Import the 'M2M_SmartJPGCamera.txt' into the NodeRED of the smart JPEG camera.
Import the 'M2M_SmartGasValve.txt' into the NodeRED of the smart gas valve.
(3) Check an IP address of the smart gas valve in the Raspberry Pi2.
Type 'ifconfig' on a terminal window as shown below.
ifconfig
When you see the IP address, copy the IP address in a terminal window.
(4) Put the IP address into the MQTT node in other Raspberry Pi2.
- Click the MQTT node.
- Put the IP address into Server.
Step 11: (Optional) Using OpenCV


Installing & Using OpenCV on Raspberry Pi2
We have already used the IBM Watson Visual Recognition. Watson Visual Recognition is very excellent whereas we can't use it without connecting wifi. OpenCV is possible to use without internet connection but It's not very easy for a beginner to install & code into OpenCV. So, I'm going to install the OpenCV.
- Download 'opencv-3.1.0.zip from opecv.org
- Install dependencies
sudo apt-get update
sudo apt-get install build-essential
sudo apt-get install cmake git libgtk2.0-dev pkg-config libavcodec-dev libavformat-dev libswscale-dev python-dev python-numpy libjpeg-dev libpng-dev libtiff-dev libjasper-dev
- (Optional) Install OpenCV 2
sudo apt-get install python-opencv
- Install OpenCV 3
unzip ~/Downloads/opencv-3.1.0.zip
cd opencv-3.1.0/
mkdir build
cd build/
cmake -DCMAKE_BUILD_TYPE=Debug -DBUILD_TESTS=NO -DBUILD_PERF_TESTS=NO ..
make -j3
sudo make install
sudo ldconfig
- Check which version of OpenCV you have in Python
python
import cv2
cv2.__version__
- Run the simple face detect sample, and look at its code to see how it works:
- Before, you should connect an USB-cam with Raspberry Pi2
cd /home/pi
cd opencv-3.1.0
python ./facedetect.py
Step 12: Download List

Step 13: List of References
- A developer's guide to the Internet of Things (IoT) by IBM
- How to use IBM Bluemix Platform (Docs)
- MQTT.org: Version 3.1.1 becomes an OASIS Standard
- MQTT.org: Documentation
- Eclipse Paho
- What is Really Small Message Broker(RSMB)? (IBM)
- http://stanford-clark.com/
- The House That Twitters - Andy Stanford-Clark
- Node-RED.org: Documentation
- Node-RED: Running on Raspberry Pi
- Node-RED: Writing Functions
- Node-RED: Node-RED Library
- Node-RED: node-red-node-watson
- Node-RED: Build a face detection app using Watson Visual Recognition v3 service
- Node-RED: Build a face detection app usig AlchemyAPI service on Bluemix