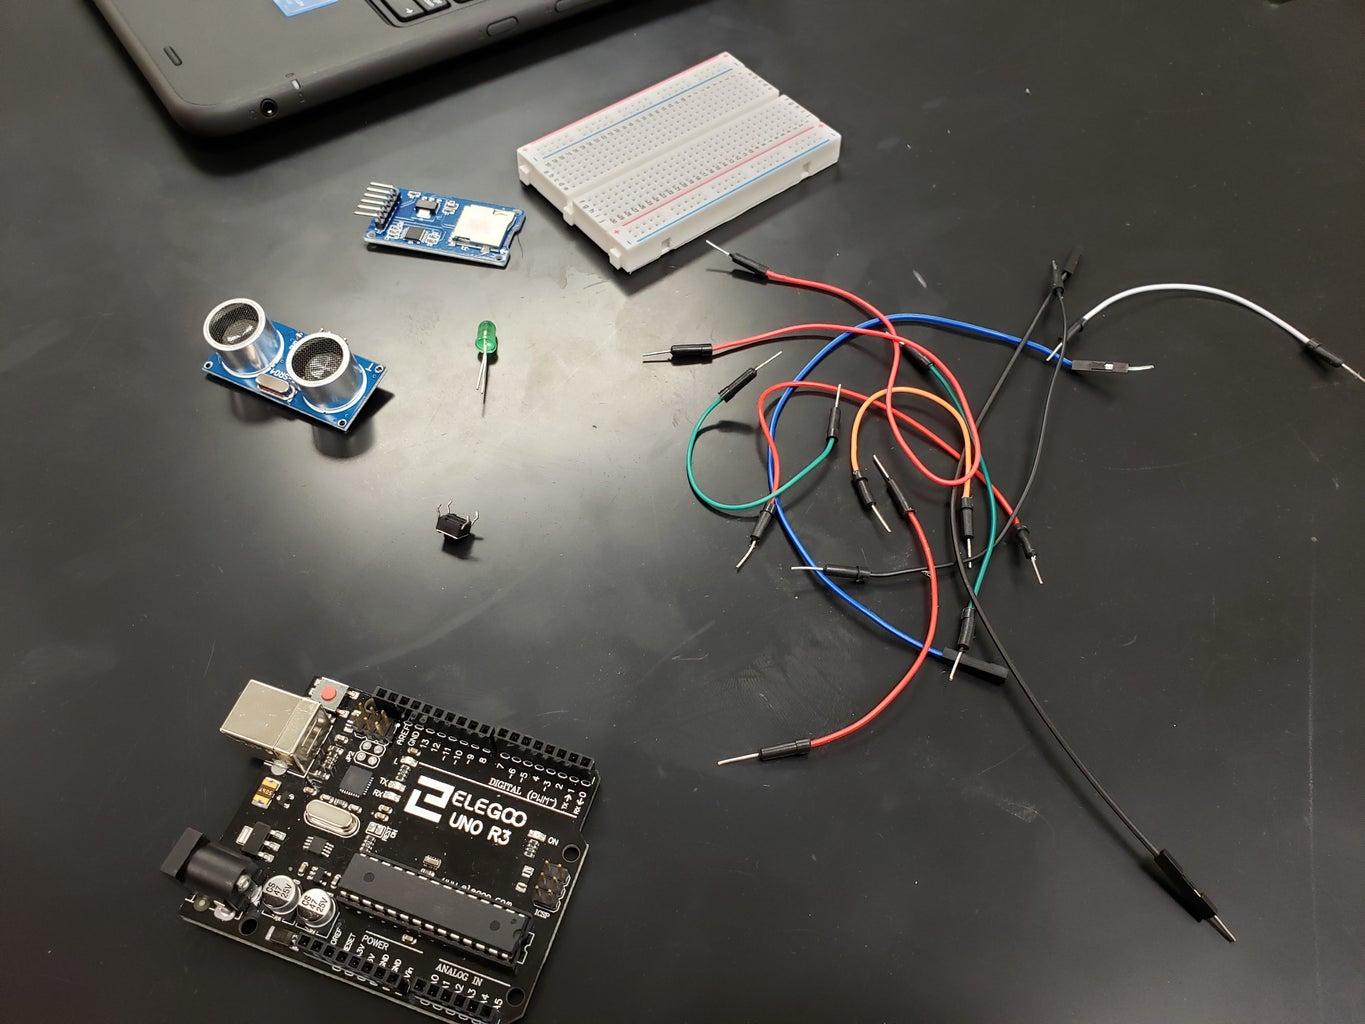
Introduction: Space Jam Cubesat: the Cube Shack- Arduino and Ultrasonic Sensor
in this project we will be going through all of the steps to build a cube shack and program an Ardwen to collect data on the diameter of mars. One of the first things we did was all of us in the group drew up a design of what we thought it would look like and what it would be made of. then we all made a compromise to make everyone's idea in to one cube sat.
Step 1: Space Jam Cubesat- Arduino and Ultrasonic Sensor
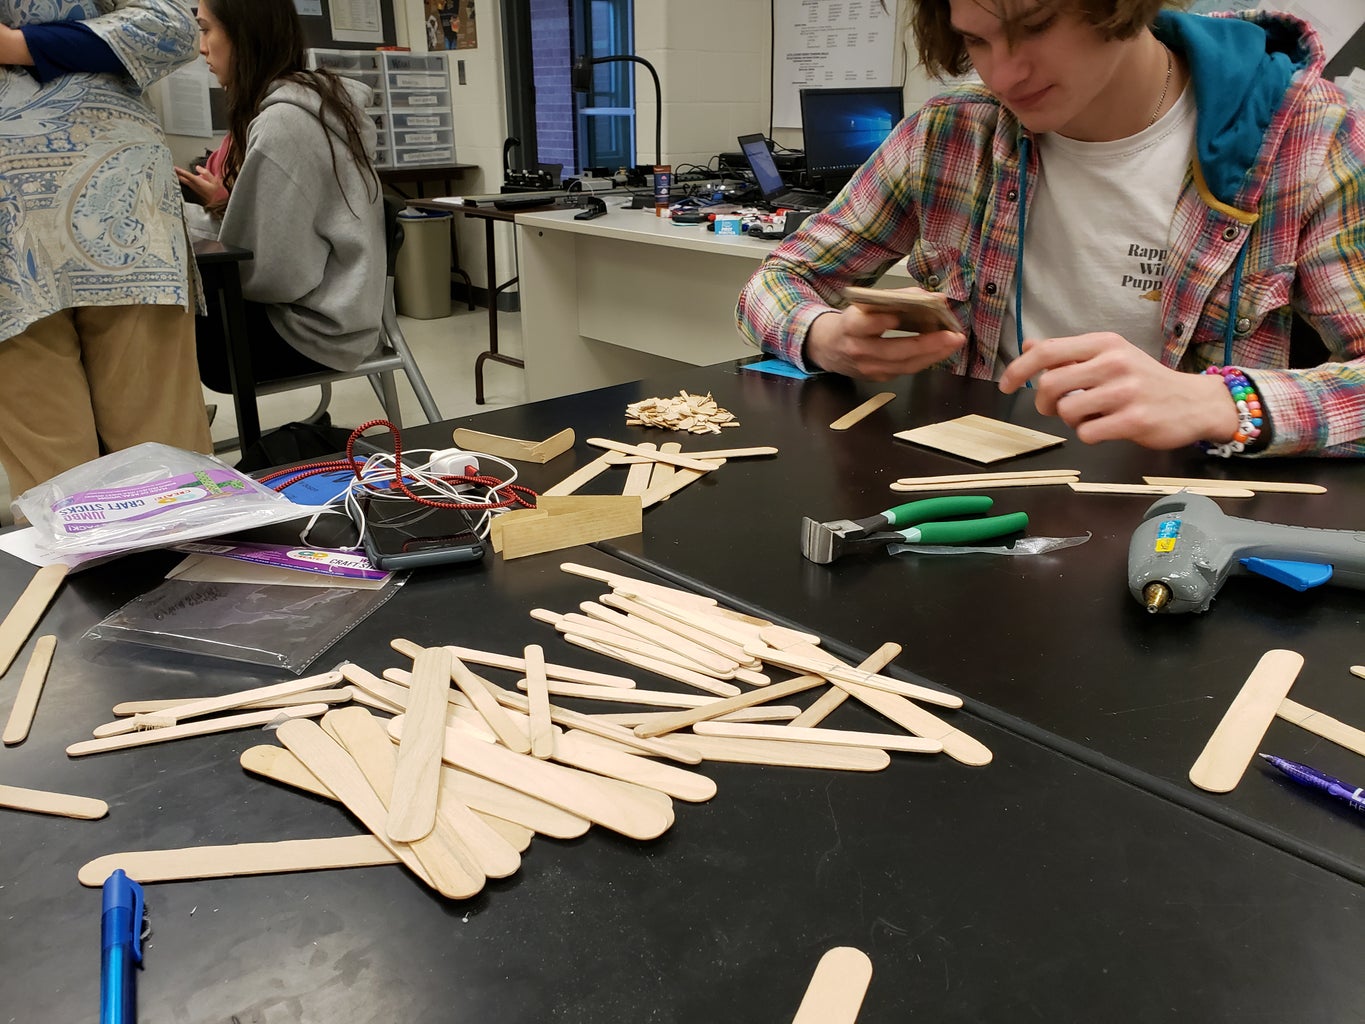
Buy yourself a big bundle of Popsicle sticks and small popsicle sticks hot glue and wood glue
Step 2: Popsicle Sticks
We bought 2 types of sticks: big and skinny.
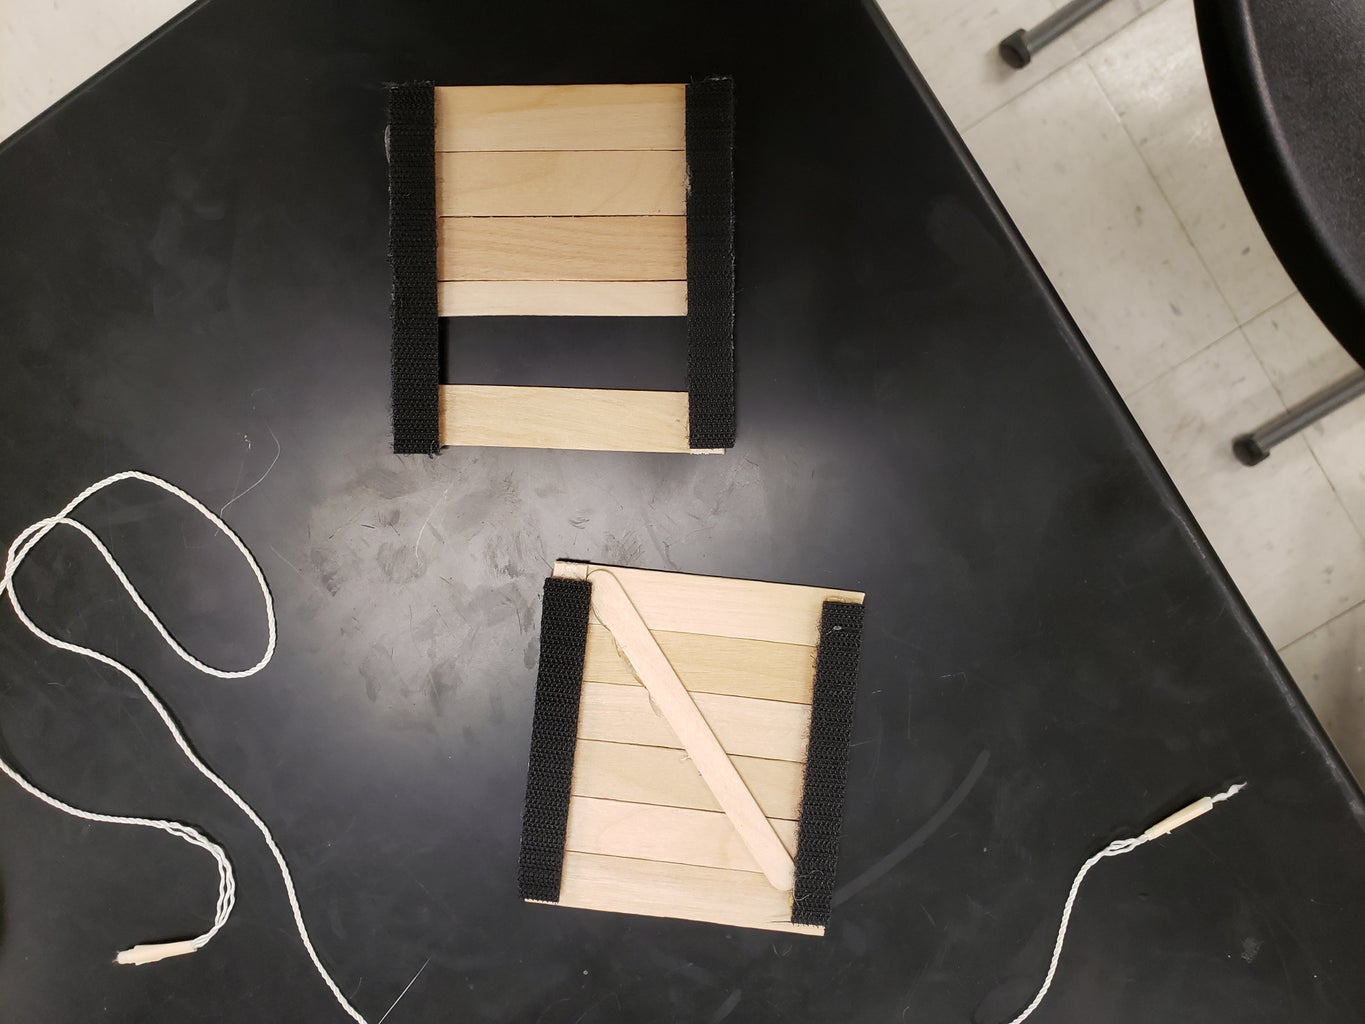
Step 3: The Walls for the Cubestat
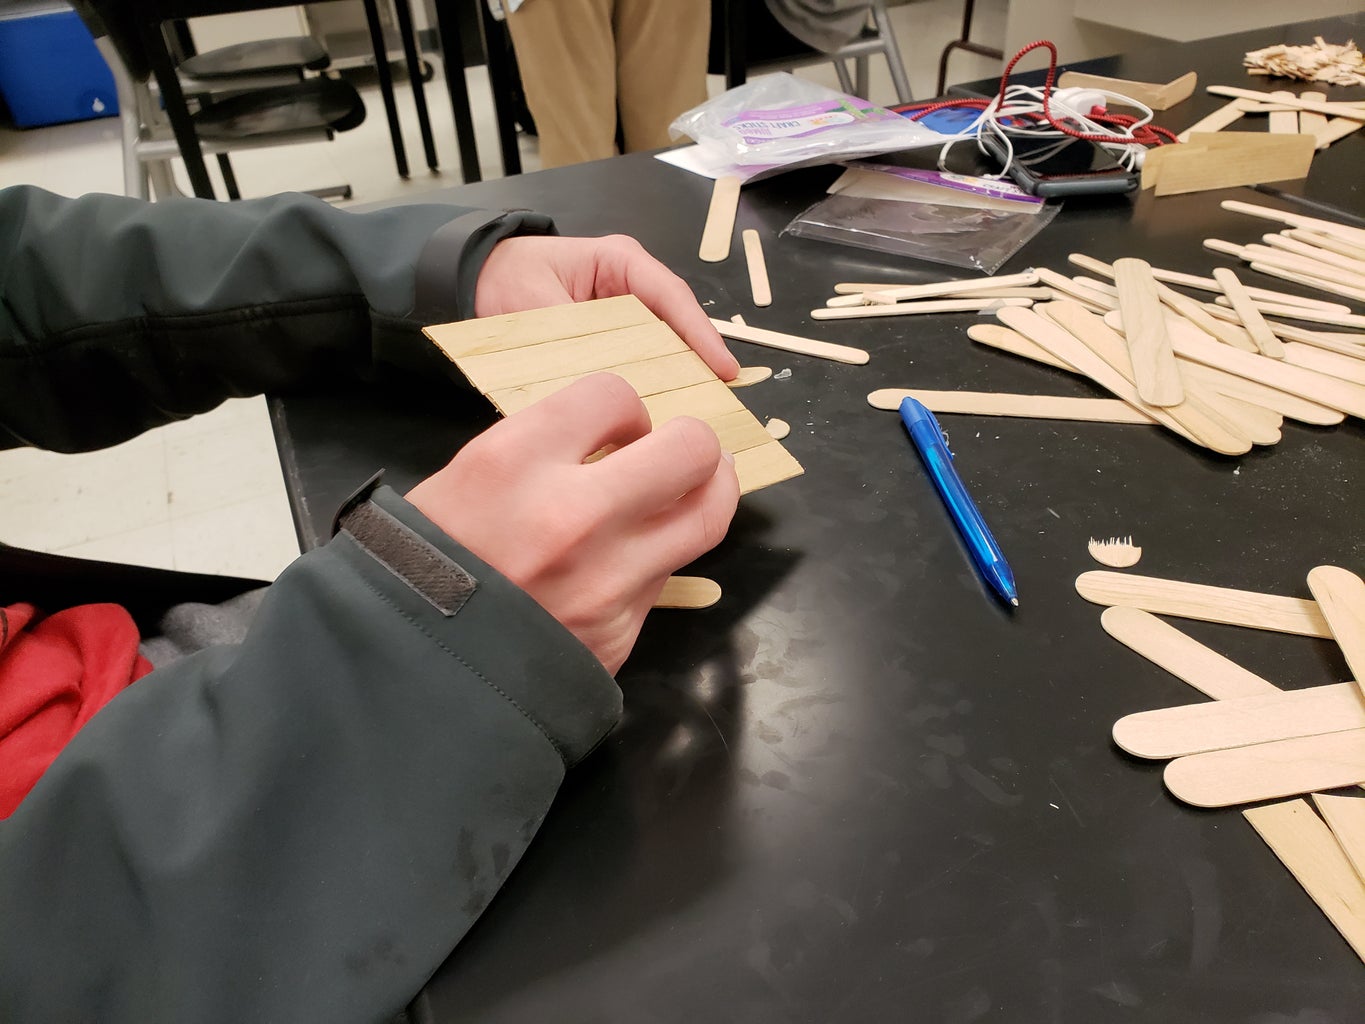

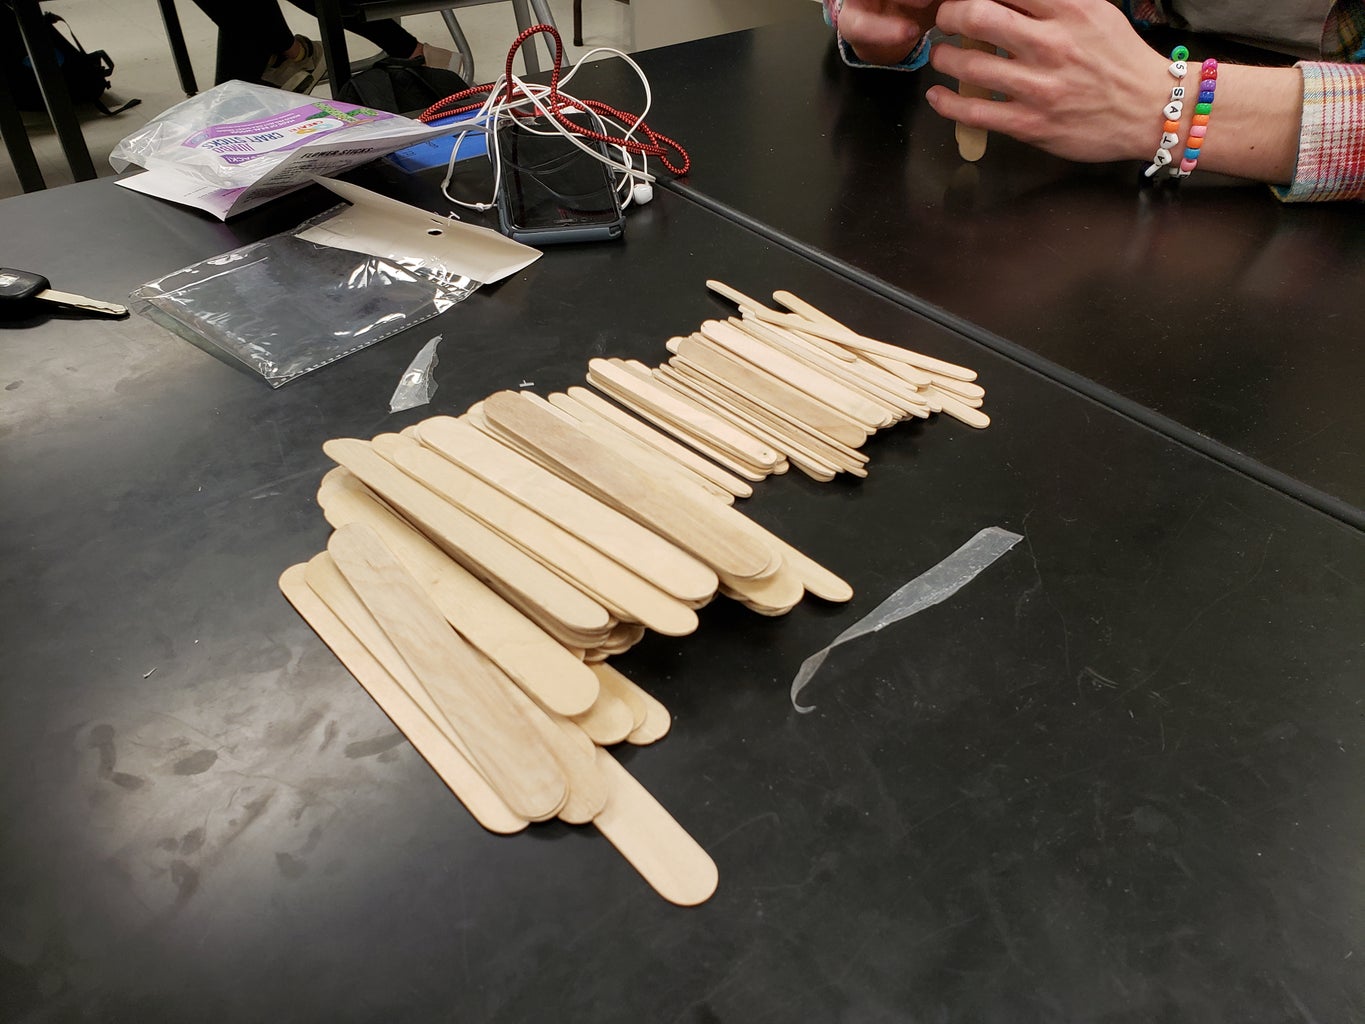
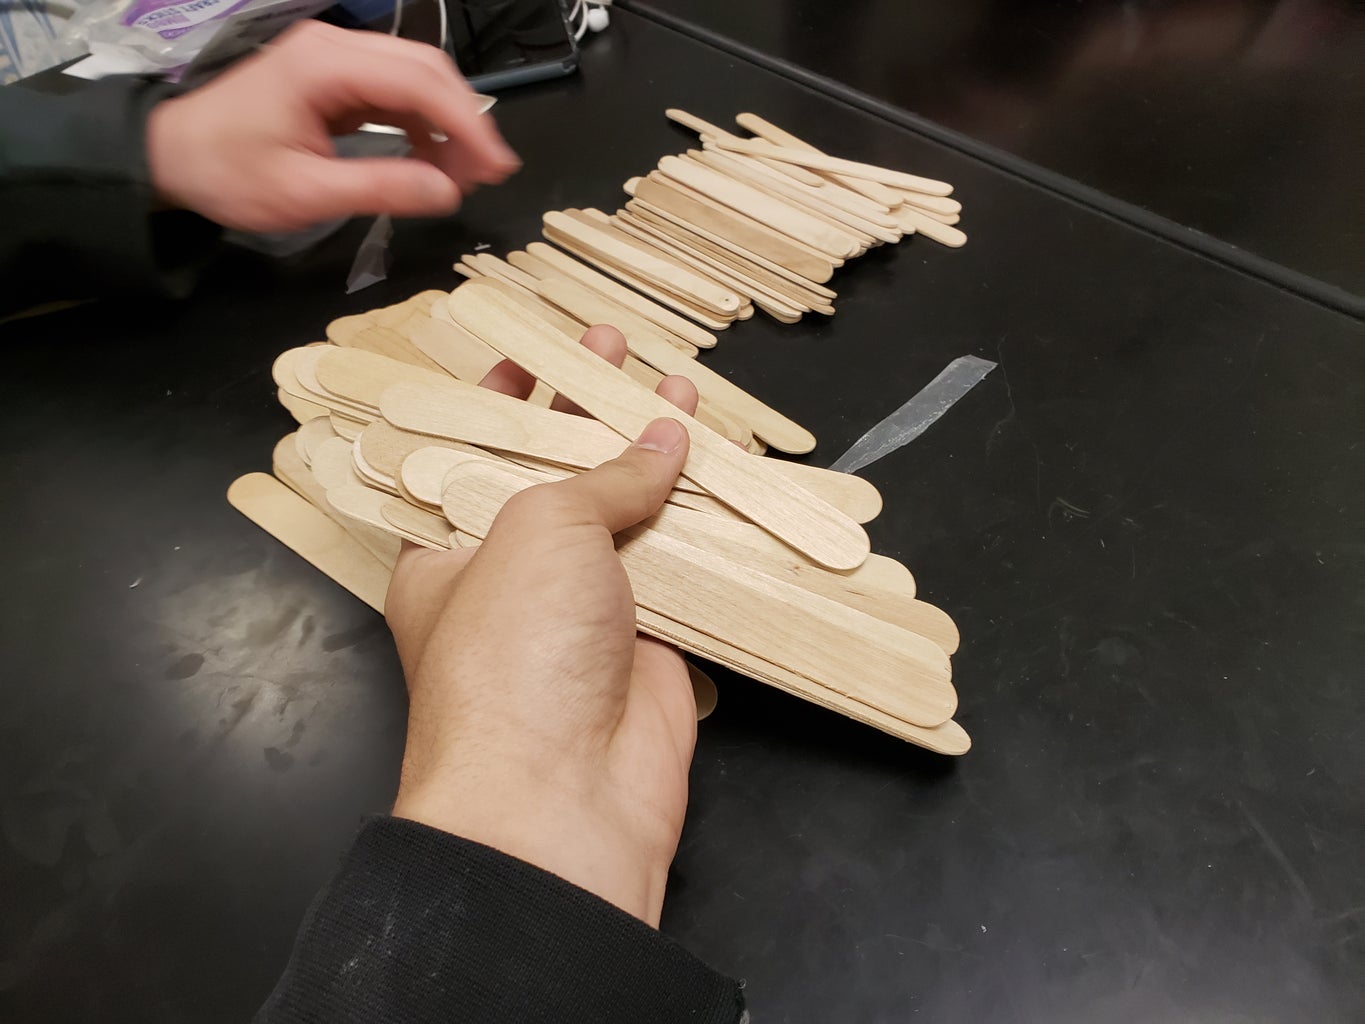
For all walls we used 6 popsicle sticks and wood glue and hot glue to help the sticks stay together. and on the back of the wall for more support make a Z with the smaller popsical sticks
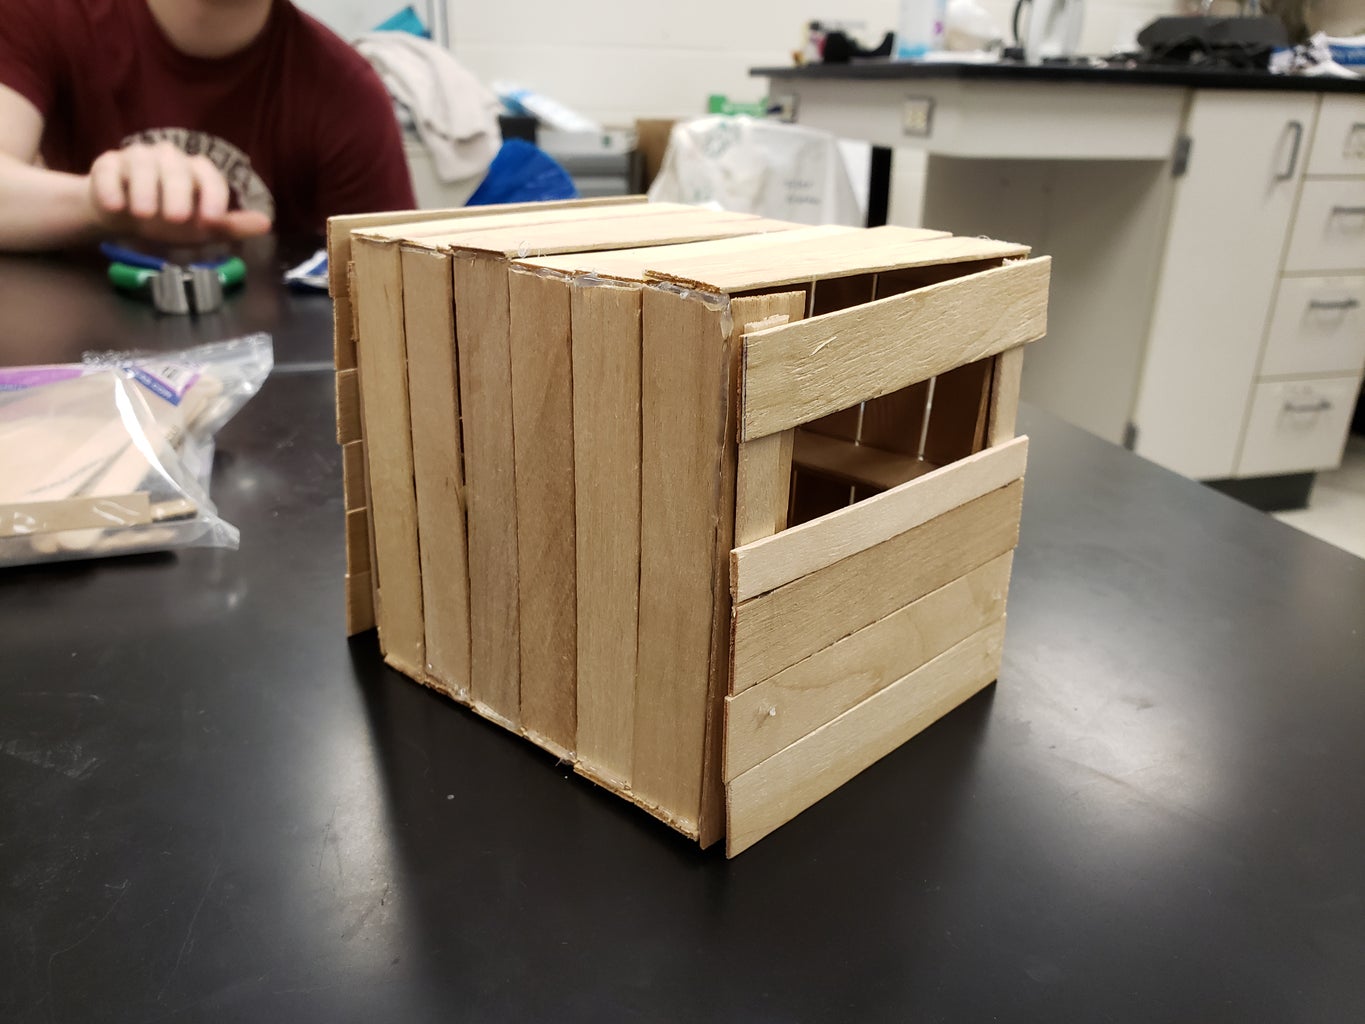
Step 4: The Front Wall


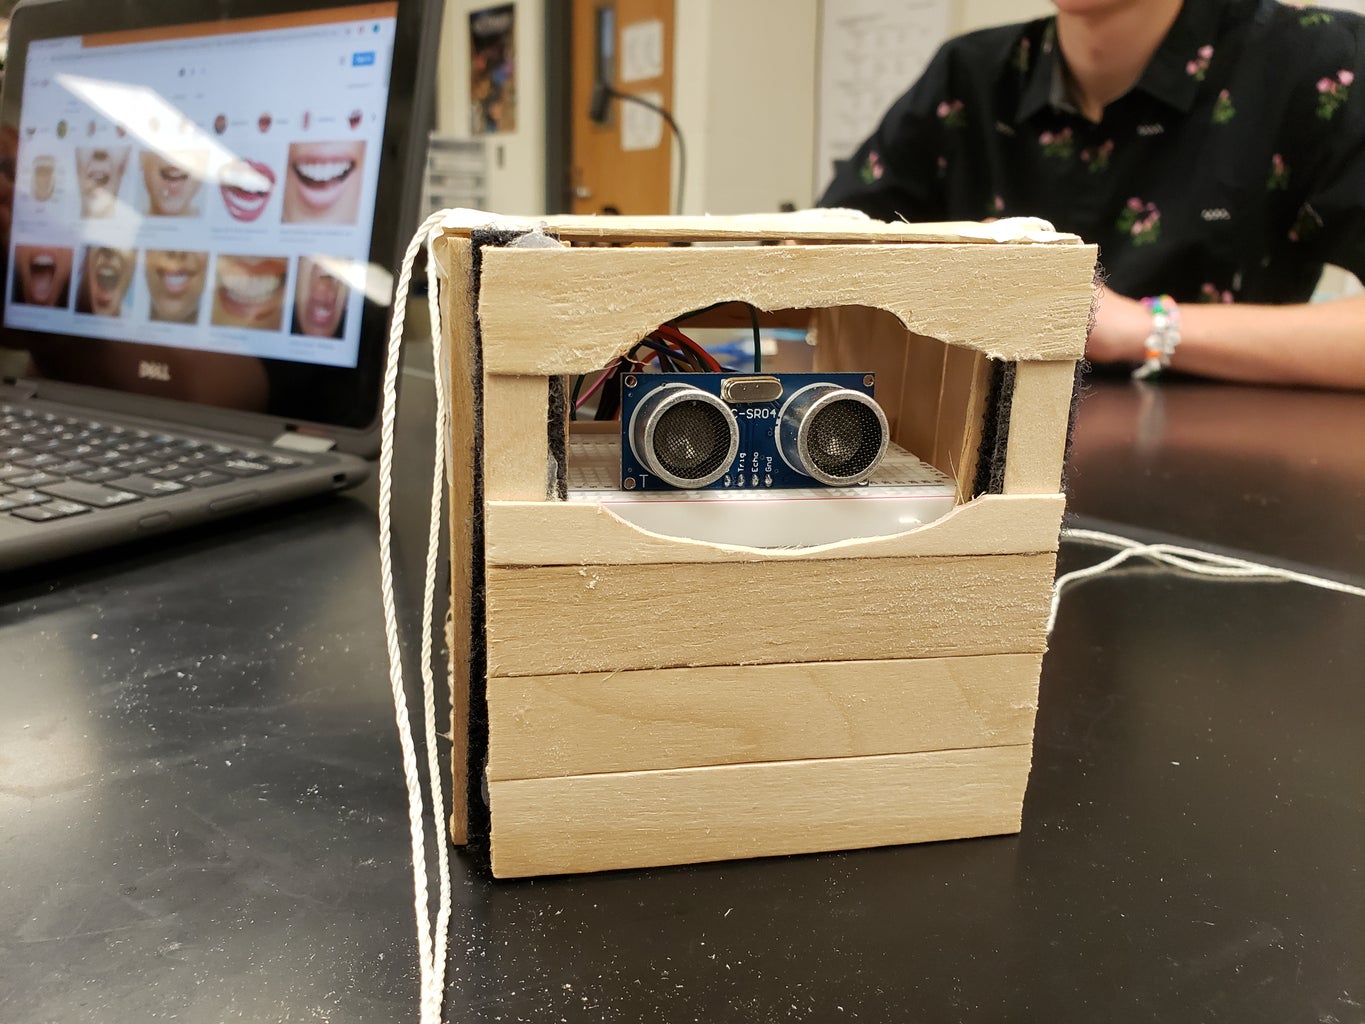
This wall has a missing popsicle stick, therefore the supersonic sensor can detect anything its facing outside of the cube. then we used a drumlin to make the window bigger for the ultra sonic sensor to see out the wall
Step 5: Front Wall and Back Wall

Both walls are being added on later in the process of making the cubestat, so we can add the Arduino inside before placing the final walls.
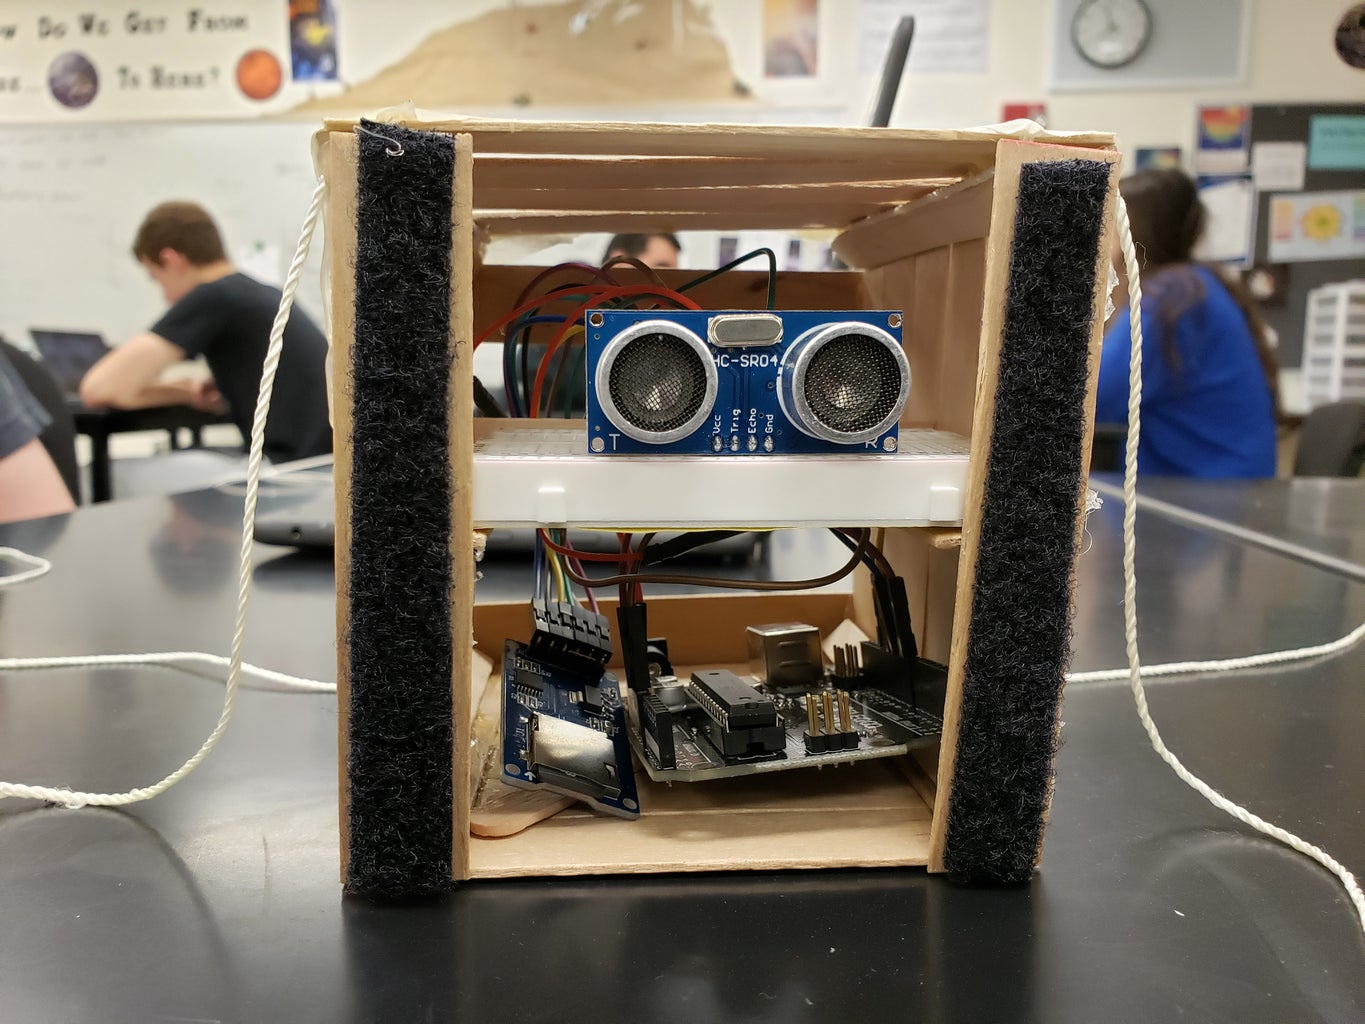
Step 6: Inside of Cubestat and Trimming

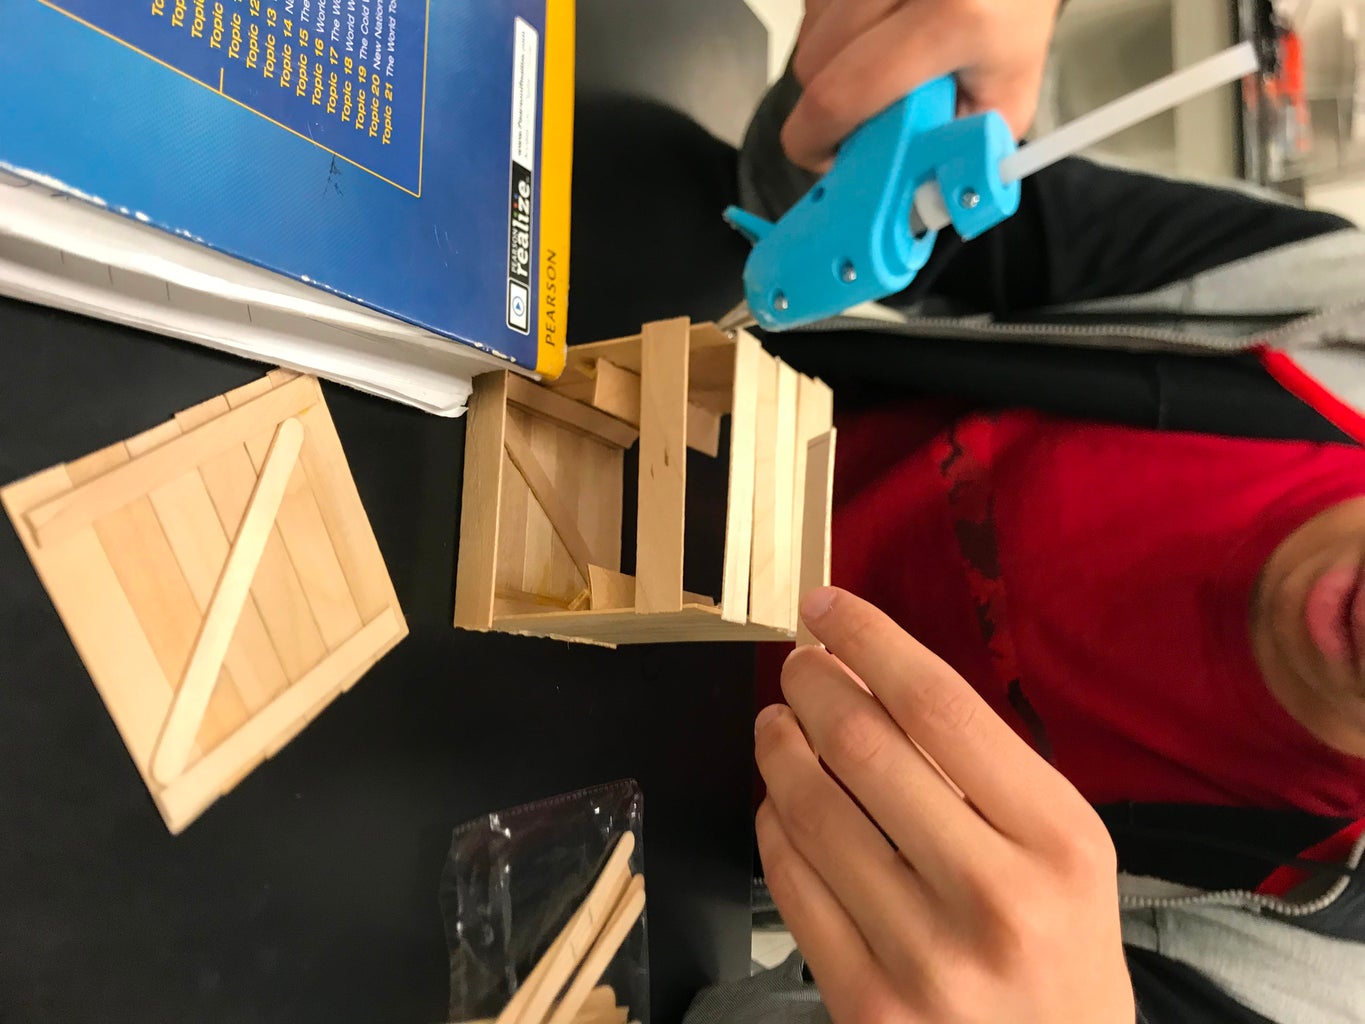

Inside the cubestat we have put a shelve where the Arduino and battery is being placed. We trimmed all edges with "wood cutting" pliers.
Step 7: Walls and Front on Cubestat

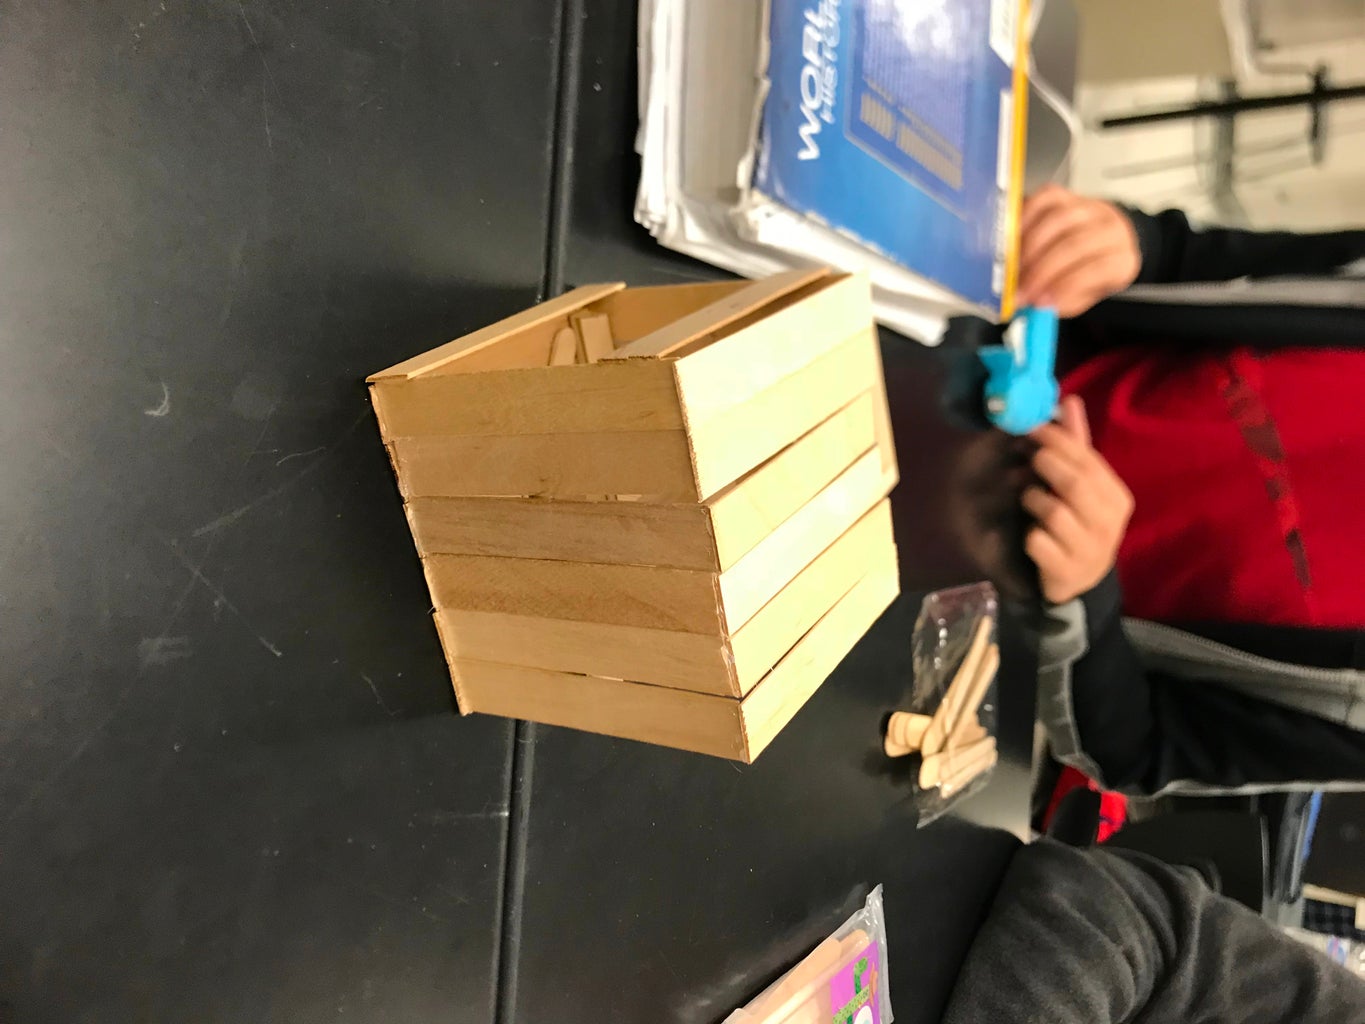

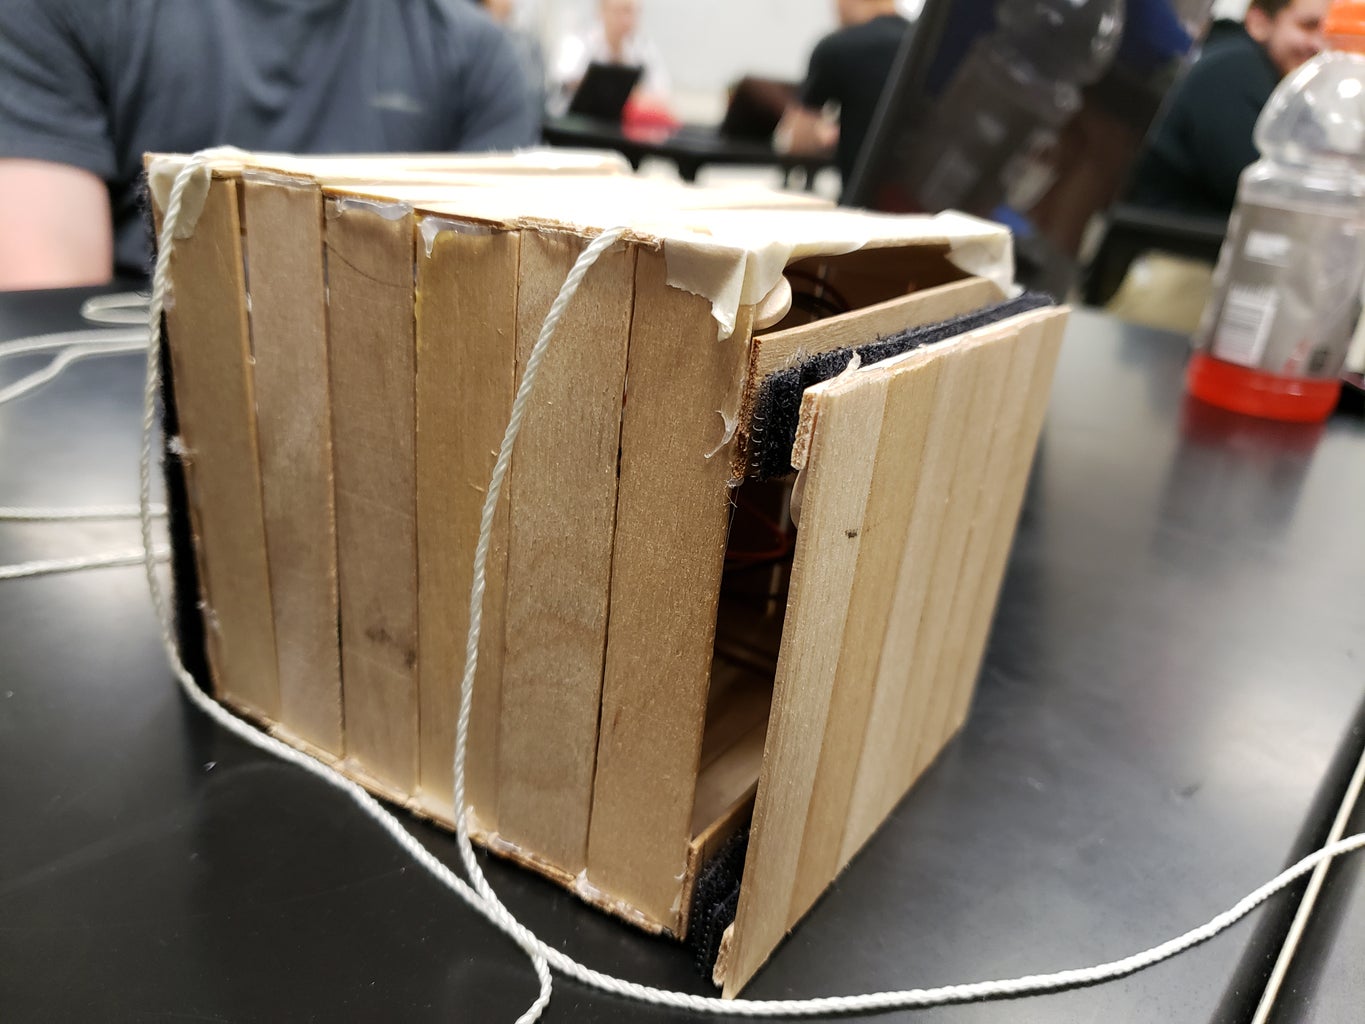
We had to put in the other two walls to keep everything in place. We knew we would have to remove them and put them back on so we used industrial Velcro to hold them on and take them off when needed.
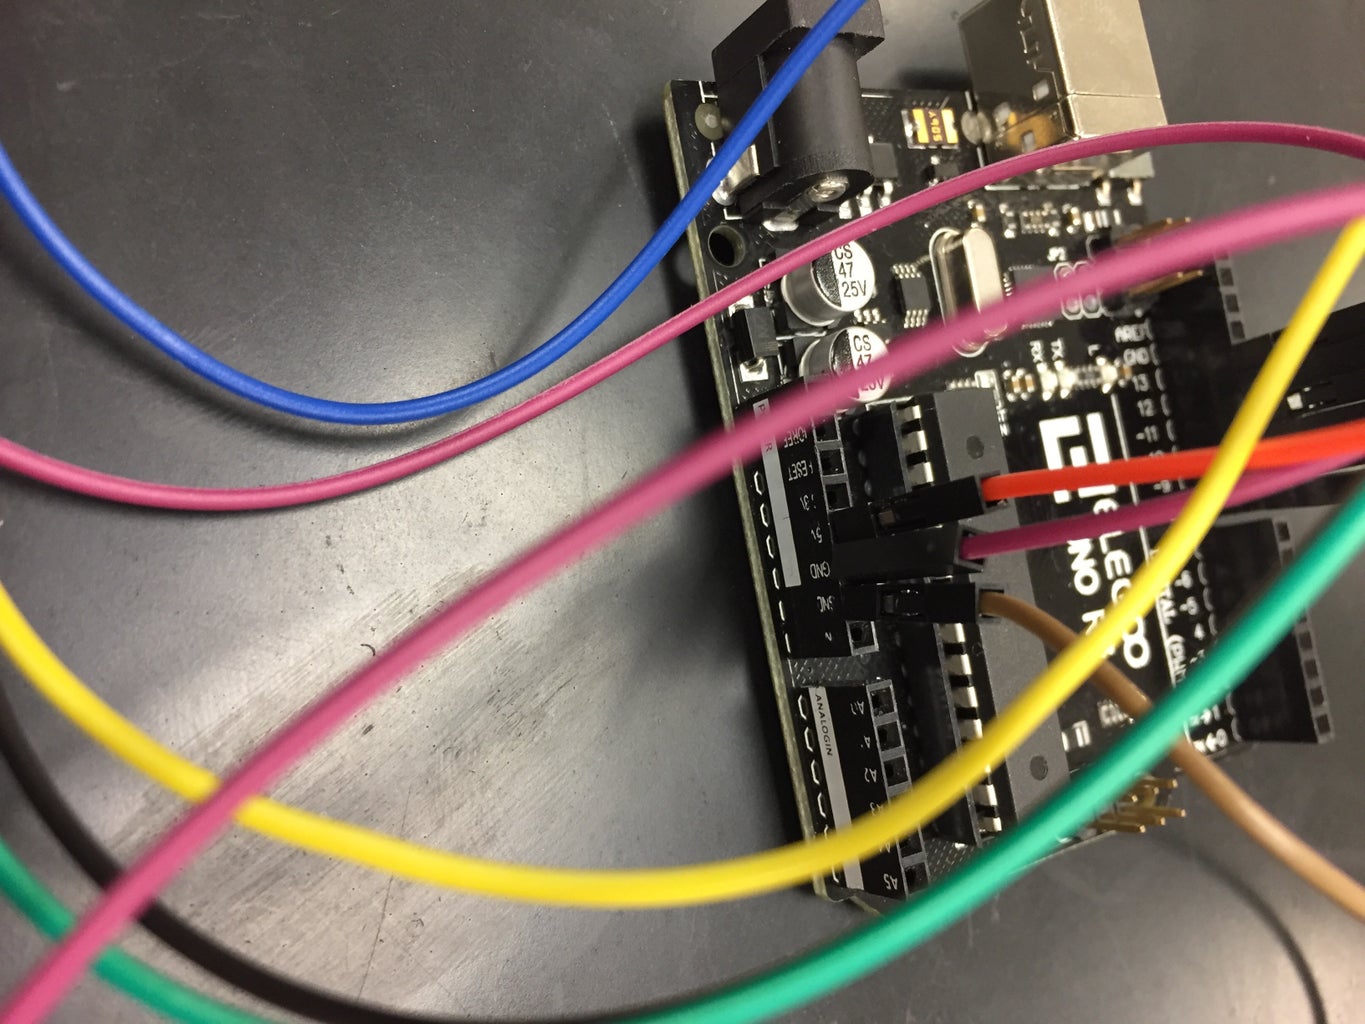
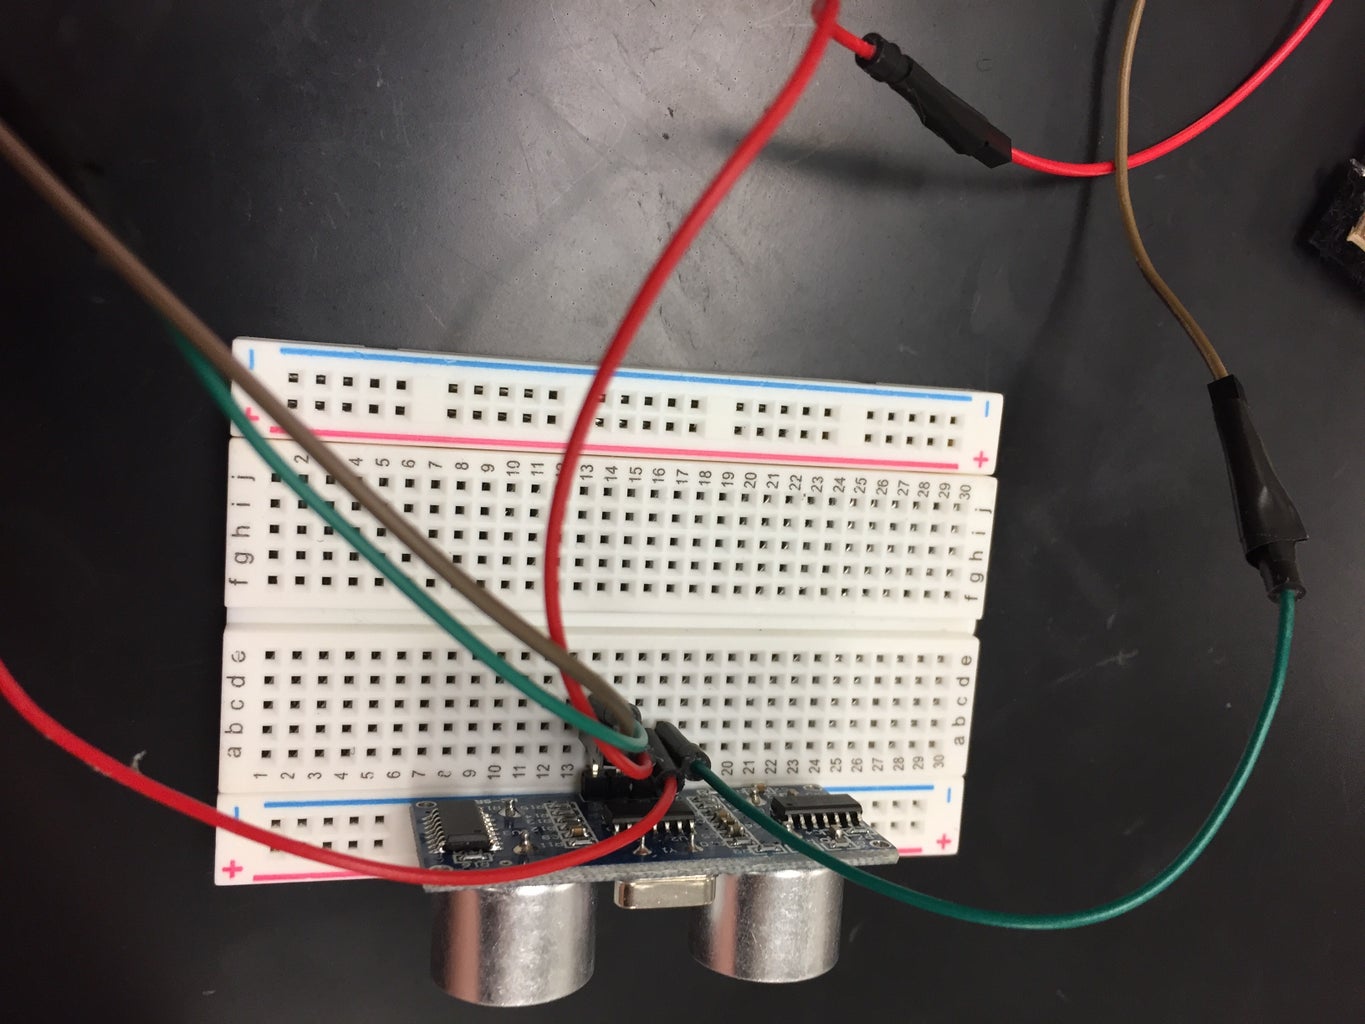
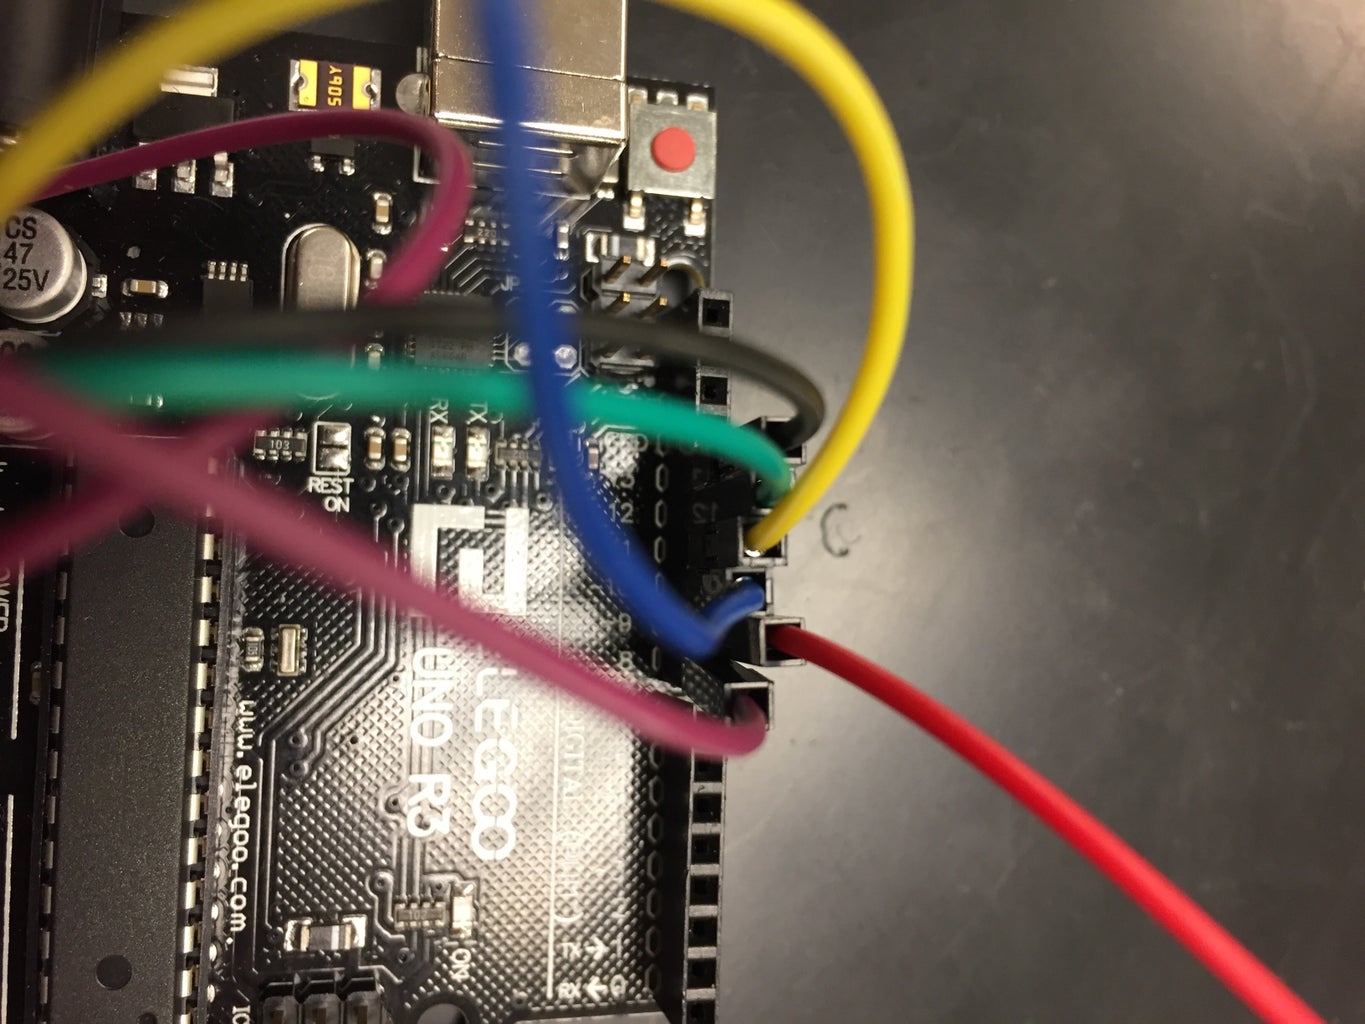
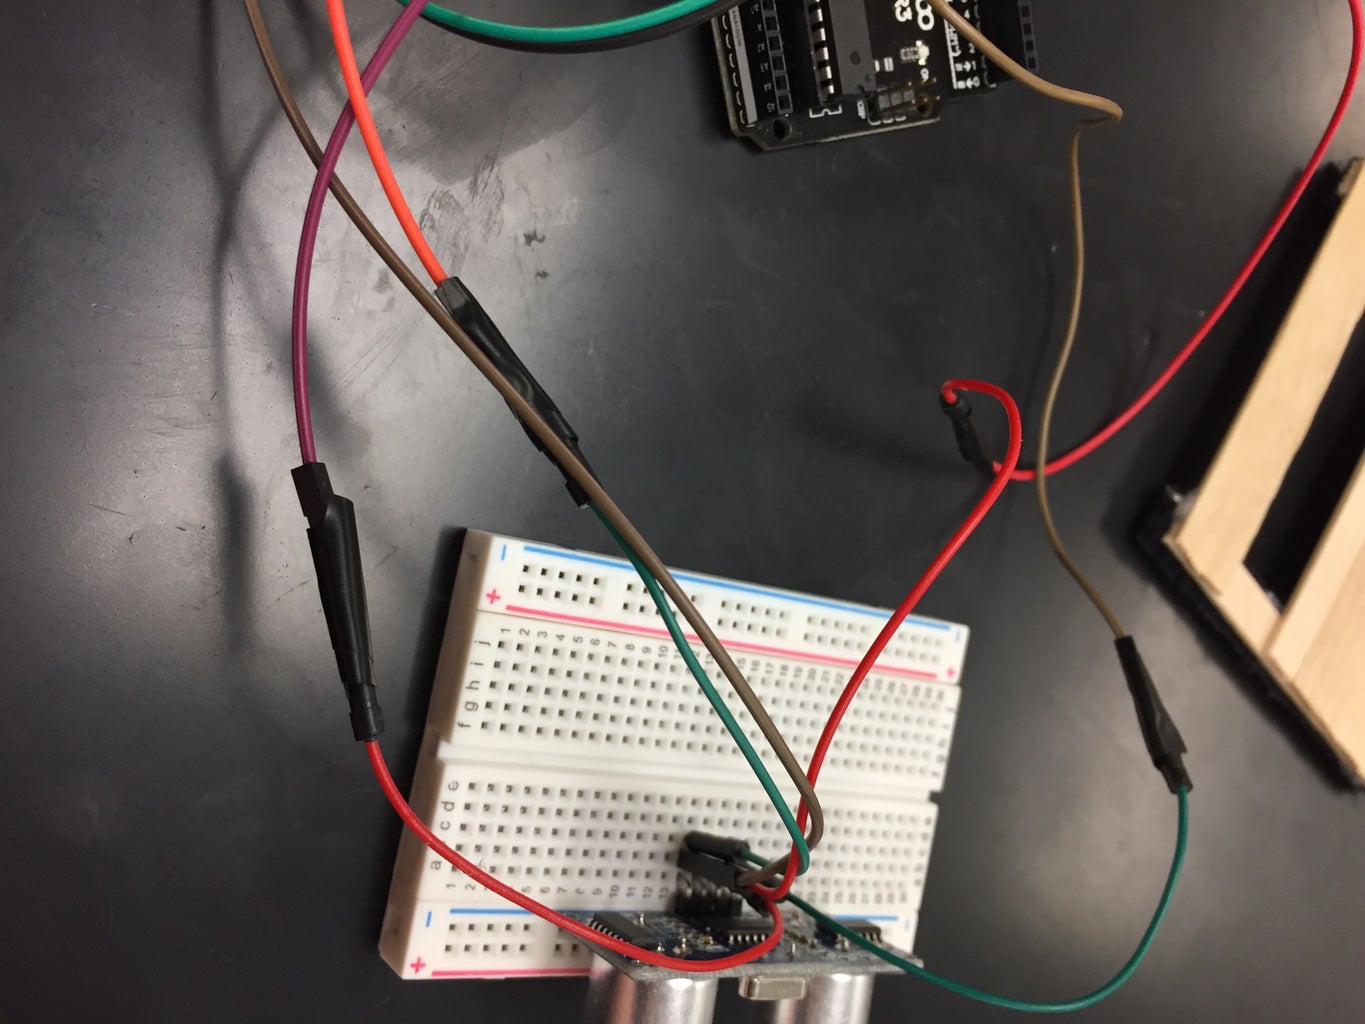
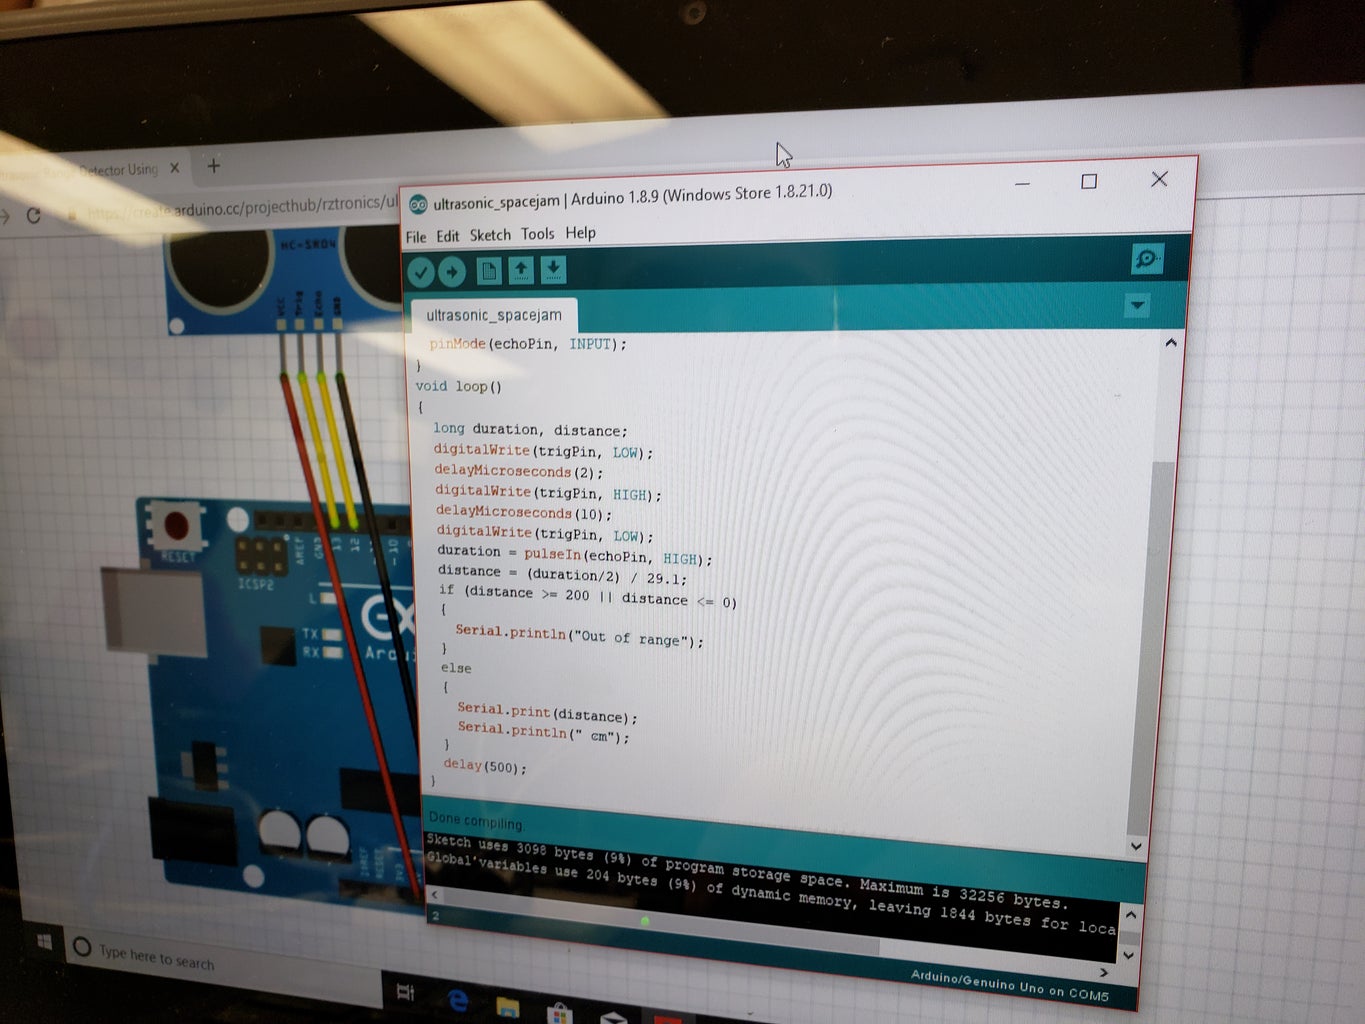
Step 8: Our Coding and Wiring Process

#include
#include
#define trigPin 9 //was 13 #define echoPin 8 //was 11
File myFile;
int pinCS = 10;
void setup() {
Serial.begin (9600);
pinMode(pinCS, OUTPUT);
pinMode(trigPin, OUTPUT);
pinMode(echoPin, INPUT);
if (SD.begin()) {
Serial.println("SD card is ready to use.");
}
else {
Serial.println("SD card initialization failed");
return;
}
// Create/Open file
myFile = SD.open("test.txt", FILE_WRITE);
// if the file opened okay, write to it: if (myFile) { Serial.println("Writing to file..."); // Write to file myFile.println("Testing text 1, 2 ,3...");
myFile.close(); // close the file Serial.println("Done.");
}
// if the file didn't open, print an error:
else { Serial.println("error opening test.txt"); }
// Reading the file
myFile = SD.open("test.txt");
if (myFile) { Serial.println("Read:");
// Reading the whole file
while (myFile.available()) {
Serial.write(myFile.read());
}
myFile.close();
}
else {
Serial.println("error opening test.txt");
}
}
void loop() {
long duration, distance;
digitalWrite(trigPin, LOW);
delayMicroseconds(2);
digitalWrite(trigPin, HIGH);
delayMicroseconds(10);
digitalWrite(trigPin, LOW);
duration = pulseIn(echoPin, HIGH);
distance = (duration/2) / 29.1;
if (distance >= 300 || distance <= 0) {
Serial.println("Out of range");
}
else {
myFile = SD.open("test.txt", FILE_WRITE);
if (myFile) {
Serial.print(distance);
Serial.println(" cm");
SD.open("test.txt");
myFile.print(distance);
myFile.println(" cm");
myFile.close();
}
else {
Serial.println("error opening test.txt");
}
myFile.close();
}
delay(250);
}
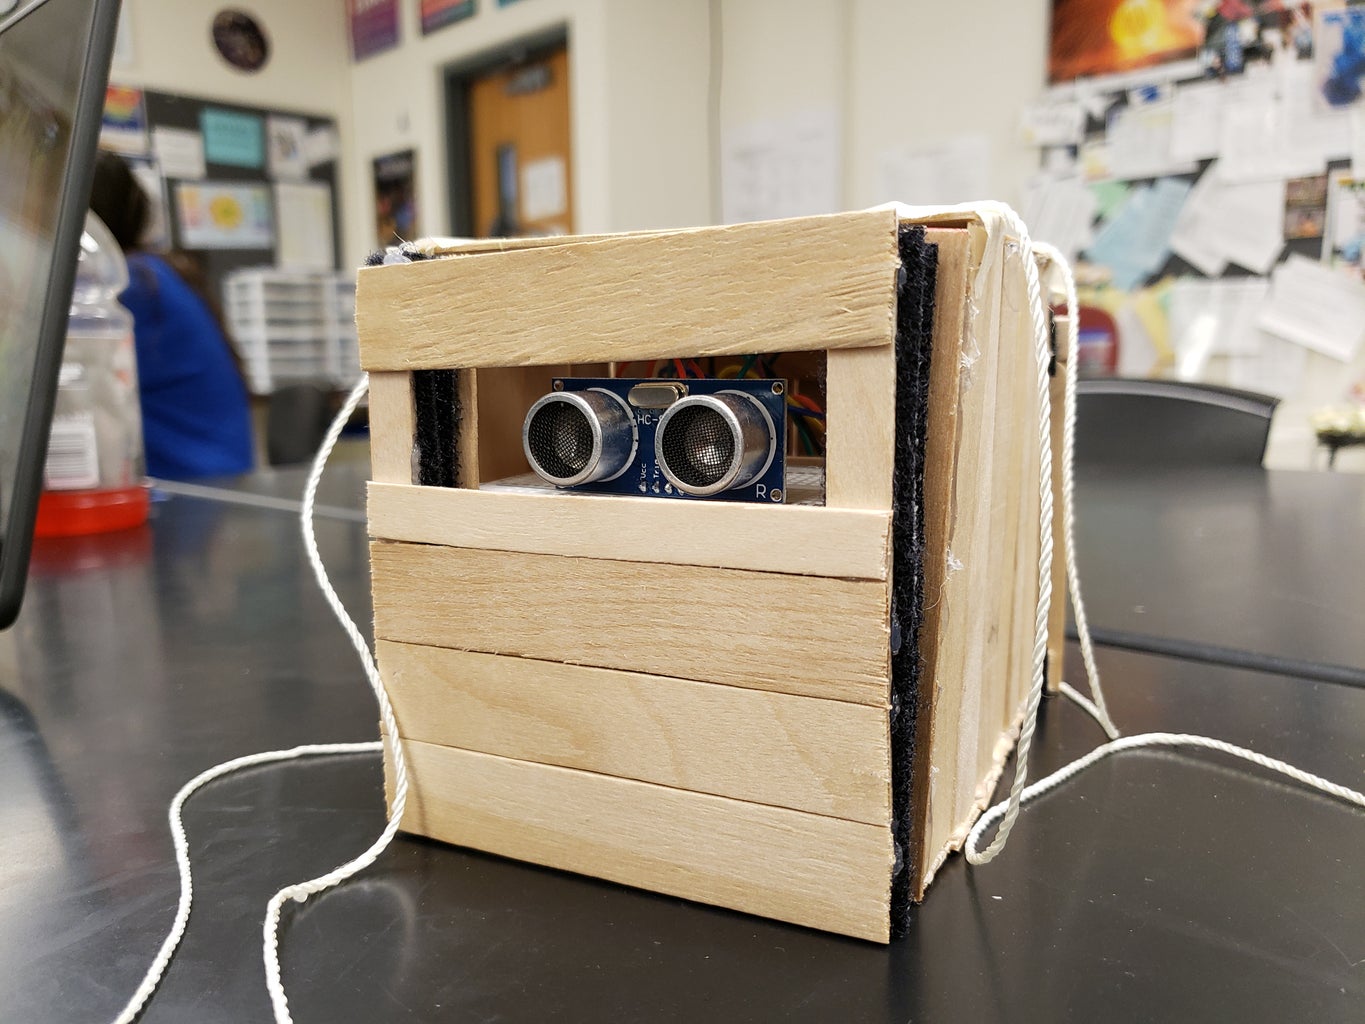
Step 9: Velcro and Window

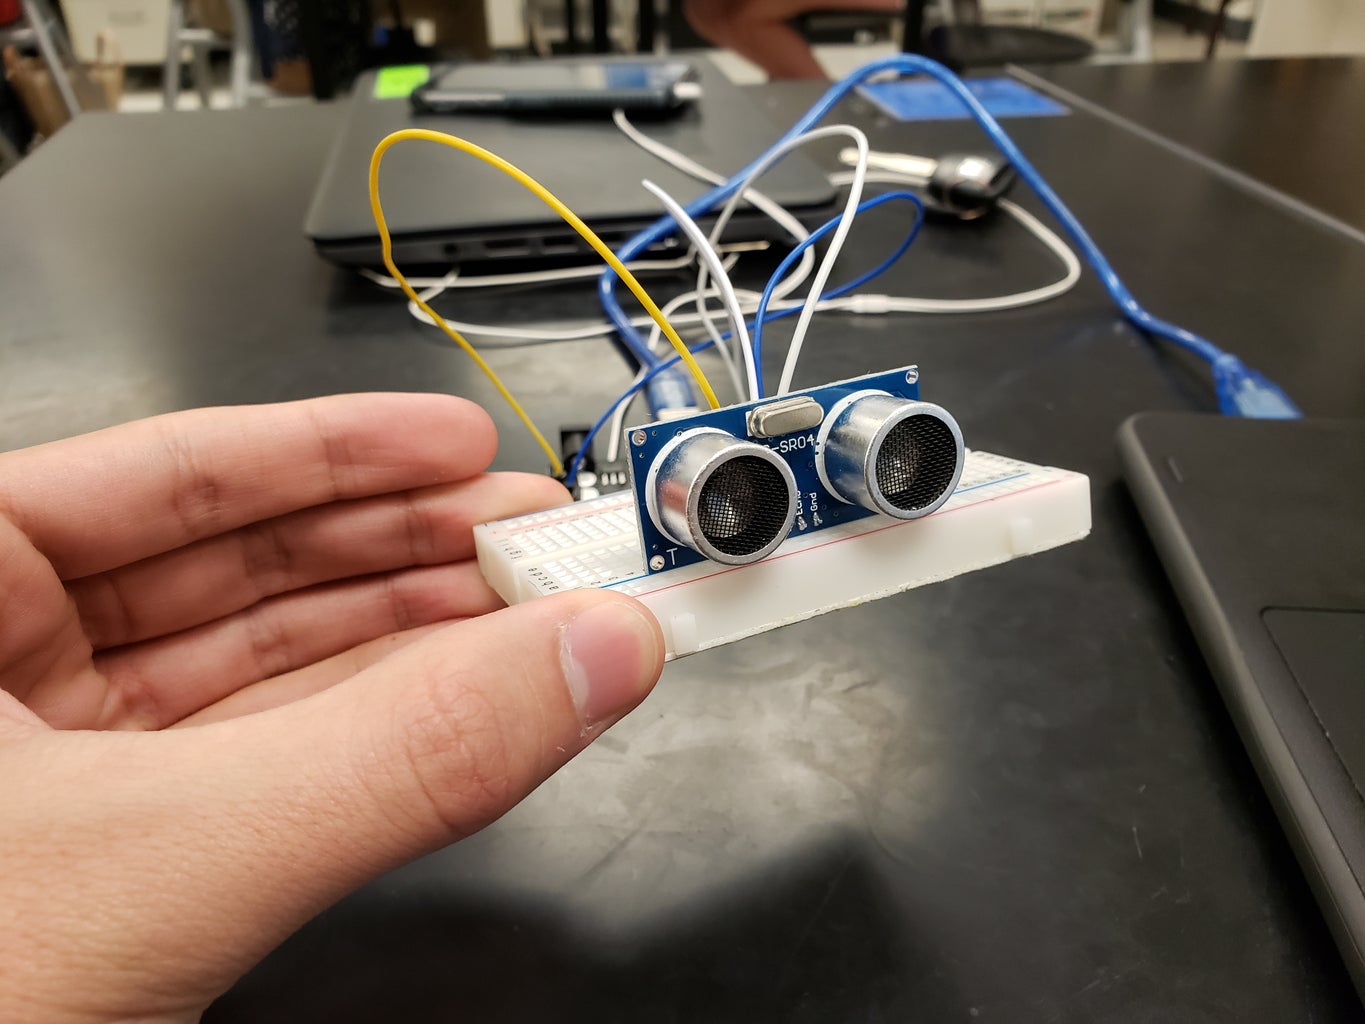
For the ultra sonic sensor we had to make a little window. the ultra sonic sensor ranges to at 45 degree angle out in both directions so we had to make sure the window is wide enough. The back strips are the Velcro on the sides.
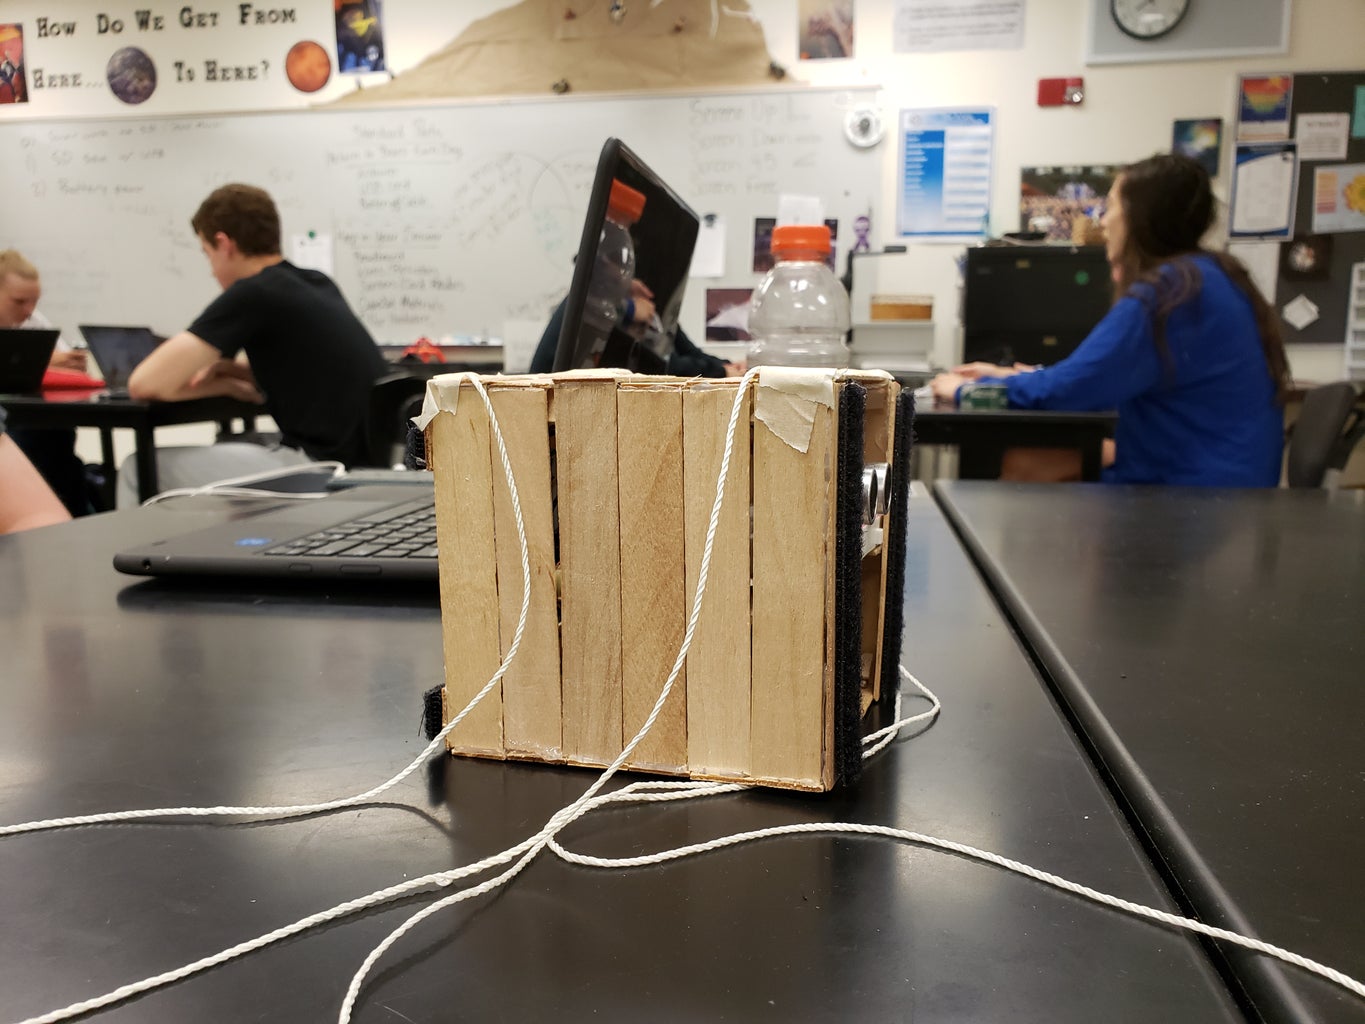
Step 10: The String Setup
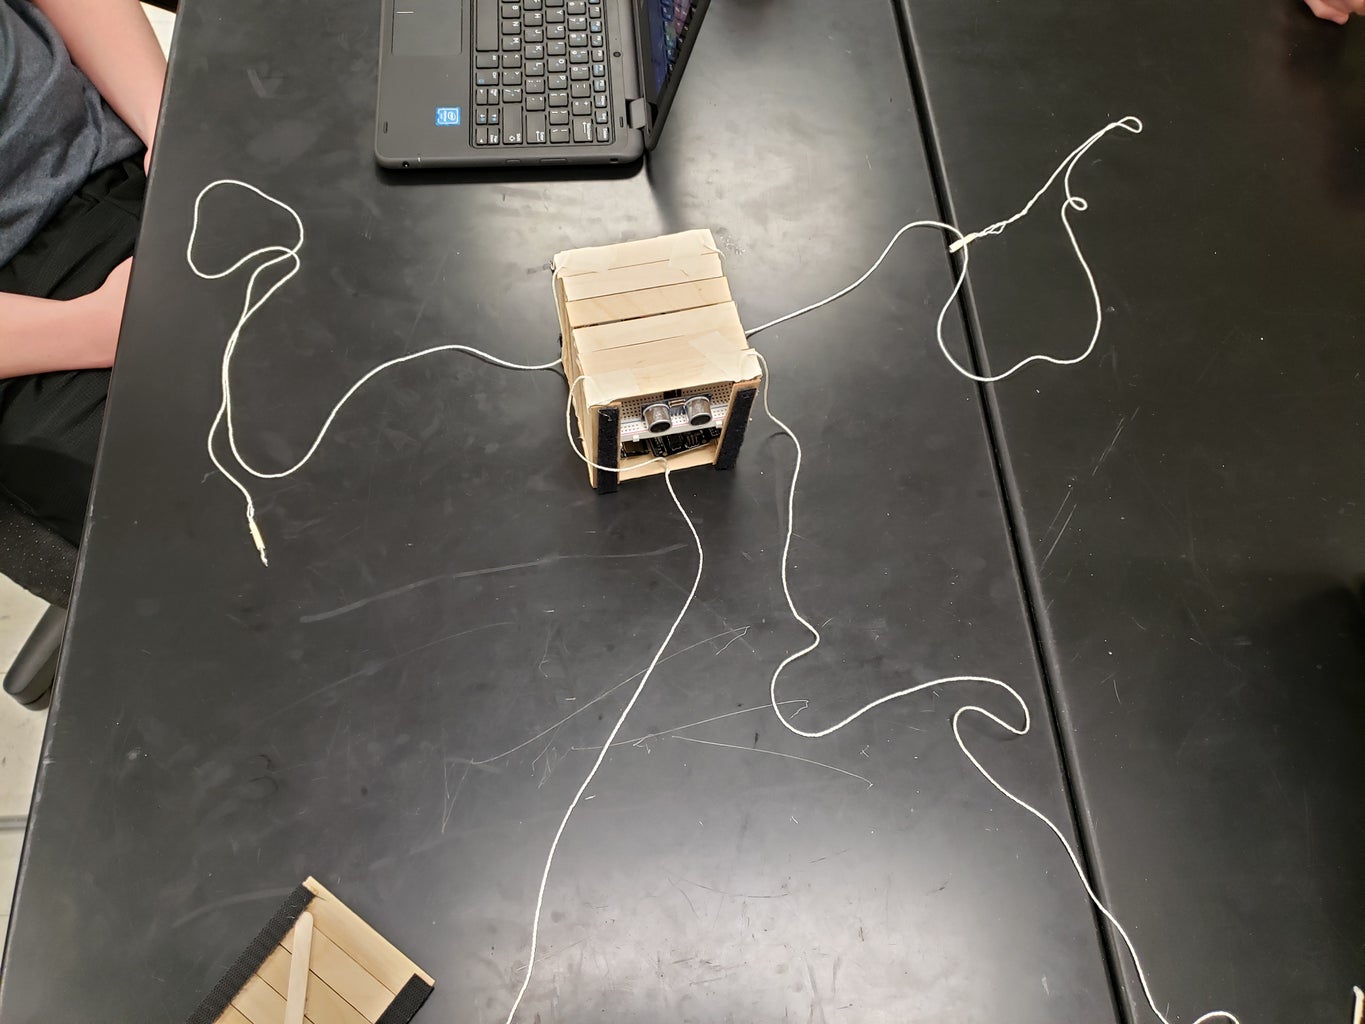
We took the string and ran one piece on each side under the hole roof and taped it on the top edges. And we did that on the other side as well. The string is 2.5 meters long on both sides.
Step 11: The Final Product
After all of the steps are complete and everything works we can now measure Mars the changes on Mars surface.
Step 12: Tying It to the Orbiter
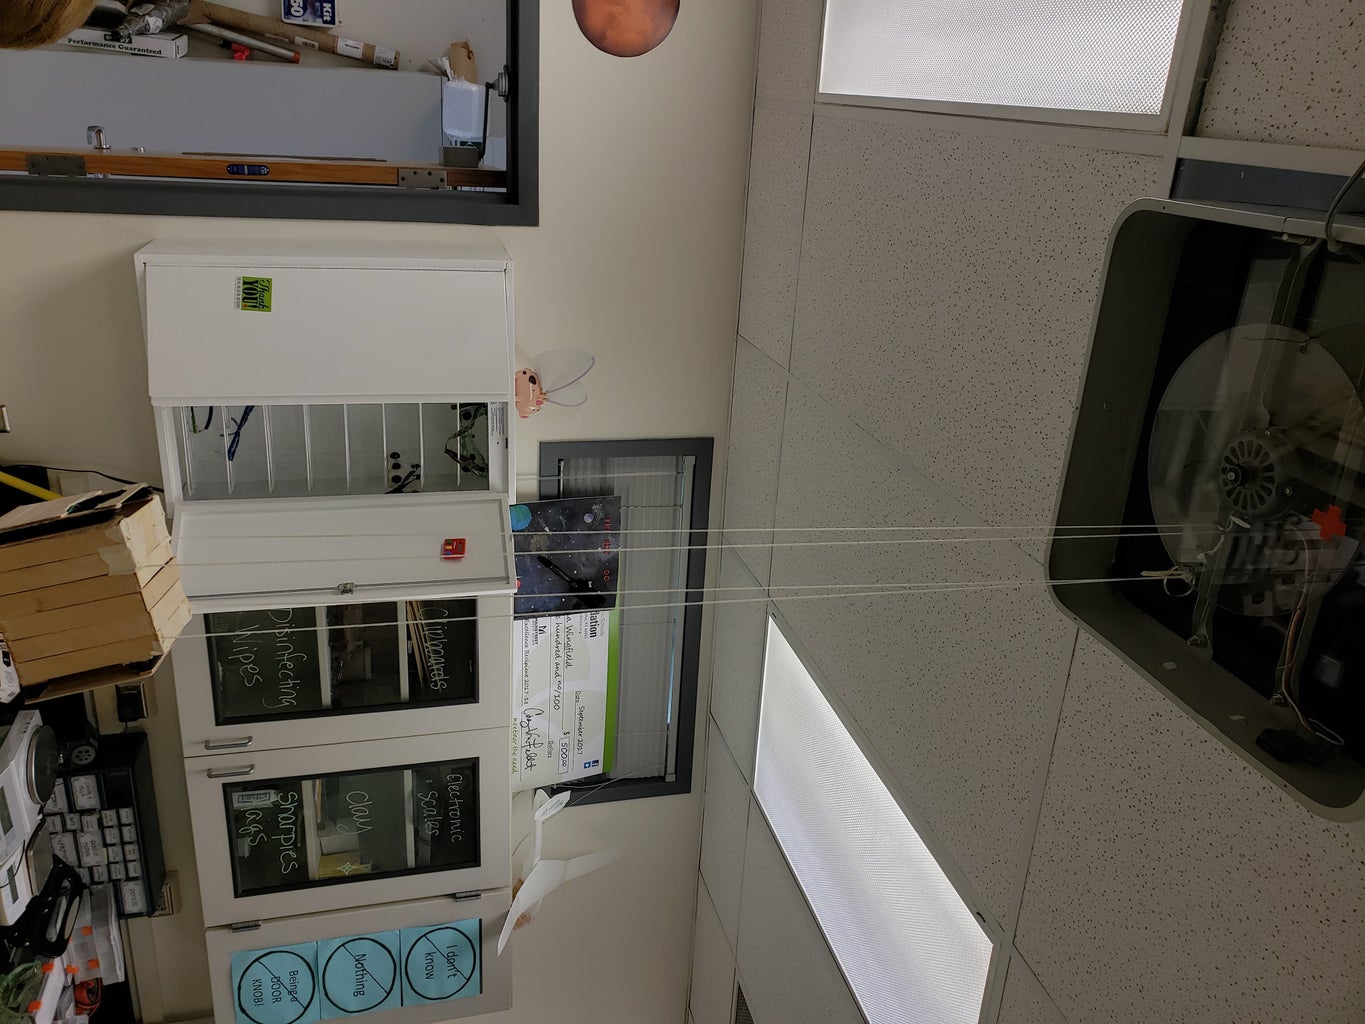
tying the cube sat to the orbiteer is the most Important part of the process of collecting data. there is a lot of ways to tie it up there we used two holes and tied the string in the holes this was the trickyist part was finding a way to tie it up. it determanis witch way the cube sat id facing
Step 13: The End


