Introduction: Testing Your Connections
Step 1: Always Test Your Work BEFORE Plugging In!
So you've finished your practice lamps - great work!! And I know you must be excited to see your handiwork shine, BUT WAIT!!! Safety first.
If you plug your lamp in without testing whether or not you wired it correctly, there's a risk of getting a shock. So this is a very important step.
There is a safe and easy way to test connections before you plug in, by using a continuity tester or multimeter.
Either of these tools will allow you to make sure all your Hot and Neutral wires went where they were supposed to and that all your connections are secure - by sending a very small current through the circuit and alerting you via a sound or a light whether or not you were successful!
I show you how to use each of these tools below:
Step 2: How to Test Using a Continuity Tester
This is the simplest (and cheapest) of the two devices. If this is what you have, follow the steps below to test both of your practice card set lamps.
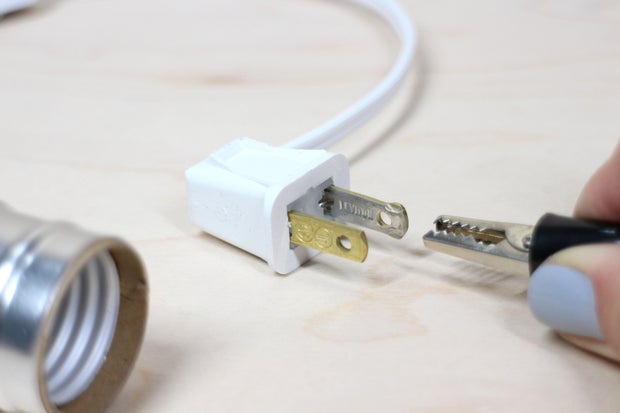
SPT-1 cord set plug

SVT cord set plug
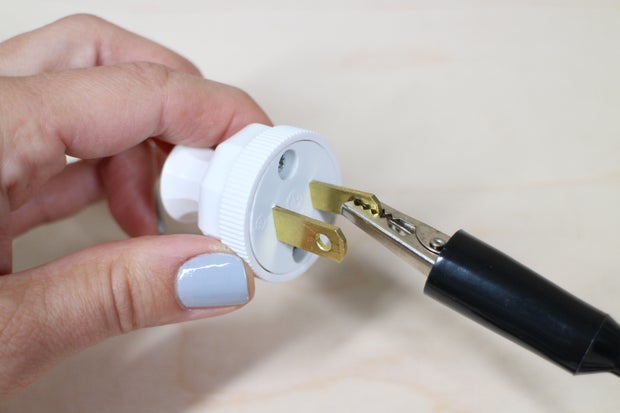
Clip the alligator clip onto the neutral (wider) prong of the plug.

SPT-1 cord set Neutral to Neutral testing.

SVT cord set Neutral to Neutral testing.
Take the cover off the metal tip of the tester and place it on the neutral threads of the socket, or in the case of the phenolic sockets, the neutral side tab.
If the light goes on, you wired both ends of the neutral wires to the correct terminals. (yay!) If not, scroll down to 'How to fix mis-wired connections'.
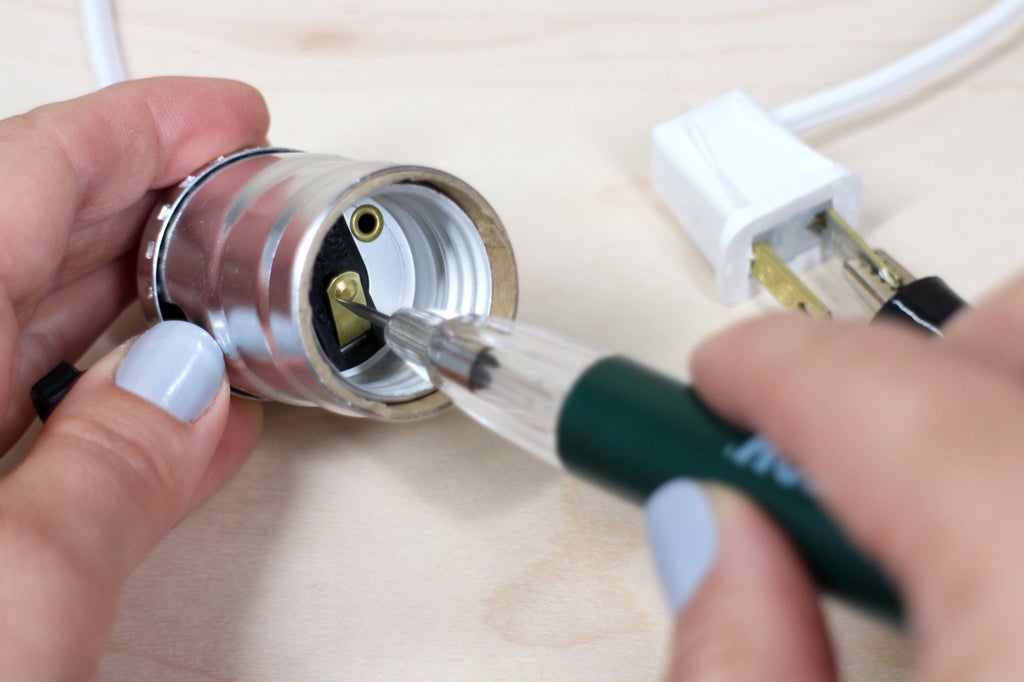

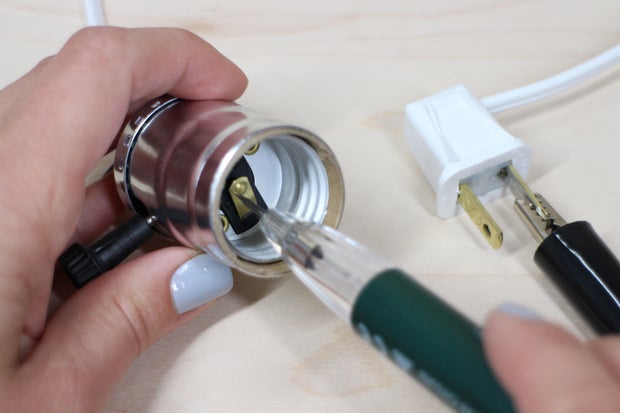
While the clip is still attached to the Neutral plug prong, touch the tester tip to the Hot contact tab to make sure that no cross-wiring occurred. The light should not go on. If the light doesn't go on (which is good), make sure to turn the switches off and on in all the possible combos to confirm. (Do this also for the SVT cord set.)
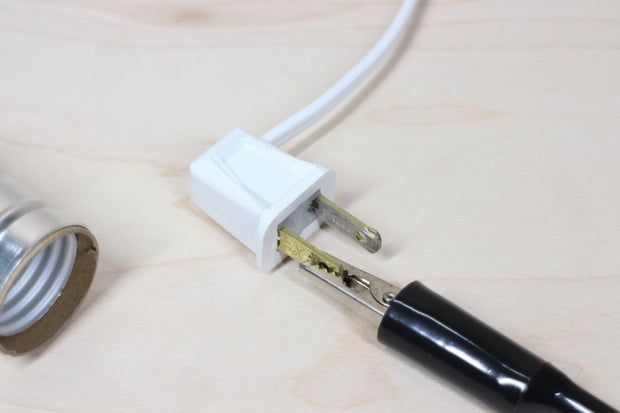
SPT-1 cord set
SVT cord set
Move the tester's alligator clip to the Hot prong of the plugs.
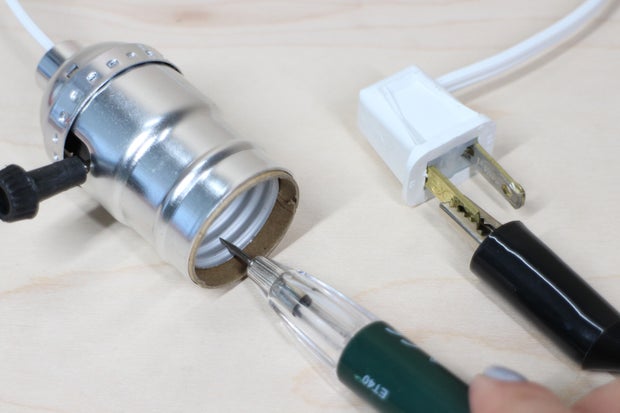
SPT-1 cord set
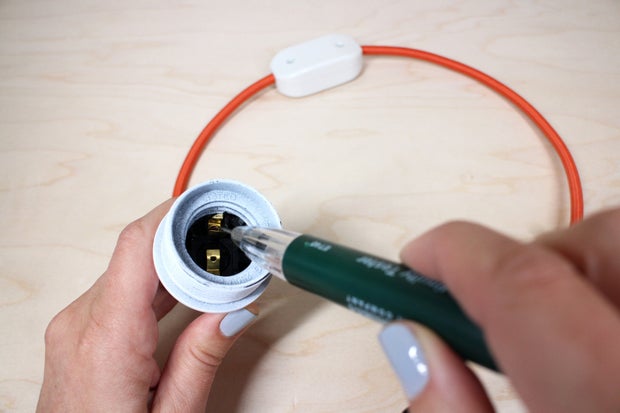
SVT cord set
Touch the tester tip to the Neutral socket threads. The light should not go on.

SPT-1 cord set
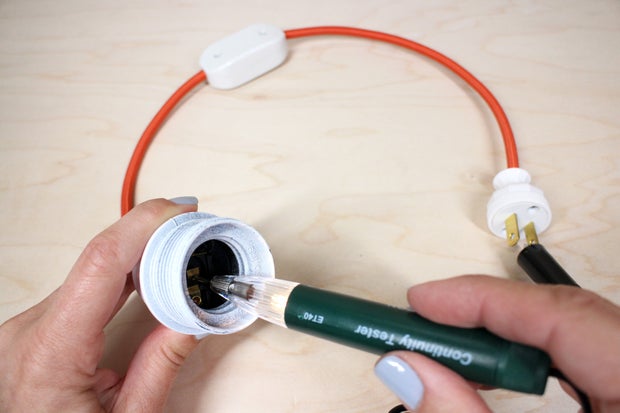
SVT cord set
Then touch the tip to the Hot terminal tab.
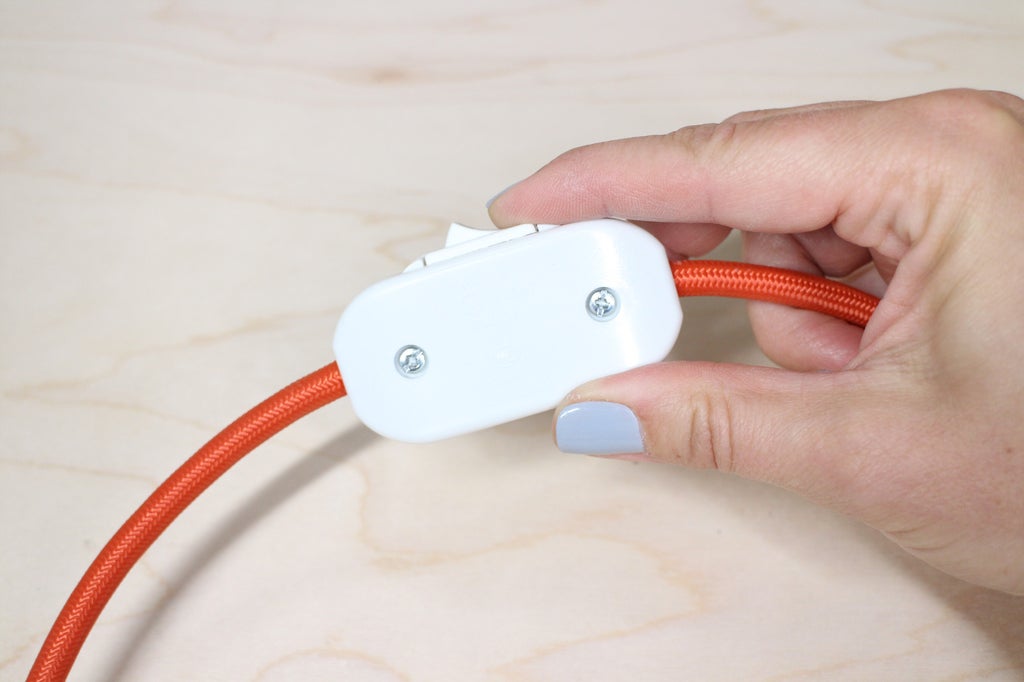
SVT cord set
The light should go on. If it doesn't, don't panic. It may be because the switch is in the off position. Try flipping/turning the switch(es) and testing again. Once you are sure that the Hot to Hot test is successful, do a little dance - because you have just made your first mini lamps!!
Step 3: How to Test Using a Multimeter
With this device, an audible beep replaces the lightbulb of the continuity tester, making it very clear whether you have current continuity or not!

Make sure your multimeter is at the setting pictured above.
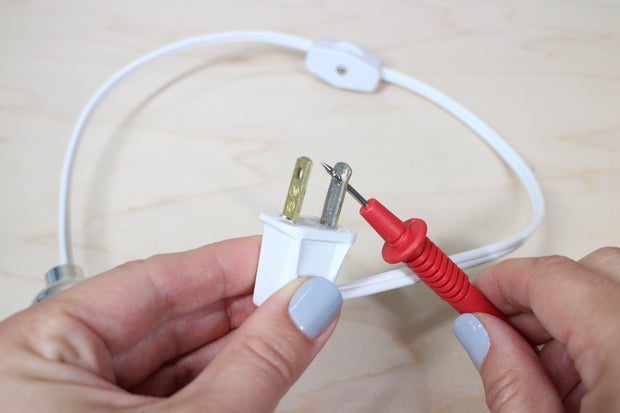
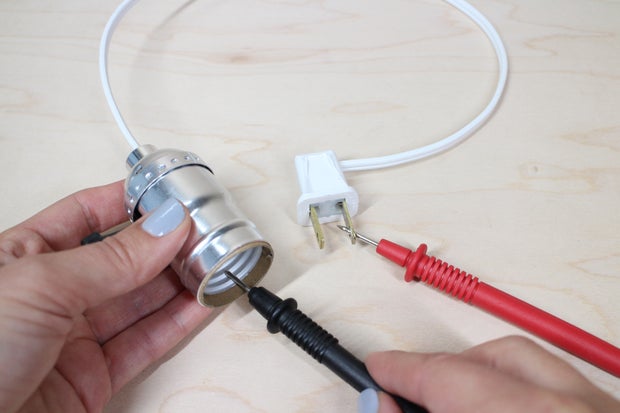
Using a multimeter, you follow the same sequence of testing as for the Continuity Tester, the only difference is that there are two probes instead of one probe and an alligator clip.
Place one of the multimeter probes (it doesn't matter which one) into the plug prong hole, or hold it in place if no hole is present, and proceed with testing.
Step 4: How to Fix Miswired Connections
If the light did not go on for your first Neutral prong > Neutral threads test, touch the metal tester tip to the Hot tab of the socket, making sure to turn the switch(es) to make sure you hit the the on position. If this makes the light go on, it means that one end of your neutral wire is connected to the wrong terminal of either the plug or socket OR that you cut the wrong wire for the line switch.

SPT-1 line switch correct wiring with Hot wire cut

SVT line switch correct wiring with Hot wire cut
First check to make sure the switch is wired correctly - unscrew the switch housing and confirm that is was the Hot/smooth wire that you cut.
NOTE: If you did indeed cut the Neutral wire when putting on the line switch, I'm afraid the only thing to do is start over. This mistake isn't fixable. These aren't called practice sets for nothing! :)
If the line switch checks out, screw the switch back together and move on to checking the socket connections.
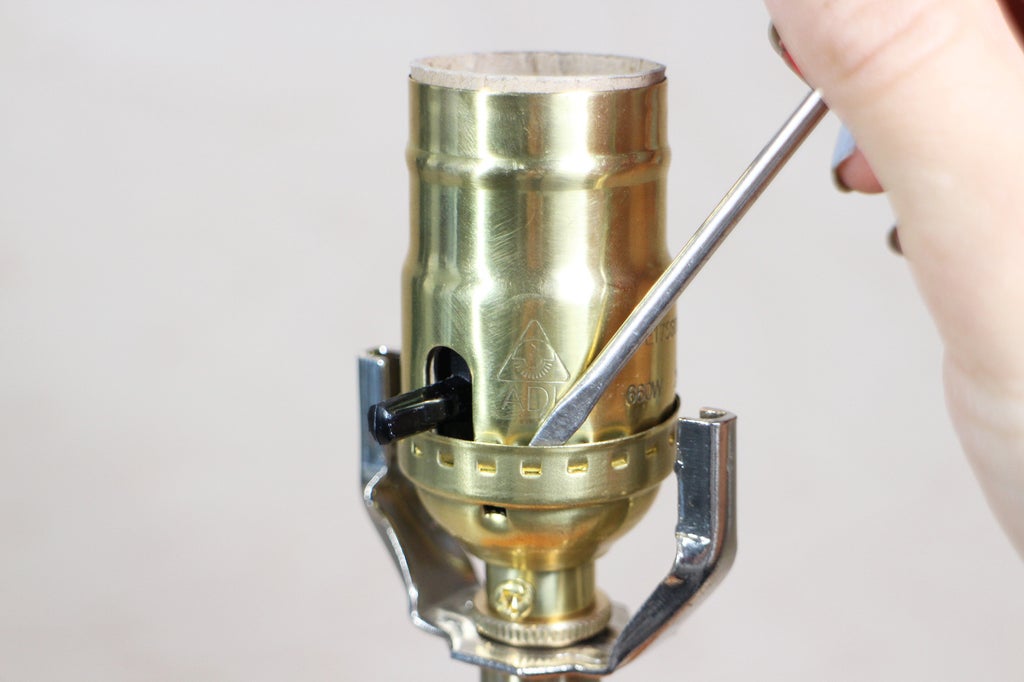

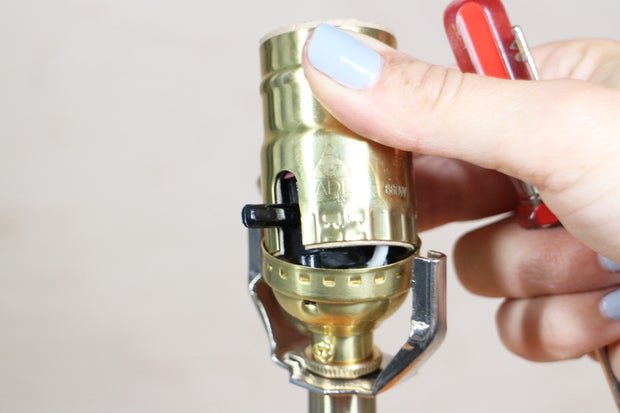
To remove a metal cap and shell socket's shell, insert the small flathead screwdriver down in between the shell and socket where it say's 'press' or just to the right of the opening for the on/off switch.
Check your connections, make any necessary changes, and replace shell.

The small brass tab gets caught on the vertical ridges, preventing the shell form unscrewing.

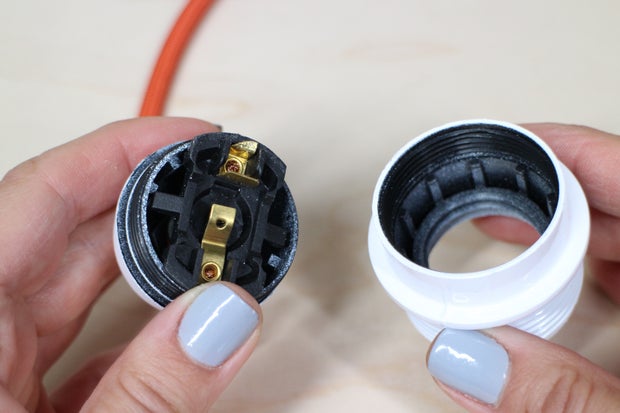
To remove or 'unlock' a phenolic socket's shell, use the small flathead screwdriver to pull the little side tab towards the center of the socket so that it no longer catches and you can unscrew the shell.
Check your connections. If you have wired the socket correctly, Hot/black wire to Hot center tab terminal and Neutral/white wire to Neutral side tab terminal, then the last place to check for a mishap is the plug.
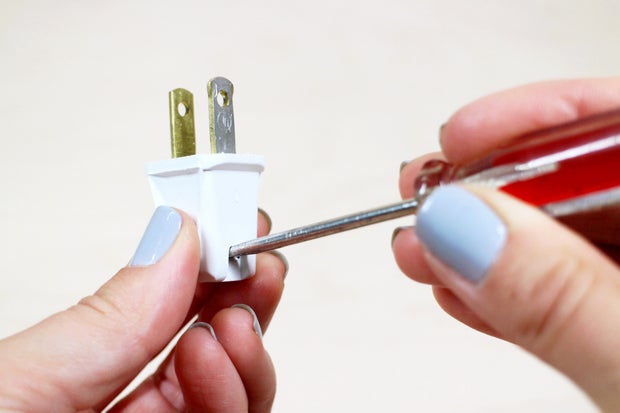
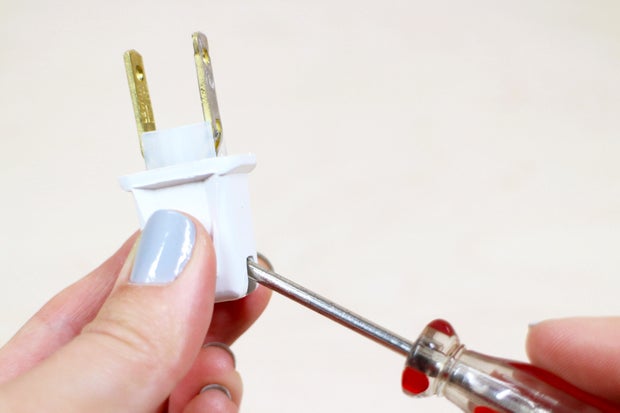
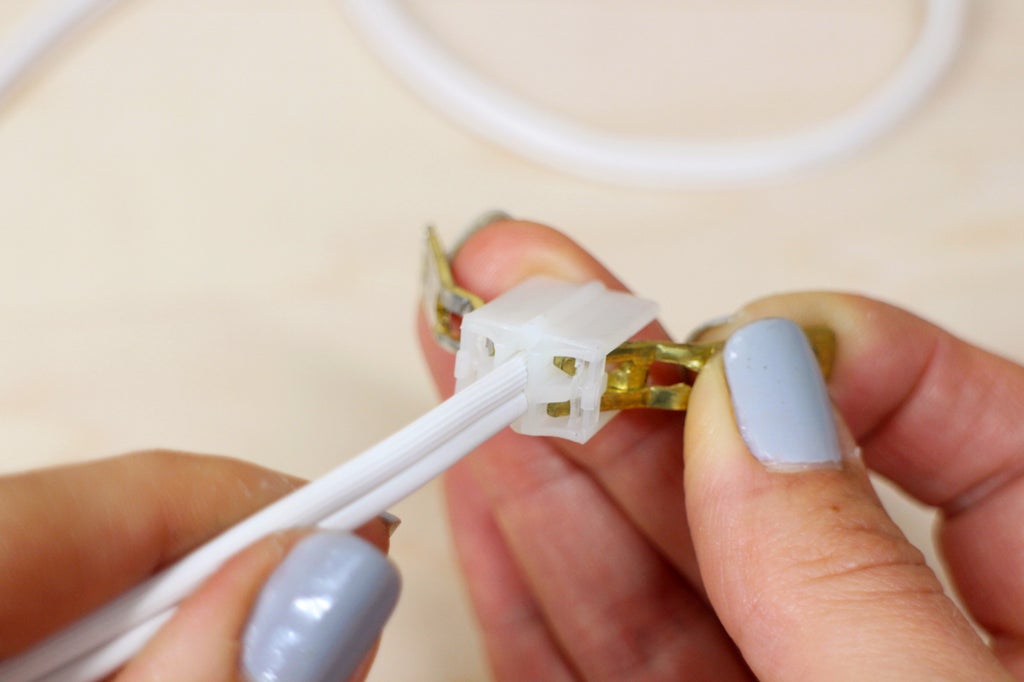
To to separate the prong insert from the housing and check the SPT-1 plug wiring, wedge the small flathead screwdriver into the side hole, above the cord, and pry it out using the motions pictured above.
Something that can sometimes happen with these Kwik plugs is that the piercing prongs don't make it all the way in to the live wire - or the cord didn't get pushed in quite all the way to the inside end of the prong insert. I would remove the cord, make a fresh cut and redo the plug process we went over in Lesson 4 to ensure success.
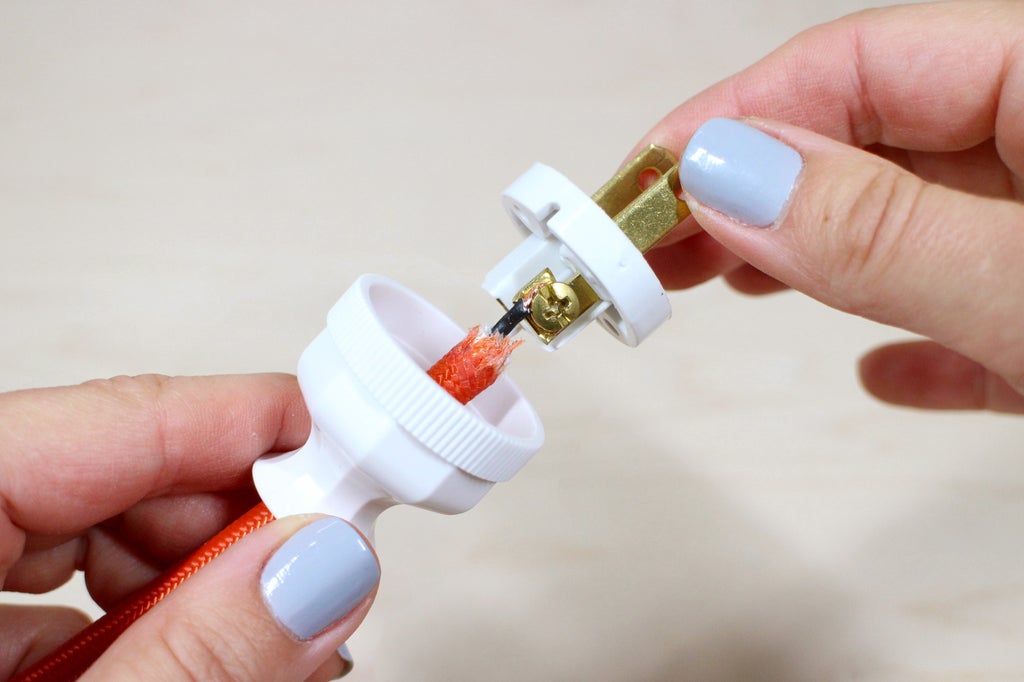
For the SVT plug, remove the screws and check the connections. Swap the wires if necessary.
Once you've discovered where the misconnection happened and have fixed it, repeat the testing process - re-testing both wires until the neutral plug prong lights up the Neutral socket threads or tab, and the Hot prong lights up the Hot tab in the center of both types of sockets.
REMEMBER: If when testing the hot wire the light doesn't turn on, it may be because the switch is in the off position. Try flipping/turning the switch and testing again.
Step 5: Testing Success?
Now that you've tested all your connections and have confirmed that they were wired correctly (or you've discovered a mistake and fixed it), it's time to screw bulbs into your socket, plug them in and flip the switch!
You have officially made your first lamps!!! Woo woo!! (high five)

SPT-1 line switch on/off action
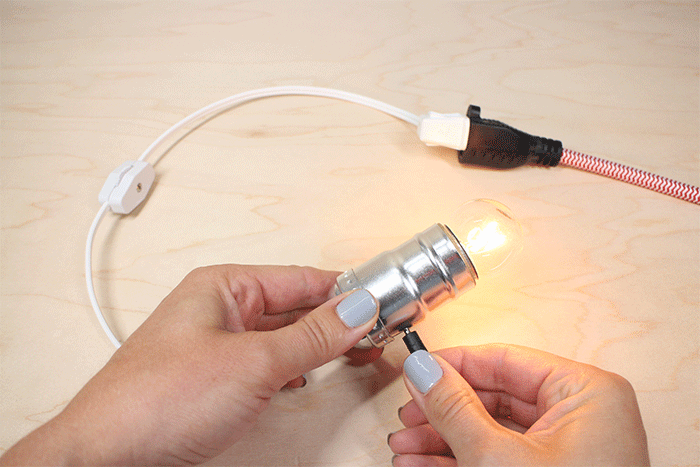
SPT-1 socket switch on/off action
*Repeat for the SVT cord set!!
Step 6: Quiz Time!
{
    "id": "quiz-1",
    "question": "Which component combo corresponds correctly?",
    "answers": [
        {
            "title": "wide plug prong to brass metal tab in socket",
            "correct": false
        },
  {
            "title": "thin plug prong to socket threads",
            "correct": false
        },
        {
            "title": "wide plug prong to socket threads",
            "correct": true
        }
    ],
    "correctNotice": "That's correct! The wider Neutral plug prong is connected to the Neutral socket threads. ",
    "incorrectNotice": "That's incorrect. Testing those two together, if you wired your parts correctly, should not make your tester beep or light up. "
}
Step 7: What's Next?
Now that you are a master of beginner wiring, it's time to learn about the anatomy of a pendant lamp and put your eyes on the pendant lamp projects I link to. One may inspire you to get fancy and make your first official lamp!
See you in the next lesson after we've both had a snack.


