Introduction: Universal Remote Control Using Arduino, 1Sheeld and Android Mobile


This project illustrates how to control your TV, Satellite receiver and Stereo using your Android mobile instead of using there remote control.
Basically, you can apply this technique for any other devices work with remote control. I was wondering to use my mobile to control all the device in the home in stead of using the remote of each device.
Now you can control as much as you want of your home remote devices by only 1 application on your mobile!
Step 1: Components


1- Arduino Uno (or any other arduino board) (25$)
2- 1Sheeld (55$) (here is the website of 1Sheeld for the getting starting tutorials and documentation)
3- IR Receiver (1.95$)
4- IR Led (0.95$)
5- Android Mobile phone
Step 2: Android Application

Basically, All we have to do in this step is to download the android application from google play store.
Step 3: Decoding Your Remote


The transmitter in the remote control handset sends out a stream of pulses of infrared light when the user presses a button on the handset. A transmitter is often a light emitting diode (LED) which is built into the pointing end of the remote control handset. The infrared light pulses form a pattern unique to that button. The receiver in the device recognizes the pattern and causes the device to respond accordingly (Wikipedia).
So we have to know that unique pattern of each button.
Simply, you have to download the IR libraryfor Arduino.
In the examples of that library, you can find IRrecvDump example (as illustrated in the third image). This code used to encode data from remote control.
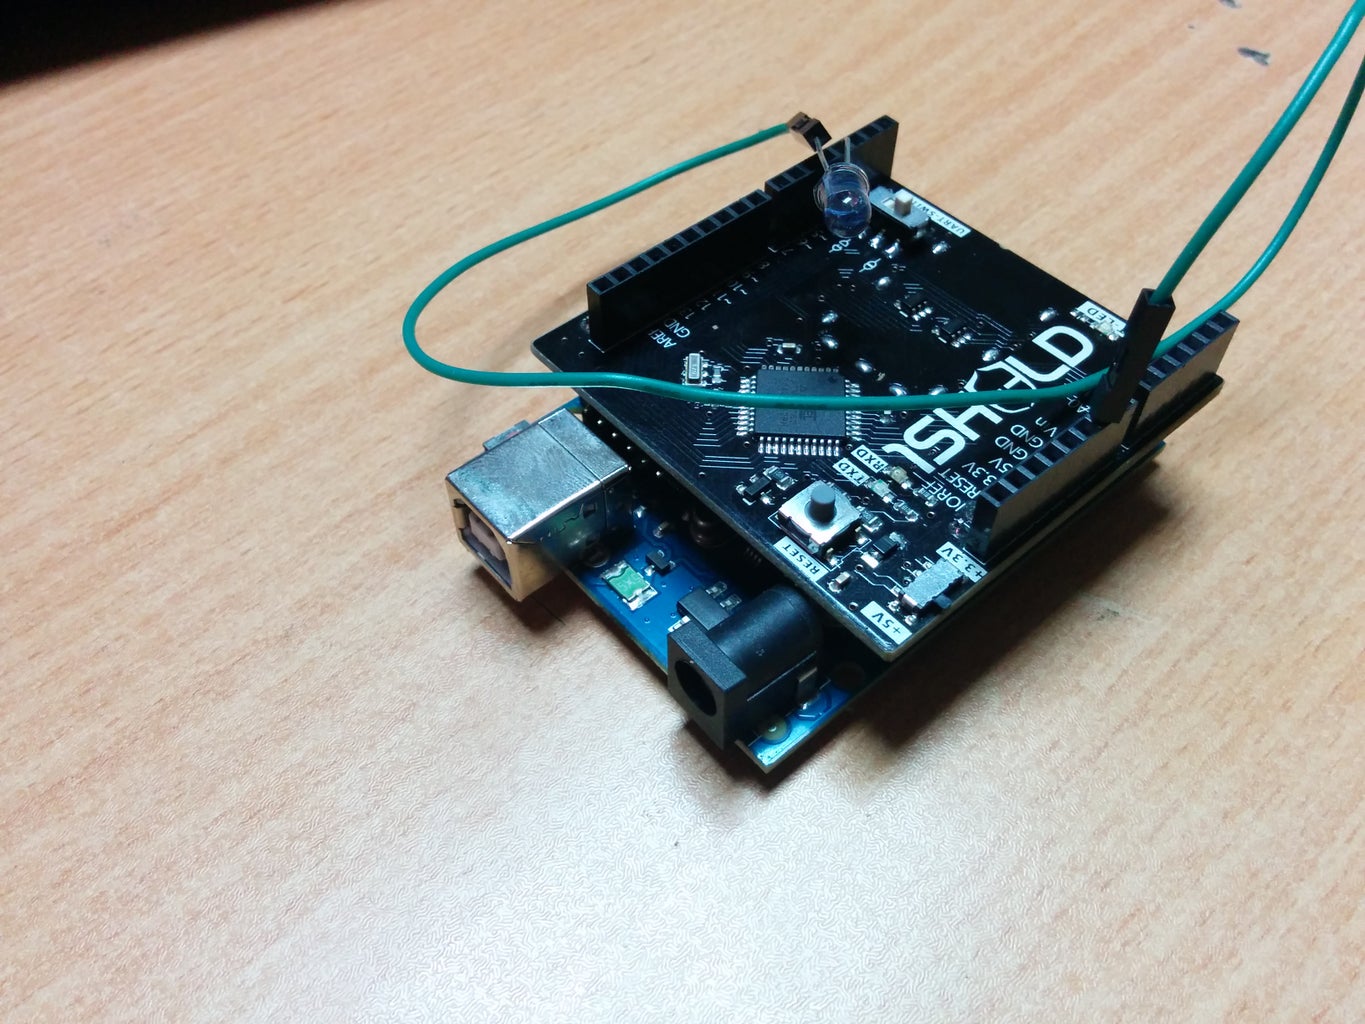
You have to wire the IR receiver. As shown in it's figure:
1- Ground
2- 5V
3- Pin 11
After uploading this code to the Arduino open the serial monitor and press any button on your TV remote, you will find something as in the fifth image image.
As shown in the fourth image, you can find the hex code that refer to each button of the remote control. Write down these hex numbers corresponding to its function (e.g. 20DFC03F ,32 refers to power button).
Note, If you get "unknown encoding", press the button again.
Step 4: Android Sketch


Now, We have to upload the code that is used to transmit the commands to our devices. You can find the code but you will make a small change depends on your remote.
All you have to do here is to replace by hex values as (0x20DF10EF) by the values you have got from the power button, volume up/down buttons and any other button you want.
Since 1Sheeld mobile application doesn't have a remote control interface, I used the KeyPad shield as the remote controller, you can choose the Keyboard shield as well for much more devices.
#include <OneSheeld.h>
#include <IRremote.h>
IRsend irsend;
void setup()
{
  OneSheeld.begin();
}

void loop(){  if(Keypad.isRowPressed(0) && Keypad.isColumnPressed(0))
  {
    irsend.sendNEC(0x20DF10EF, 32);
  }
  else if(Keypad.isRowPressed(0) && Keypad.isColumnPressed(1))
  {
    irsend.sendNEC(0x20DFC03F, 32);
  }
   else if(Keypad.isRowPressed(0) && Keypad.isColumnPressed(2))
  {
    irsend.sendNEC(0x20DF40BF, 32);
  }
   else if(Keypad.isRowPressed(1) && Keypad.isColumnPressed(1))
  {
    irsend.sendNEC(0x41048B7, 32);
  }
  else if(Keypad.isRowPressed(1) && Keypad.isColumnPressed(0))
  {
    irsend.sendNEC(0x410C837, 32);
  }
  else if(Keypad.isRowPressed(2) && Keypad.isColumnPressed(0))
  {
      for (int i = 0; i < 3; i++) {
      irsend.sendSony(0xa81, 12); // Sony TV power code
      delay(40);
    }
  }
}
Step 5: Testing

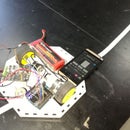
Finally, you use the IR LED at pin 3 in Arduino and Place it next to the in front of the devices as shown.
Now Open 1Sheeld mobile application and connect it with the shield and then choose the keypad shield, all of these shown in the video.
Now, by pressing the buttons on your mobile phone it will make the corresponding task whether to power on, volume up, volume down, ....etc.


