

Introduction: Accelerometer Controlled LED's


Control the brightness of the LED's by your motion. The Accelerometer module tracks the X, Y & Z axis movements and controls the LED's.
Step 1: Materials

An Arduino Uno
Accelerometer Module
LED's
Connecting wires
A Bread Board
USB Data Cable
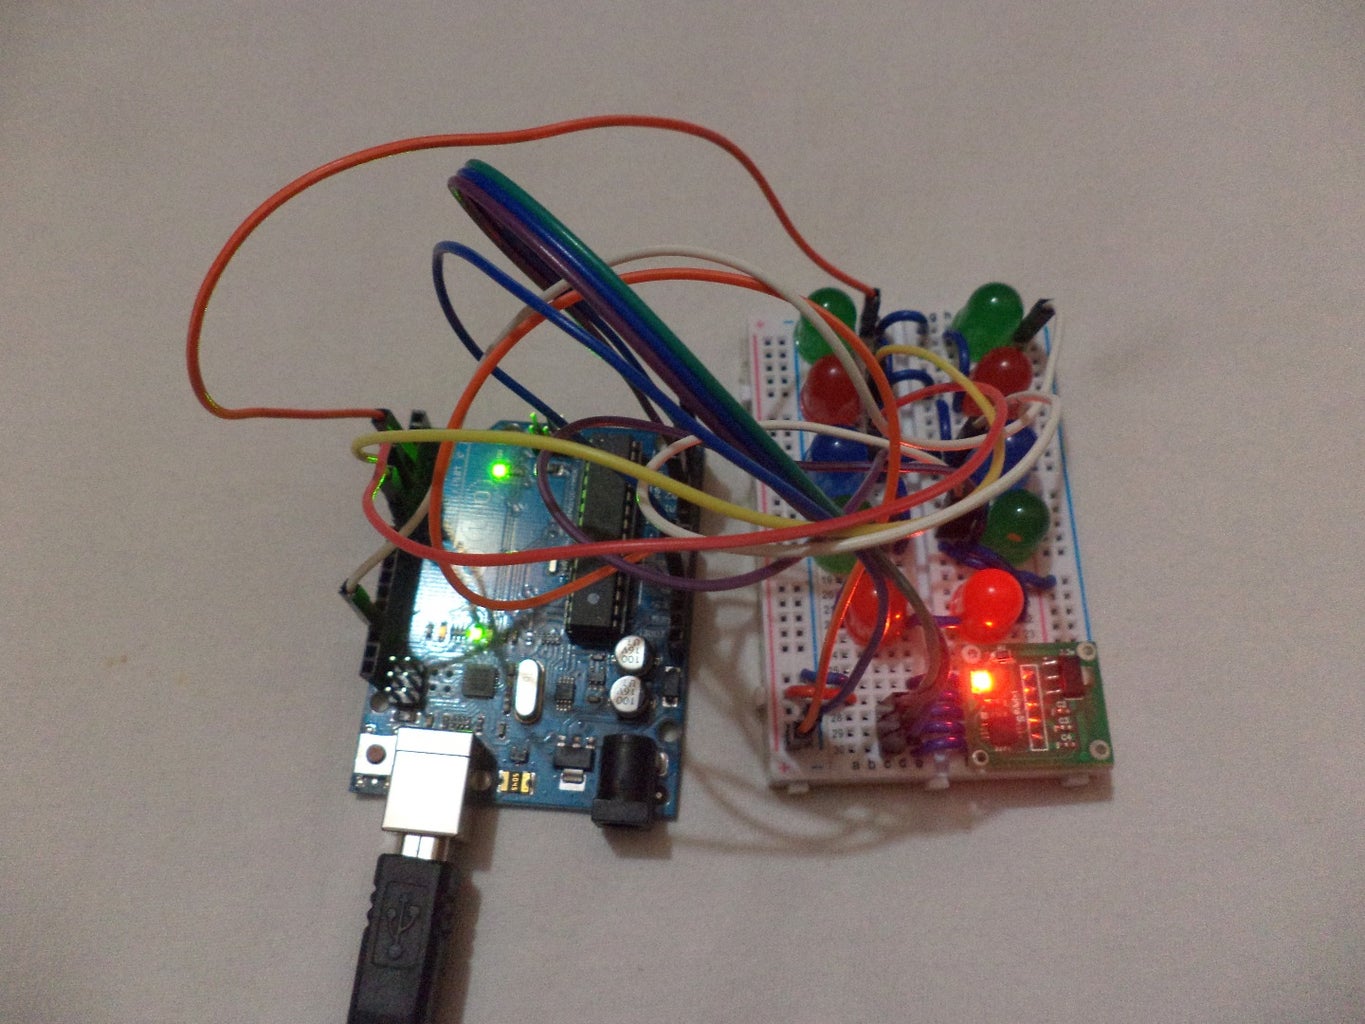
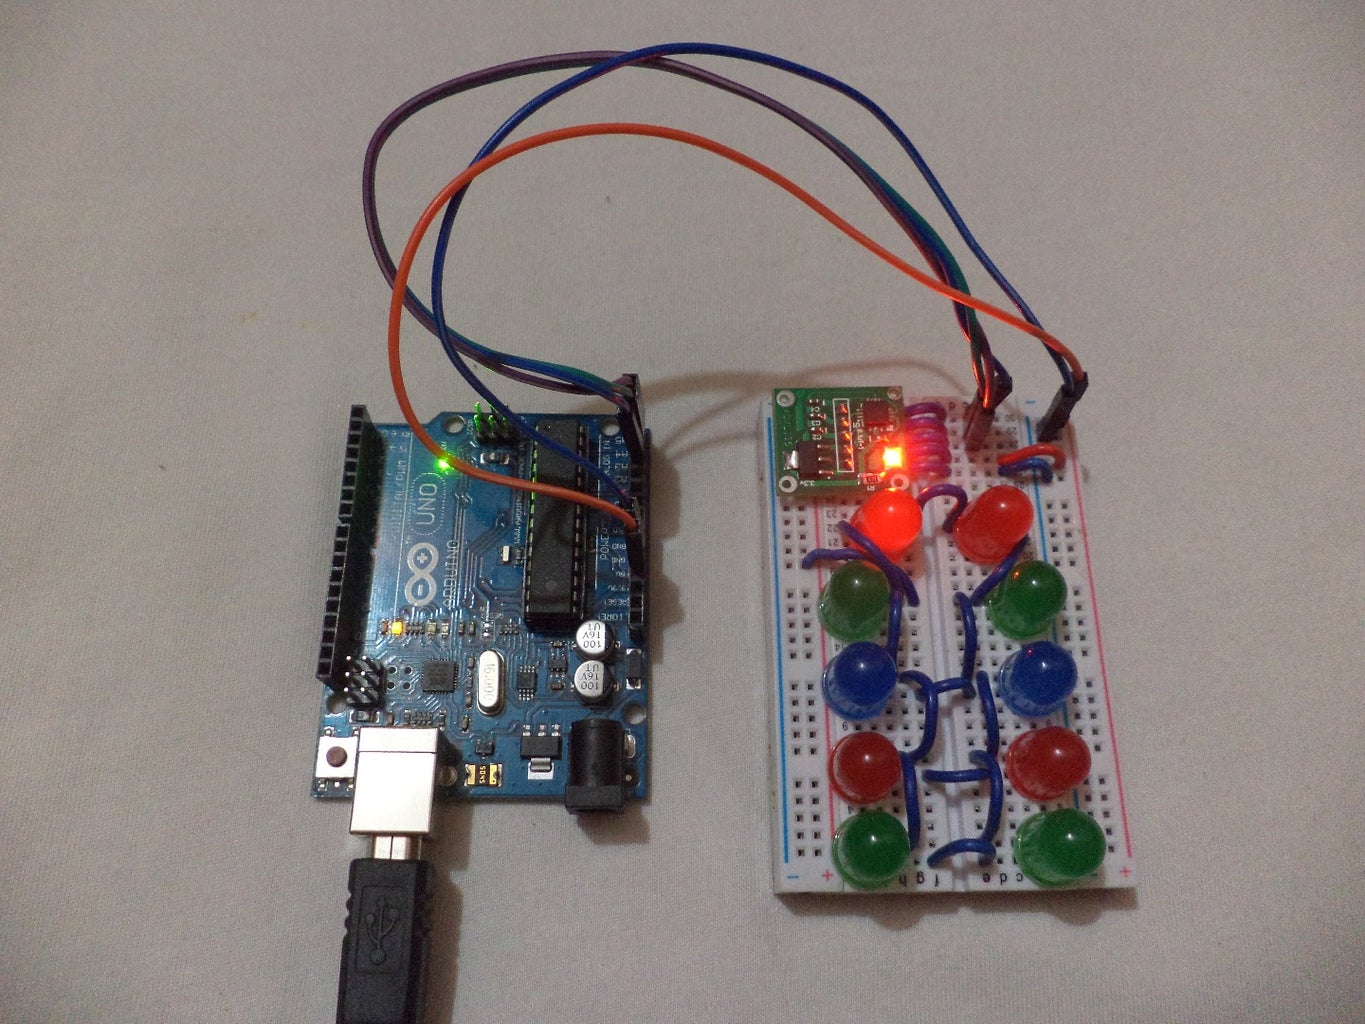
Step 2: Connecting the Accelerometer

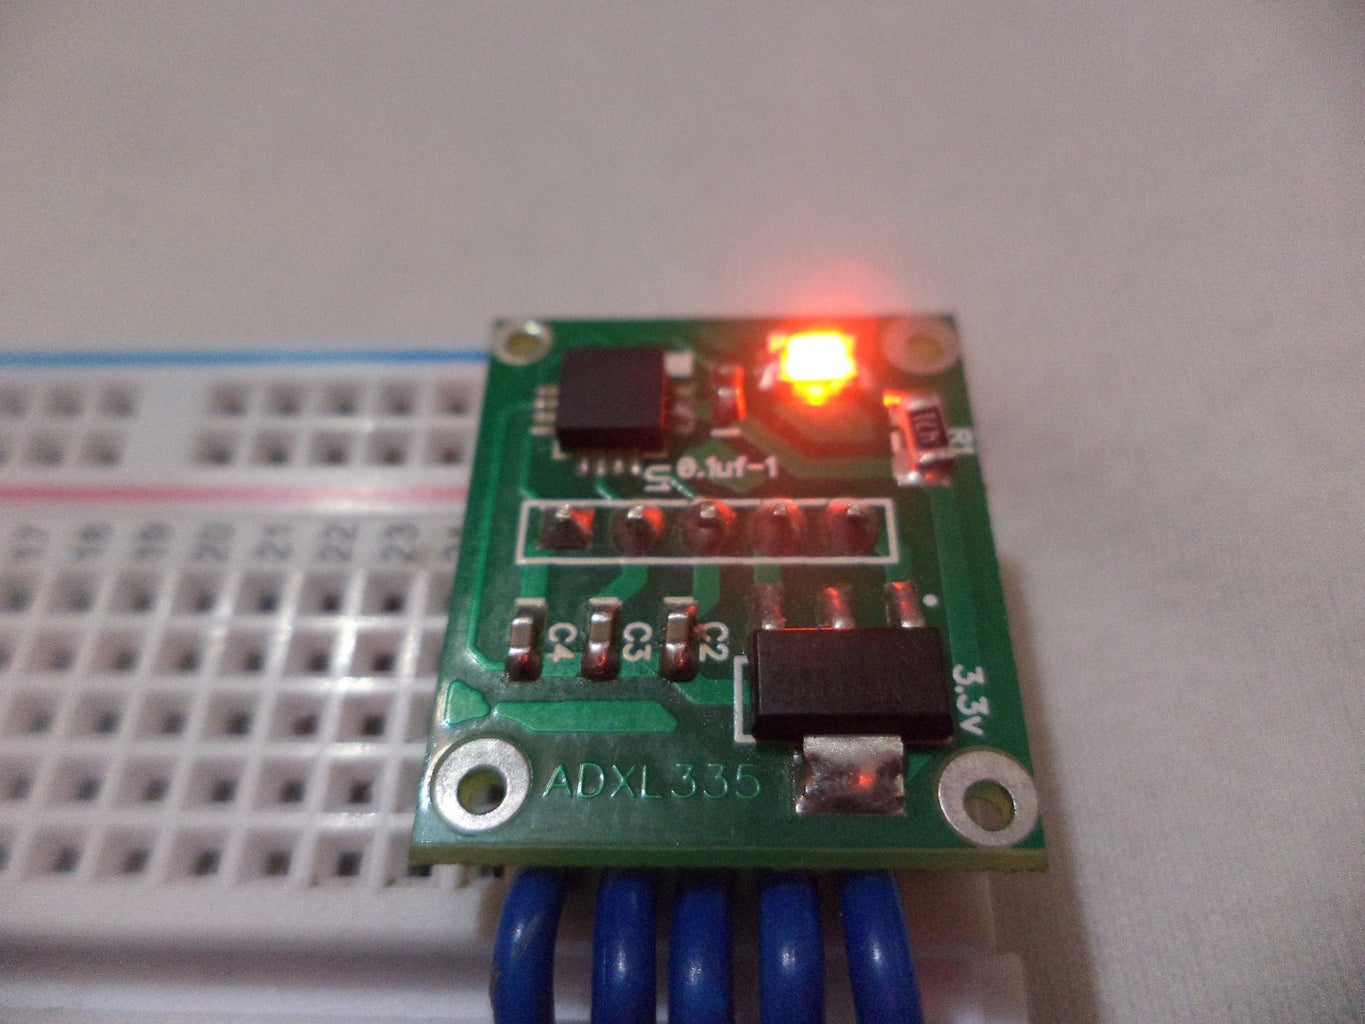
Accelerometer has mainly 5 terminals.
VCC (5V)
Ground
X-axis
Y-axis
Z-axis
The supply voltage and the Ground is provided by the Arduino Uno by means of the connecting wires. When powered up, a small Red LED onboard glows indicating that the Module is reading the X, Y & Z axis movements.
Step 3: Interconnecting the LED's


In order to control the LED's, they must be inter-connected to the Arduino Uno. The negative terminals are made common to the ground (Gnd of the Arduino) and the positive terminals are connected to the digital pins of the Arduino.
Step 4: Writing Your Codes

This part requires some thinking. To make the X, Y & Z axis control the LED's brightness, they must be connected to the Analog pins of the Arduino.
The Codes may look similar to this -
const int RedPin = 3;
const int GreenPin = 5;
const int BluePin = 6;
const int sensorPinRed = A0;
const int sensorPinGreen = A2;
const int sensorPinBlue = A4;
int var = 1;
int minReadingRed = 750;
int maxReadingRed = 0;
int minReadingGreen = 750;
int maxReadingGreen = 0;
int minReadingBlue = 750;
int maxReadingBlue = 0;
int analogValue = 0;
int time;
int analogOut;
int flash;
void setup() {
Serial.begin(9600);
Serial.println();
}
void loop() {
while (time < 1000) {
time = millis();
analogWrite(RedPin, 255);
analogWrite(GreenPin, 255);
analogWrite(BluePin, 255);
delay (1000);
analogWrite(RedPin, 0);
analogWrite(GreenPin, 0);
analogWrite(BluePin, 0);
delay (10);
}
while (time>1000 && time < 16000) {
time = millis();
analogValue = analogRead(sensorPinRed);
maxReadingRed = max(analogValue, maxReadingRed);
minReadingRed = min(analogValue, minReadingRed);
Serial.print("Analog Red ");
Serial.print(analogValue, DEC);
delay (20);
analogValue = analogRead(sensorPinGreen);
maxReadingGreen = max(analogValue, maxReadingGreen);
minReadingGreen = min(analogValue, minReadingGreen);
Serial.print(" Analog Green ");
Serial.print(analogValue, DEC);
delay (20);
analogValue = analogRead(sensorPinBlue);
maxReadingBlue = max(analogValue, maxReadingBlue);
minReadingBlue = min(analogValue, minReadingBlue);
Serial.print(" Analog Blue ");
Serial.println(analogValue, DEC);
delay (20);
}
while(time > 16000 && time < 17000) {
time = millis();
analogWrite(RedPin, 255);
analogWrite(GreenPin, 255);
analogWrite(BluePin, 255);
delay (1000);
analogWrite(RedPin, 0);
analogWrite(GreenPin, 0);
analogWrite(BluePin, 0);
}
while (var == 1) {
minReadingRed = minReadingRed+0.5*(maxReadingRed - minReadingRed);
minReadingGreen = minReadingGreen+0.5*(maxReadingGreen - minReadingGreen);
minReadingBlue = minReadingBlue+0.5*(maxReadingBlue - minReadingBlue);
Serial.println();
Serial.print("minReadingRed = " );
Serial.print(minReadingRed, DEC);
Serial.print(" maxReadingRed = " );
Serial.println(maxReadingRed, DEC);
Serial.print("minReadingGreen = " );
Serial.print(minReadingGreen, DEC);
Serial.print(" maxReadingGreen = " );
Serial.println(maxReadingGreen, DEC);
Serial.print("minReadingBlue = " );
Serial.print(minReadingBlue, DEC);
Serial.print(" maxReadingBlue = " );
Serial.println(maxReadingBlue, DEC);
var = 2;
}
analogValue = analogRead(sensorPinRed);
analogValue = constrain(analogValue, minReadingRed, maxReadingRed);
Serial.print("analogValue Red = " );
Serial.print(analogValue);
analogOut = map(analogValue, minReadingRed, maxReadingRed, 0, 255);
analogOut = constrain(analogOut, 0, 255);
Serial.print(" scaled to " );
Serial.print(analogOut, DEC);
analogWrite(RedPin, analogOut);
analogValue = analogRead(sensorPinGreen);
analogValue = constrain(analogValue, minReadingGreen, maxReadingGreen);
Serial.print(" Green = " );
Serial.print(analogValue);
analogOut = map(analogValue, minReadingGreen, maxReadingGreen, 0, 255);
analogOut = constrain(analogOut, 0, 255); Serial.print(" scaled to " );
Serial.print(analogOut, DEC);
analogWrite(GreenPin, analogOut);
analogValue = analogRead(sensorPinBlue);
analogValue = constrain(analogValue, minReadingBlue, maxReadingBlue);
Serial.print(" Blue = " );
Serial.print(analogValue);
analogOut = map(analogValue, minReadingBlue, maxReadingBlue, 0, 255);
analogOut = constrain(analogOut, 0, 255);
Serial.print(" scaled to " );
Serial.println(analogOut, DEC);
analogWrite(BluePin, analogOut);
delay (25);
analogValue = analogRead(sensorPinRed);
analogOut = map(analogValue, minReadingRed, maxReadingRed, 0, 255);
Serial.print("Red = " );
Serial.print(analogValue, DEC);
analogWrite(RedPin, analogOut);
analogValue = analogRead(sensorPinGreen); analogOut = map(analogValue,minReadingGreen,maxReadingGreen, 0, 255);
Serial.print("Green = " );
Serial.print(analogValue, DEC);
analogWrite(GreenPin, analogOut);
analogValue = analogRead(sensorPinBlue);
analogOut = map(analogValue, minReadingBlue, maxReadingBlue, 0, 255);
Serial.print("Blue = " );
Serial.println(analogValue, DEC);
analogWrite(BluePin, analogOut);
delay(25);
Step 5: Upload the Codes !


Re-check all the connections once and upload the codes to the Board. You can now control the LED's brightness with your motion. When tilted to the respective axis the LED's of different colour illuminate.


