

Introduction: Arduino Based Autonomous Bot Using Ultrasonic Sensor


Create your own Arduino based Autonomous Bot using Ultrasonic Sensor.
This bot can pretty much move around on it's own without colliding with any obstacles. Basically what it does is it detects any kind of obstacles on its way and decides the best path for itself ( well not all kind of obstacles).
So without wasting anymore time, lets get started.
Step 1: Components Required for the Project

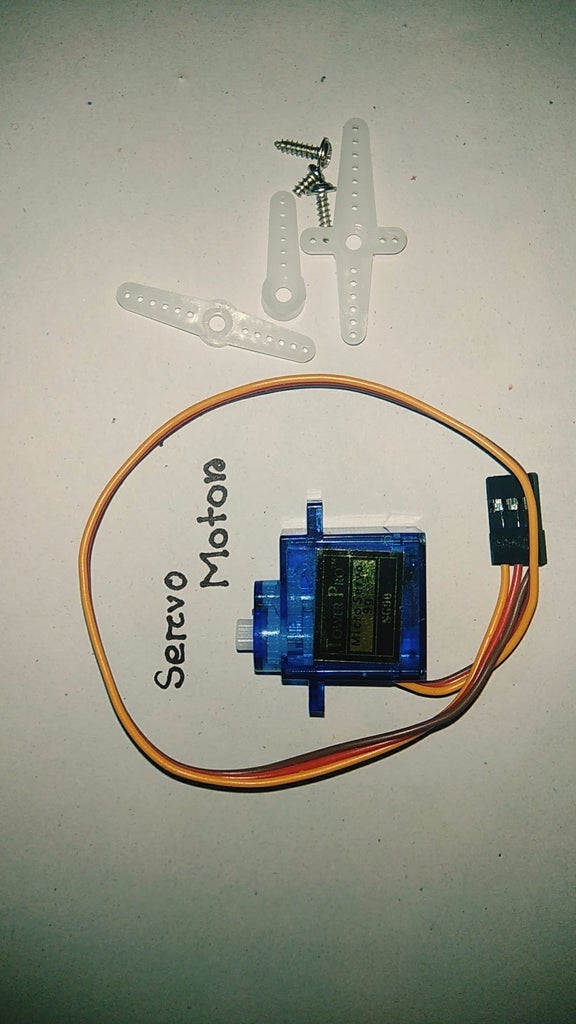


Here is the list of all the necessary components you need for this project :
- Arduino UNO R3
- Ultrasonic Sensor
- Servo Motor (mini)
- Jumper Wires
- L7805CV Voltage Regulator
- L293D Motor Driver IC
- 4 x 3.7V Lithium-ion Battery
- 2 x Gear Motor
- 3 x Wheels
- Breadboard
Once you have gathered all the components, you are good to go.
Step 2: Creating the Body of the Bot

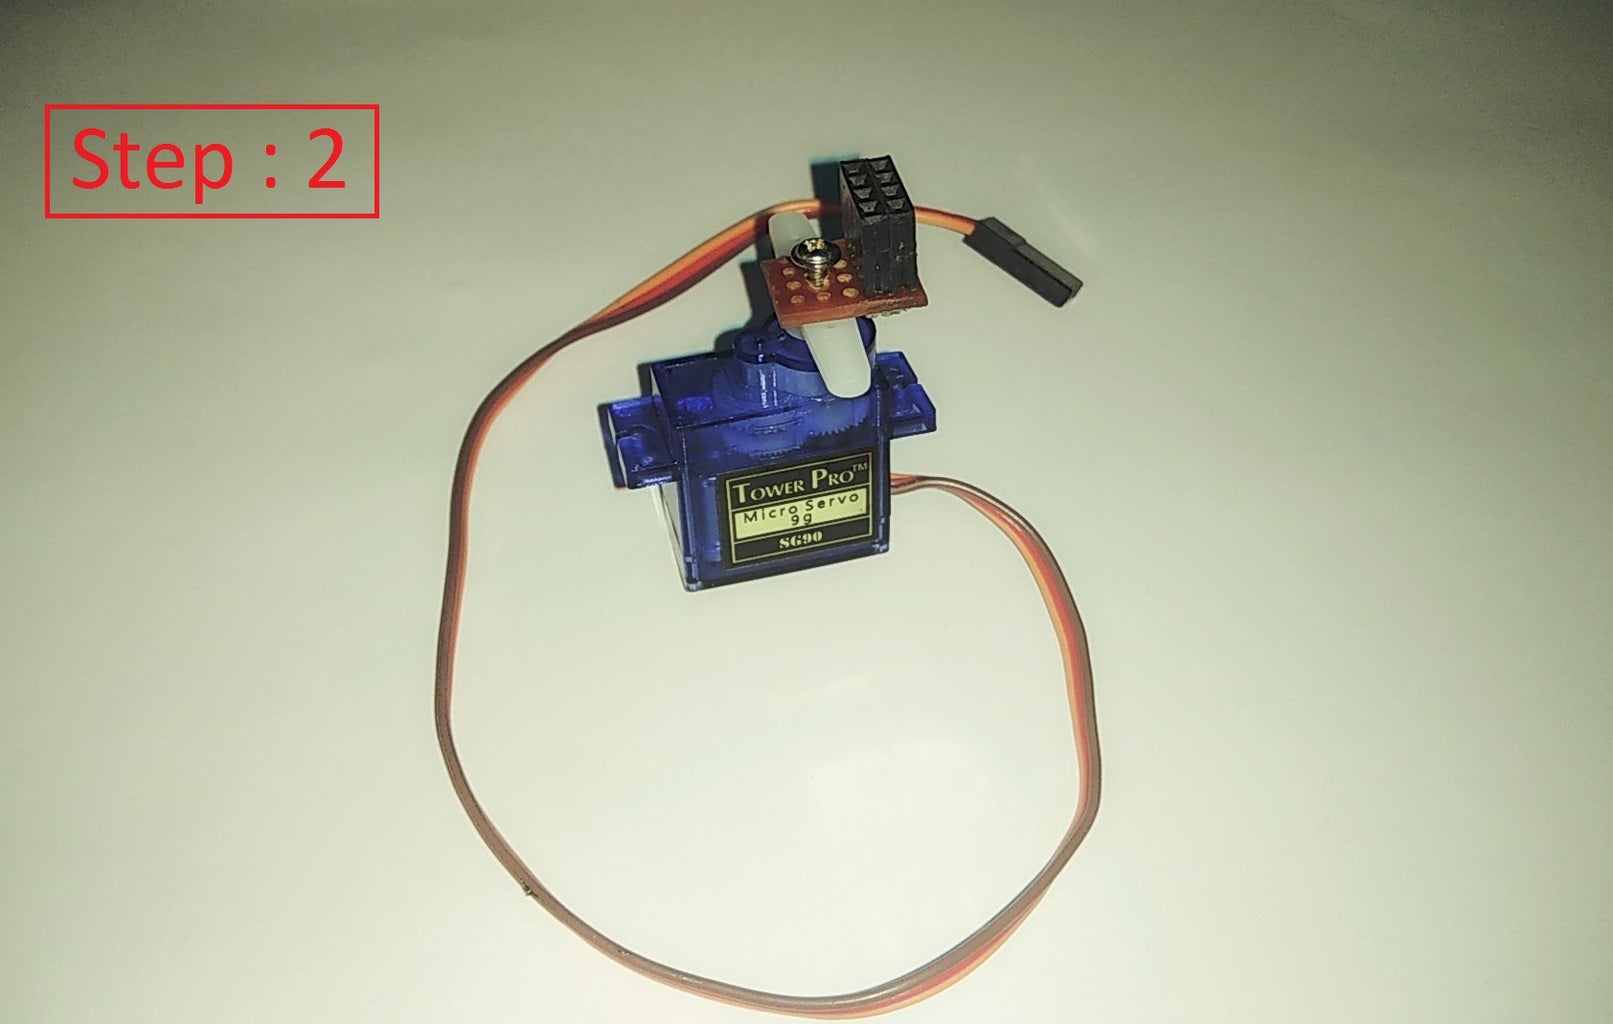
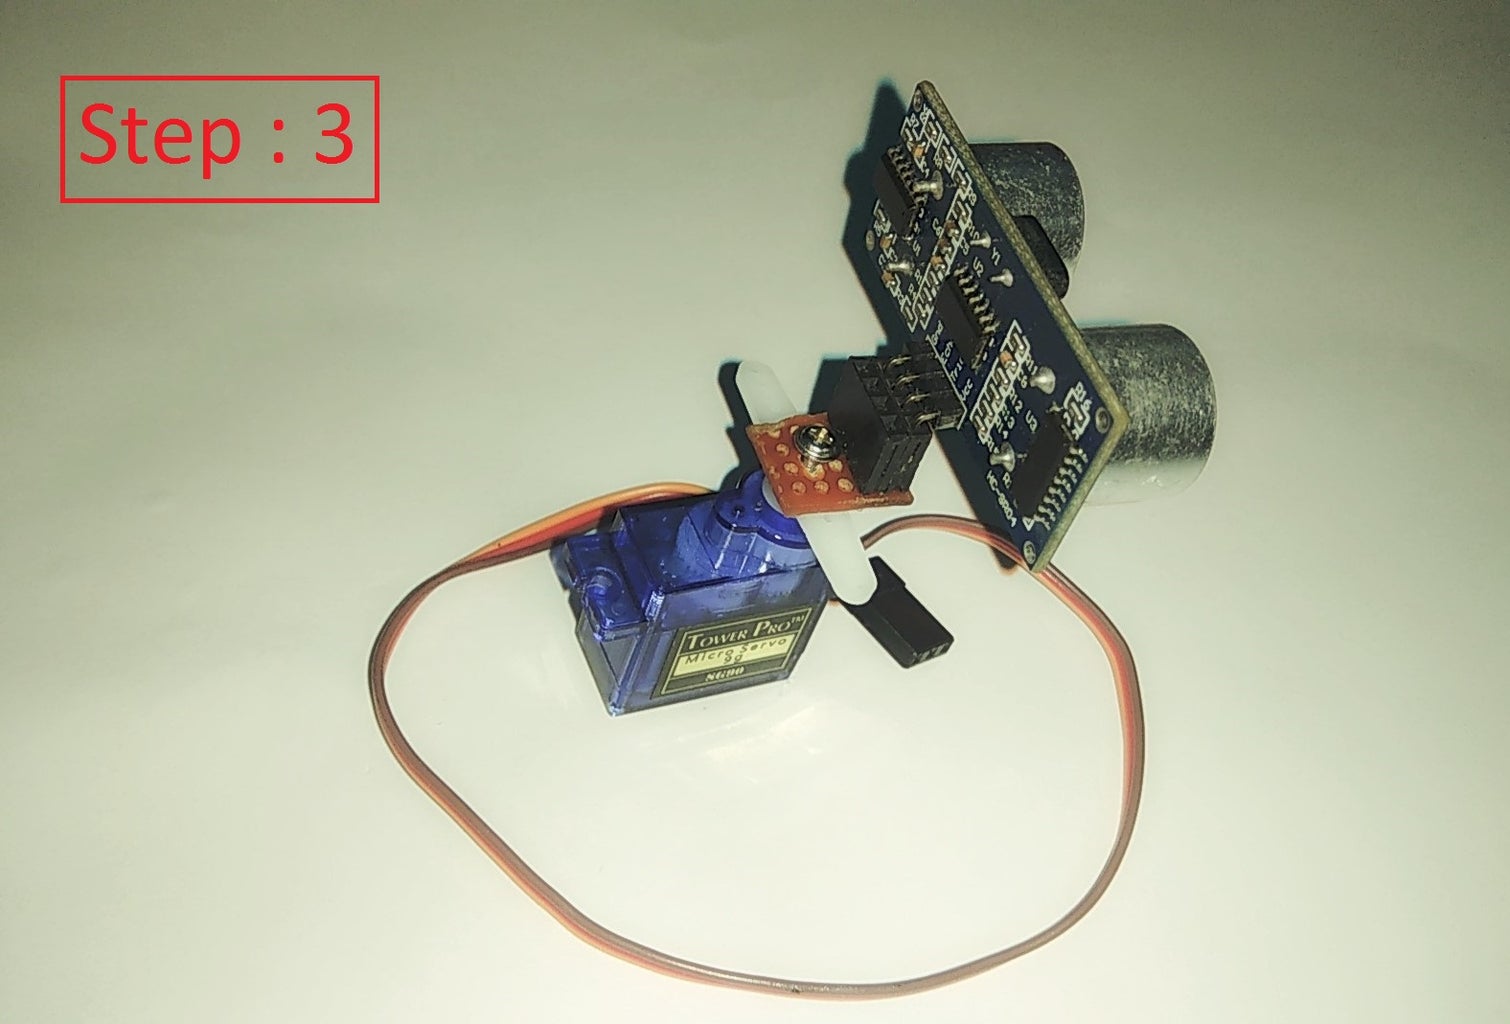

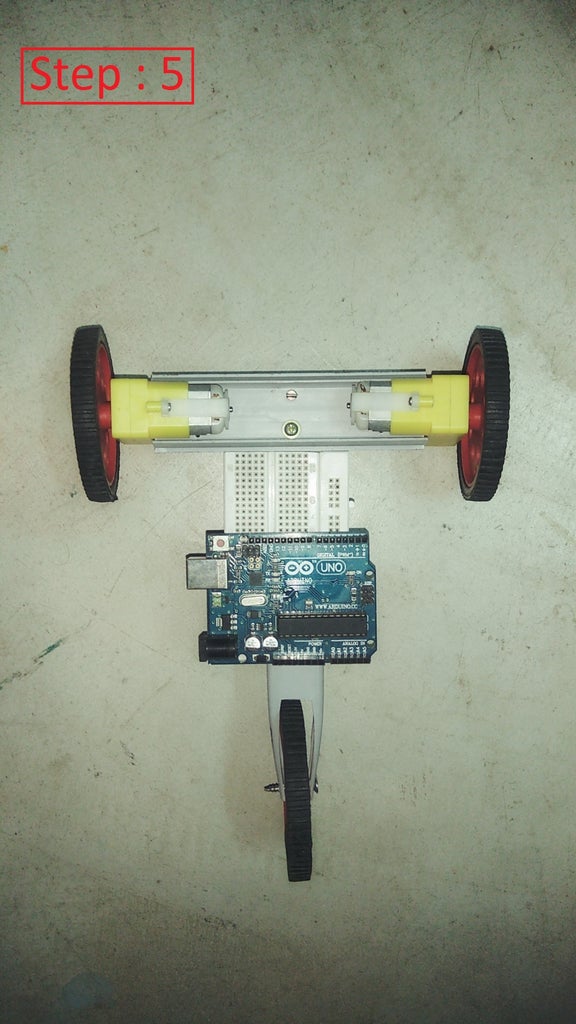

Follow the following step for making the body of the bot :
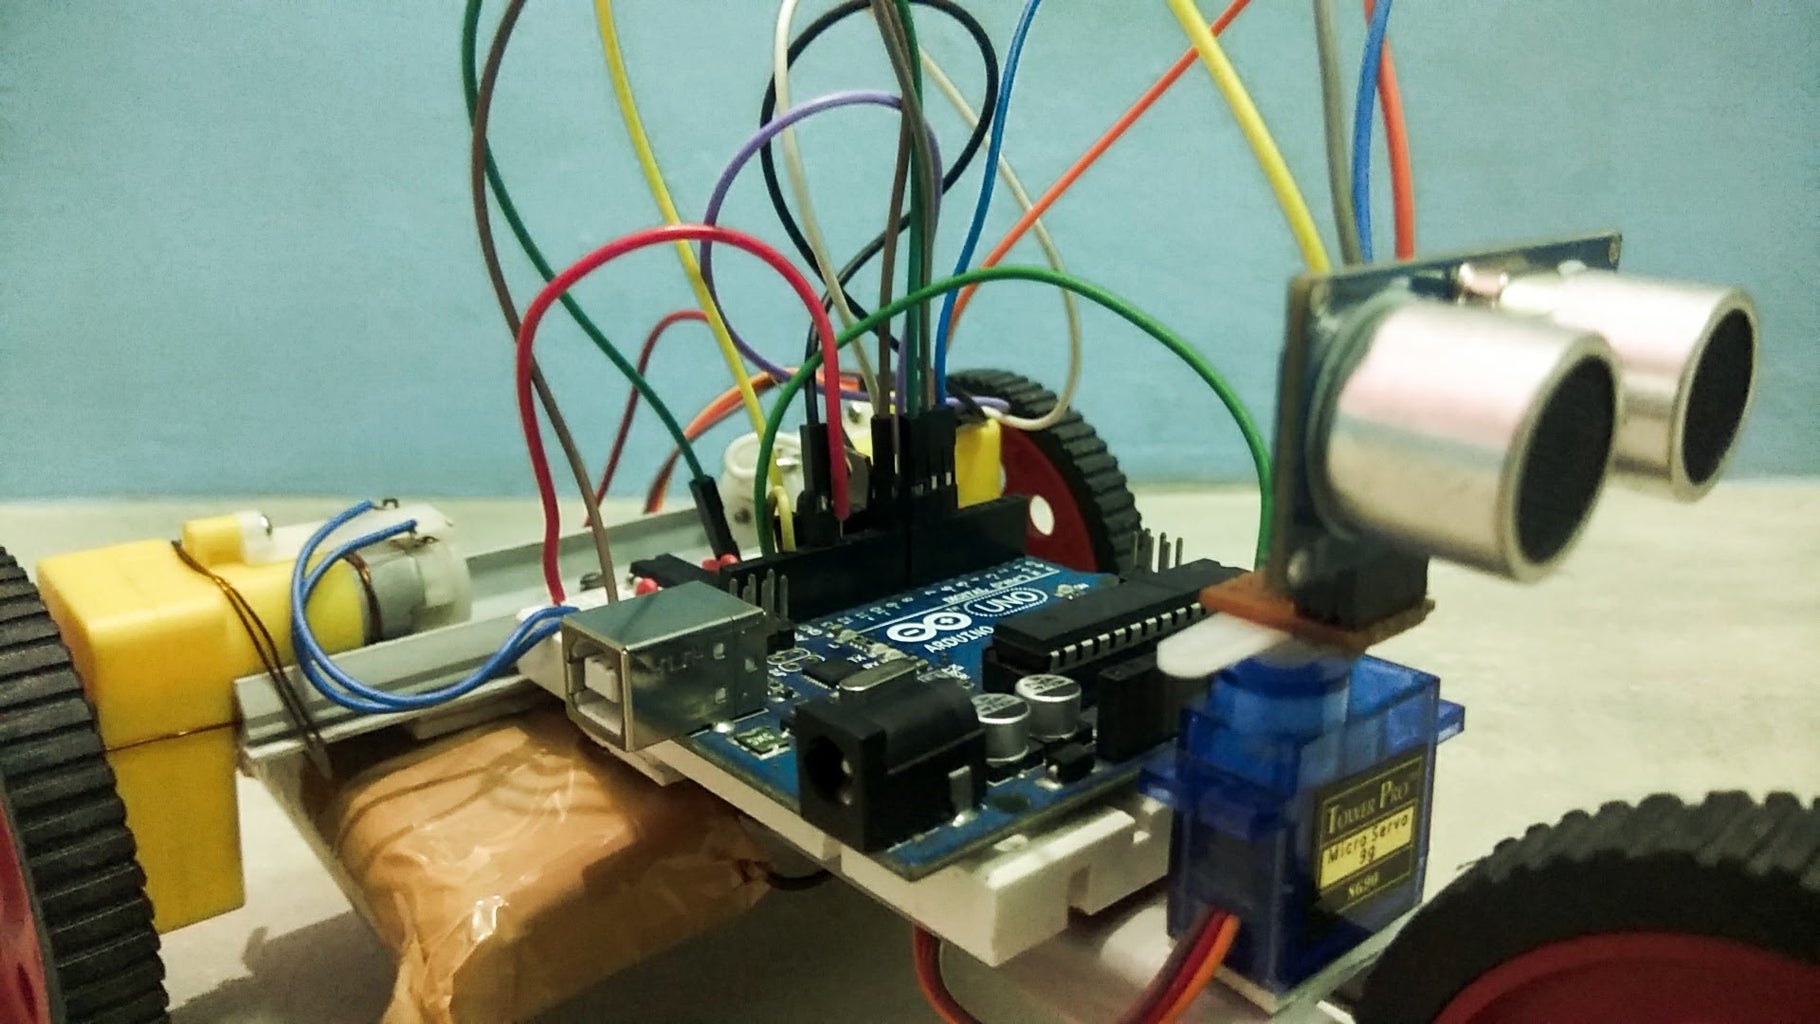
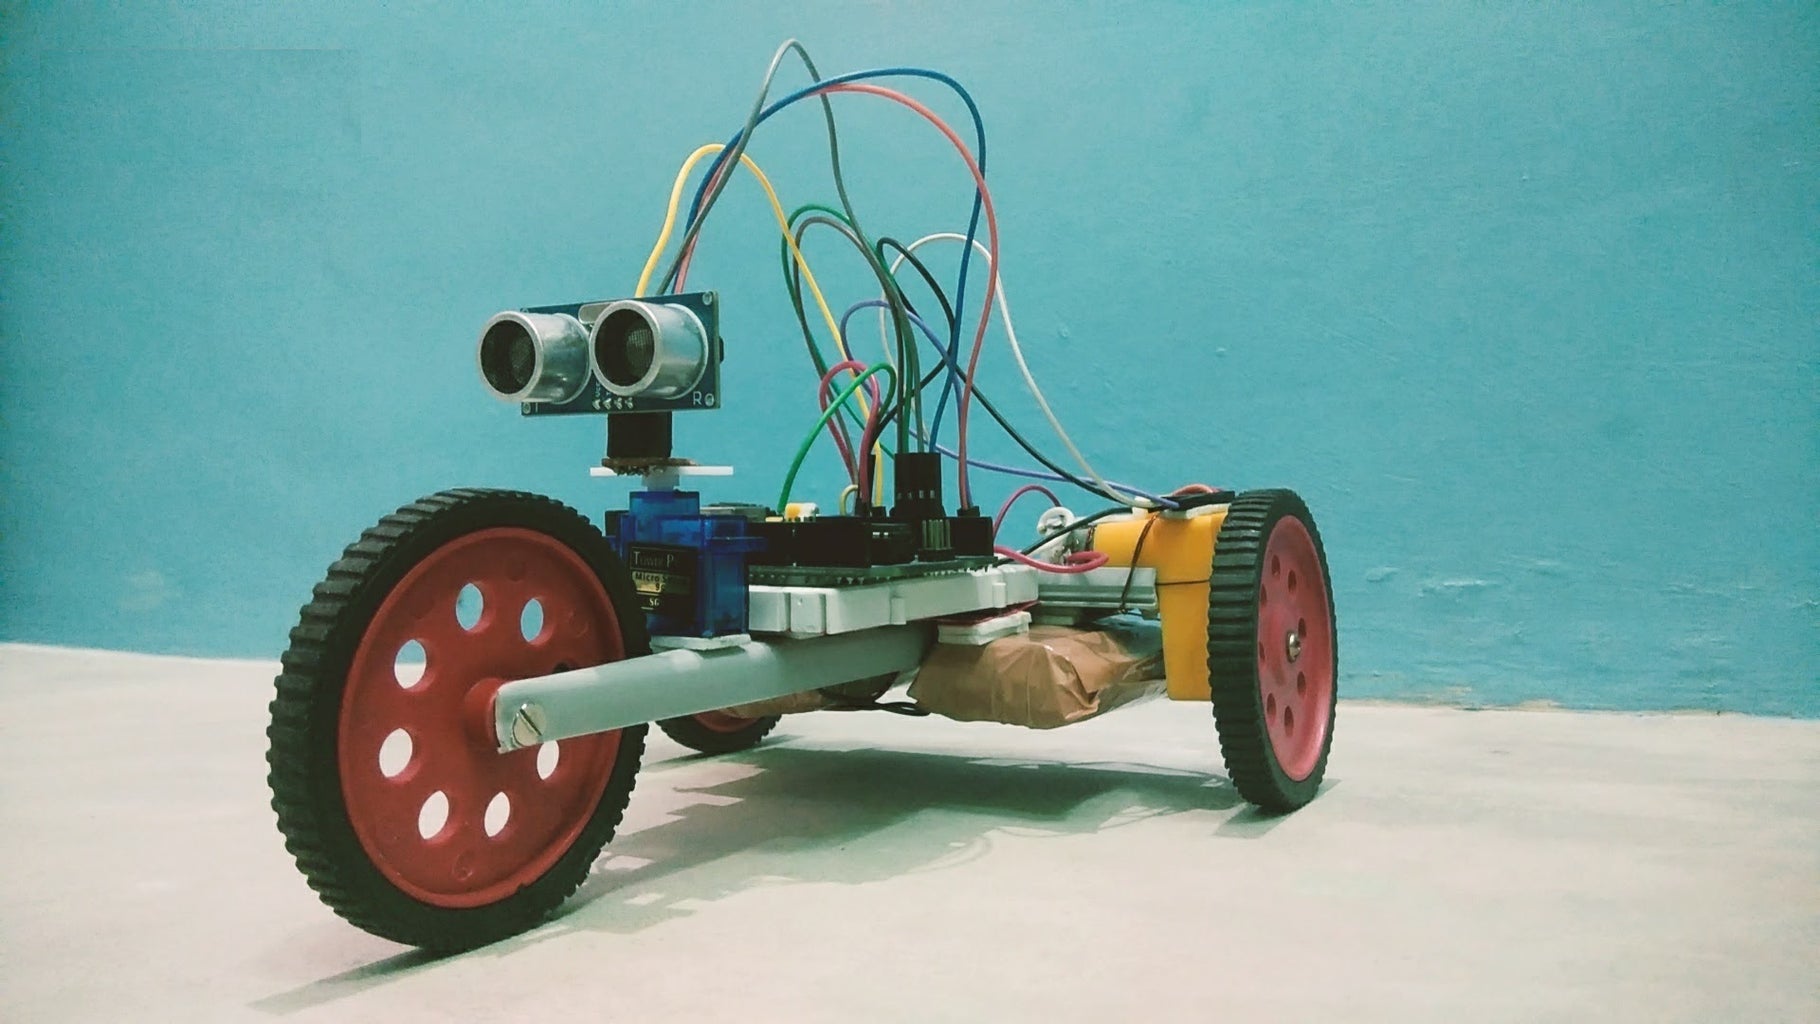
Step 1 : Solder the female header pins on a small piece of PCB as shown in the photo. And attach a screw to it.
Step 2 : Now screw that PCB to your servo motor and make sure it is tight enough.
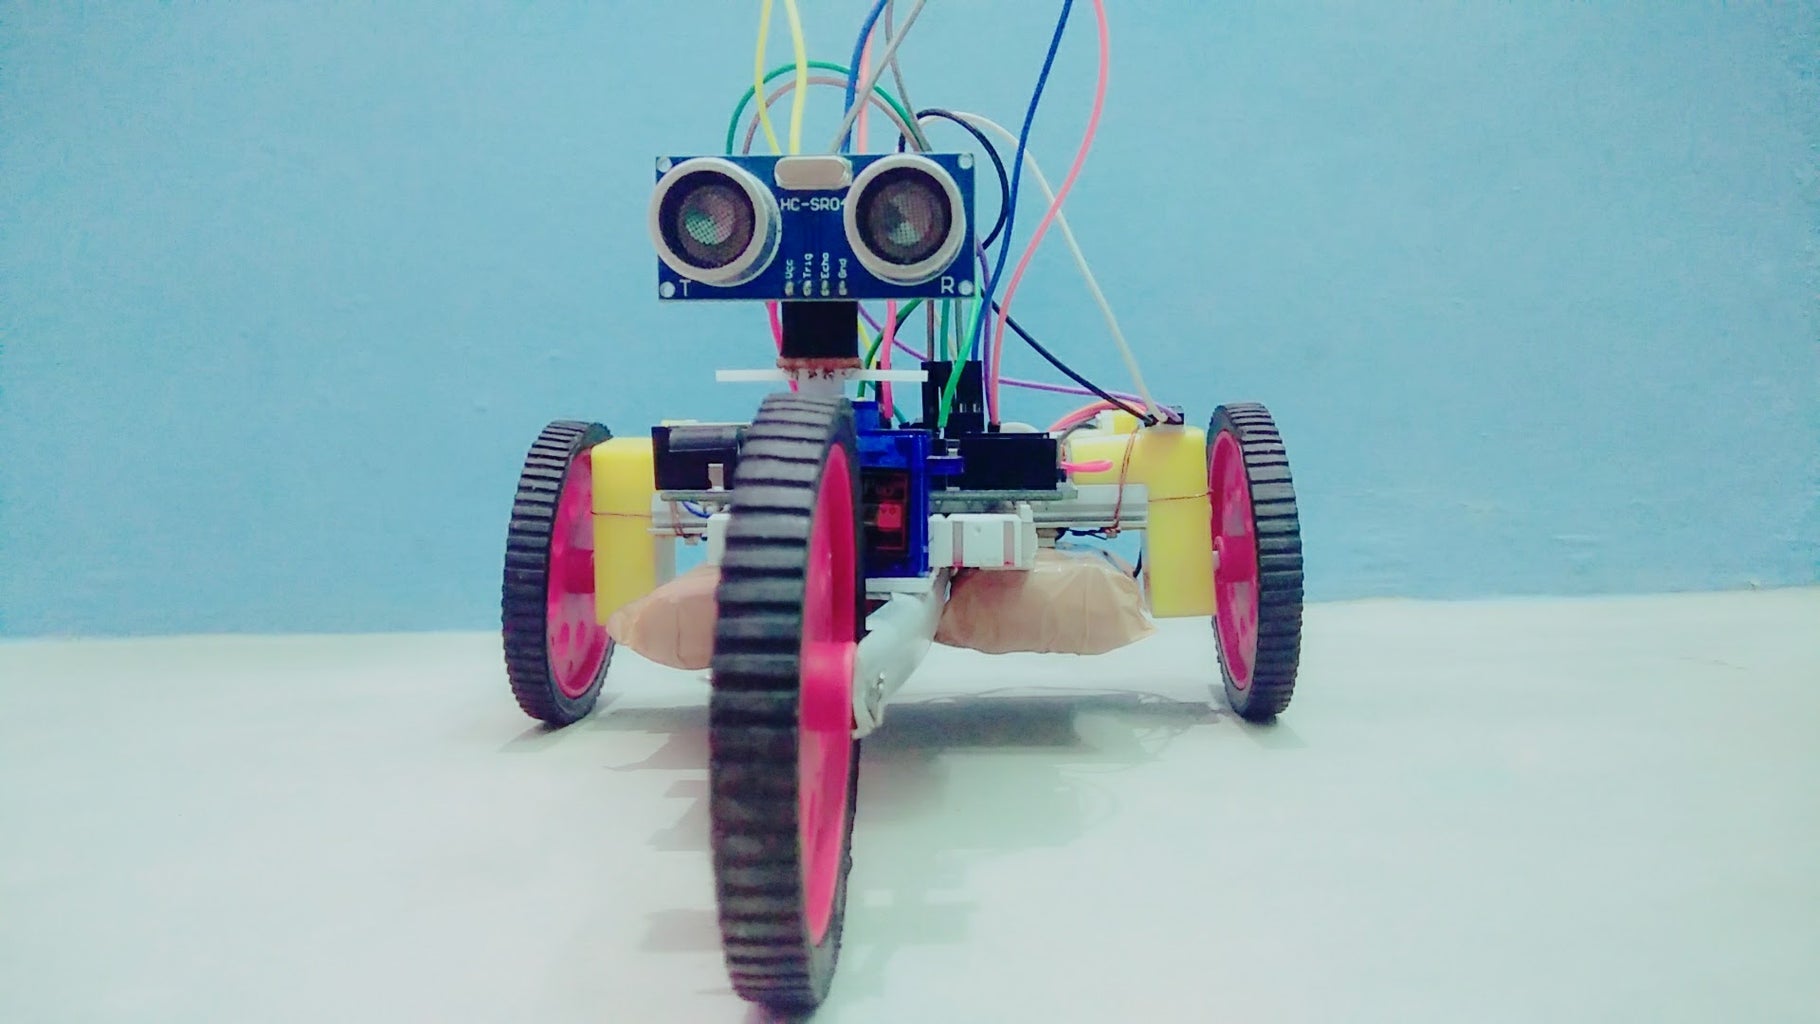
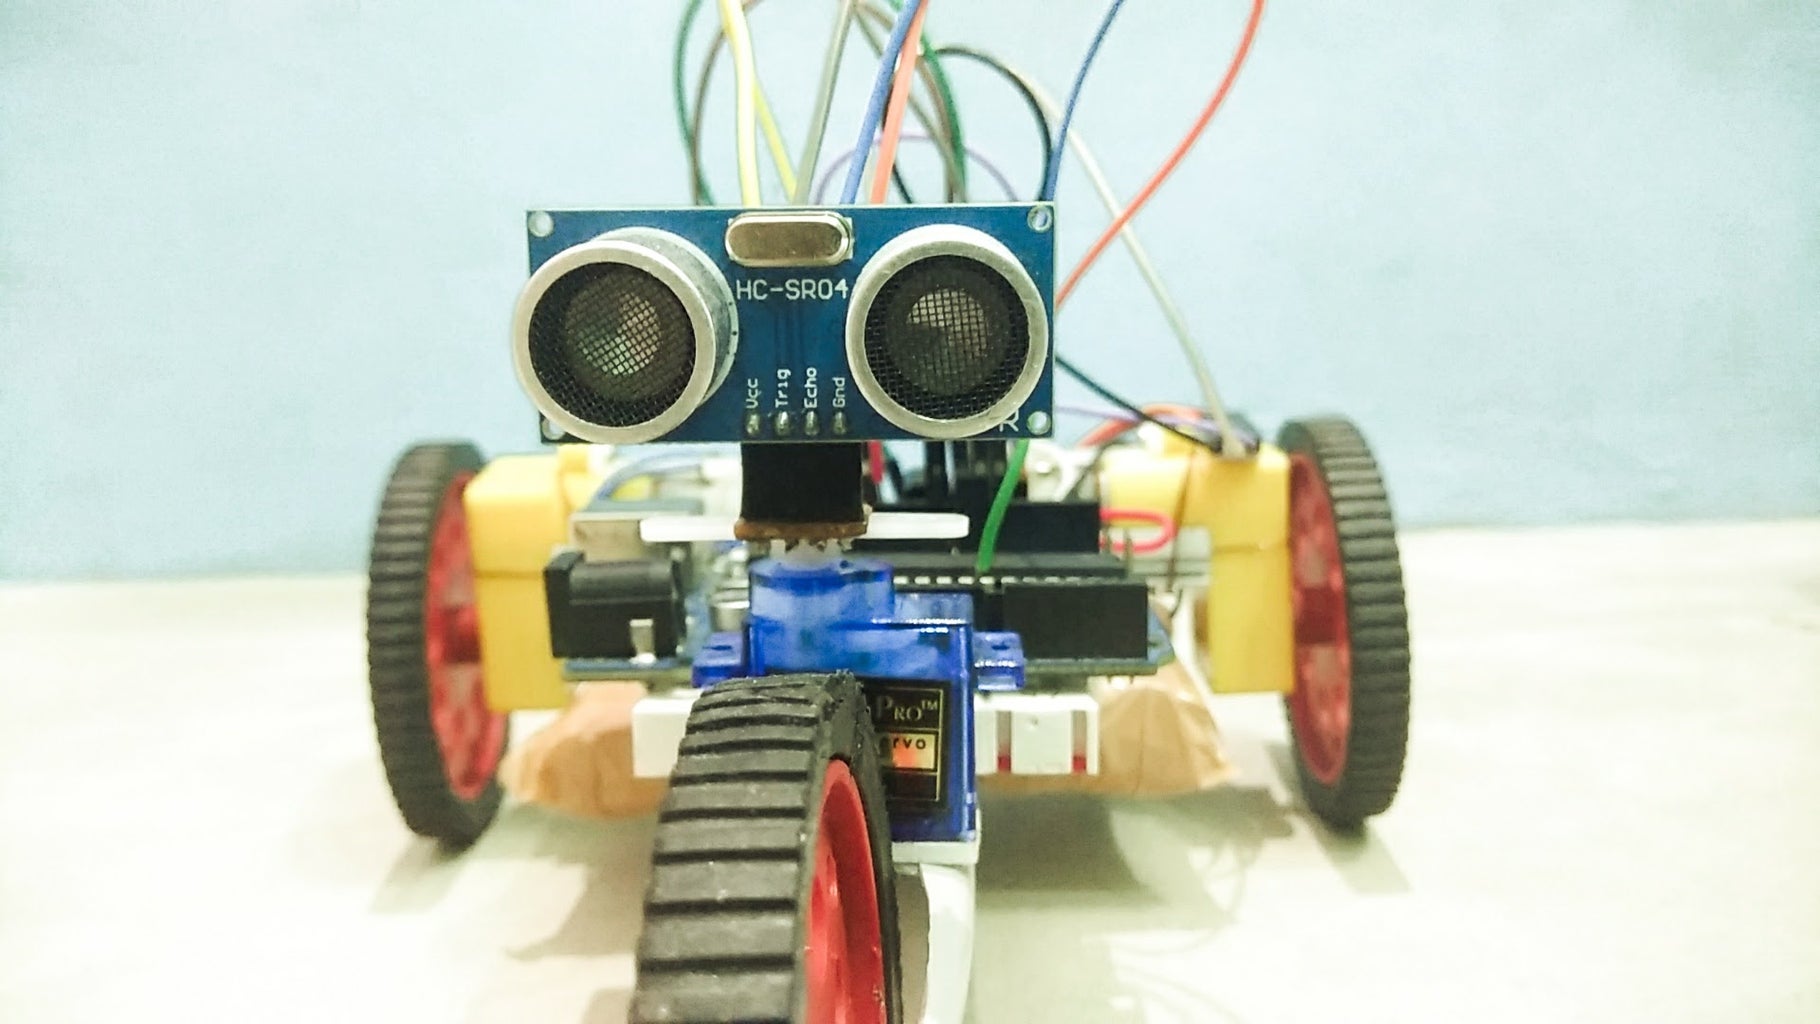
Step 3 : Take your ultrasonic sensor and put it's male header pins into the female header pins on the PCB. Insert it properly ( to ensure the connection ). And align it in such a way so that the 90 degree of the servo motor should face the front side of the bot.
Step 4 : Now for making the body of the bot you can use cardboard or plastic board wtih some hot glue or screws. I made the body of the bot with some wiremold laying around and screws.
Step 5 : Place the Arduino and the breadboard on it's position as shown in the photo and secured it with some hot glue or double sided tape.
Step 6 : Finally place the servo motor on it's position and fix it with whatever you want.
Step 3: Schematic Diagram of the Bot

Connect the components as given in the Schematic. It is quite easy.
Connect two batteries in parallel first and then connect them in series to get the maximum voltage and capacity. Now if you have two motors of same RPM then you don't have to make the connection from pin 11 of Arduino to the pin 9 of L293D ic. But if your motors don't have the same RPM then make the connection. And make sure that the motor with greater RPM should be in the position of motor 2.
Make sure all the connections are tight and secured.
Step 4: Uploading the Code to the Arduino

The code of this project is given below.
But before uploading the code open it and do the necessary modification.
Set the rpm_control of the faster motor so that both the motor have equal RPM. And also set the right_delay and the left_delay accordingly so that it should make a perfect turn of 90 degree towards right and left direction respectively.
Once you have uploaded the code and every other things are set you are good to go.
Attachments

Step 5: Working Video
Thank you for reading.

Participated in the
Make It Move Contest 2017


