

Introduction: Arduino CNC Laser Enrgaver From DVD Drive


Hello everybody, this is project How-ToDo, today I'll show you how I made a laser engraver from old DvD drives. Before we start I have to say that as most of my projects it's easier and probably cheaper to buy same thing from China (Ali or Amazon), and reason of making it by yourself is a process of making.
Step 1: Taking Apart the DVD Drives
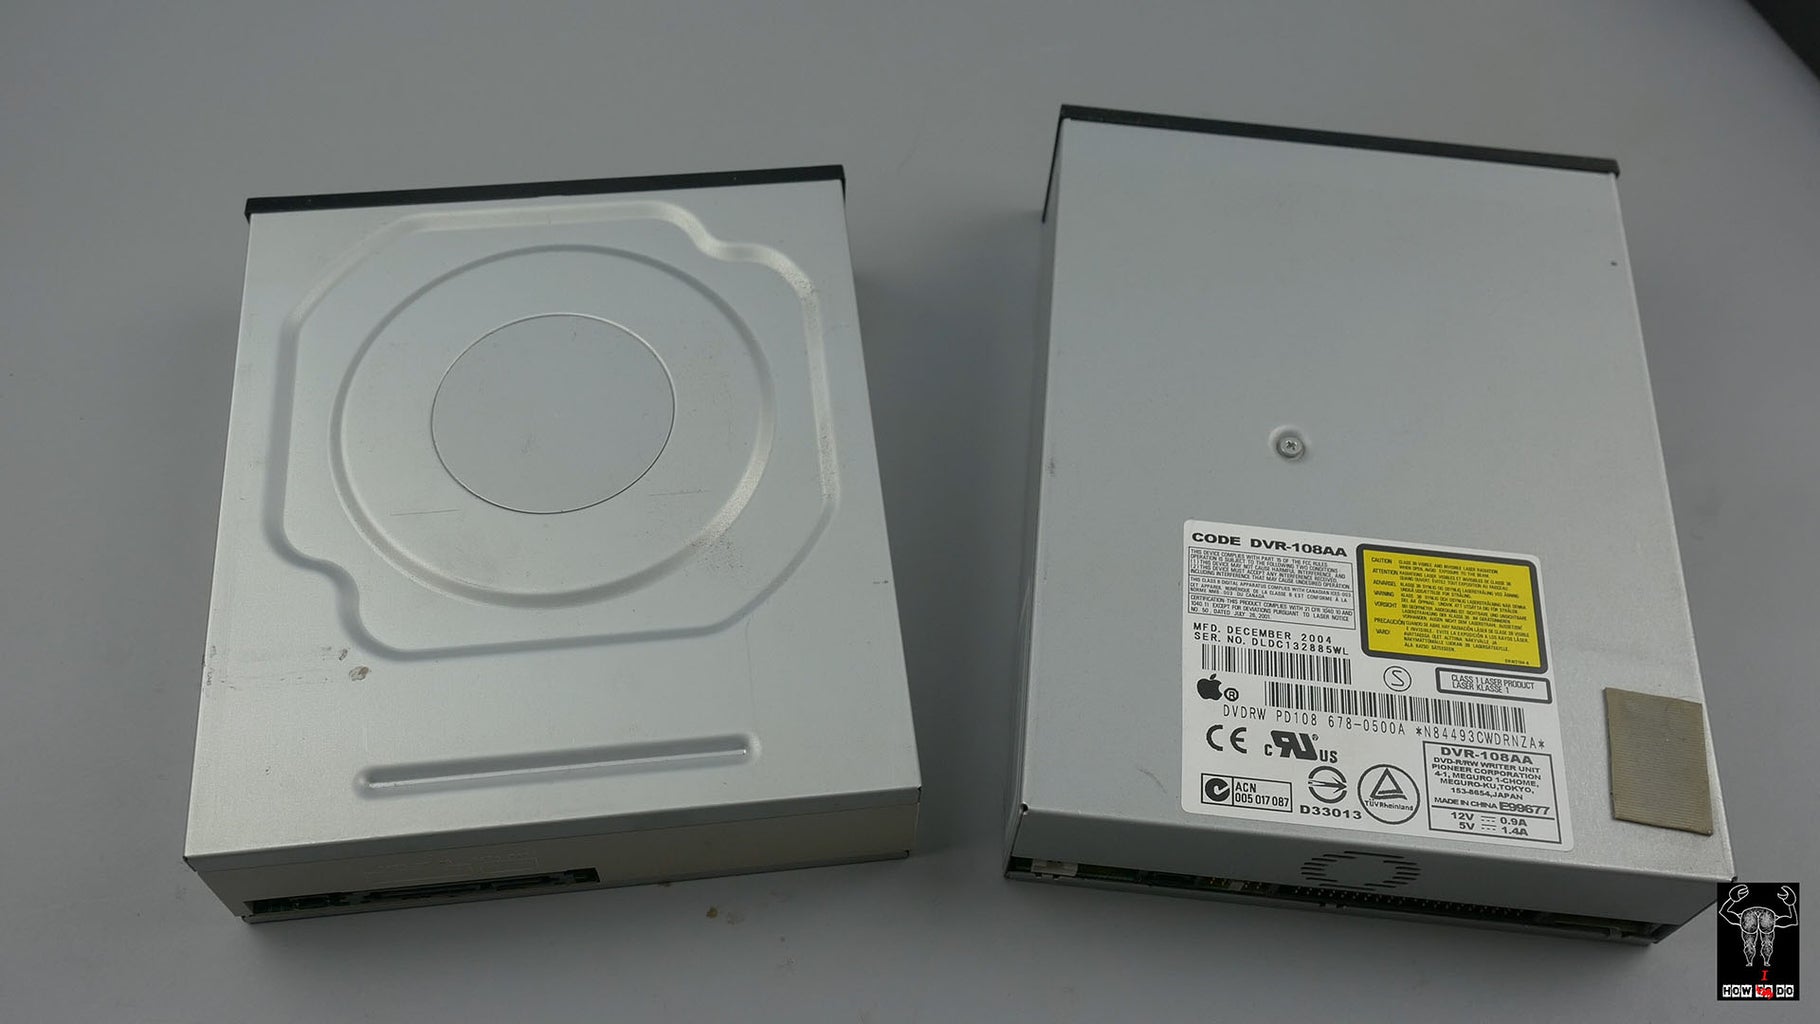
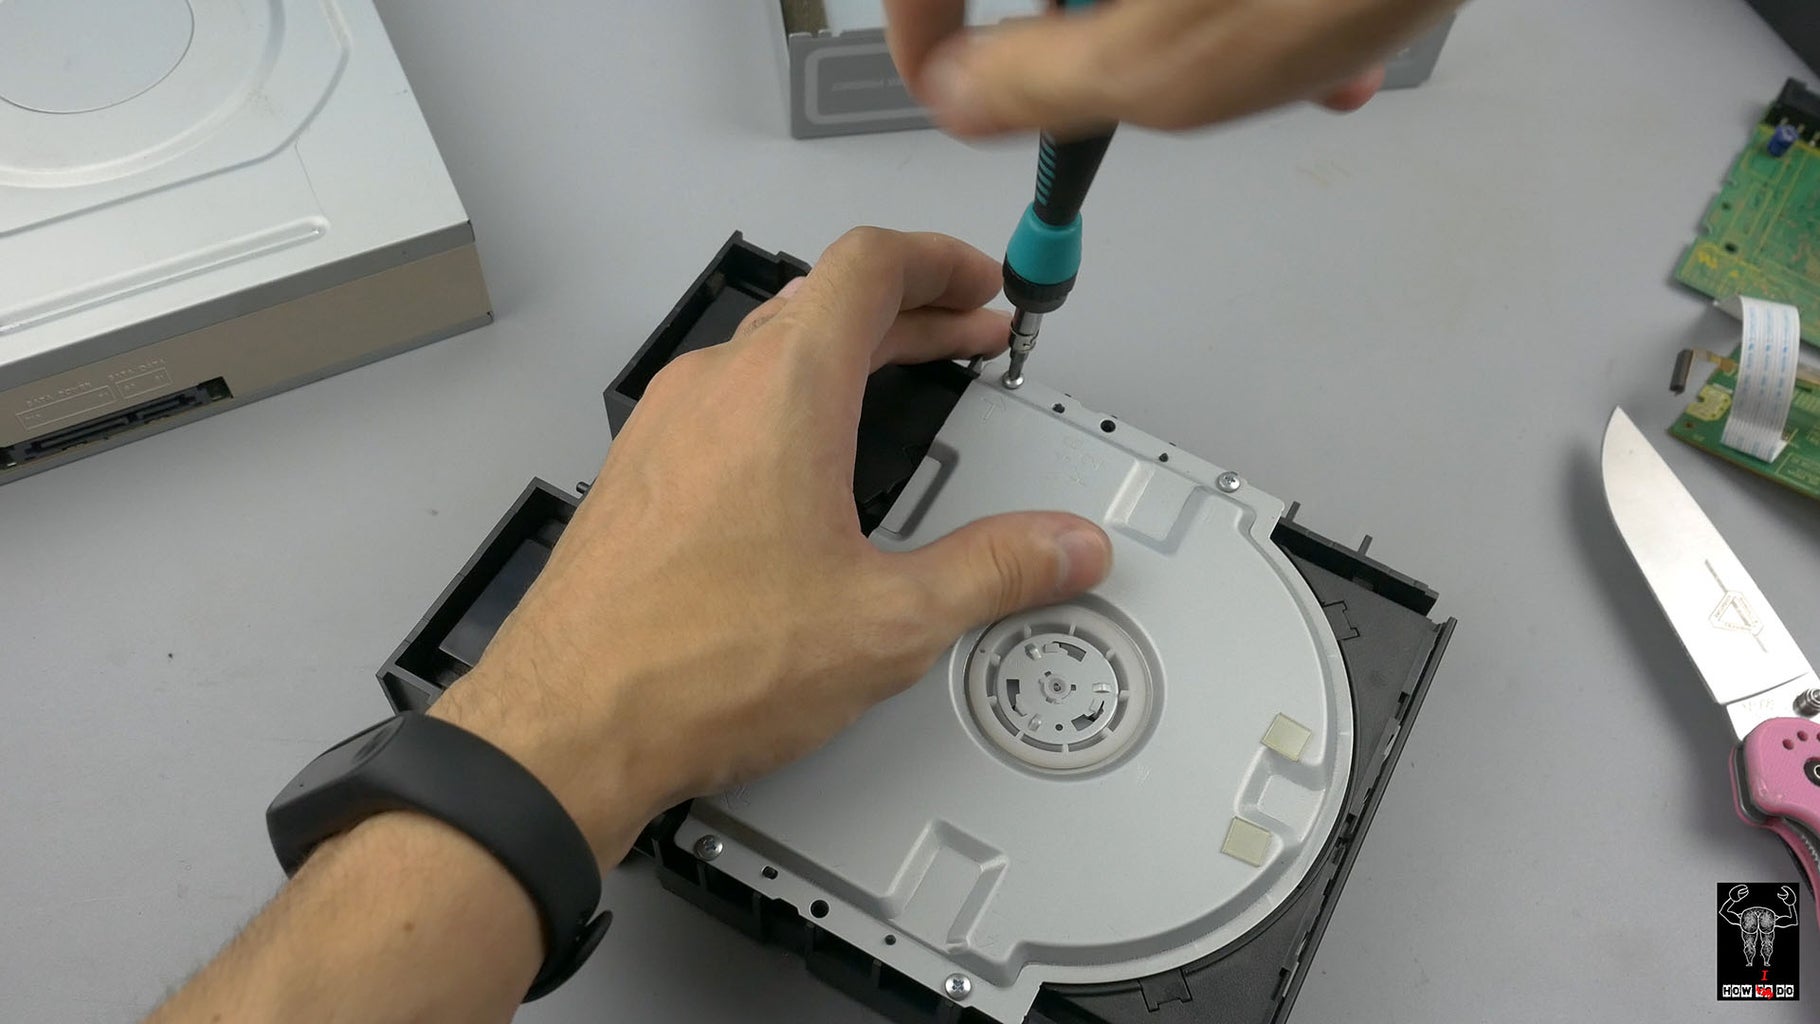

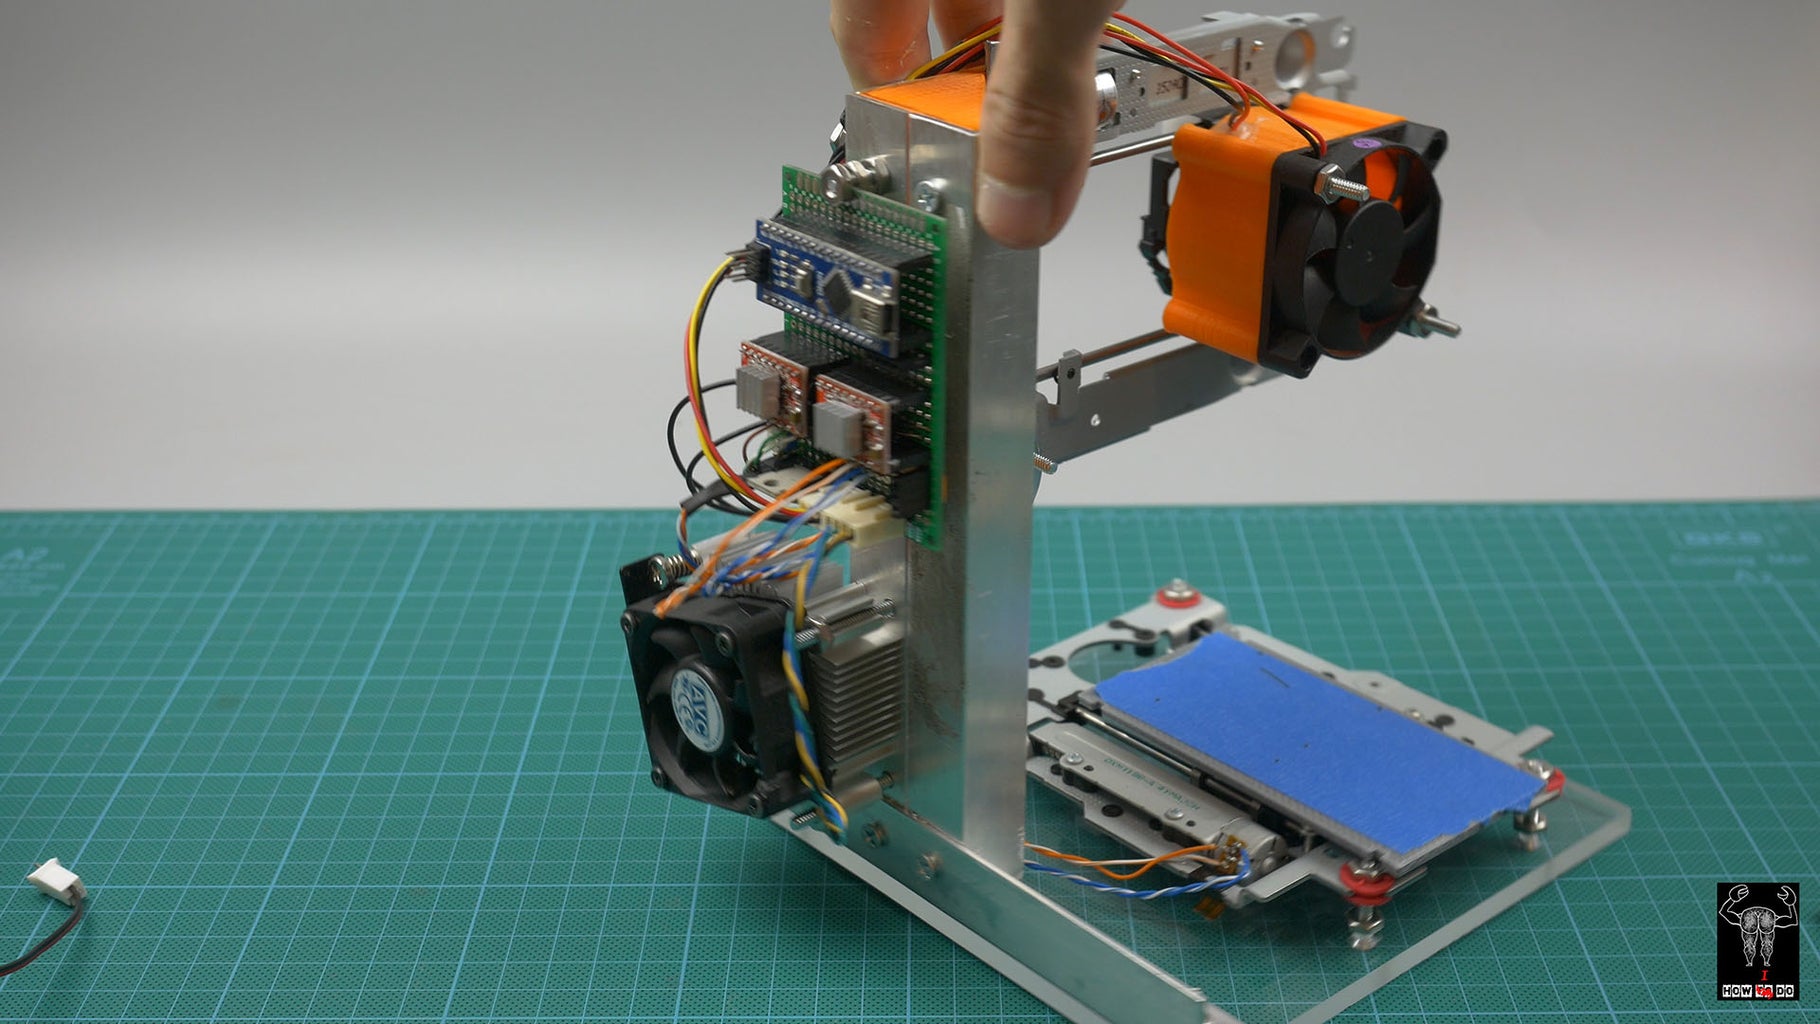
First we need two optical drives CD or DVD - doesn't matter. We interested in the carriage with step motors, guides and laser diodes, remove the last one and all optic staff. Those carriage will be your X and Y axis, we have to solid fix them perpendicularly to each other. How to do that - is up to your imagination.
Step 2: Assembling the Base
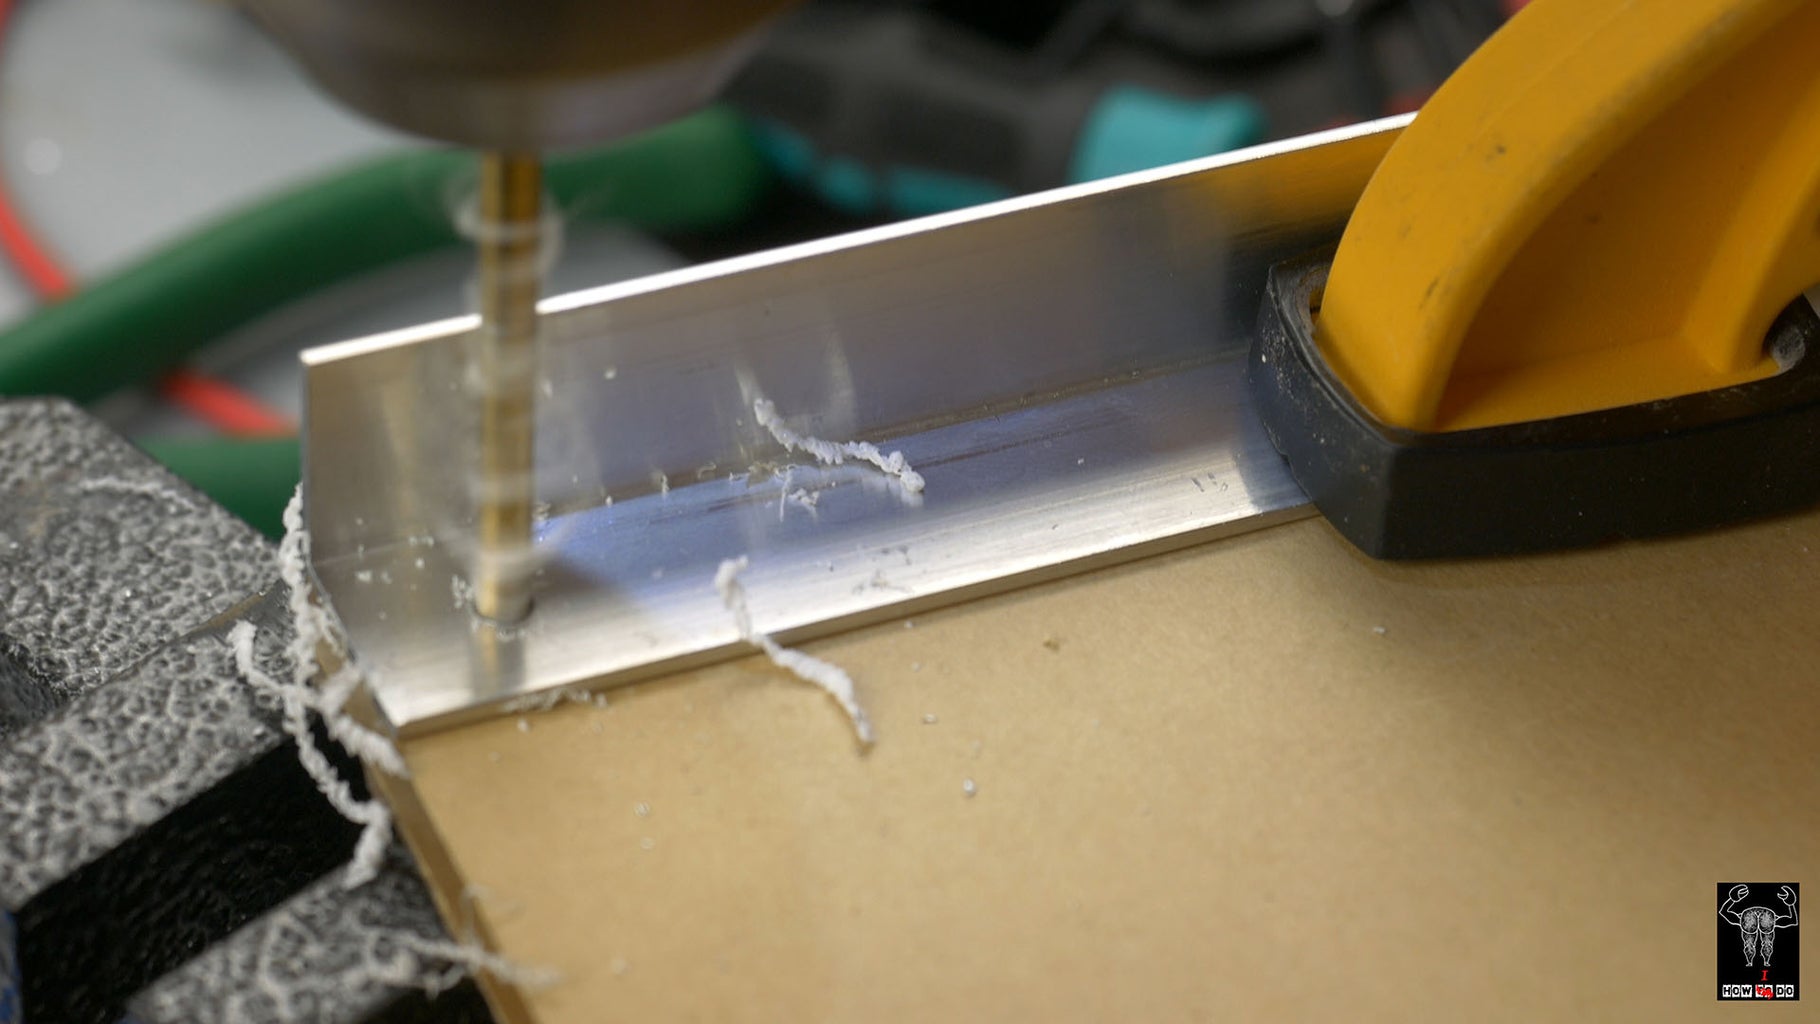
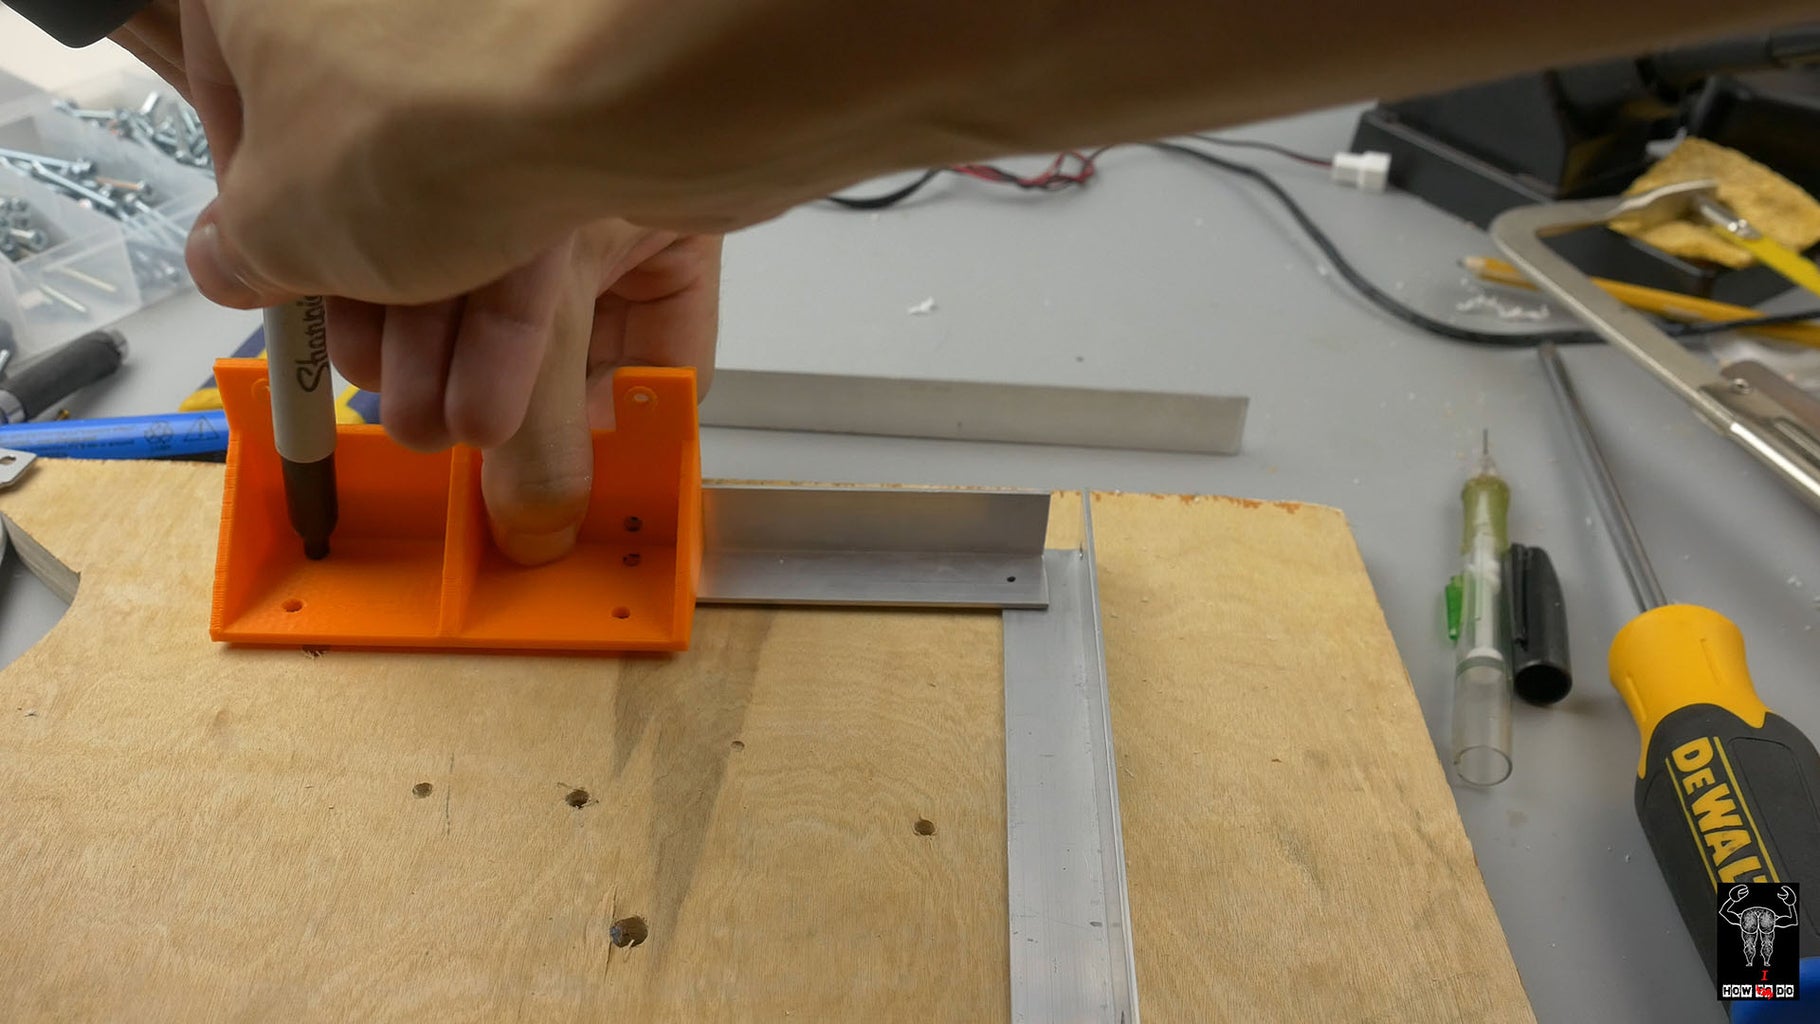
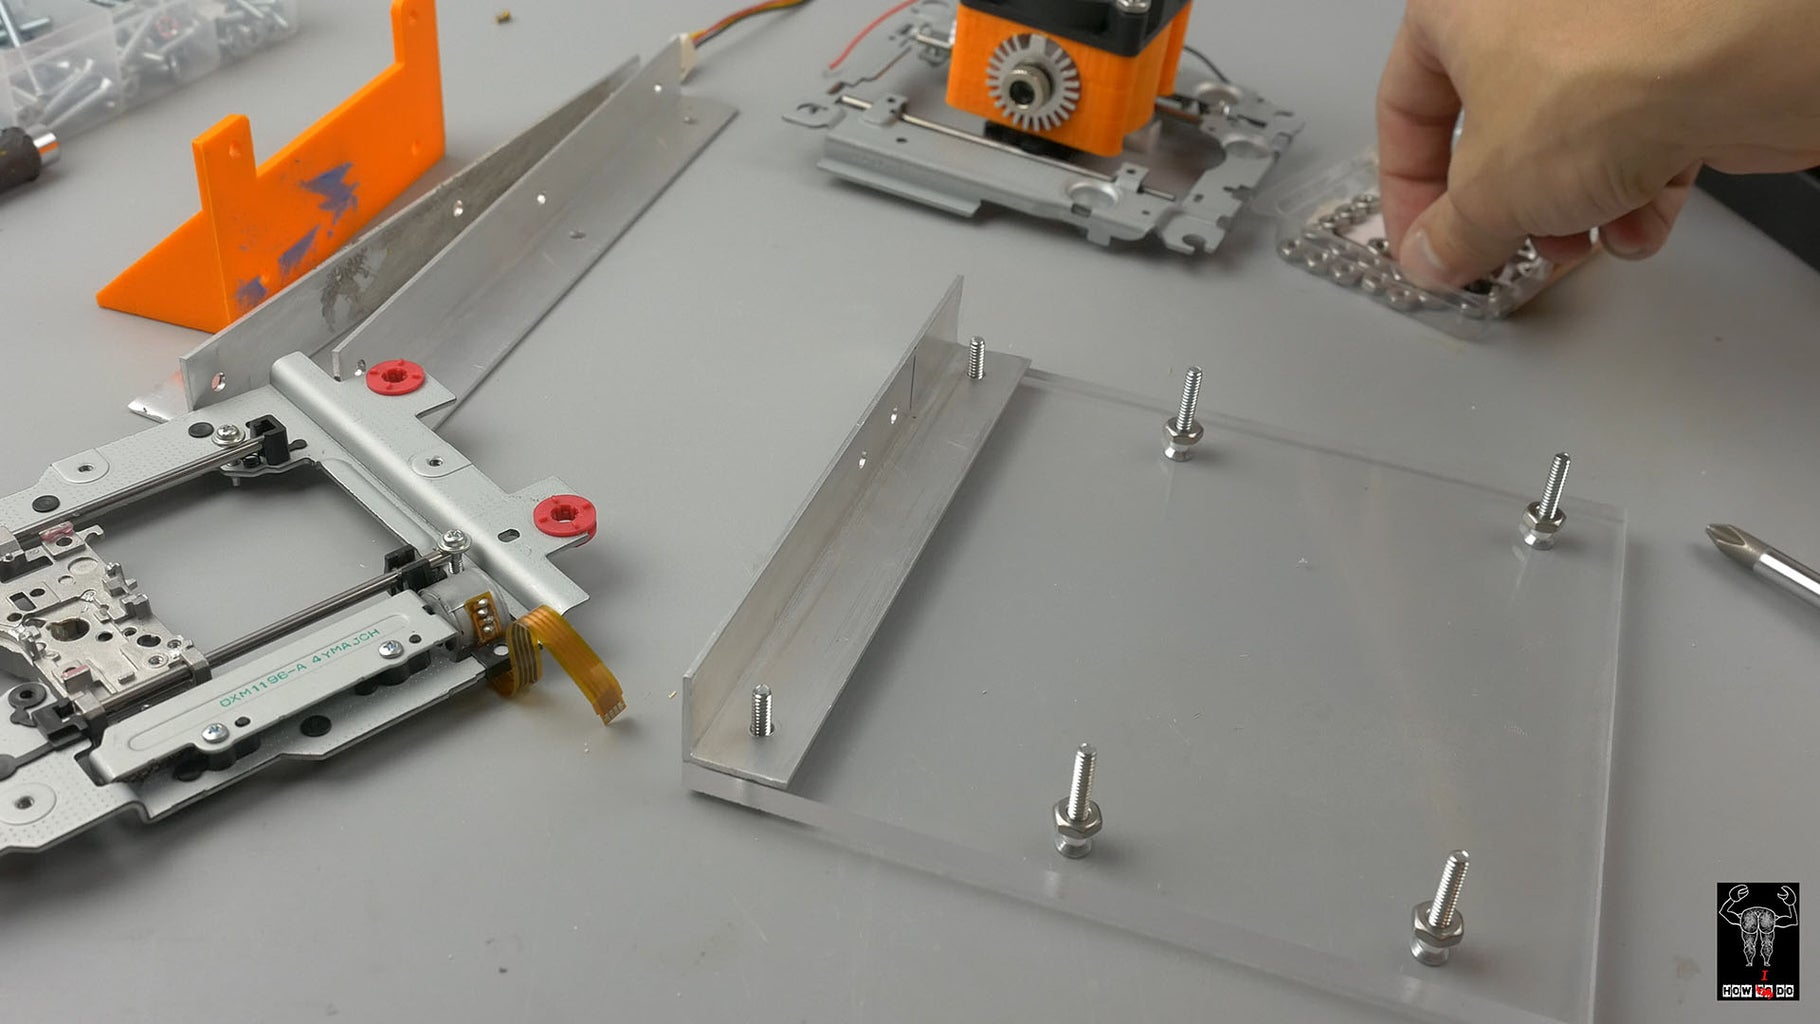
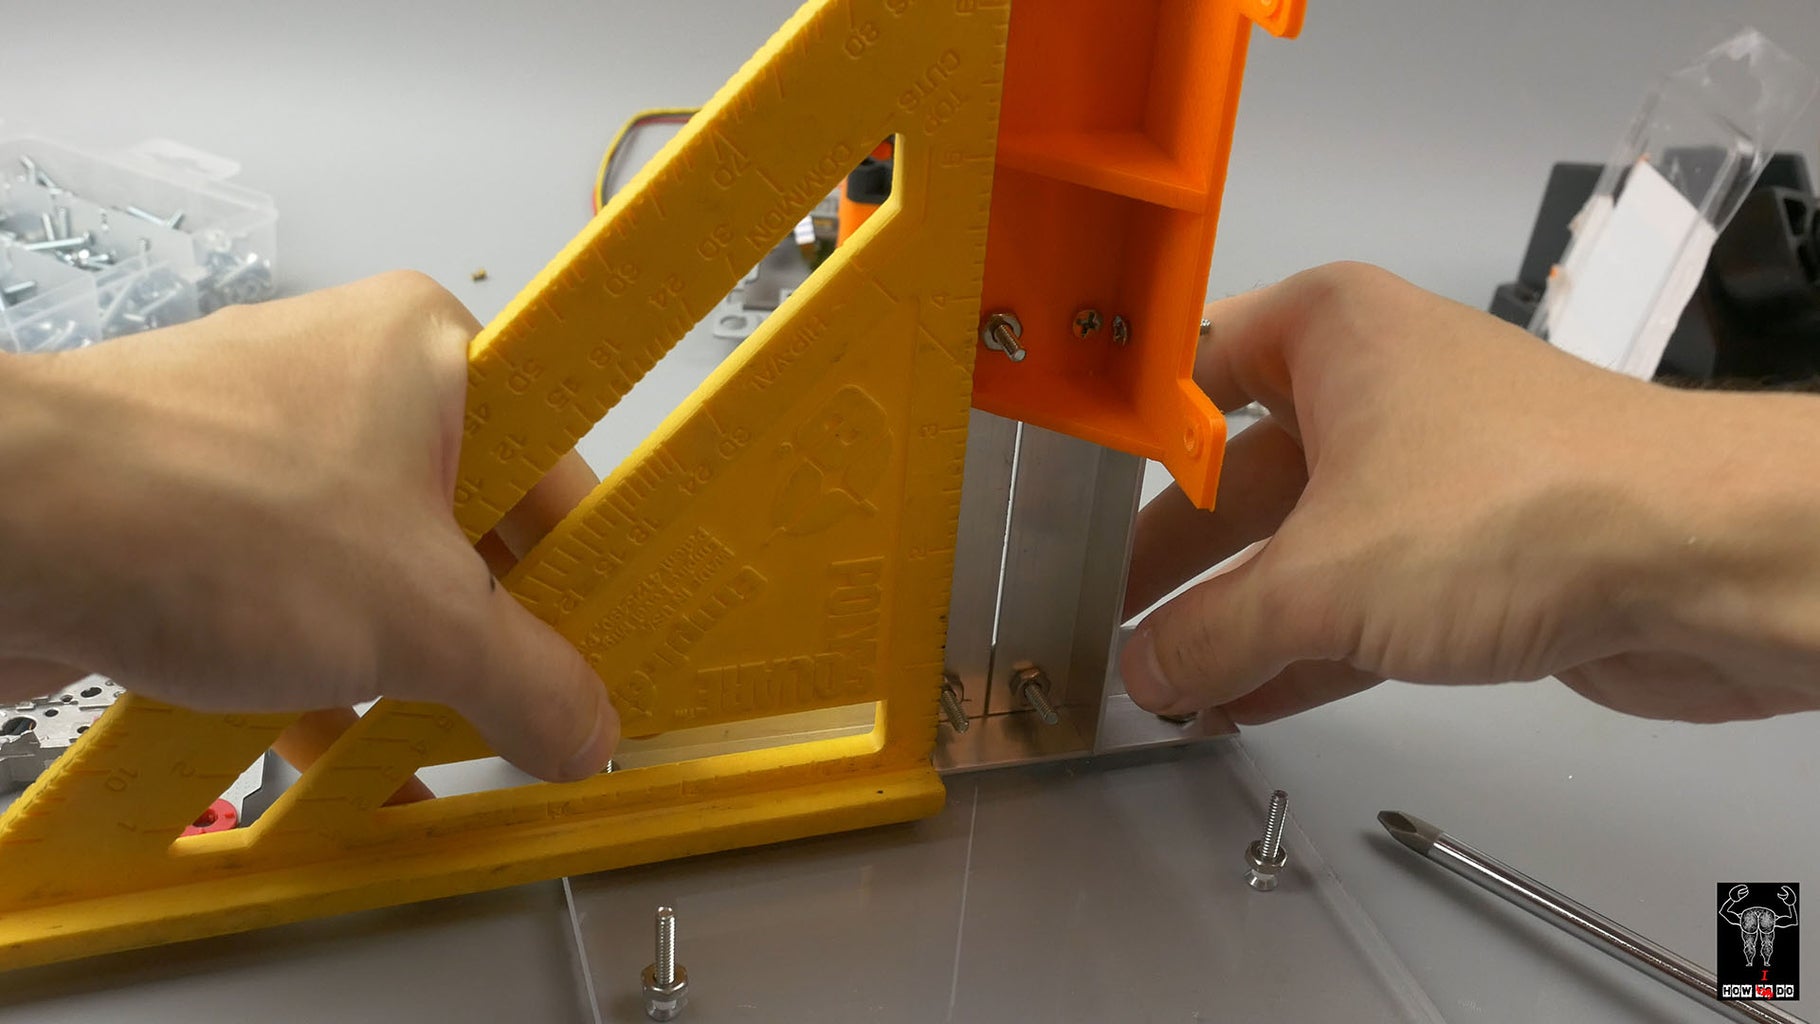
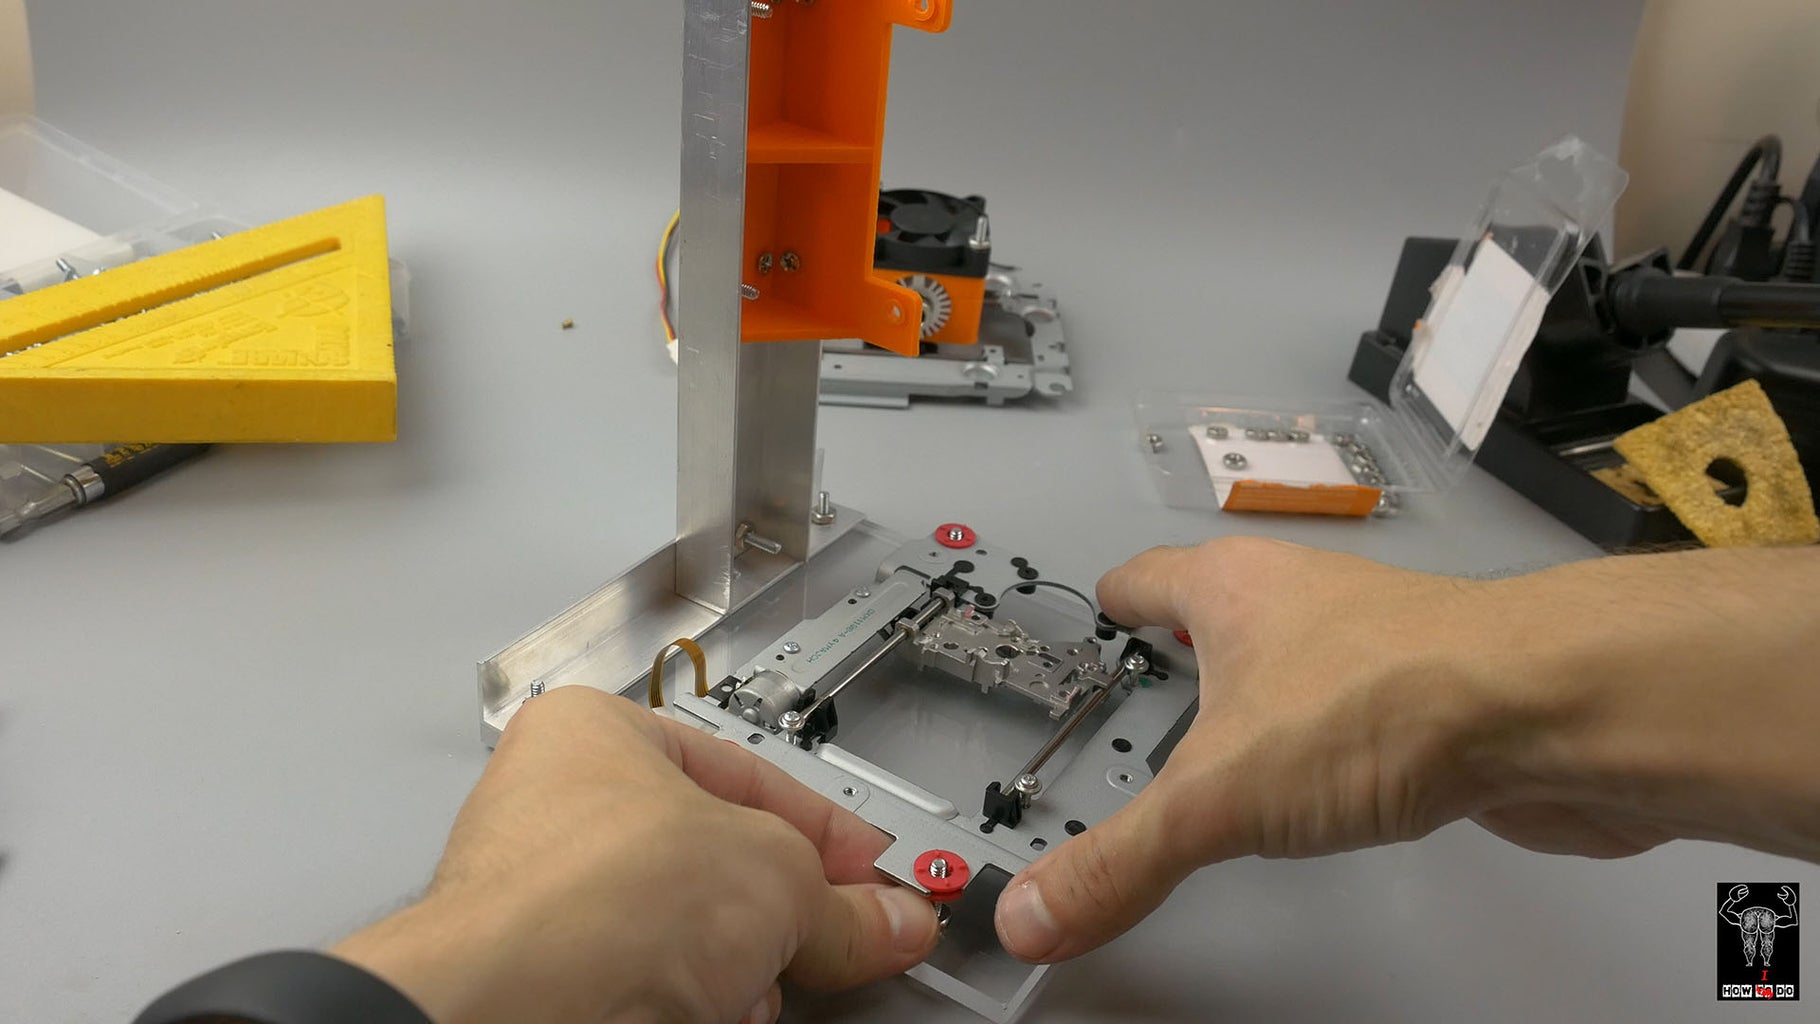
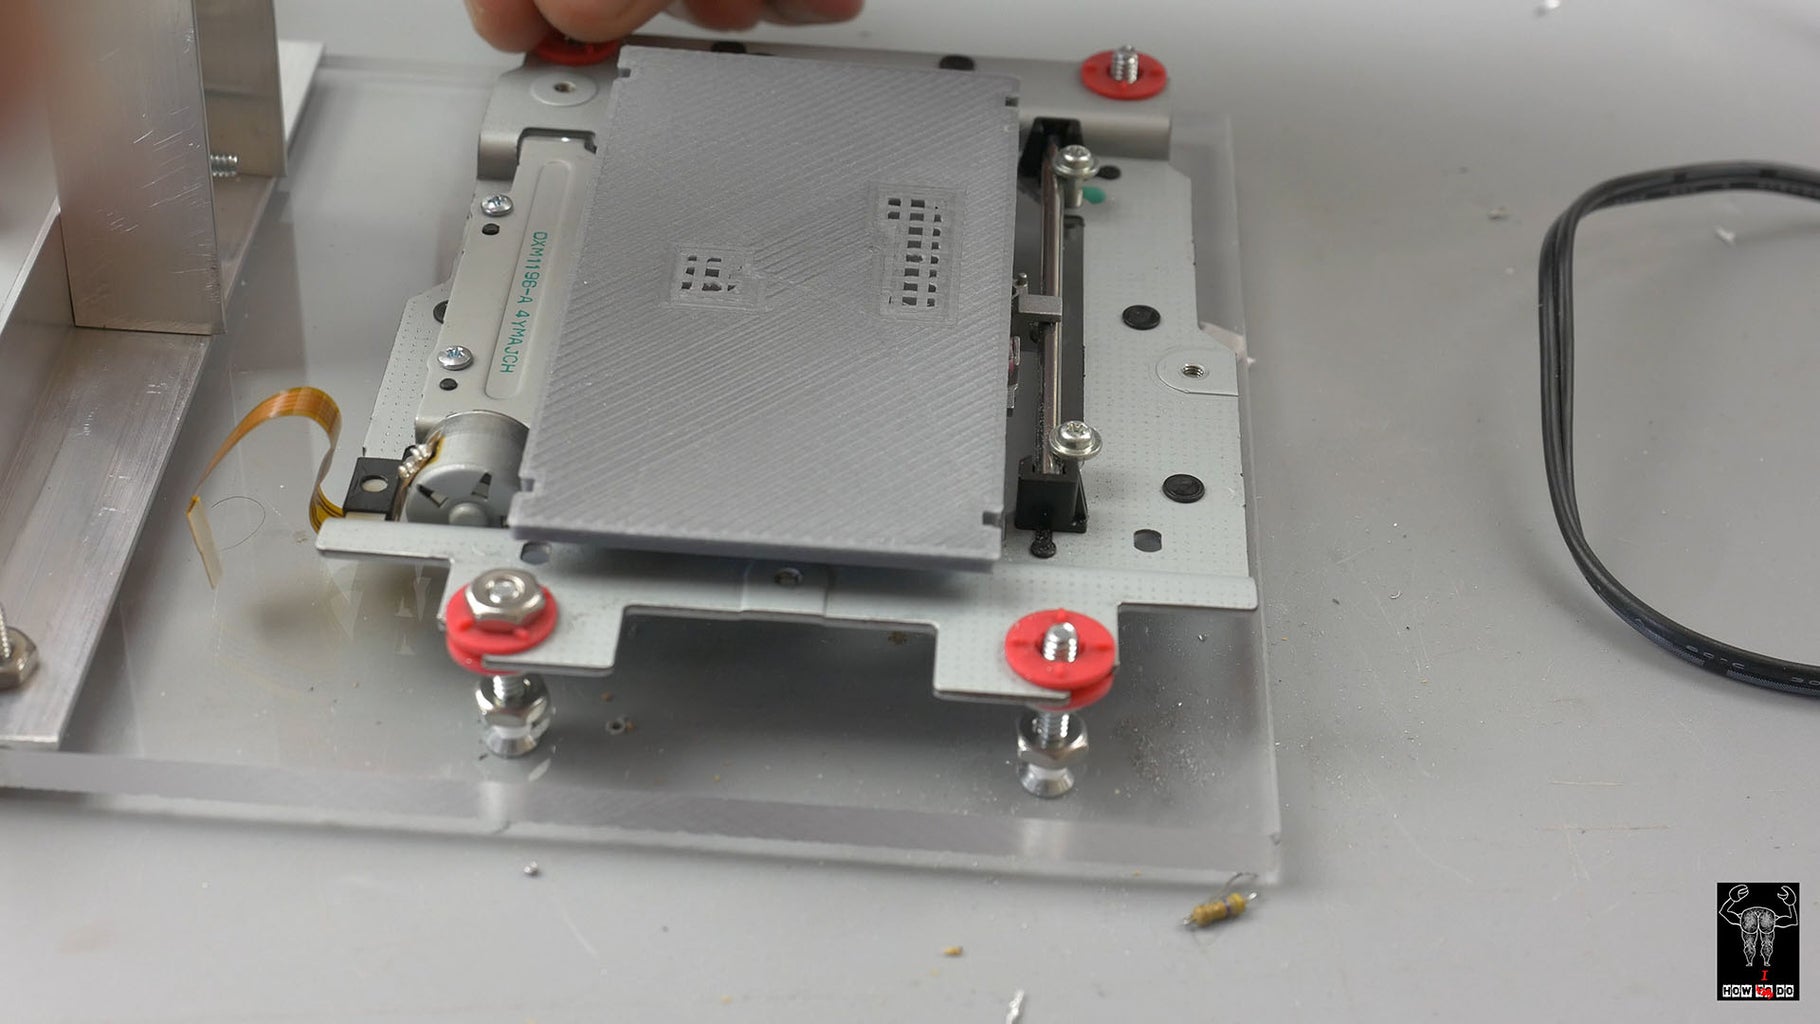
I have about 1m of aluminum angle and a piece of acrylic glass I made the base from it and lift up the Y axis on tiny bolts. Fix the X axis on aluminum angle and 3d printed bracket. Also it's good to make rubber feet for the base. For table any smooth surface is good, I use 3d printer again to save time.
Step 3: Laser
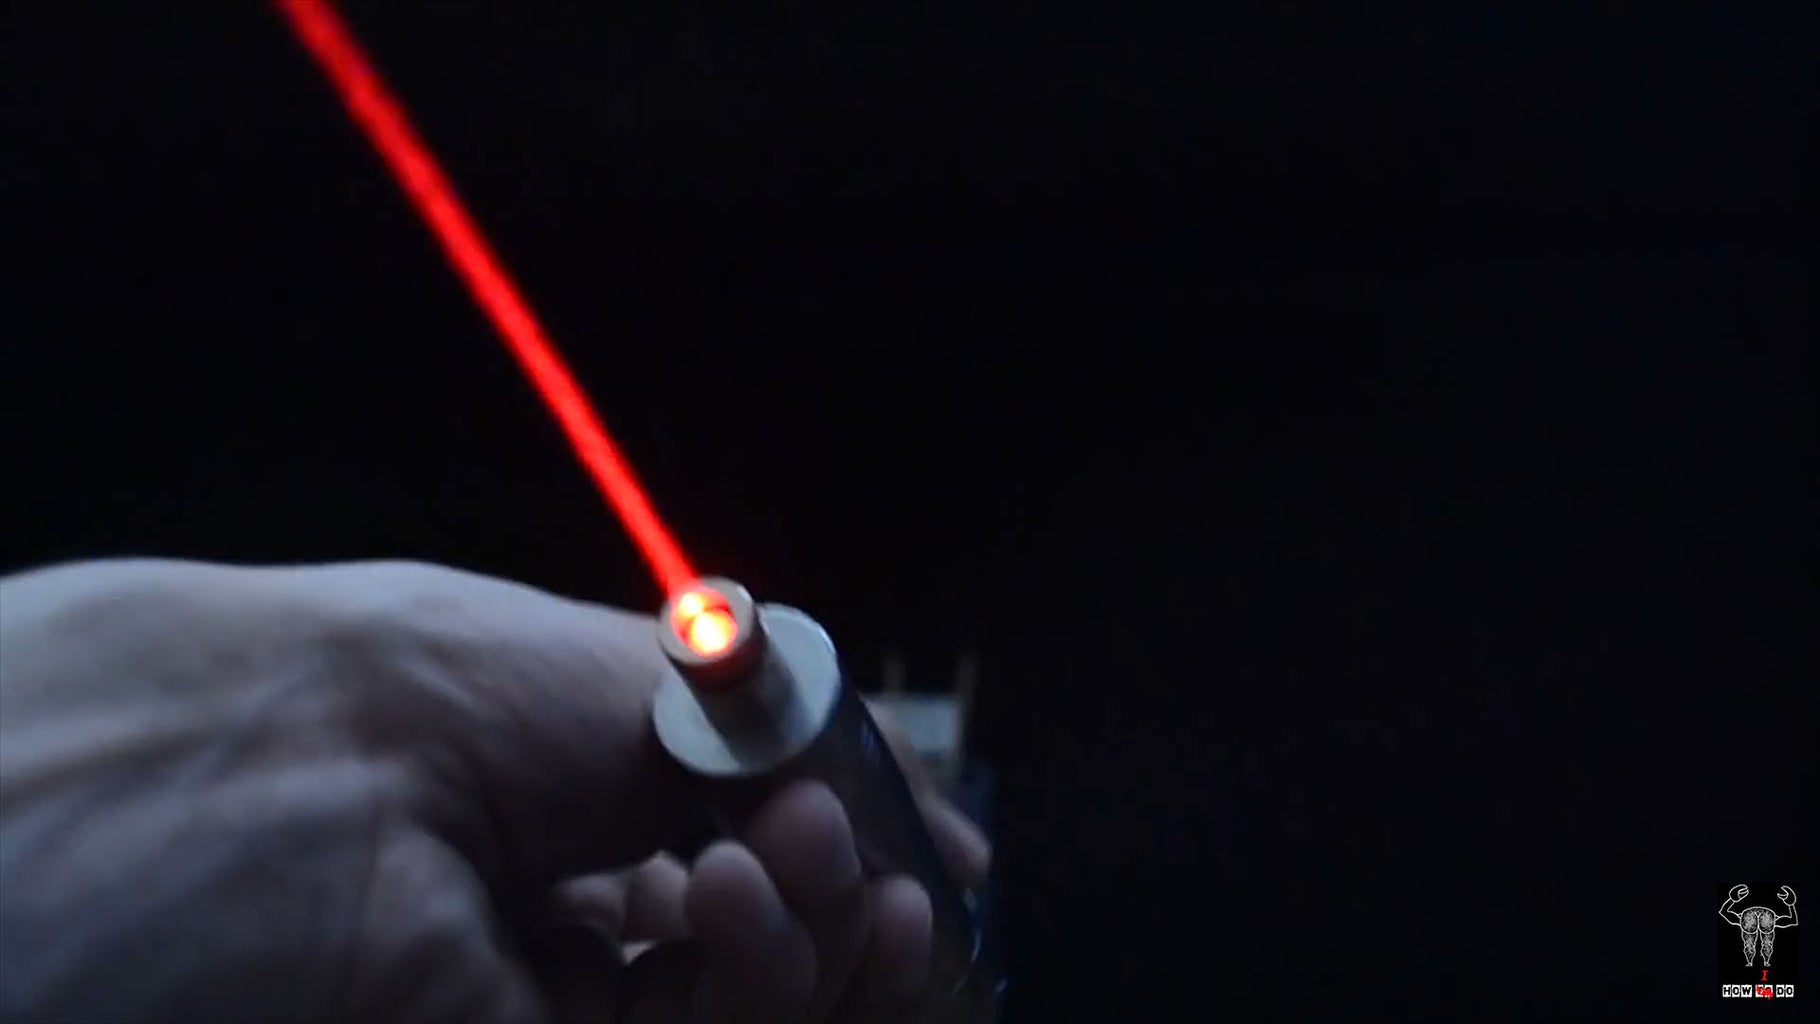
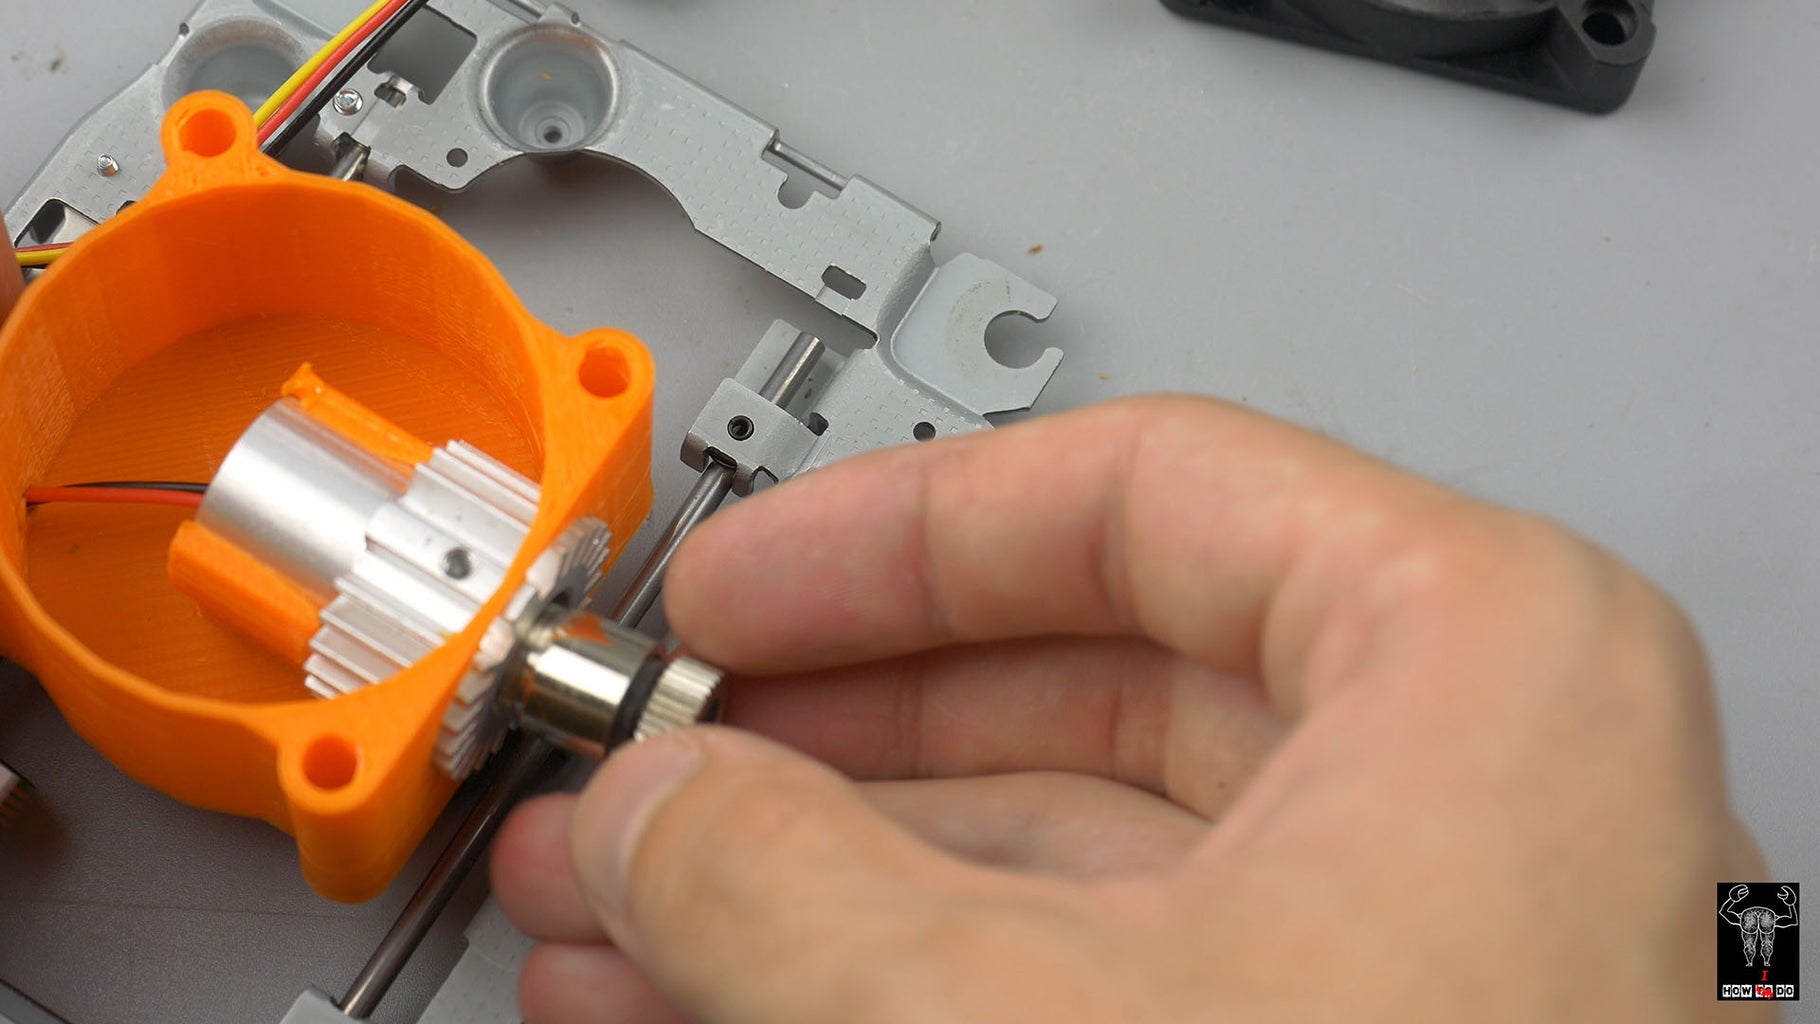
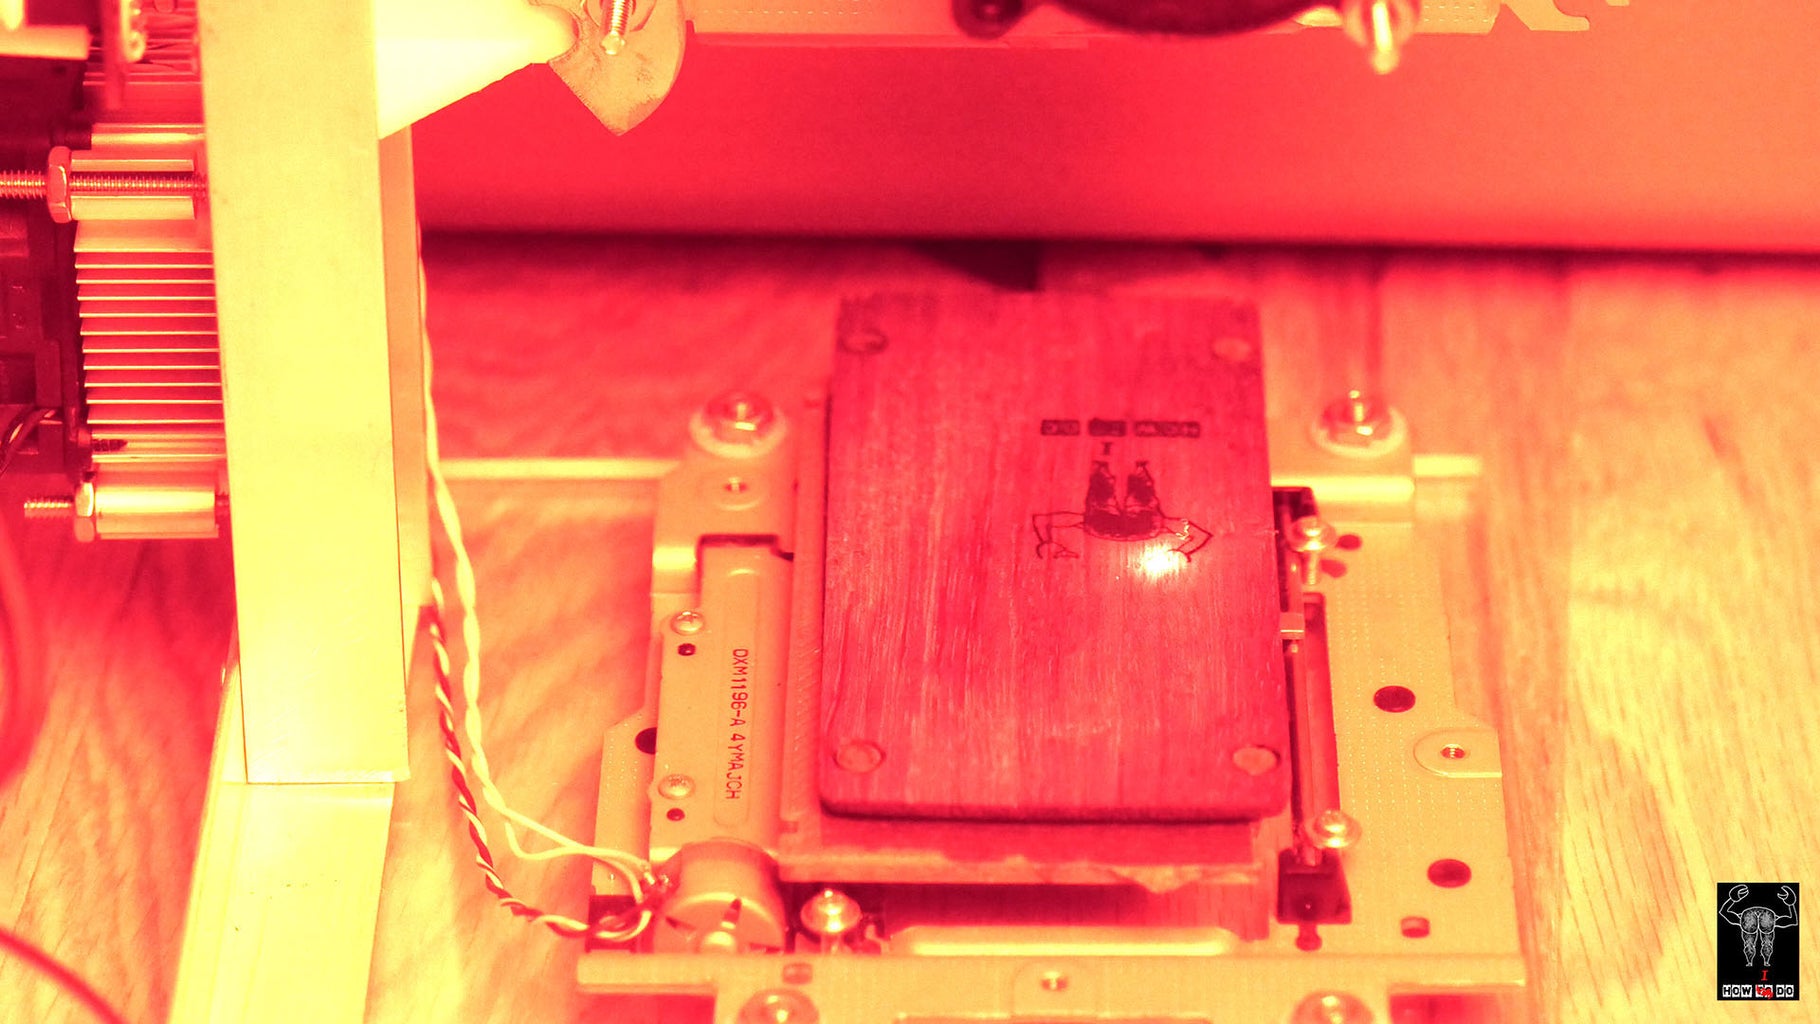
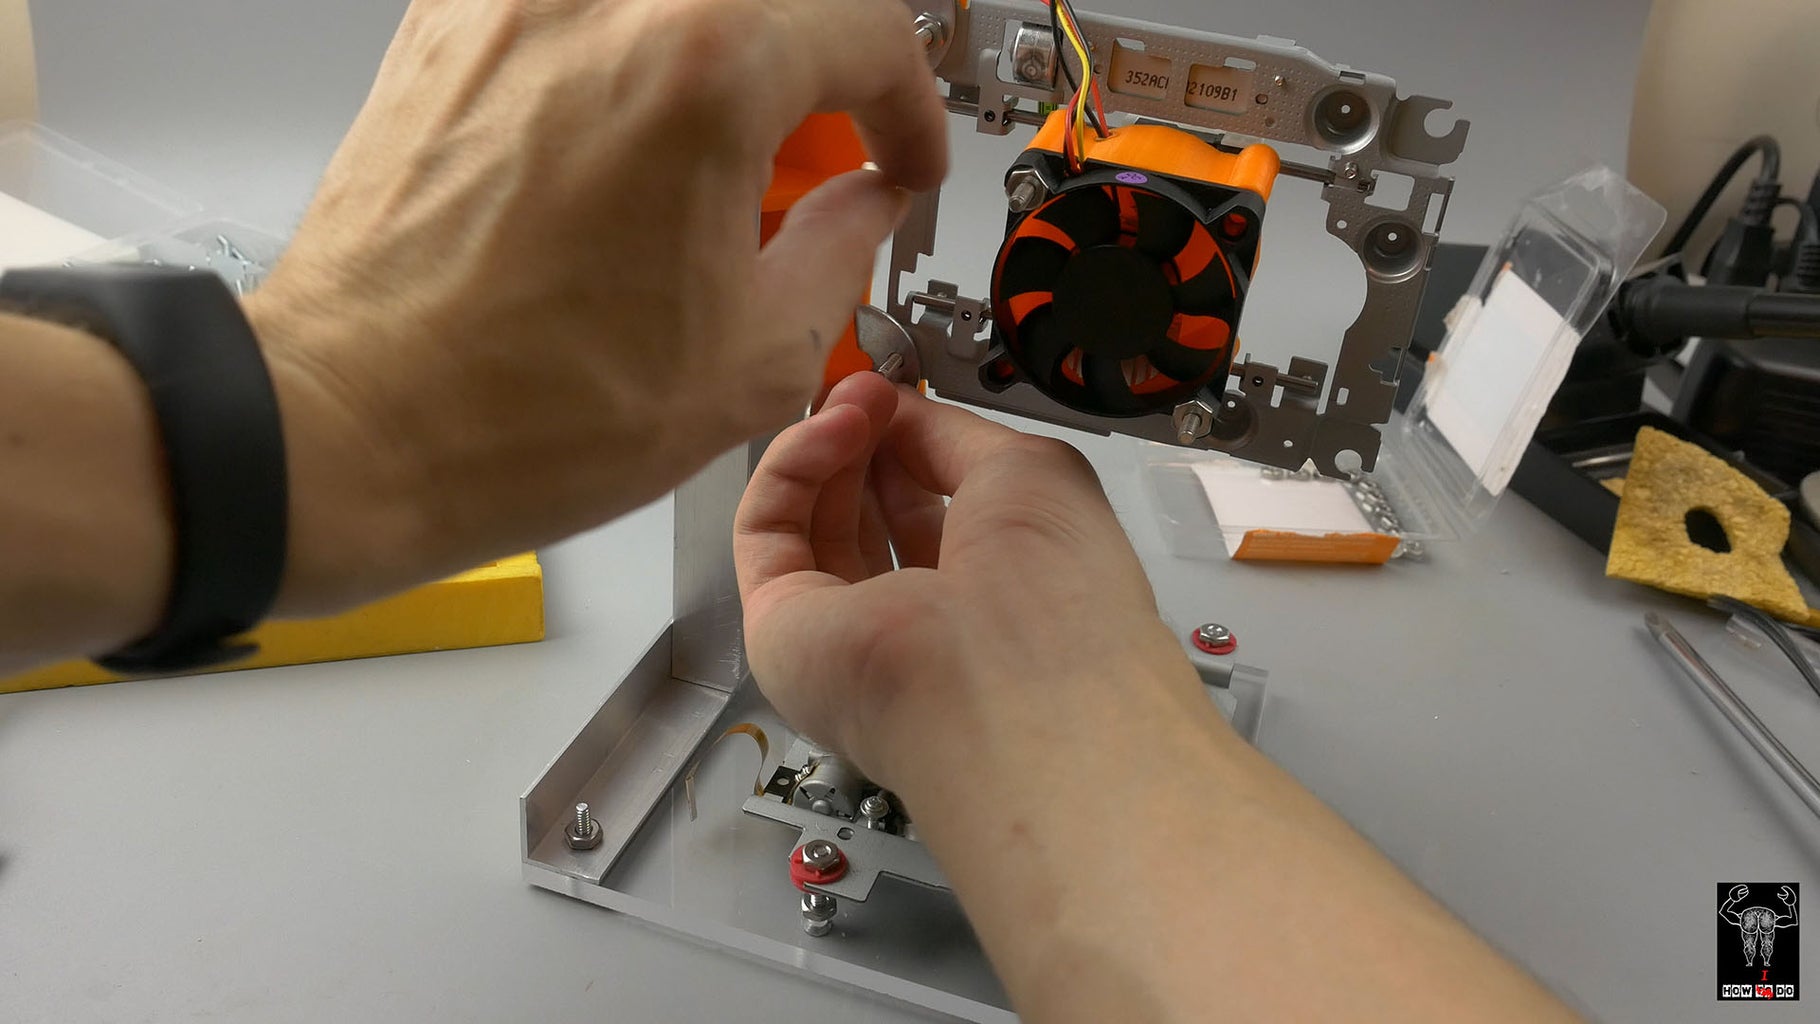
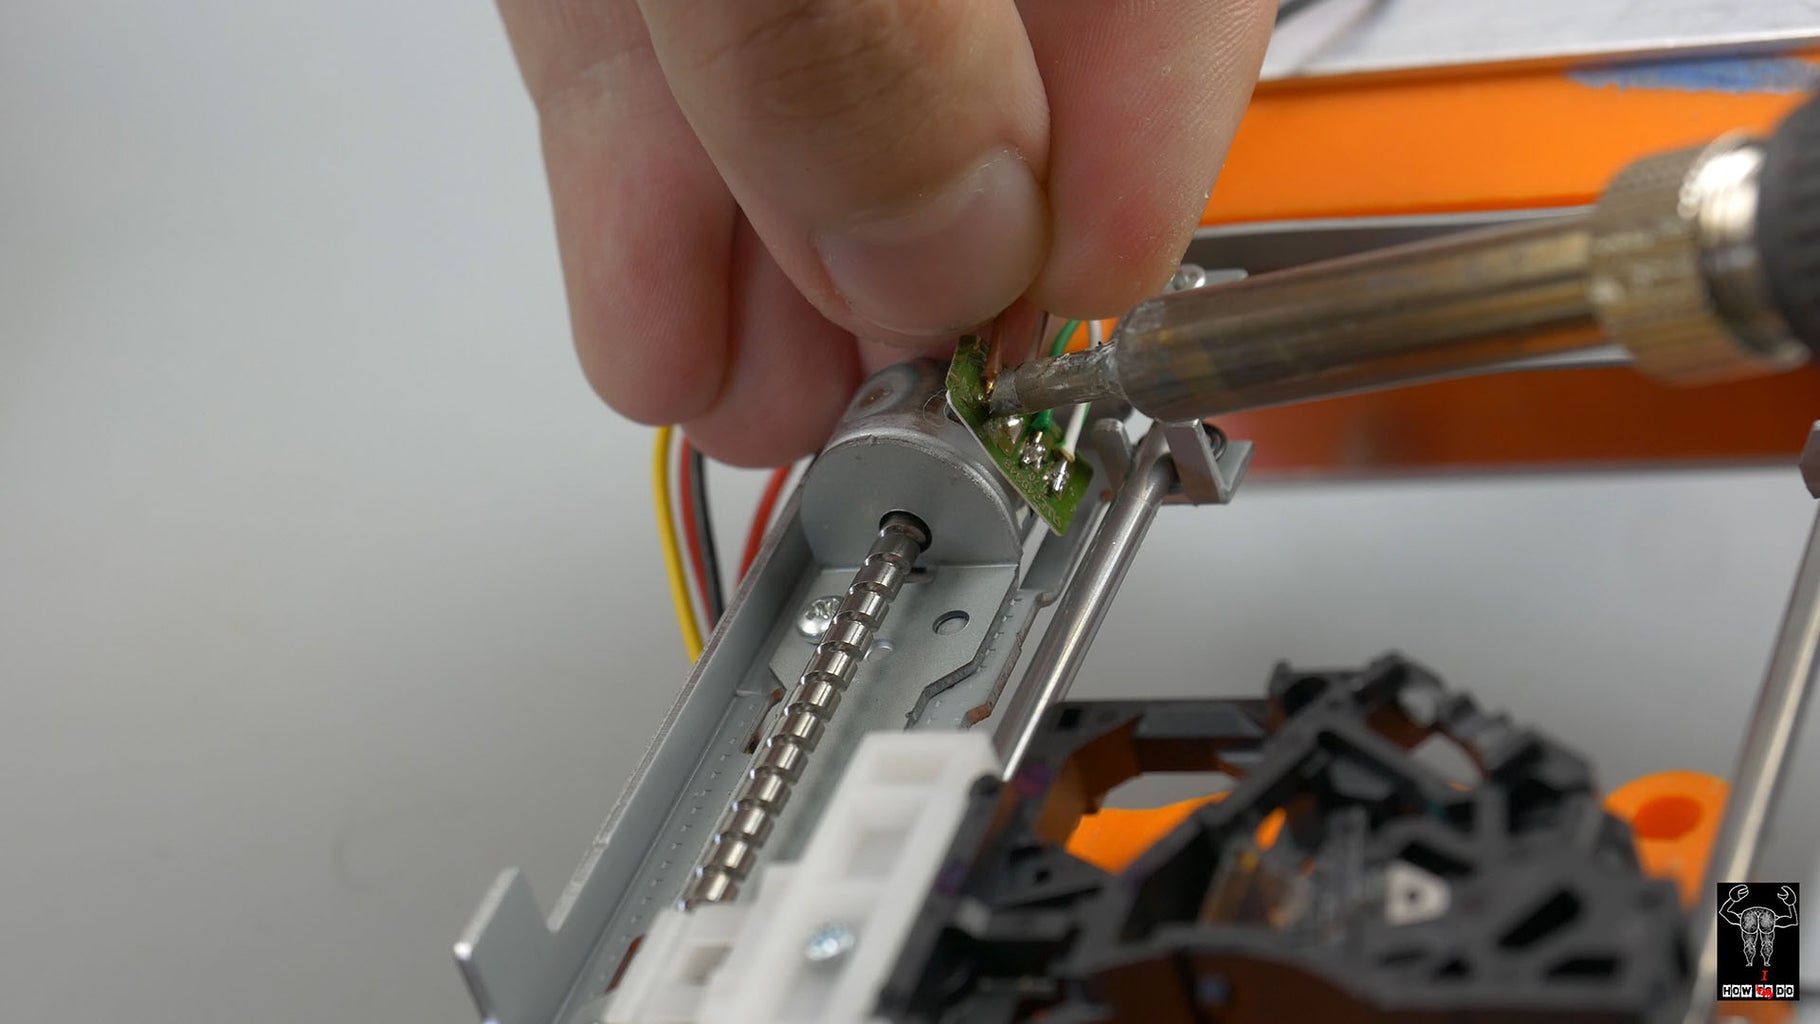
Next part is the laser, if you took a DVD RW drive u can use laser diode from it for this project, just make a simple driver, I also have a video about it. I'm going to use a 1.5w 445nm laser module that I made in this video.
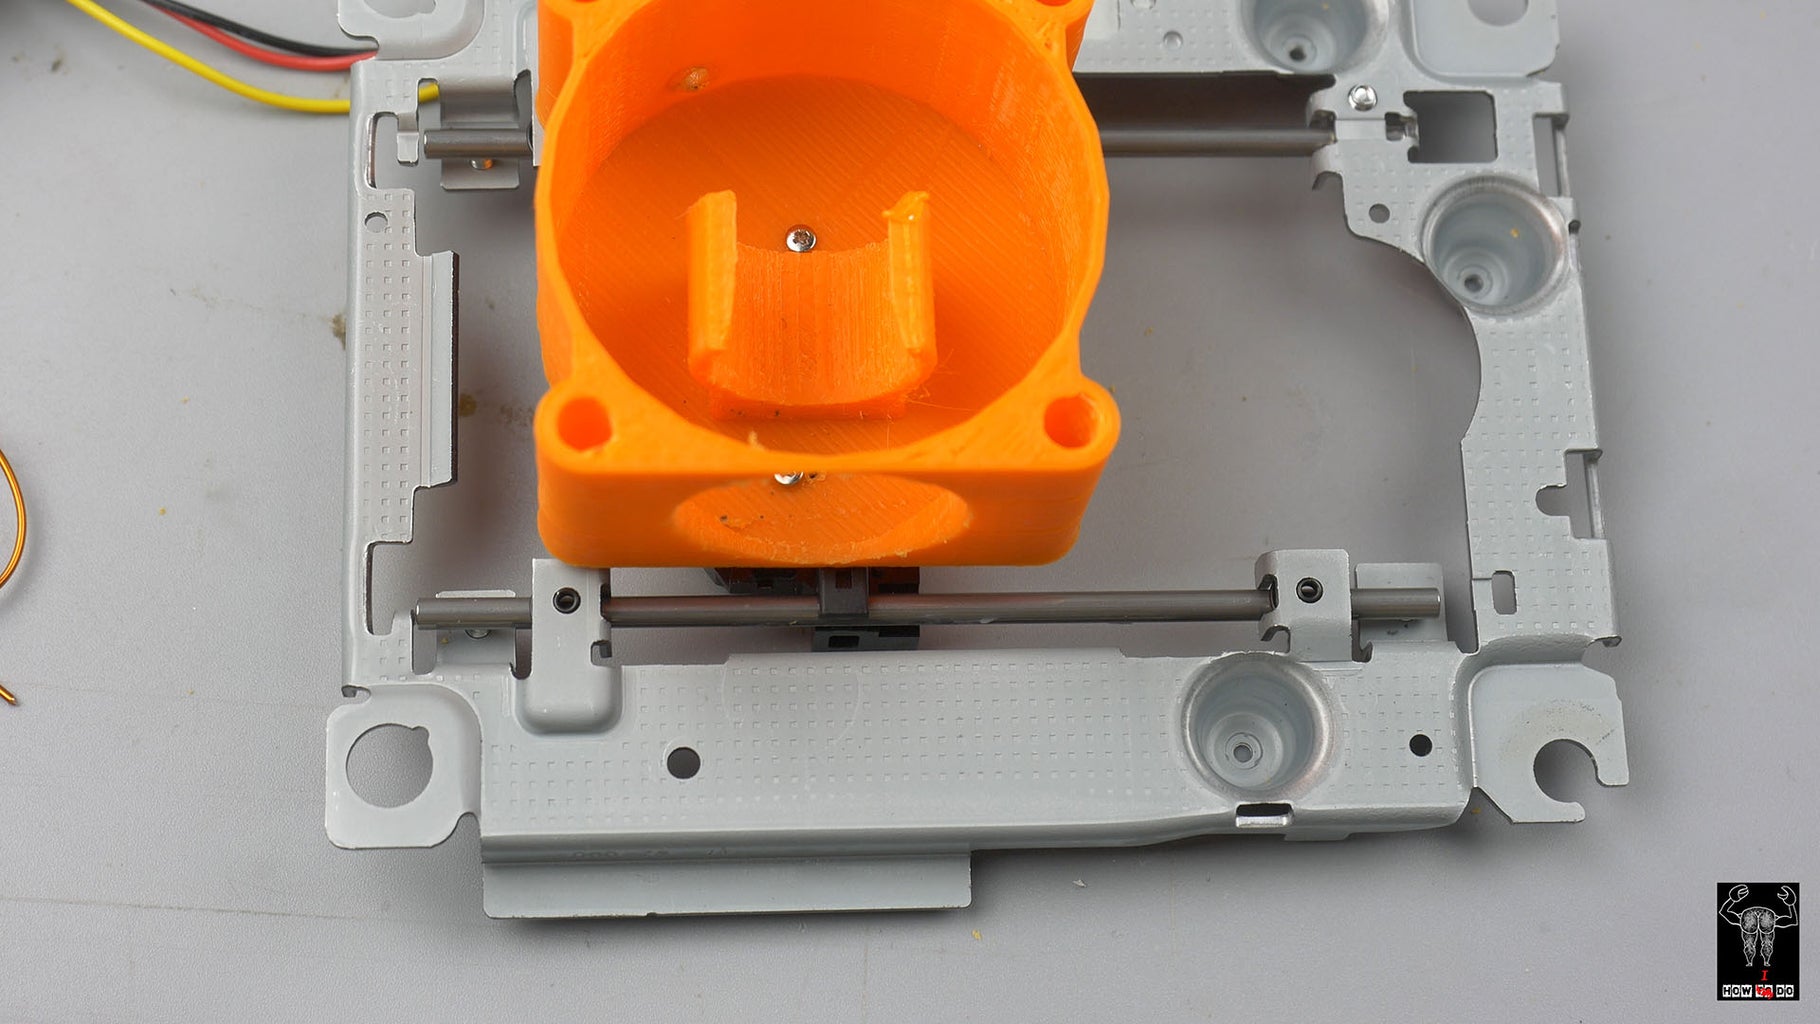
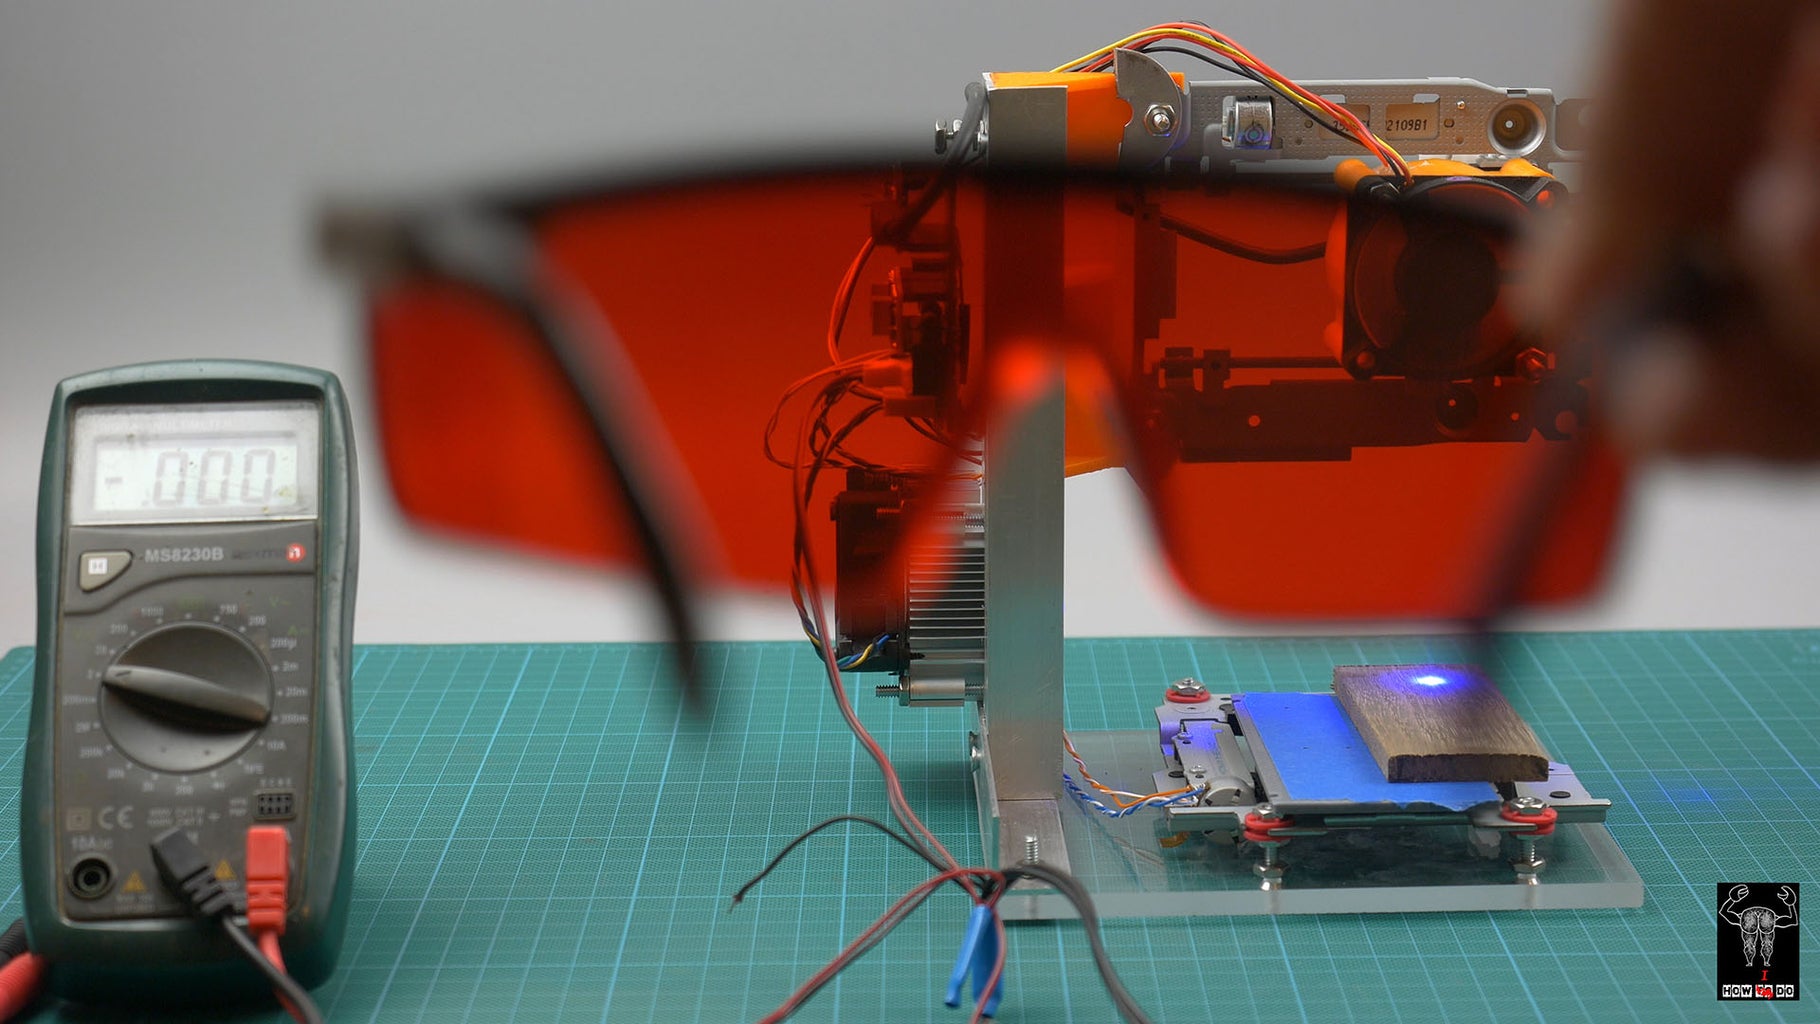
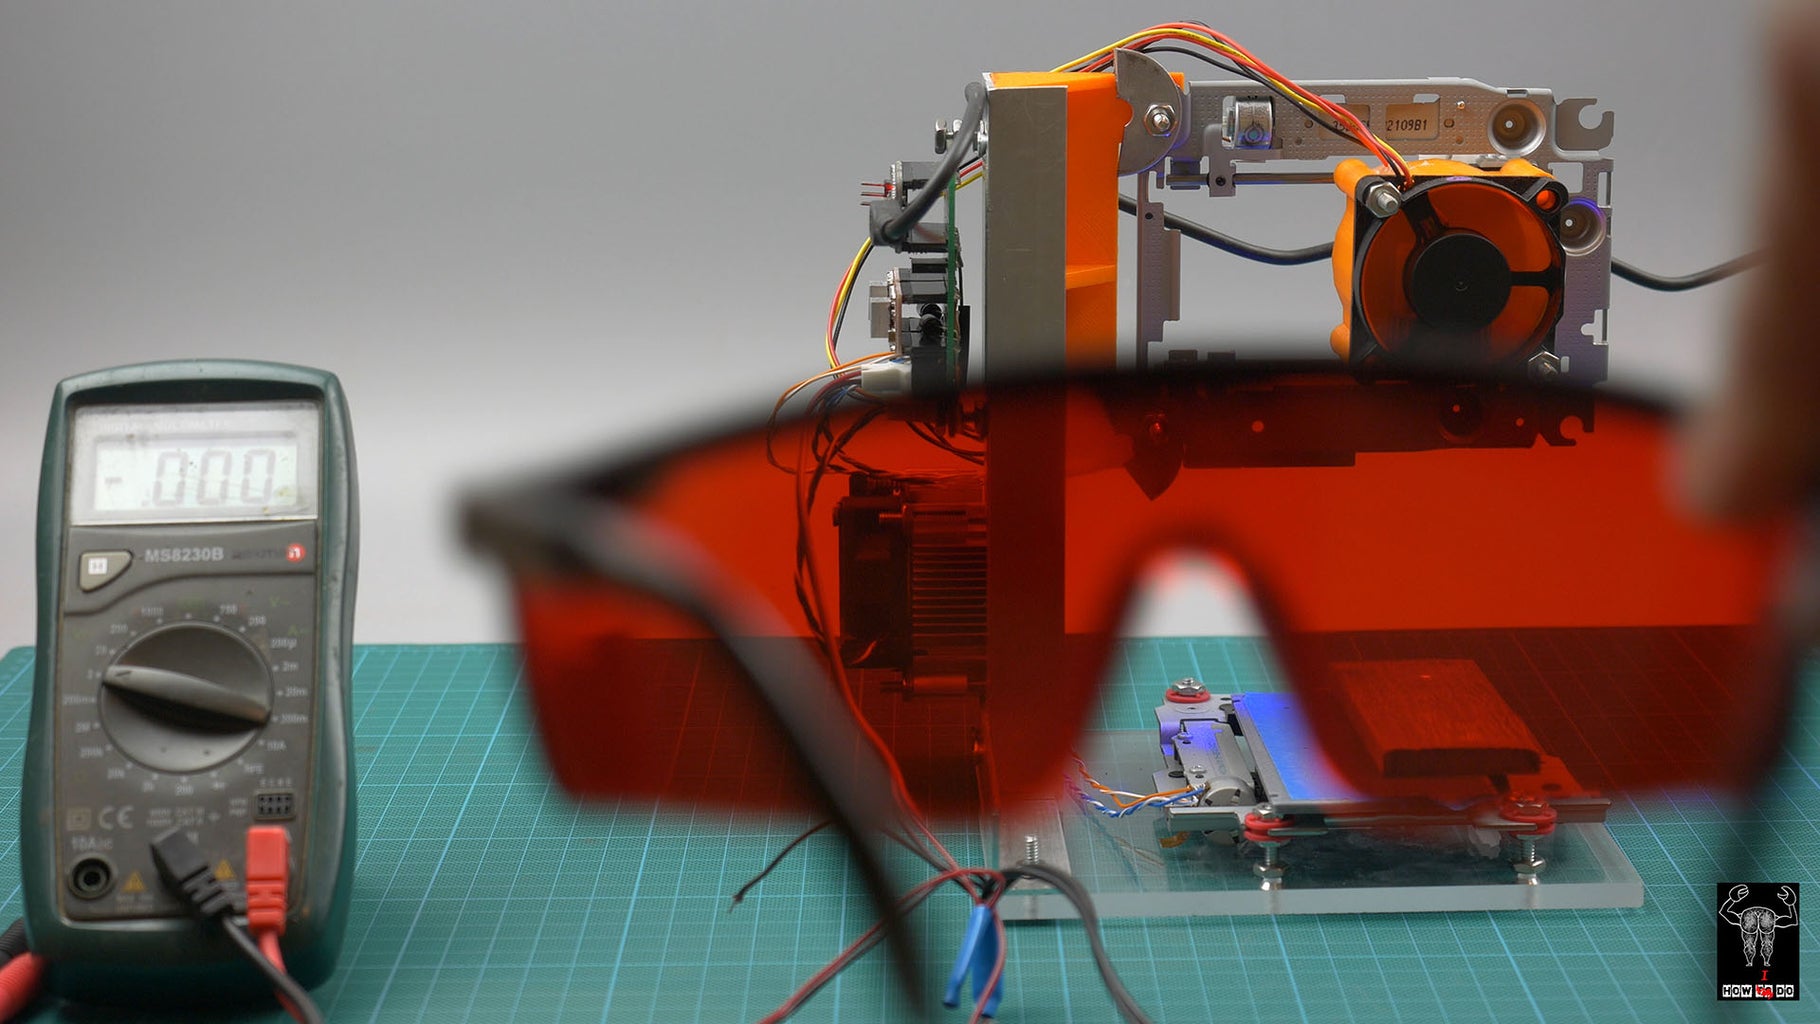
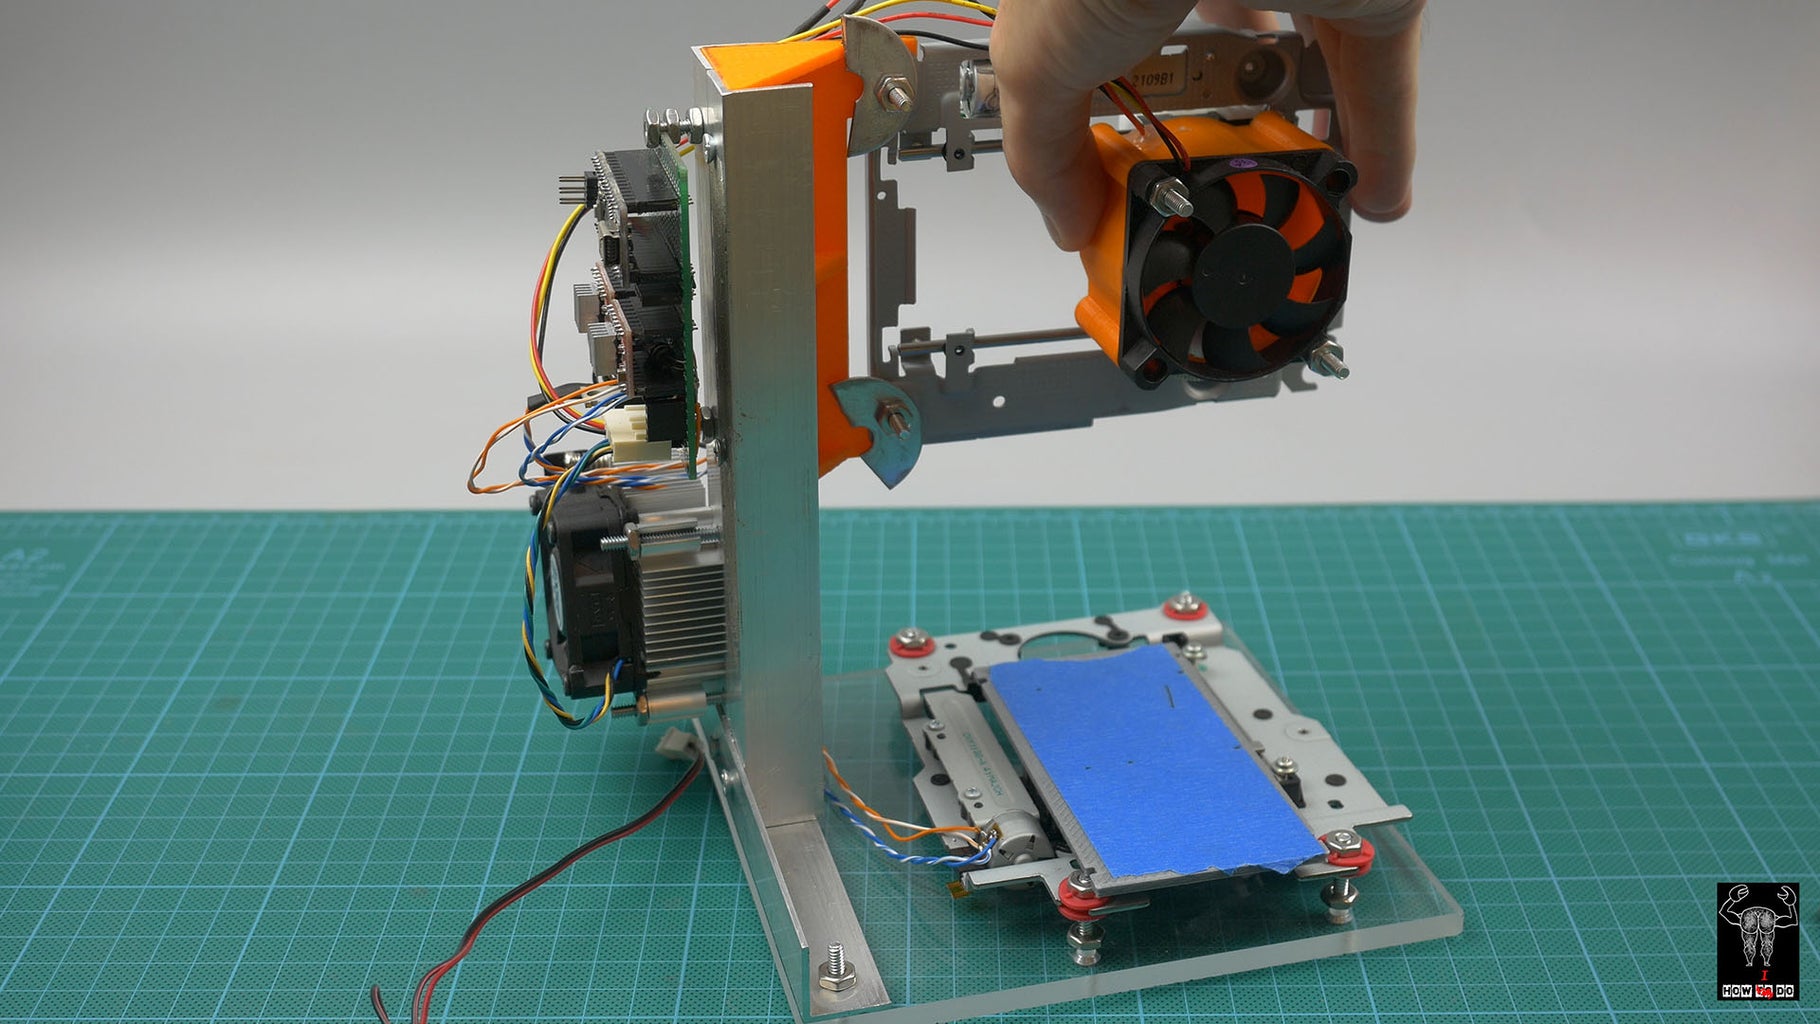
Of course for a long time work we need to cool down the laser, for DVD it's may be enough just a little piece of aluminum, but in my case I need active cooling. I print this bracket to hold laser diode with driver on a heat sink and 50mm fun also because air only coming out from bottom I solve the problem with smoke extraction from engraving surface. Laser protection glasses is must have for this project, it's only cost a few dollars - don't save on your health.
Laser 405nm 500mw - http://ali.pub/1r4w95 Or Amazon
Laser 445nm 500mw - http://ali.pub/1r4wdm Or Amazon
Laser 650nm 150mw - http://ali.pub/1r4wdm Or Amazon
Step 4: Electronics
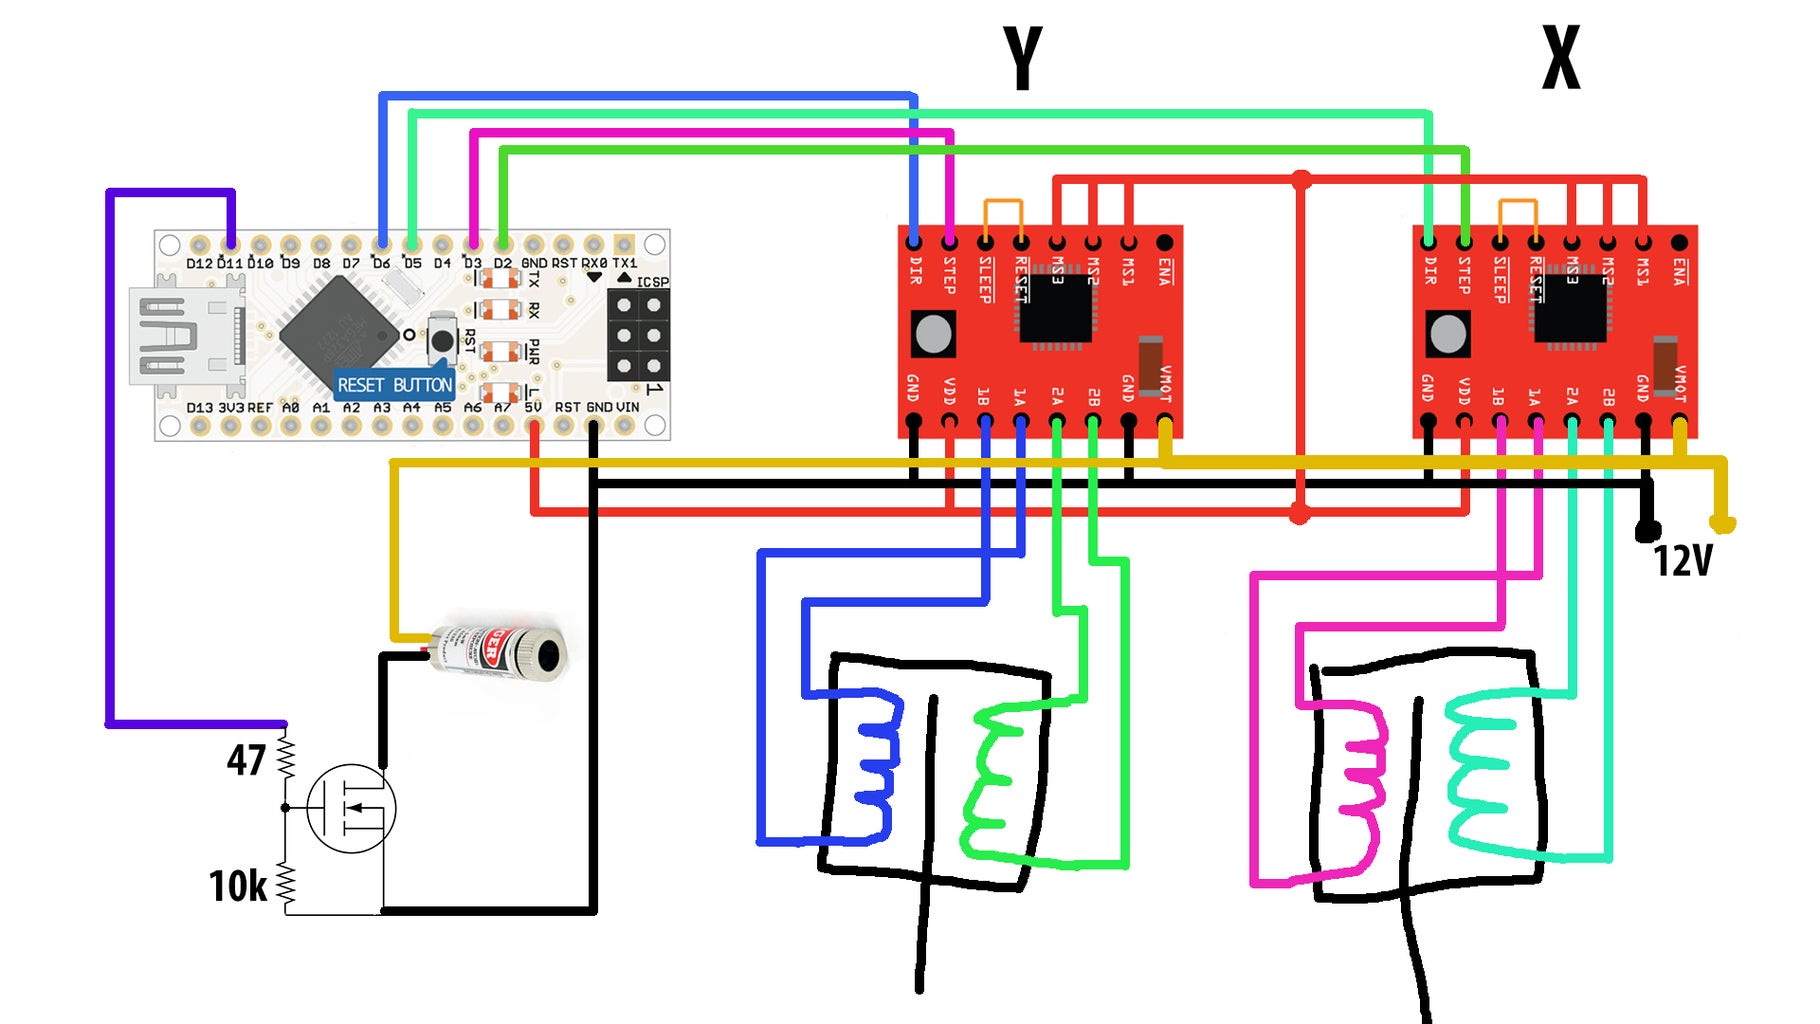
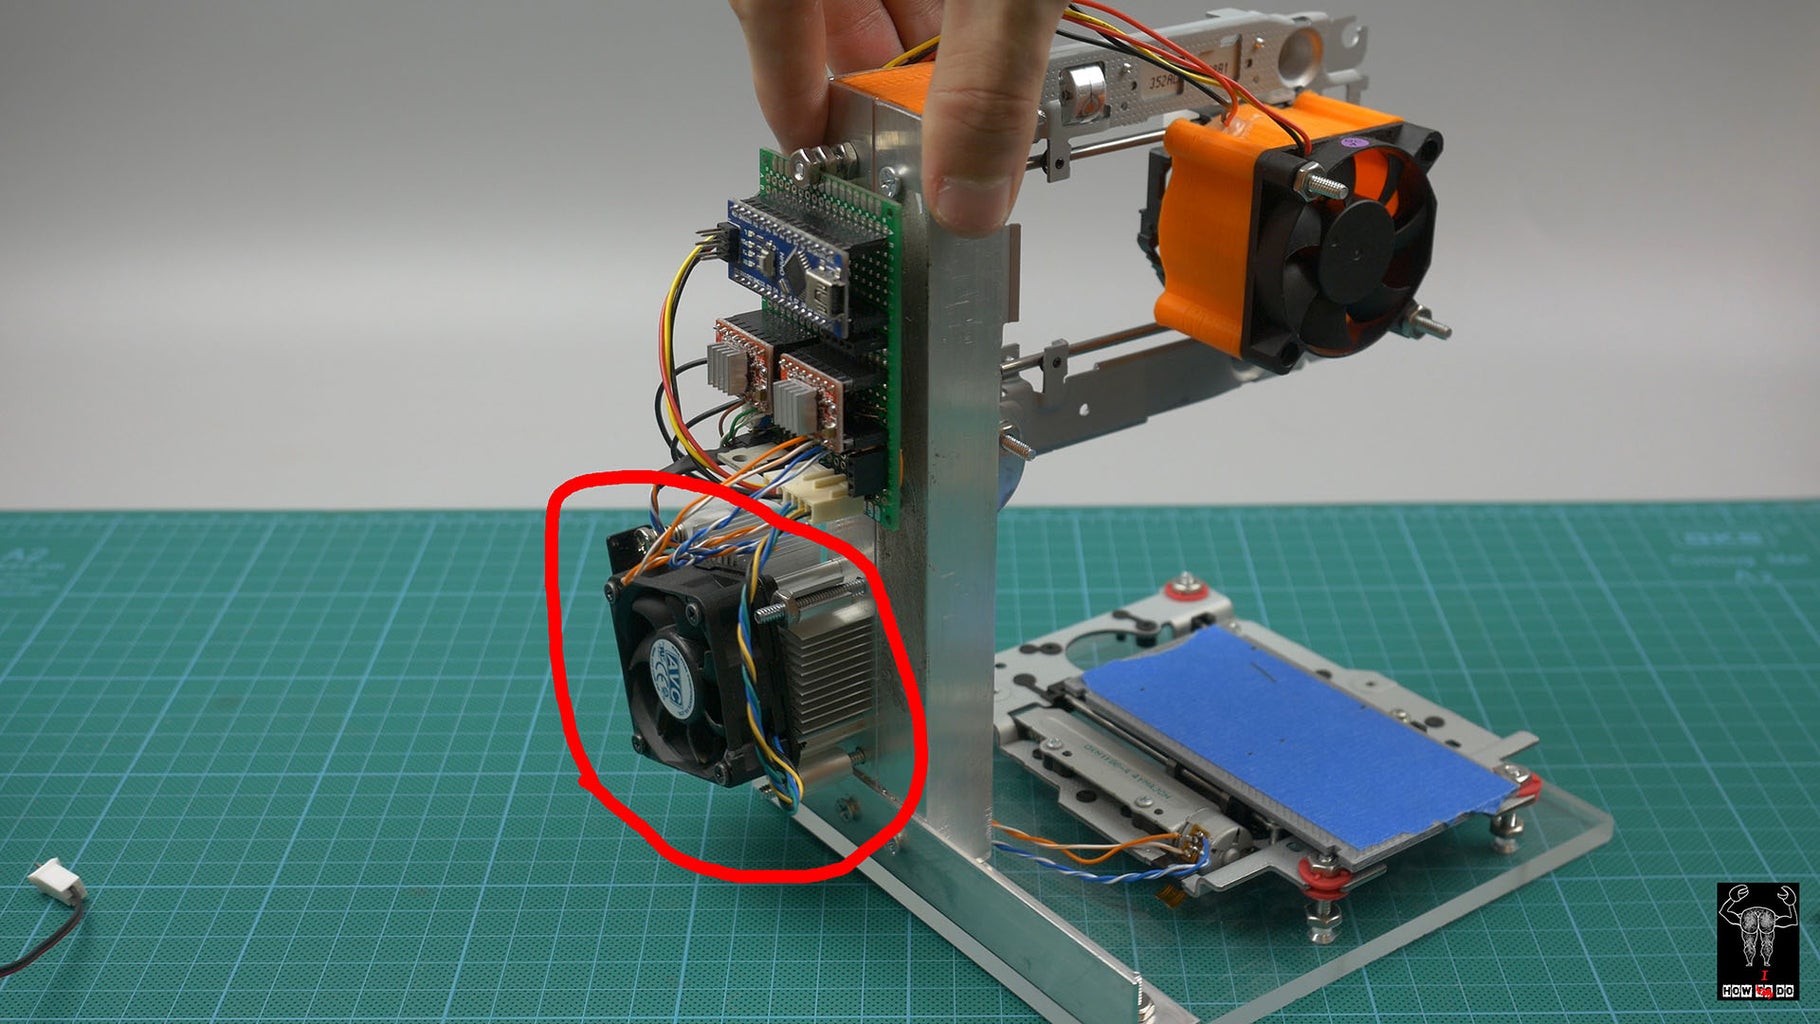

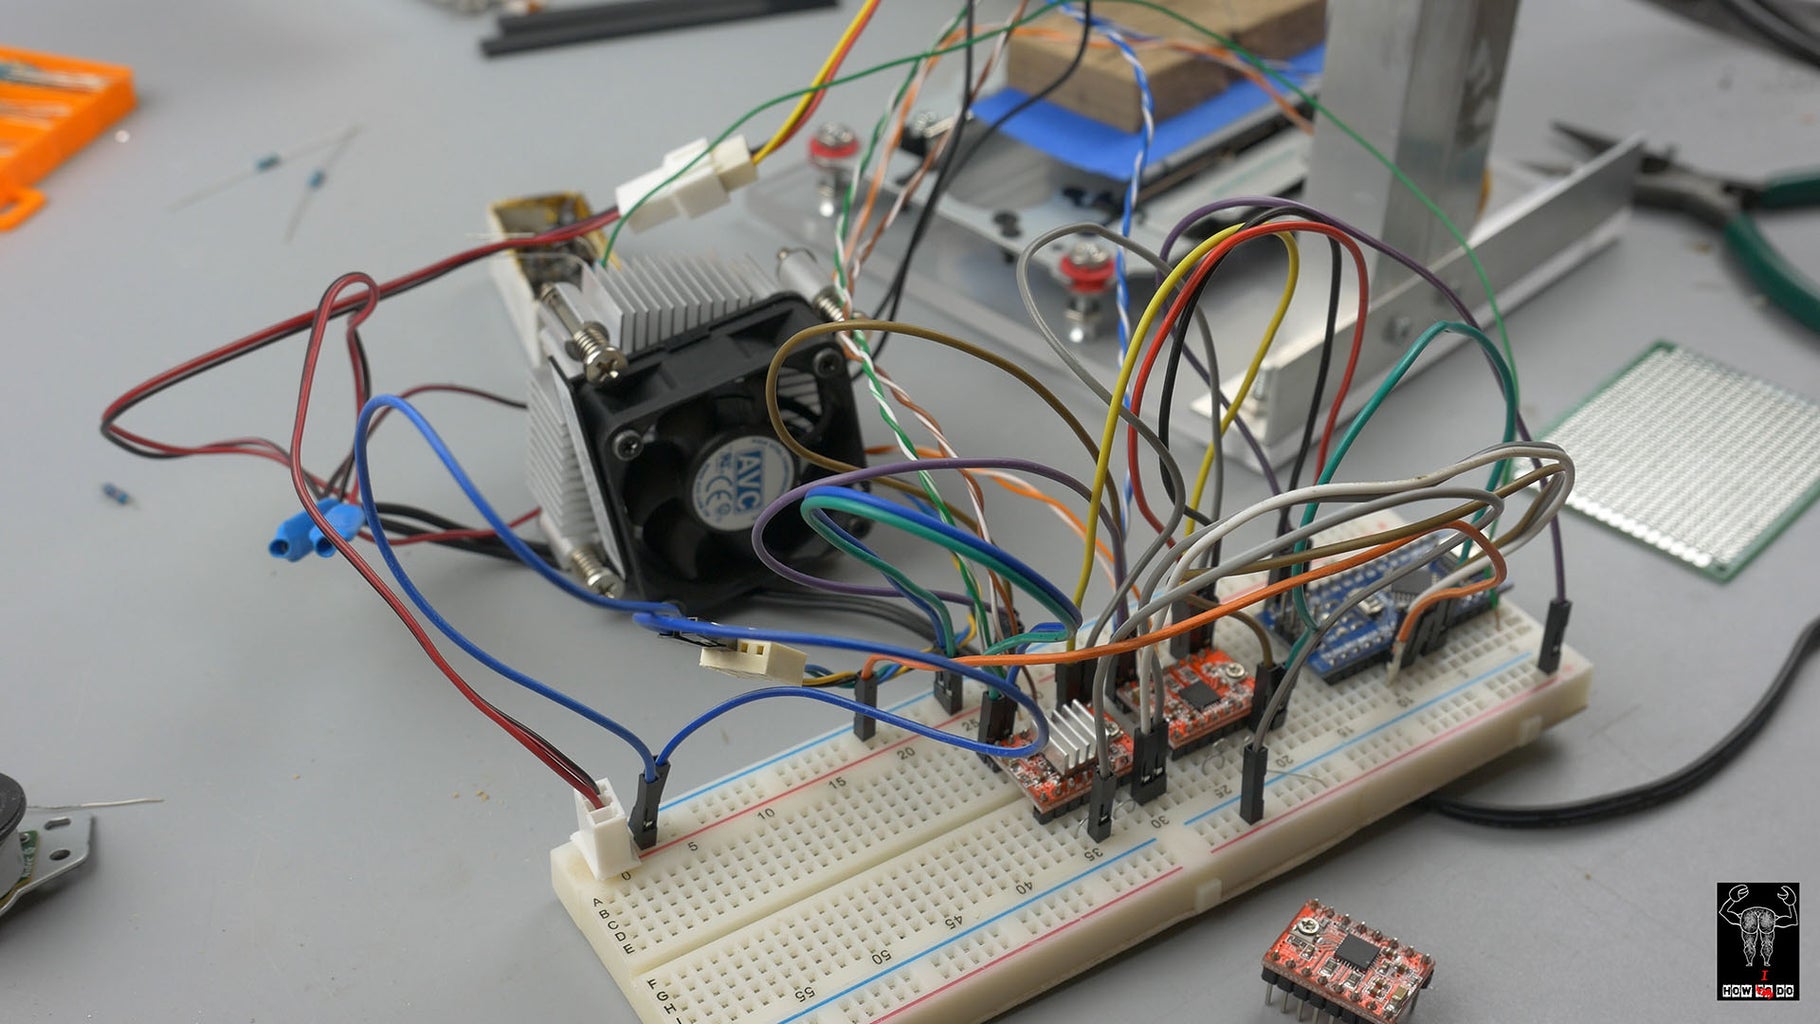
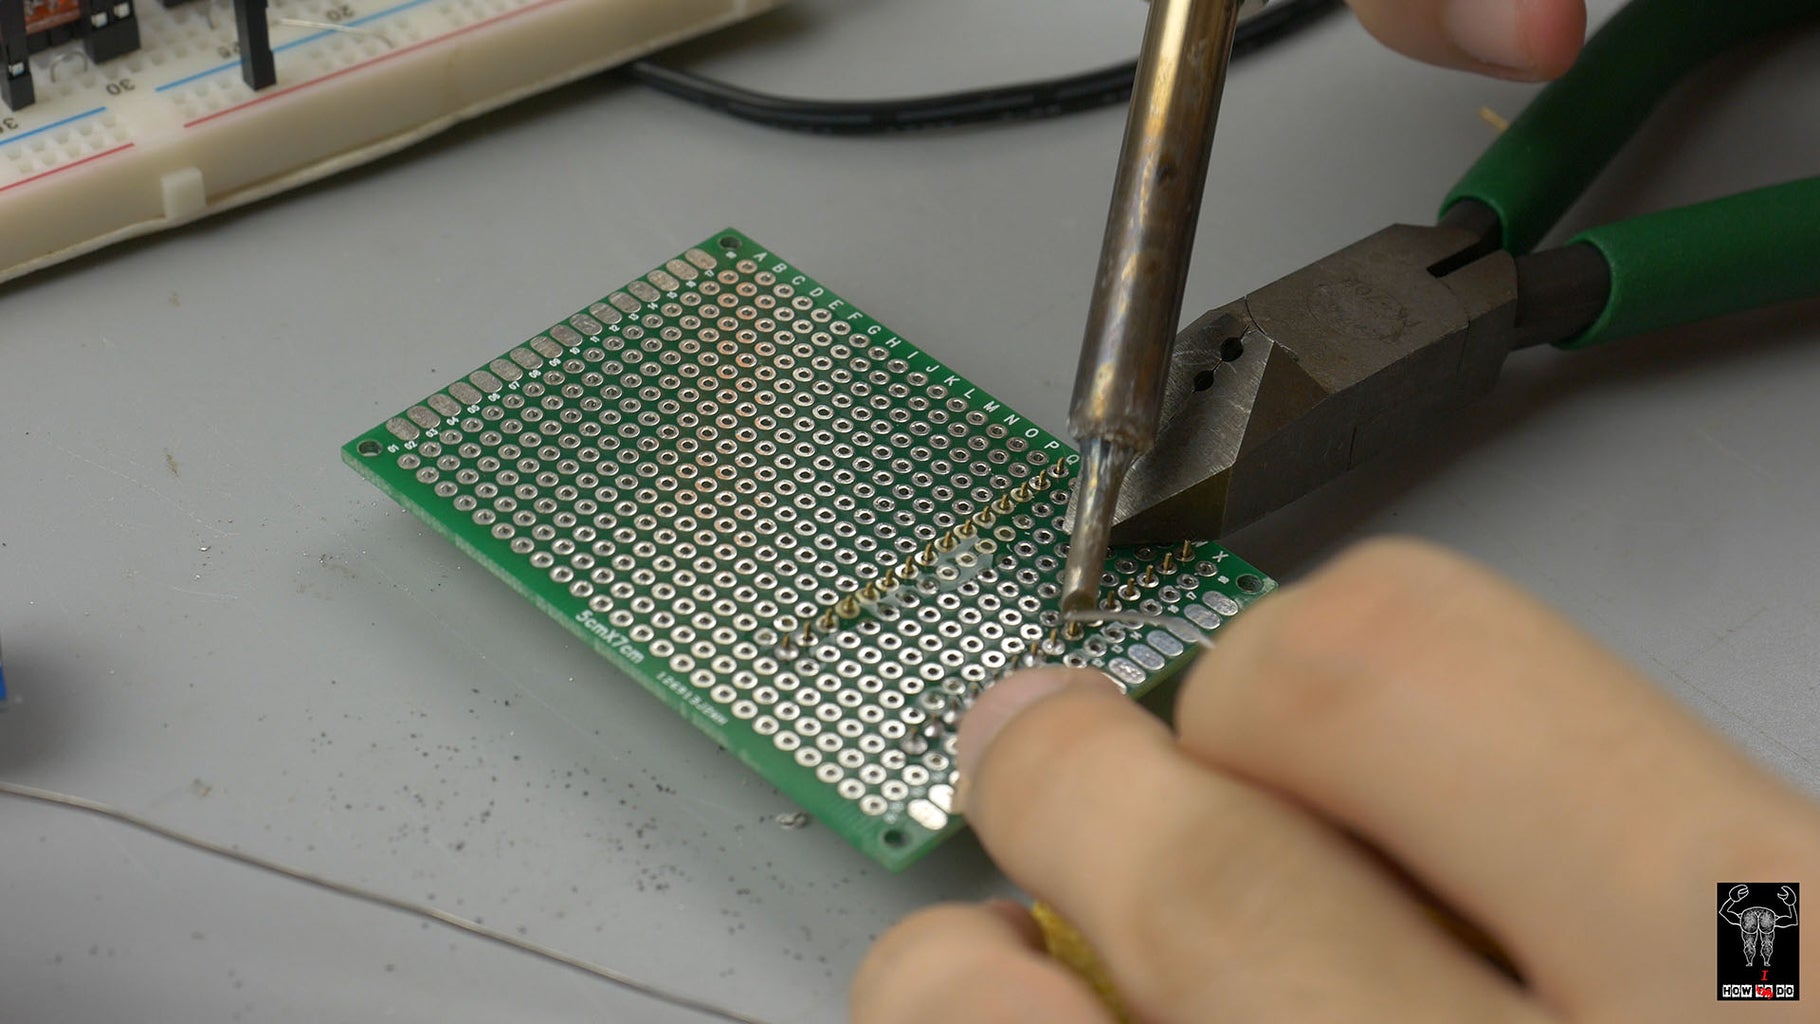
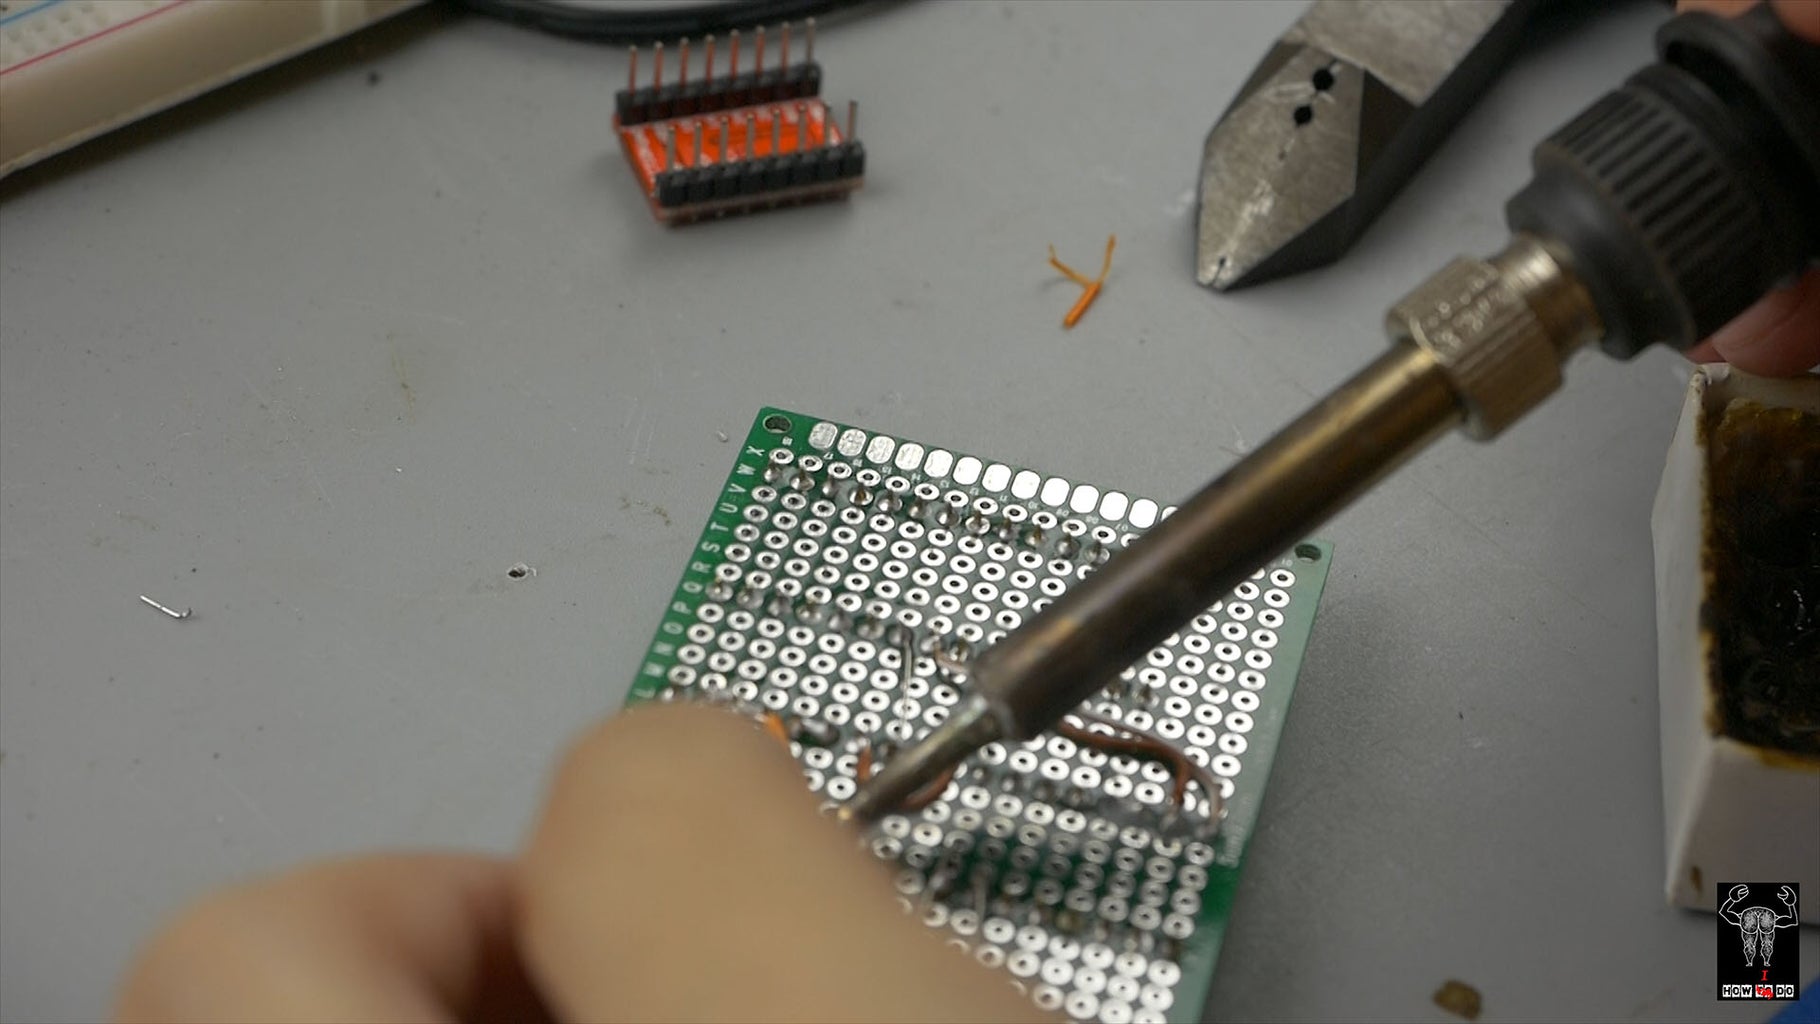
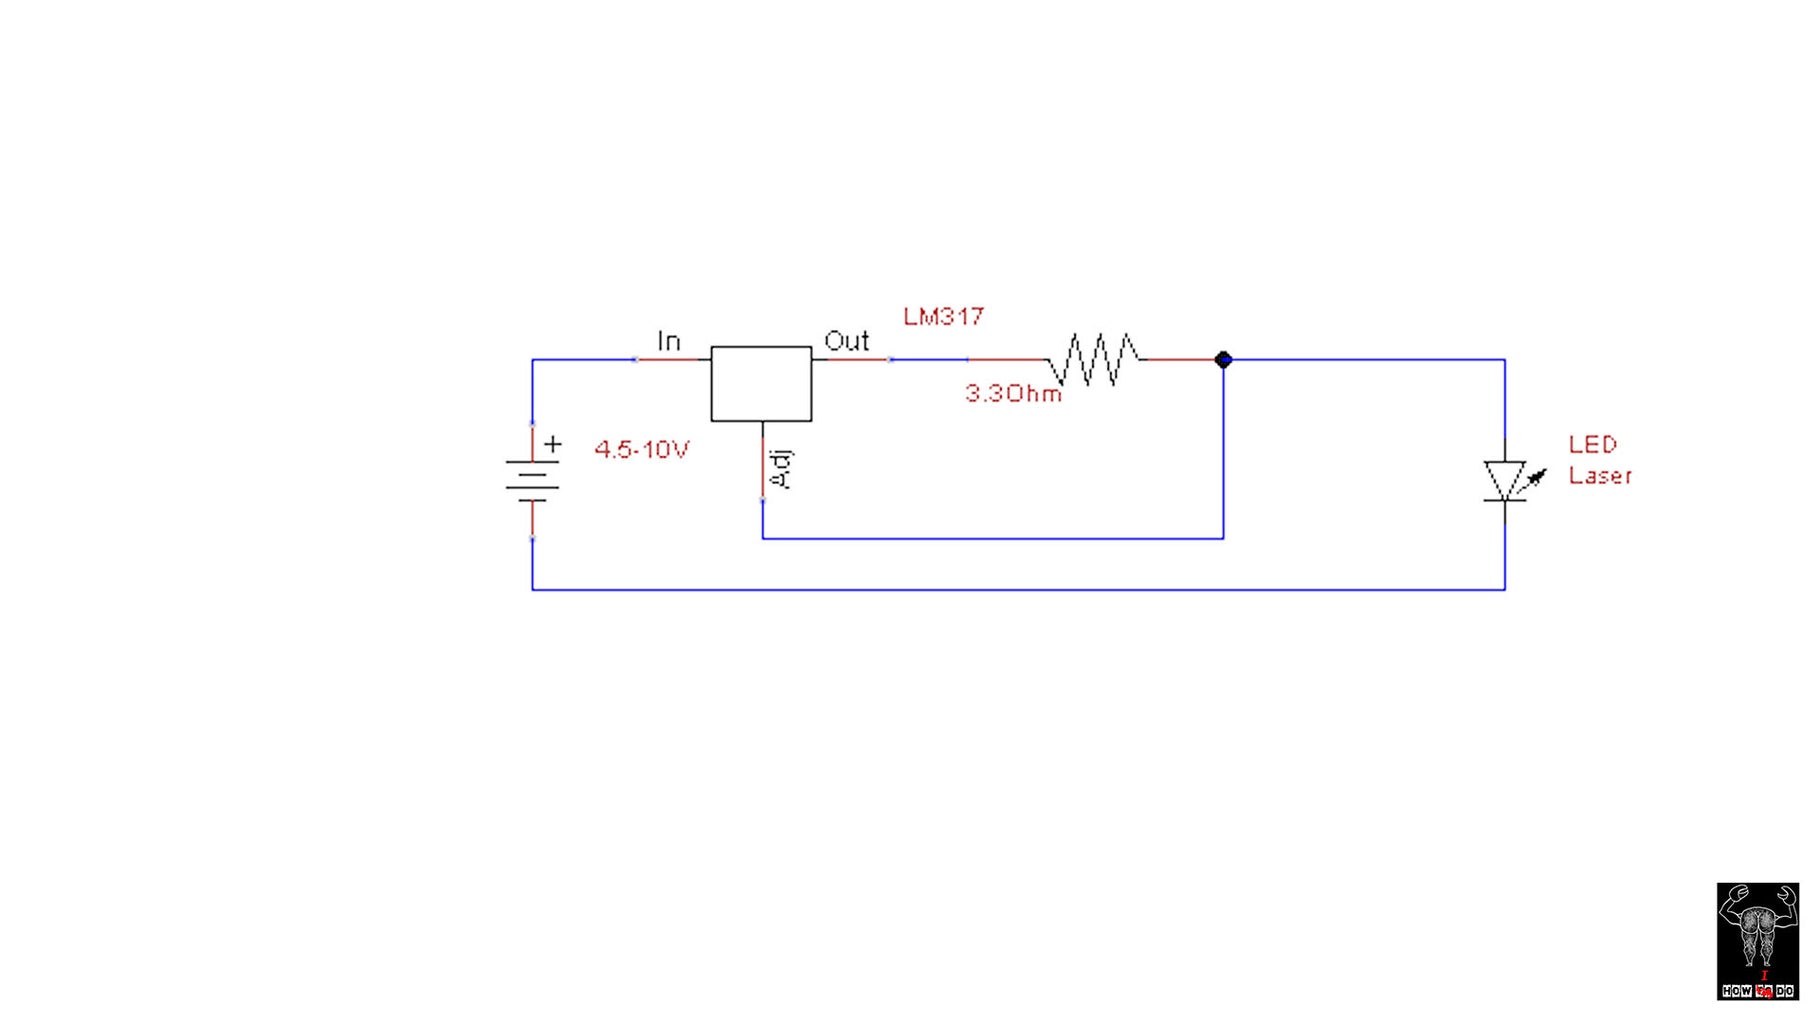
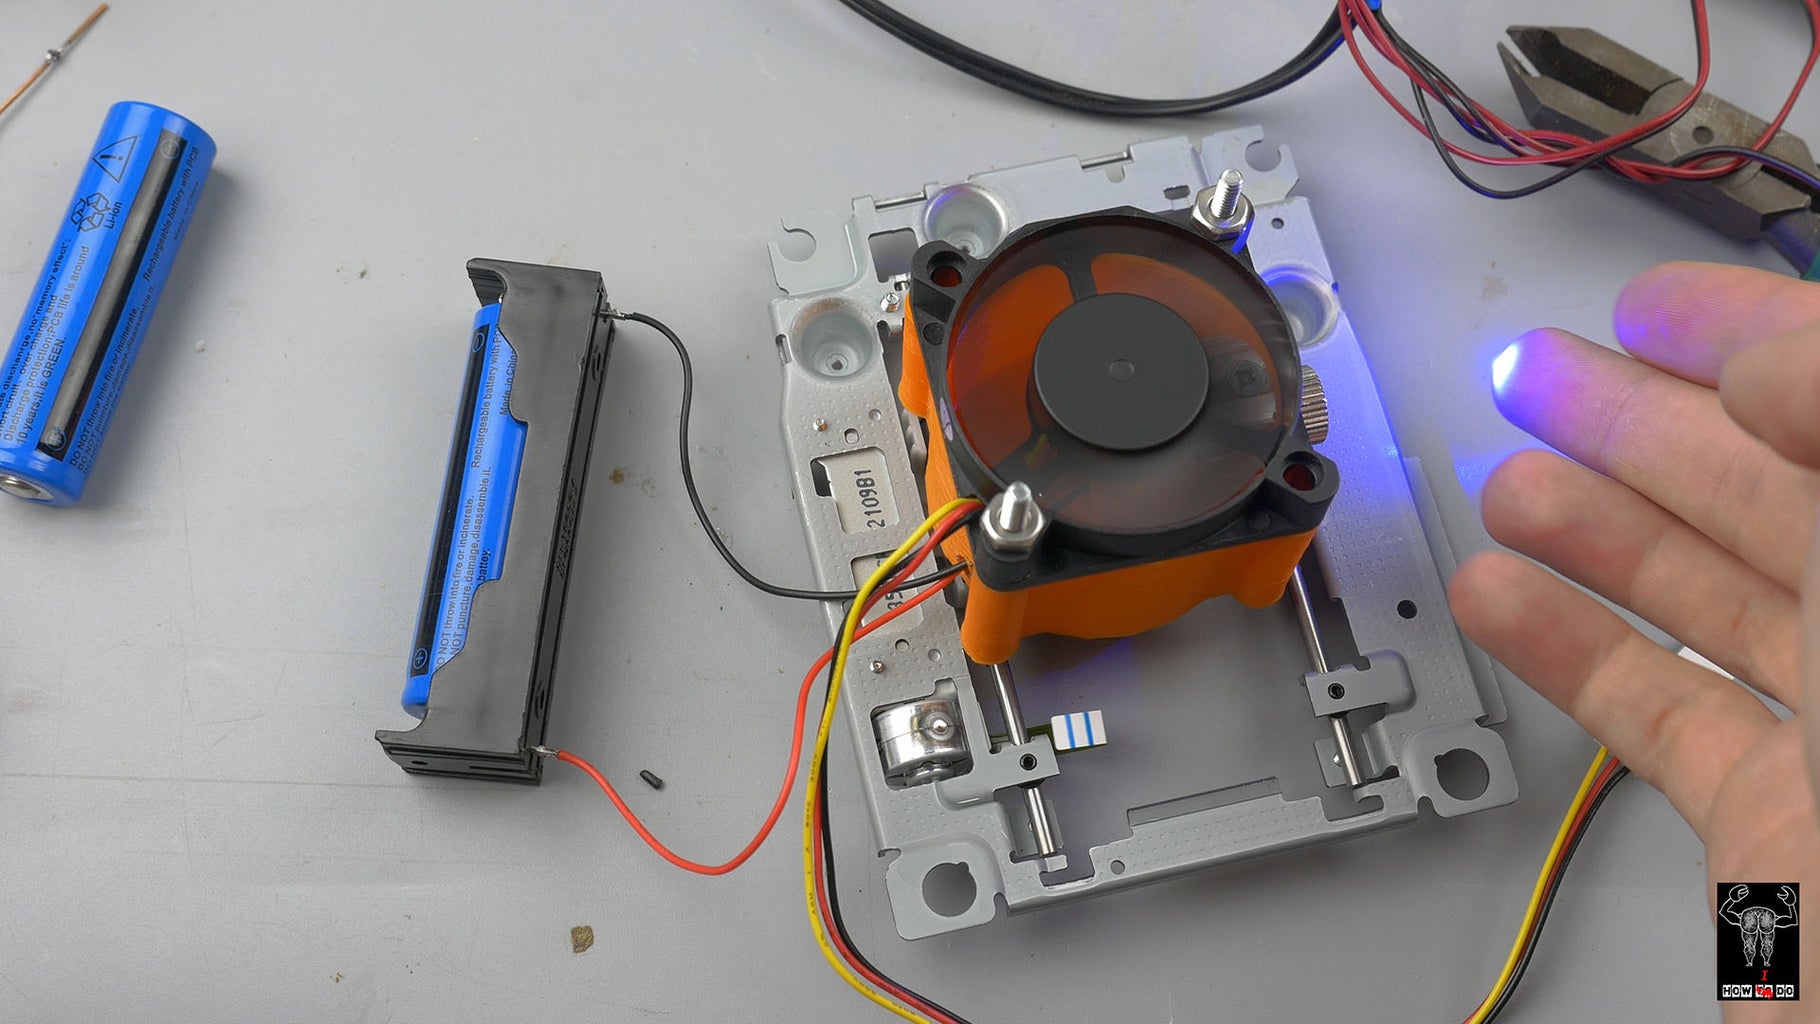
For the brain I have Arduino nano (Ali or Amazon), also we need two step motor drivers A4988 drivers (Ali or Amazon), MOSFET IRFZ44N (Ali or Amazon), couple resistors 47 ohm and 10k (Ali or Amazon). Power supply for motors and laser is 12V and at least 3Amp (Ali or Amazon), power for arduino - right through usb, I think circuit is pretty simple, but if you have any question - feel free to ask. The most attentive of you could notice this heat sink, the fact is that a bought laser driver for one li-ion battery which is about 4V, sooo... this is lm317 step down dc dc from 12v to 4v, of course it's heating very much with 700mA current. I build everything on a breadboard, but forget to film, so let's look how I solder it to the board. MOSFET don't need a heat sink, it should be cold.
Step 5: Firmware
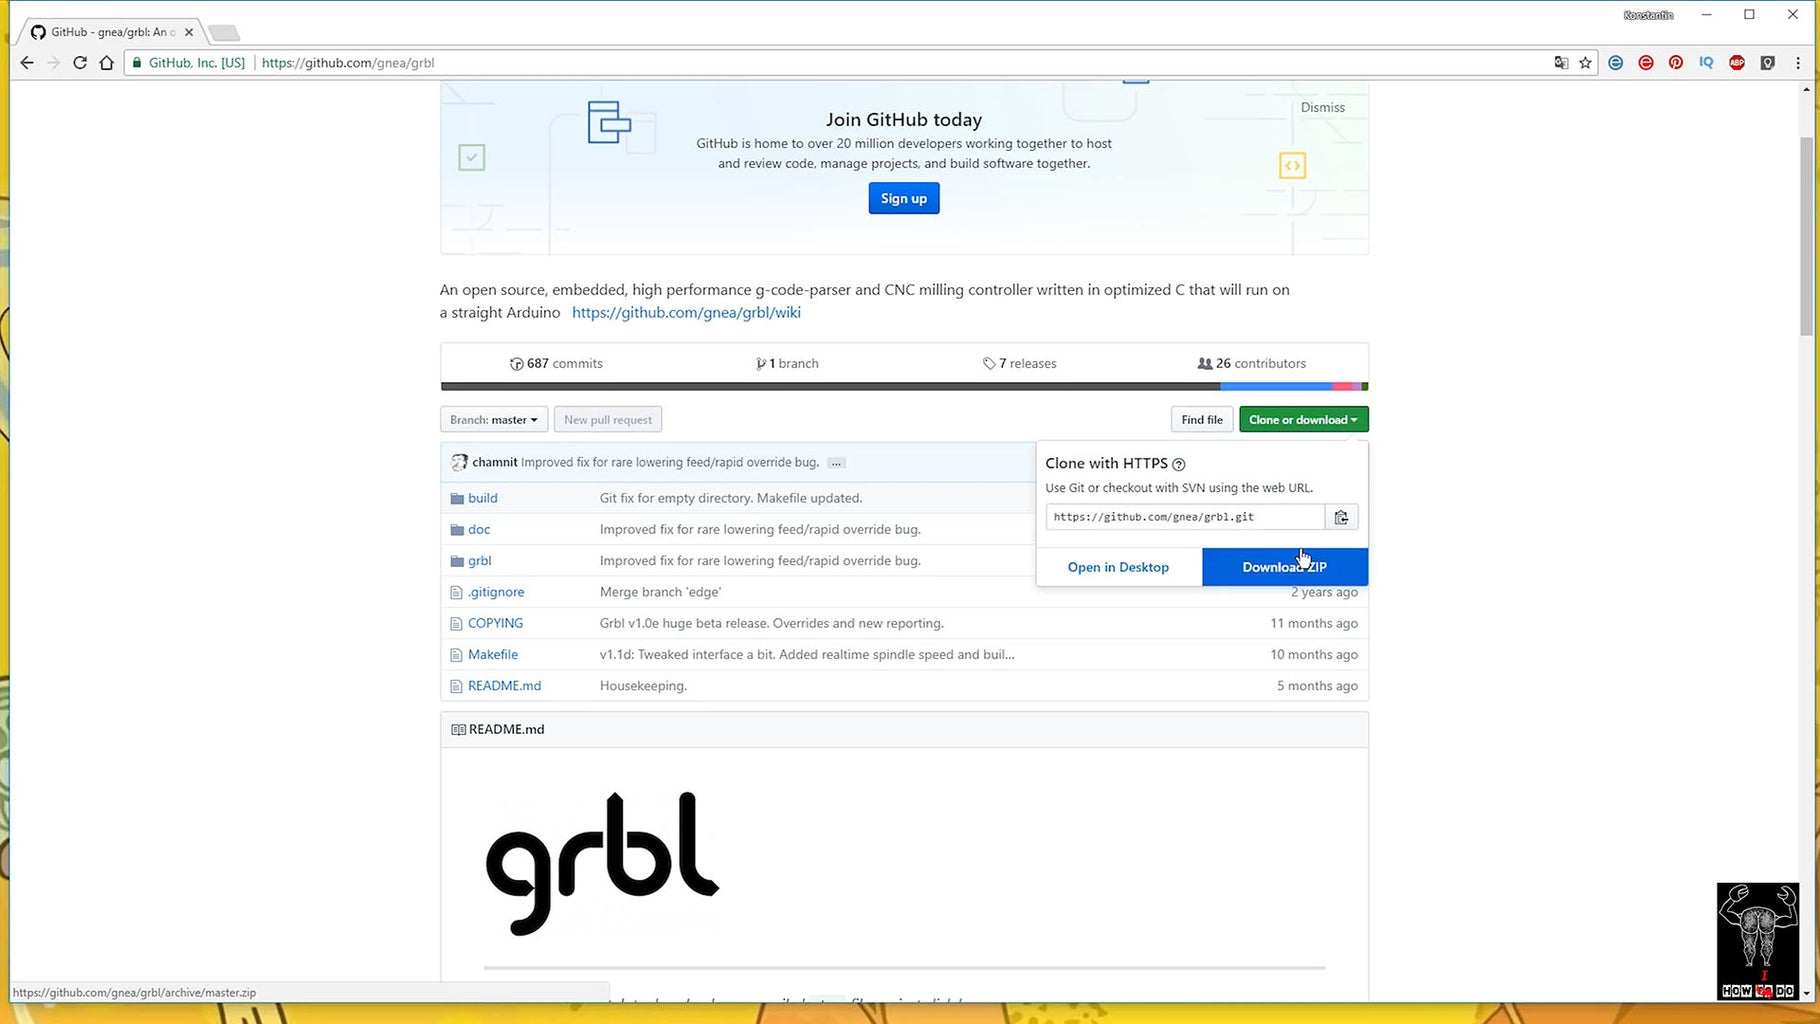

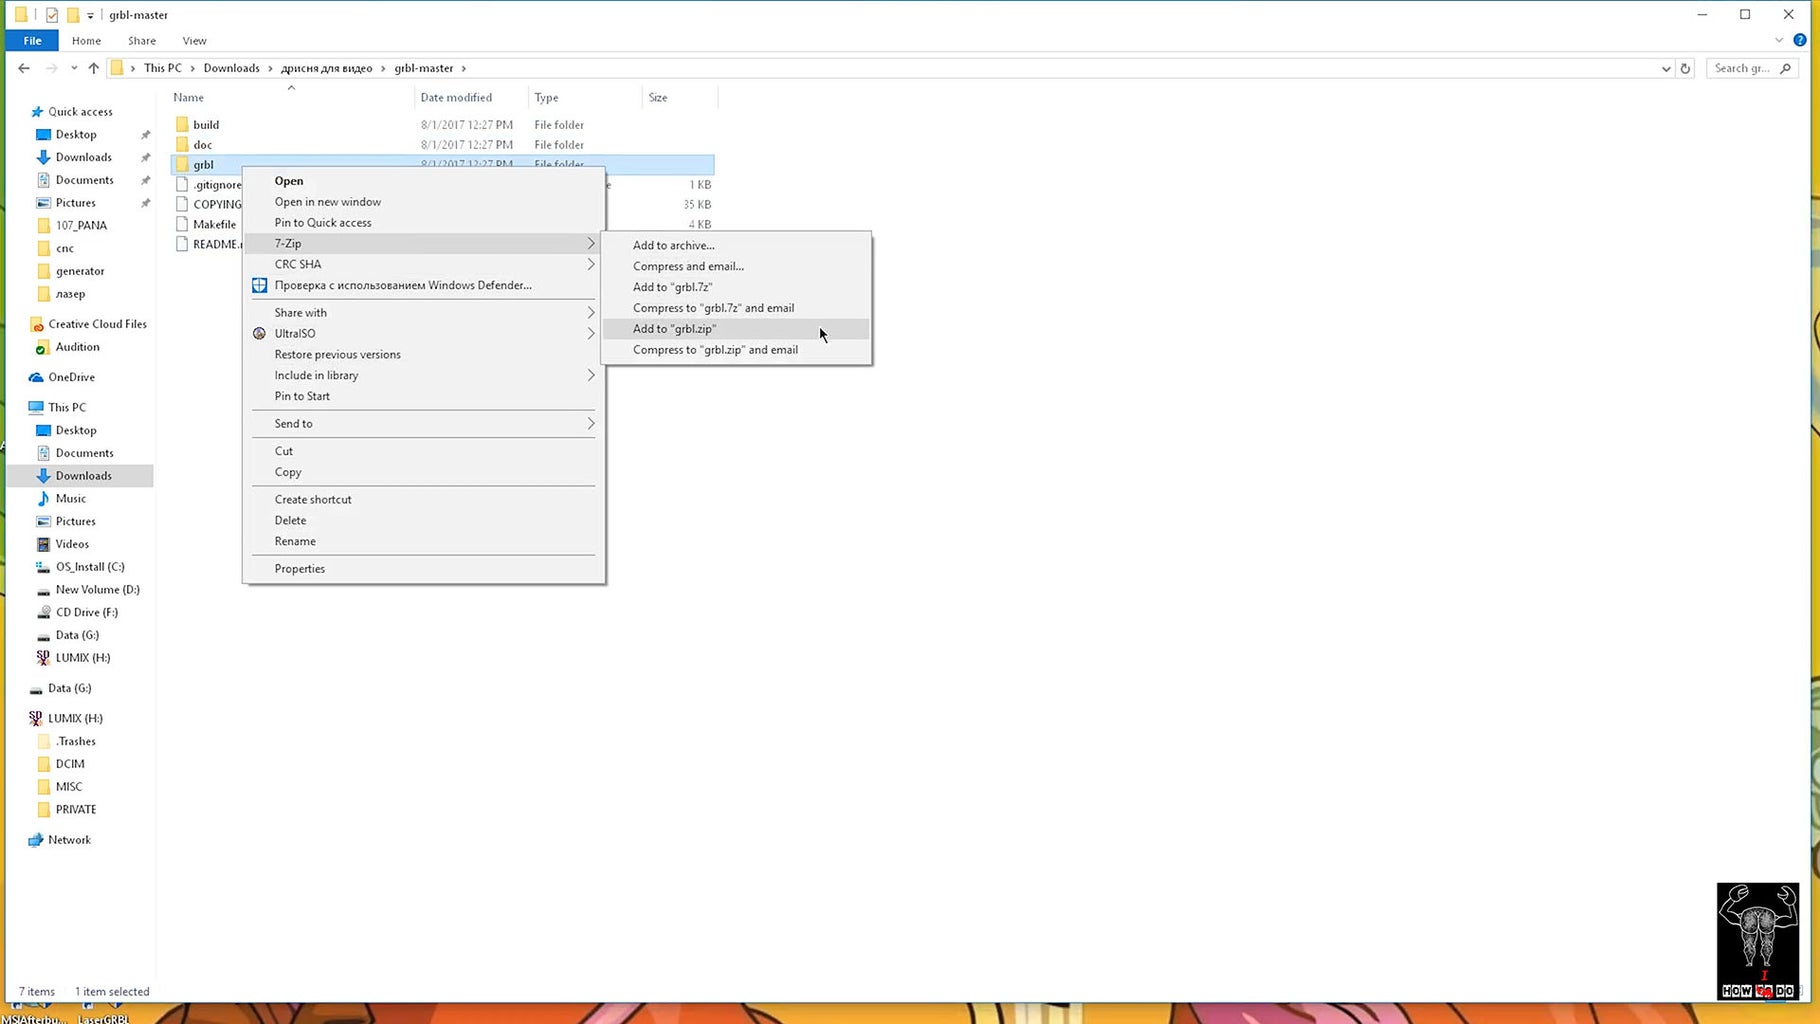
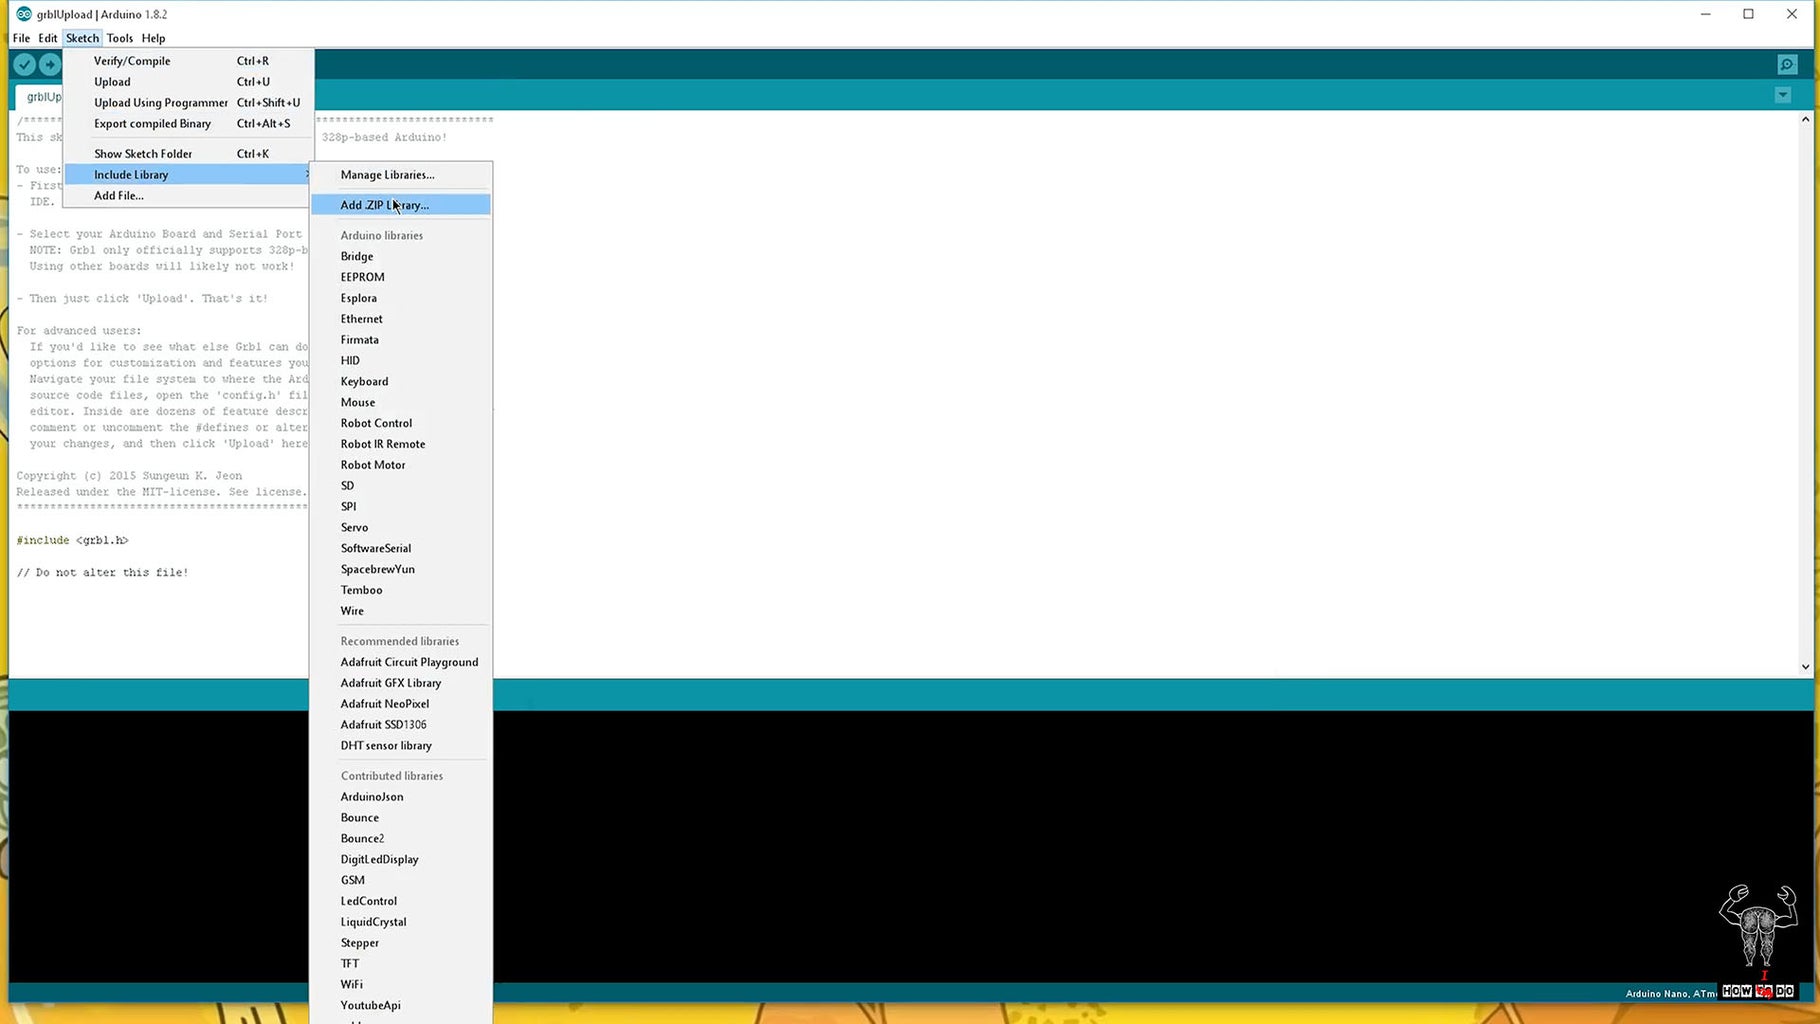
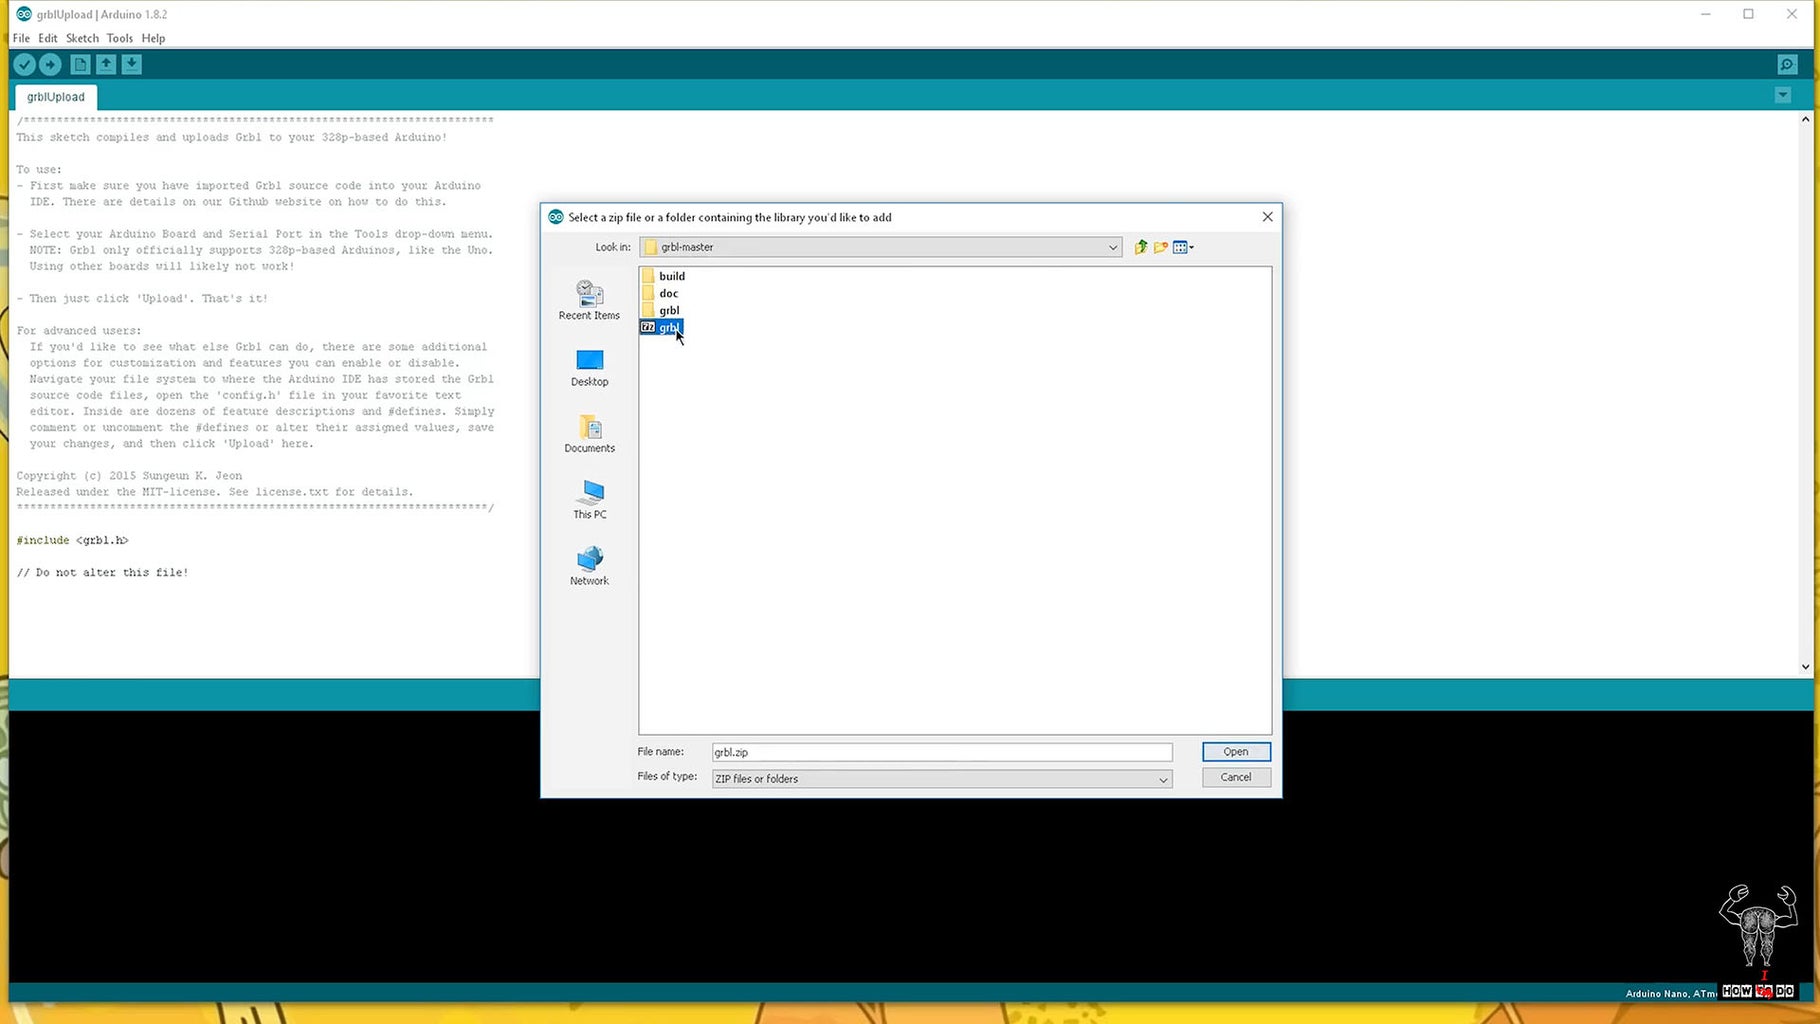
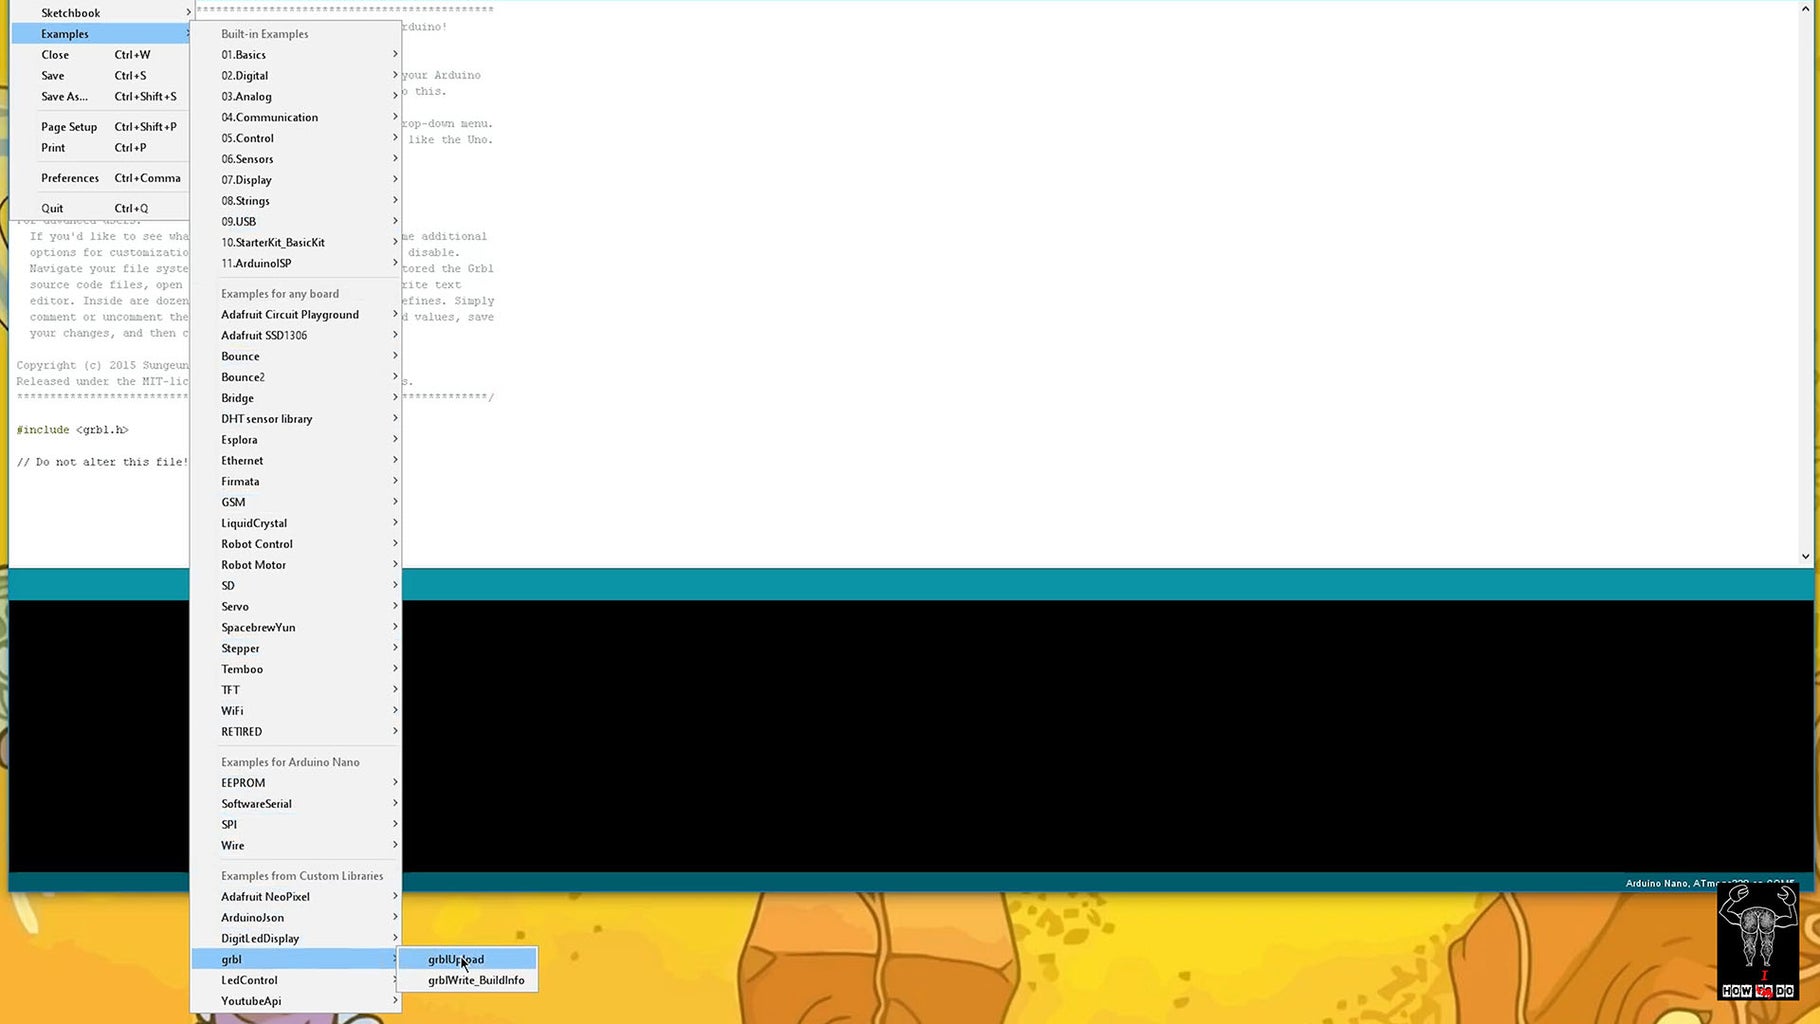

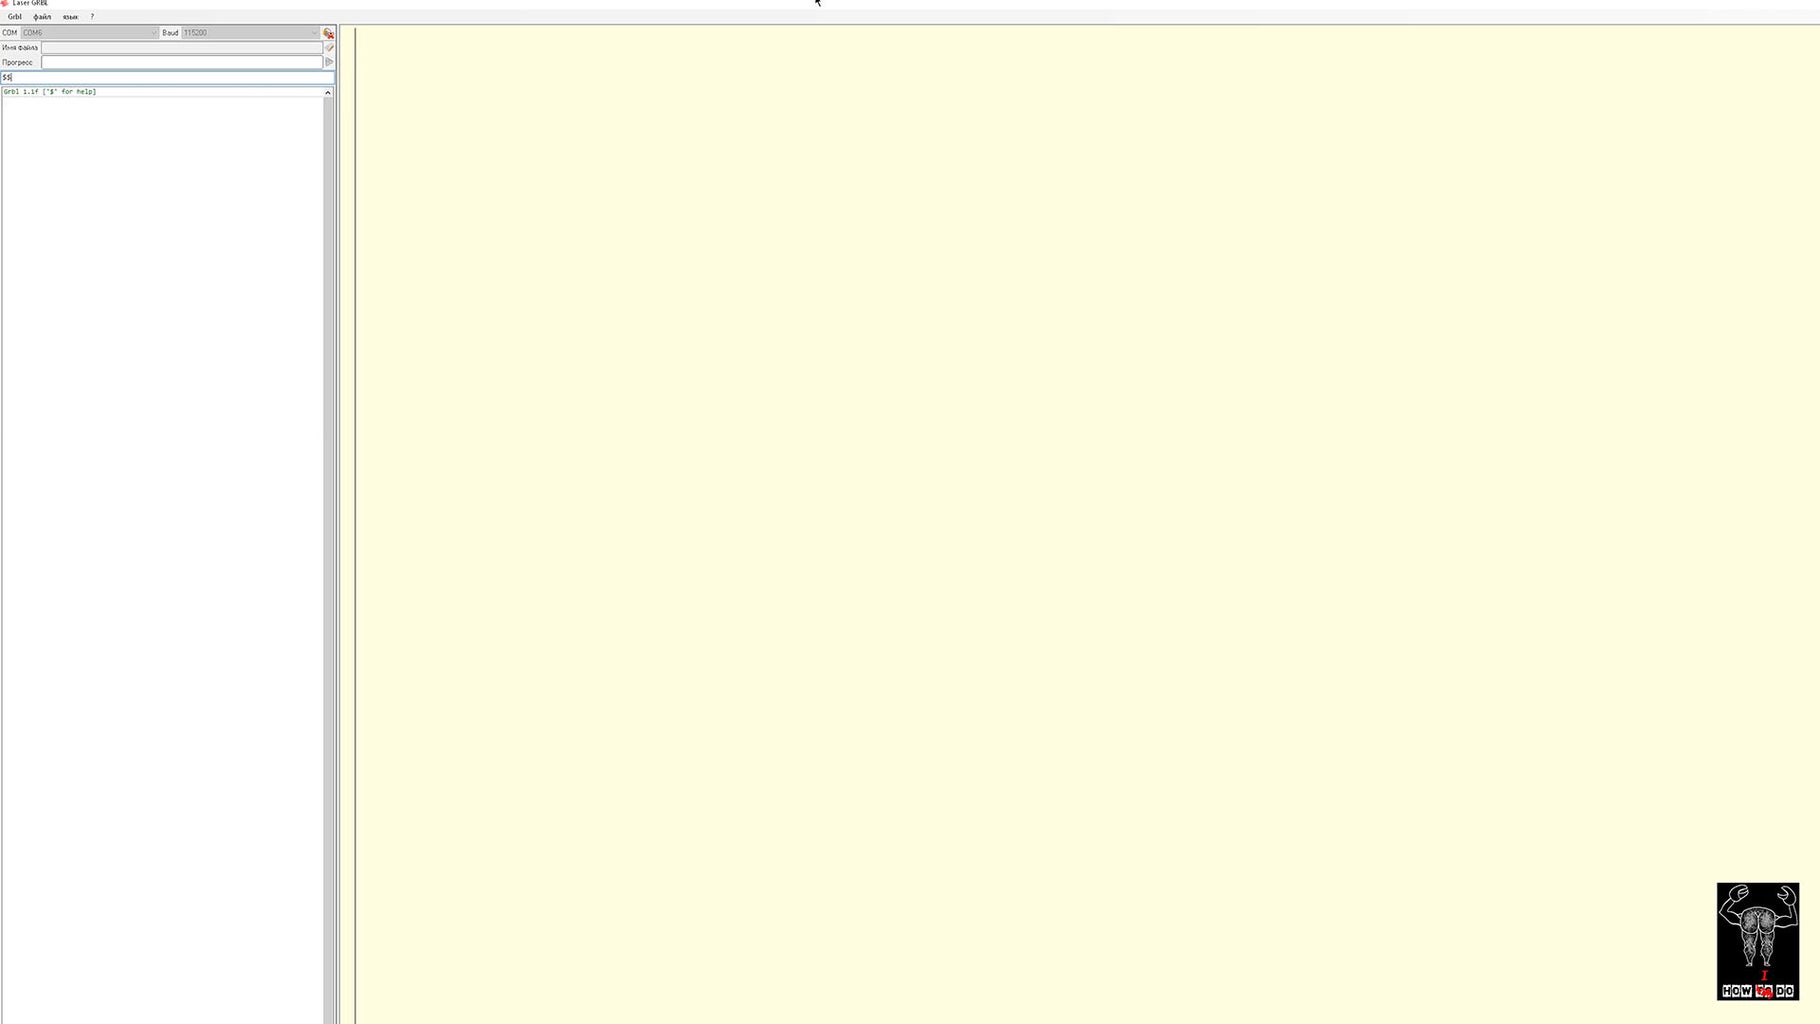

Before adjusting we need to upload a firmware, I using GRBL 1.1, go to this web site, download it, we only need a "grbl" folder, add to a zip archive. Then in Arduino IDE go to Sketch - Include Library - Add .ZIP Library, and choose "grbl" archive we just made. Then open an example called "grbl upload" and upload it to your arduino boar. Also you need a software to send a G-Code to engraver, I tried some of them and best for me is "Laser GRBL" choose com port with arduino and speed 115200, connect and send <$$> to get respond from the board.
Step 6: Adjusting Step Motors Drivers
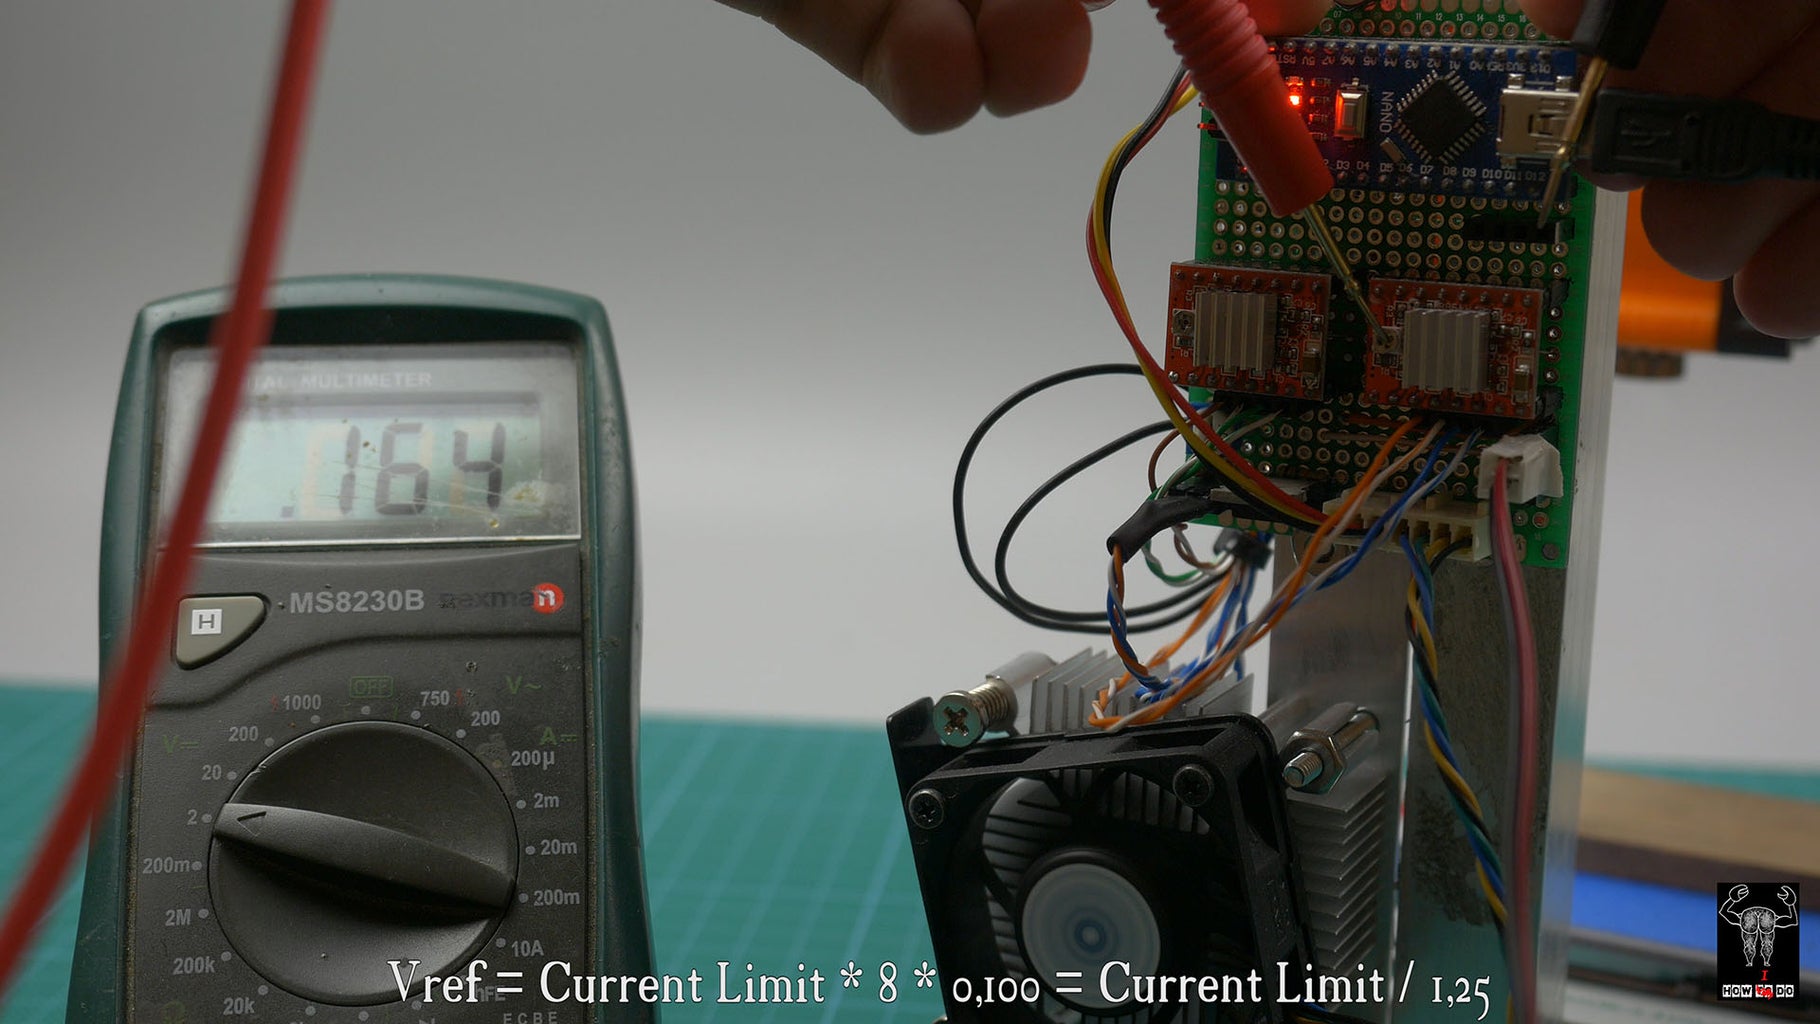


Back to electronic, we need to setup right current for step motors, before connecting it, plug in 12v power, arduino to PC, and measure voltage on trimmer potentiometers, u can calculate it by this formula:
Vref = Current Limit * 8 * 0,100 = Current Limit / 1,25
But because we don't know the right current for our motors, set about 250mV, connect motors. One of them was heating too much so I lowered it to 130mV, second used to missing steps and I rise the voltage to 350mV. Those 3 pins of driver is the resolution (step size) selector inputs, connect it to the +, but keep in mind that one of mine step motors doesn't work 16 step size, and I'm using only 8. At the same time with this setup try to move the axis from Laser GRBL software using those arrows, for an emergency stop push button with lightning.
Step 7: Program Setup


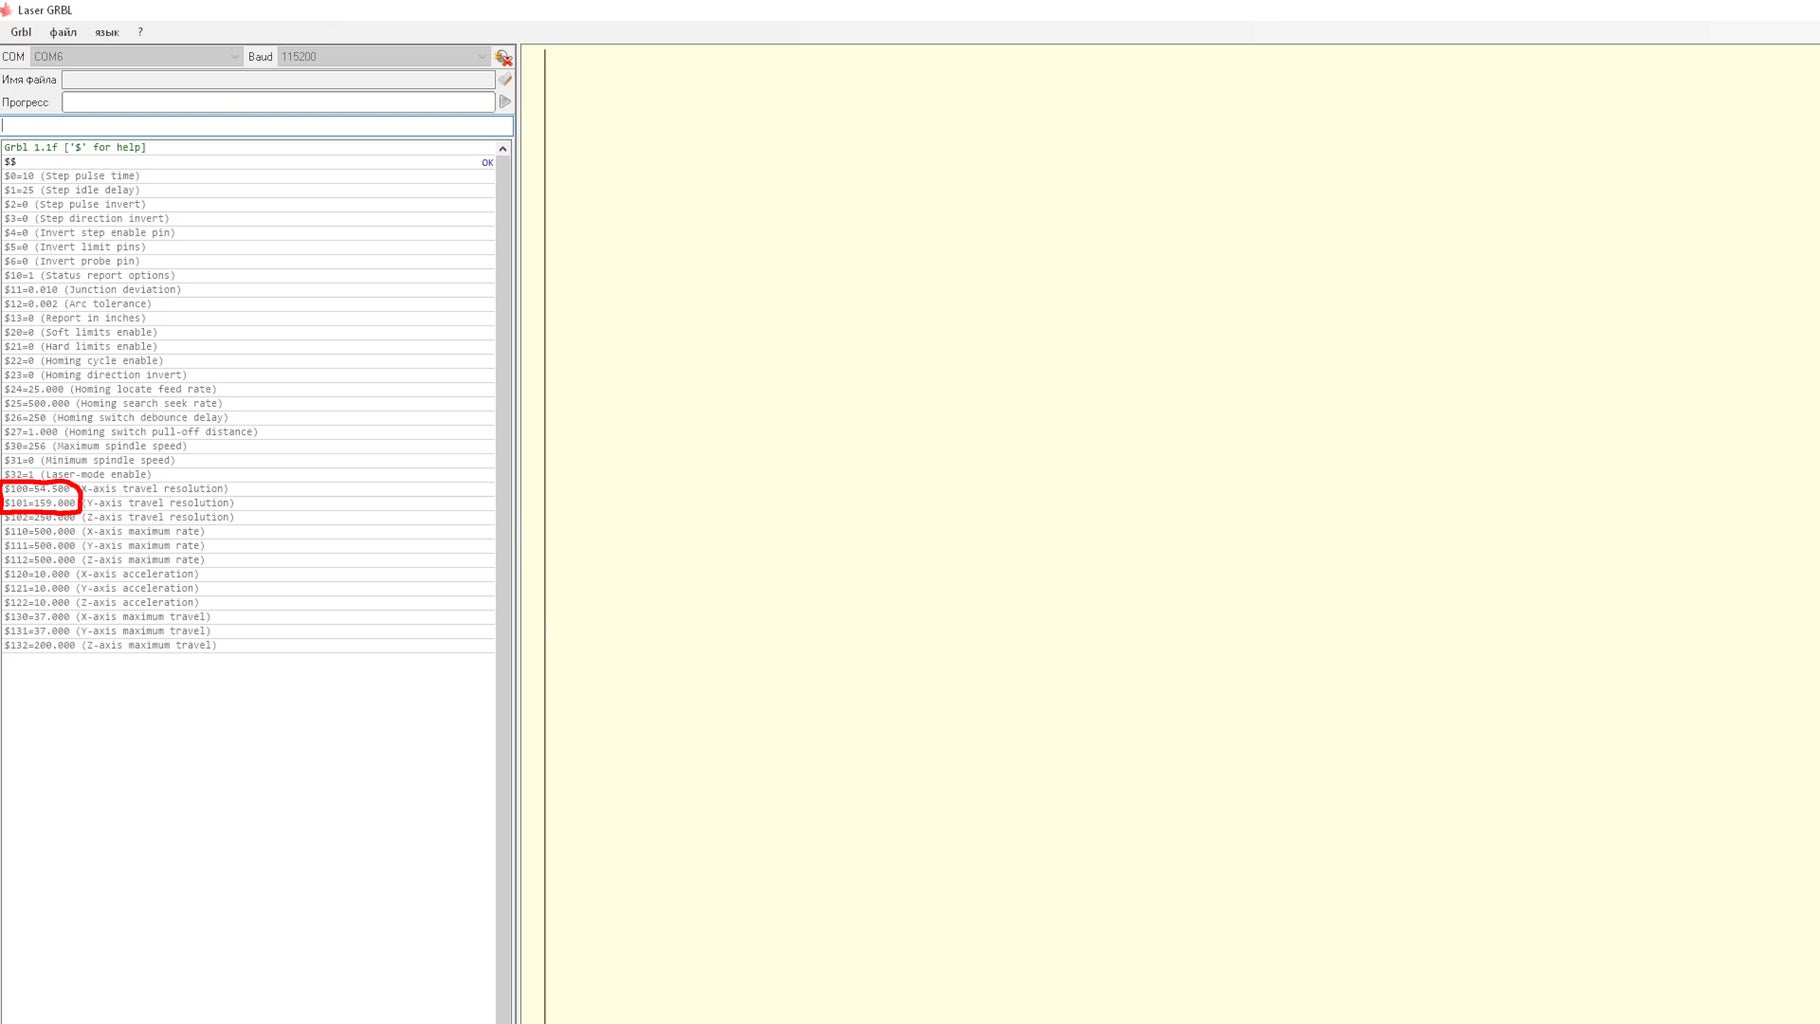
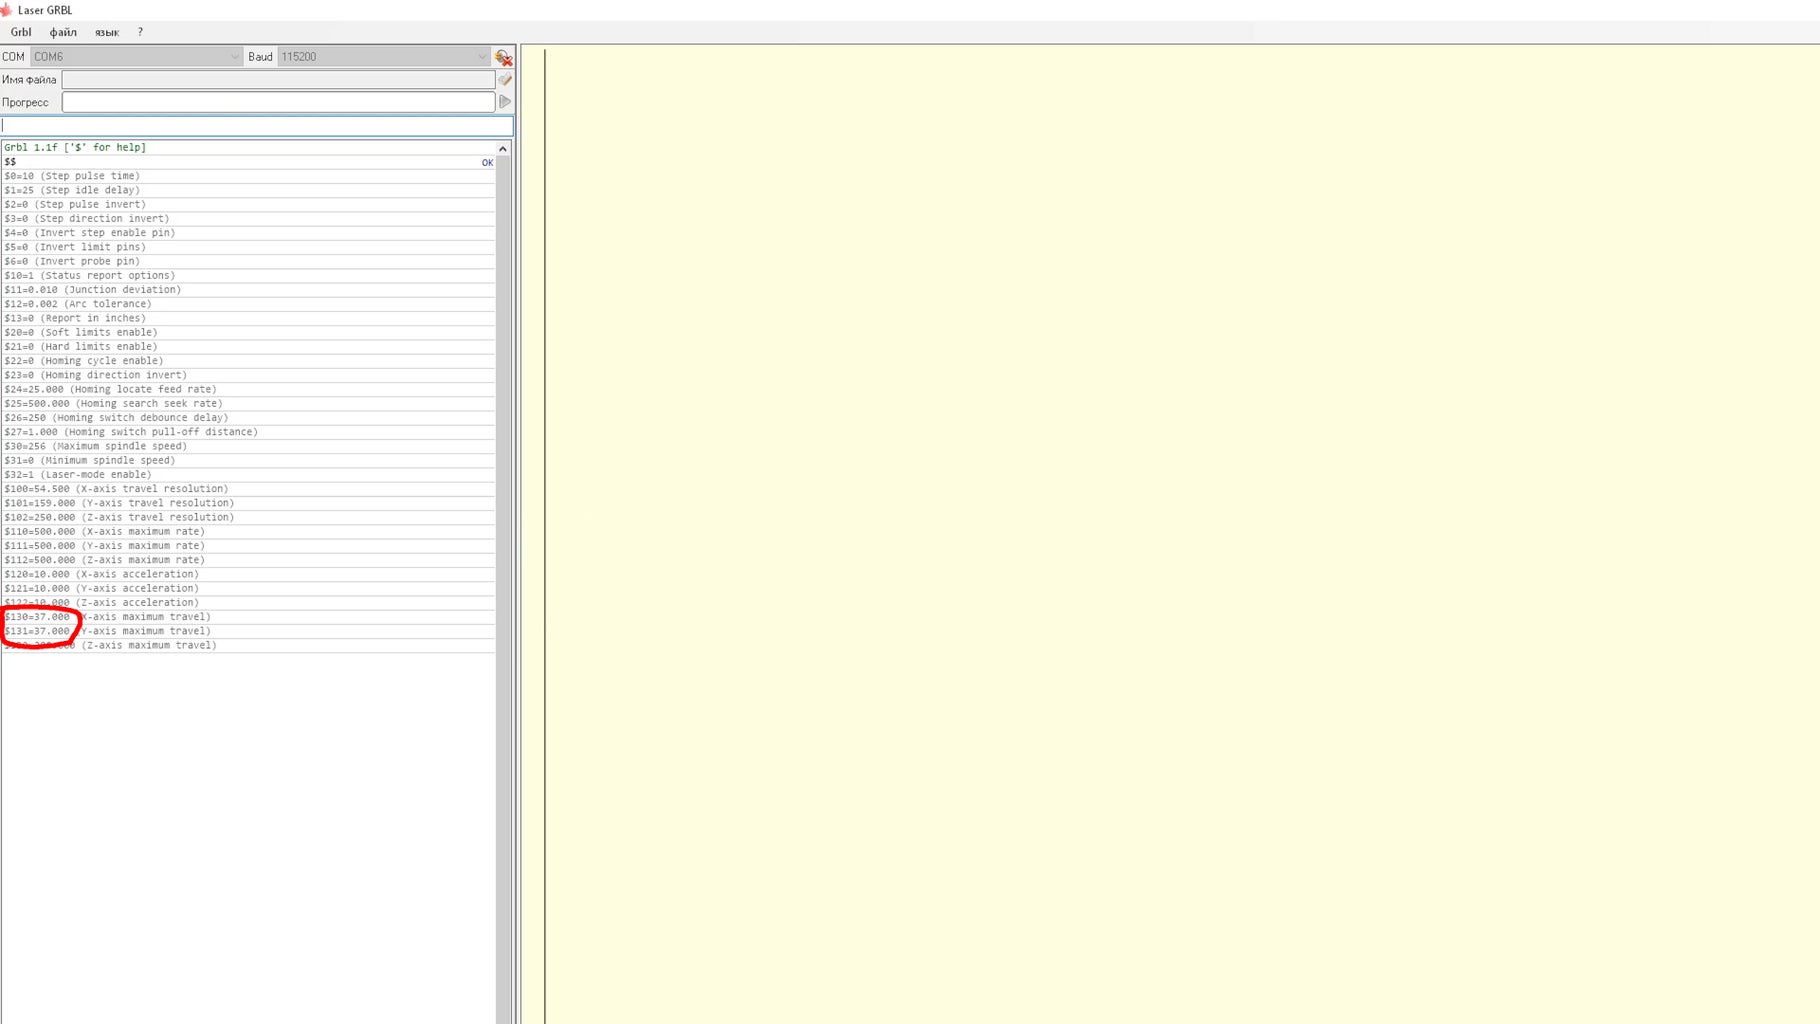
Next step is program setup, connect engraver to PC and send two $$, you get a list of parameters that is stored in the memory of arduino, we are interested in lines number:
30 - max laser PWM, with this value on the arduino pin d11 will be 5V, you can leave this parameter as it is, but I changed it to 256, is done by sending such a command $ 30 = 256.
32 - laser mode, you need to send the "1" here, same as in the previous paragraph $ 32 = 1,
100 - how many steps the motor should make to go 1mm along the X axis,
101 - the same for the Y axis, these two parameters must either be calculated, but you need to know the pitch of the motor axis, or draw something - measuring the real dimensions of the resulting and Change the parameters. lines
130 and 131 - the maximum dimensions along the x and y axes, respectively, about 35 mm, depends on the drive.
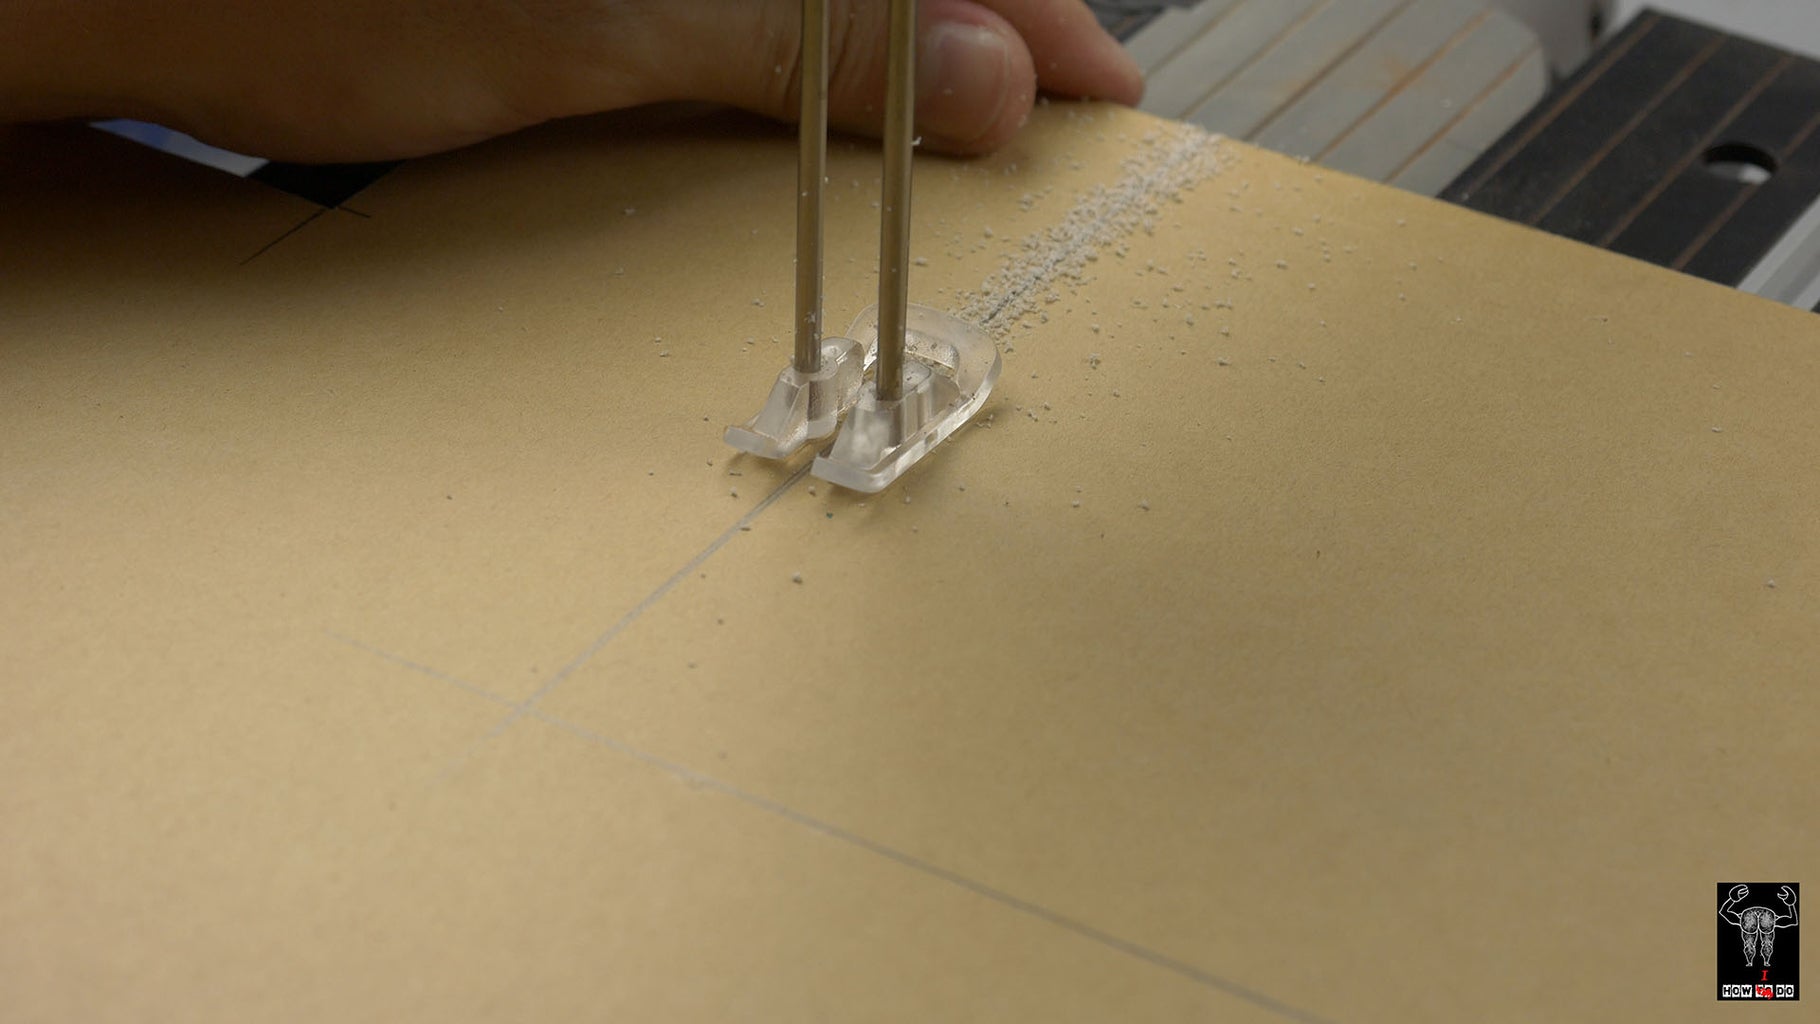
In order to set a focus point the need to turn on the laser, to do this you need to send the M3 S250 and G1 X0 S25 F50 this will launch the laser at 10% power.
Step 8:


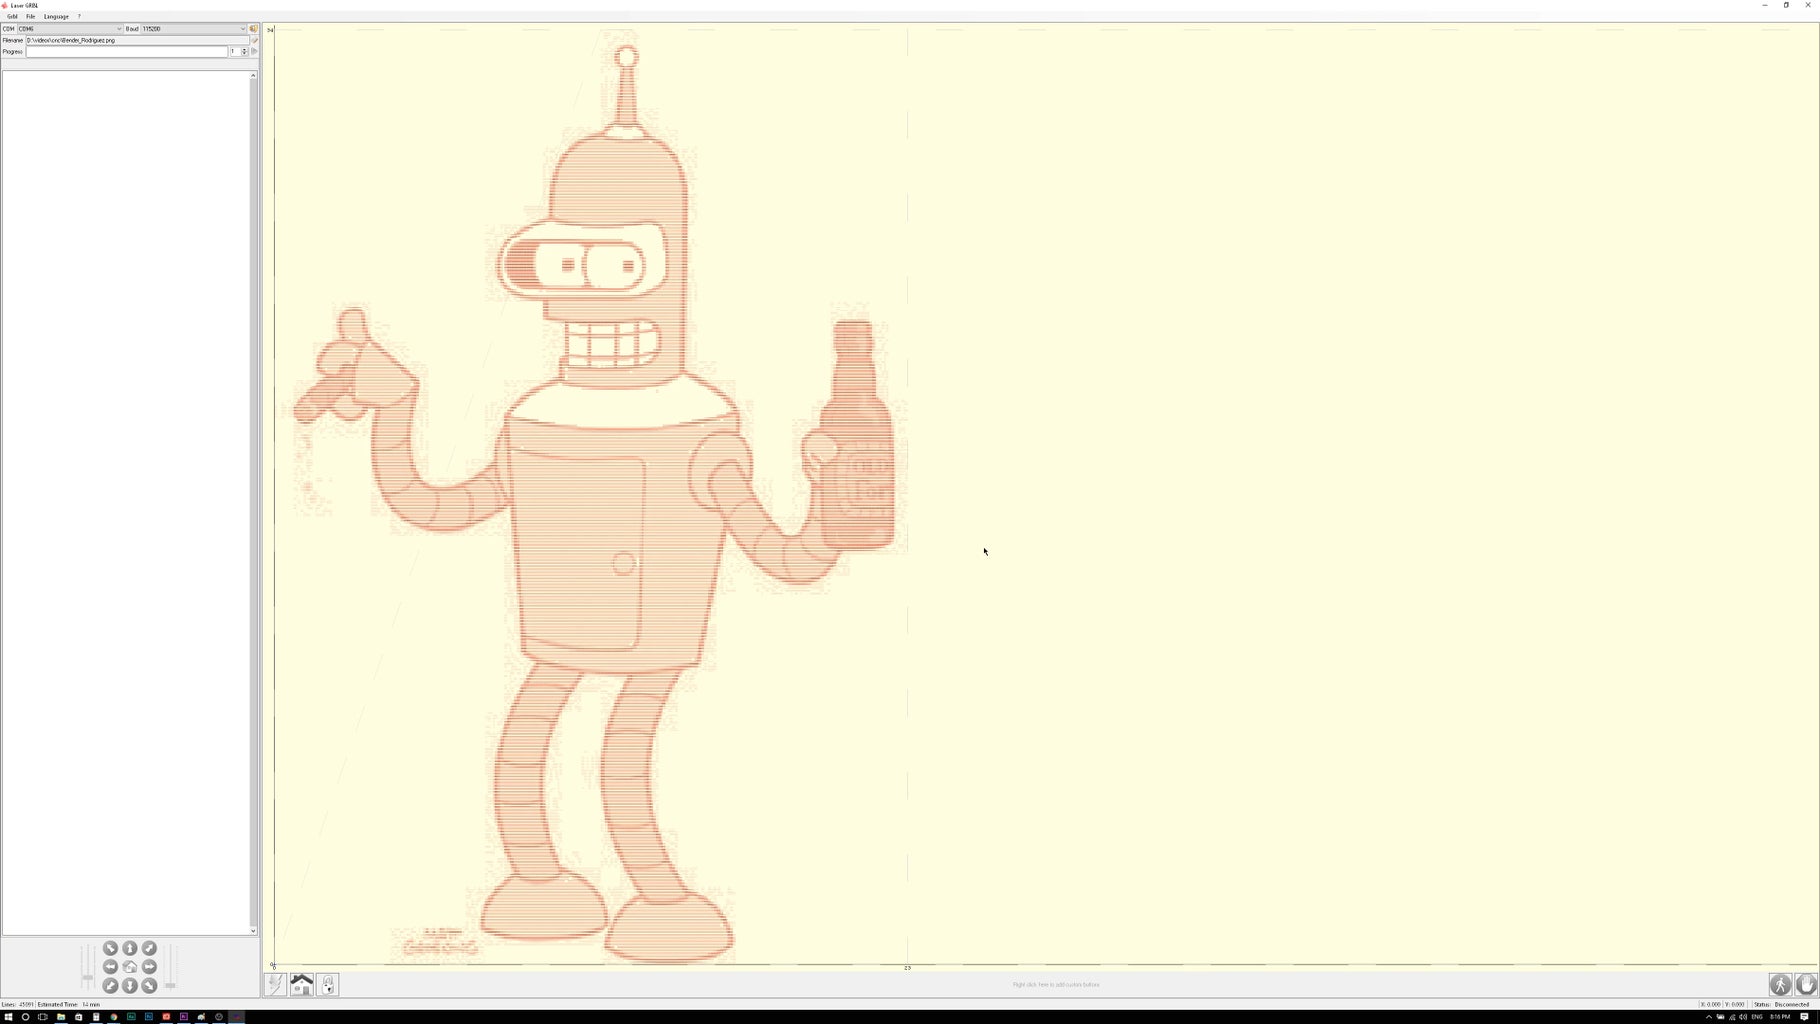
Last important point is that we don't have limits on the axis, and the place where the motors are at the moment of turning power ON will be set as a zero coordinates, so before power engraver, you need to set the axis to the maximum positions, pull out - Y and X to the maximum to the right. Pictures are uploading very simple, just choose a file, it can be ether already prepared G-Code, or simple picture in jpeg, png or bmp. That's all I got for today, if you like it, please share it in your social media it really helps.Also check out my YouTube Channel! See you next time!
Find me on social media:

Second Prize in the
Automation Contest 2017


