

Introduction: Arduino Controlled RC Car


More by the author:


About: I really like tearing things apart to discover how they work. I can even put them back together (most of the time). I have an Associates degree in Electronics Enginering and a Bachelors in Information systems…
This was my capstone project for the ITT Electronics program. it is an obstacle avoiding "bot" that was put together in one affternoon before class.
Step 1: Parts
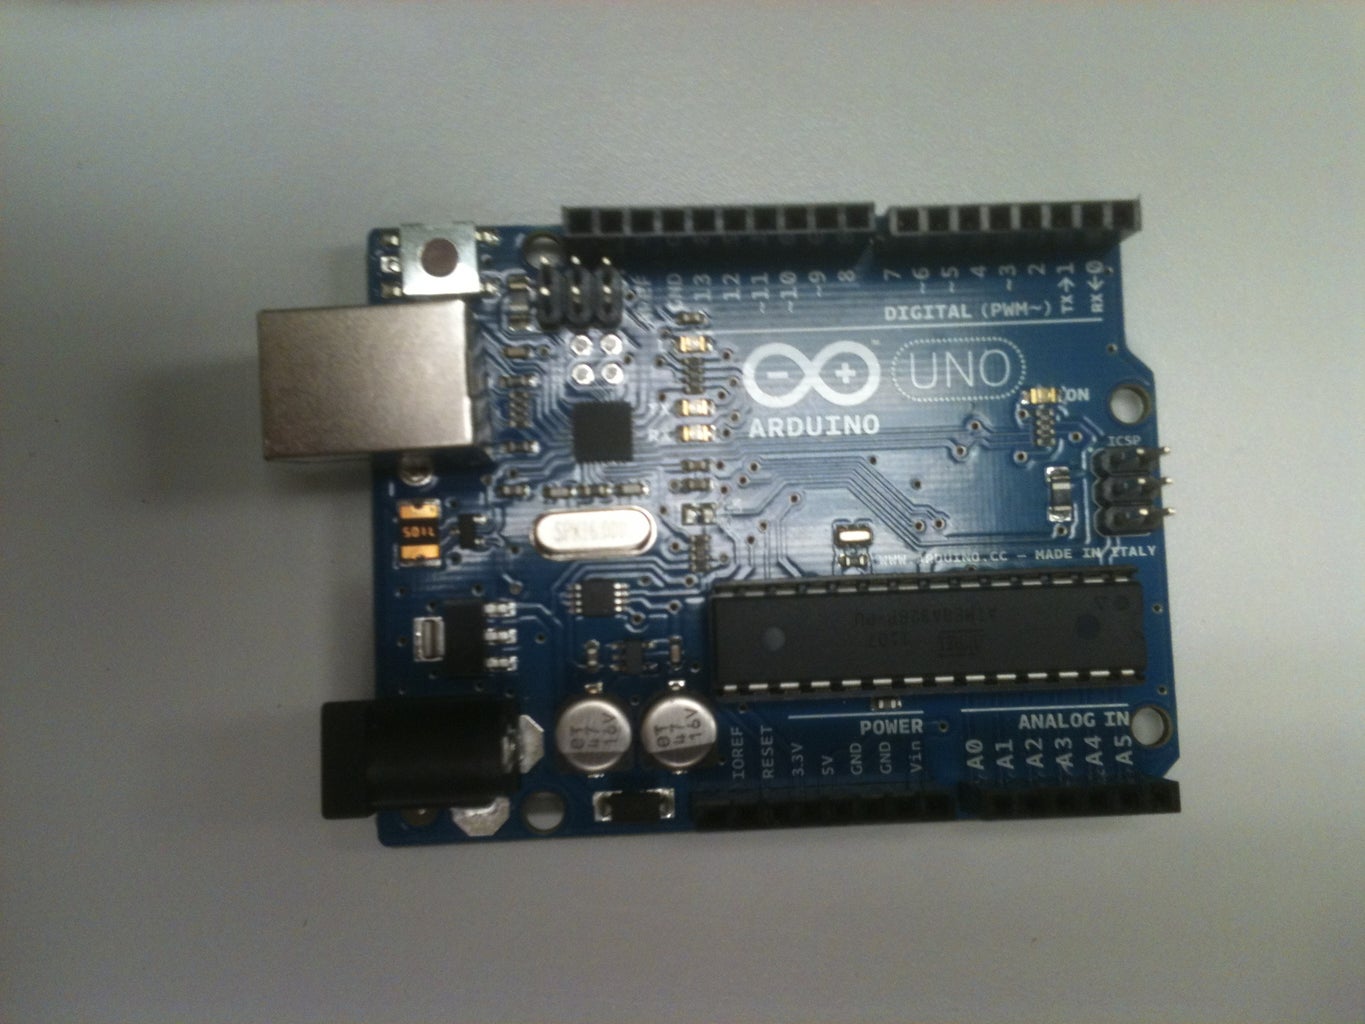
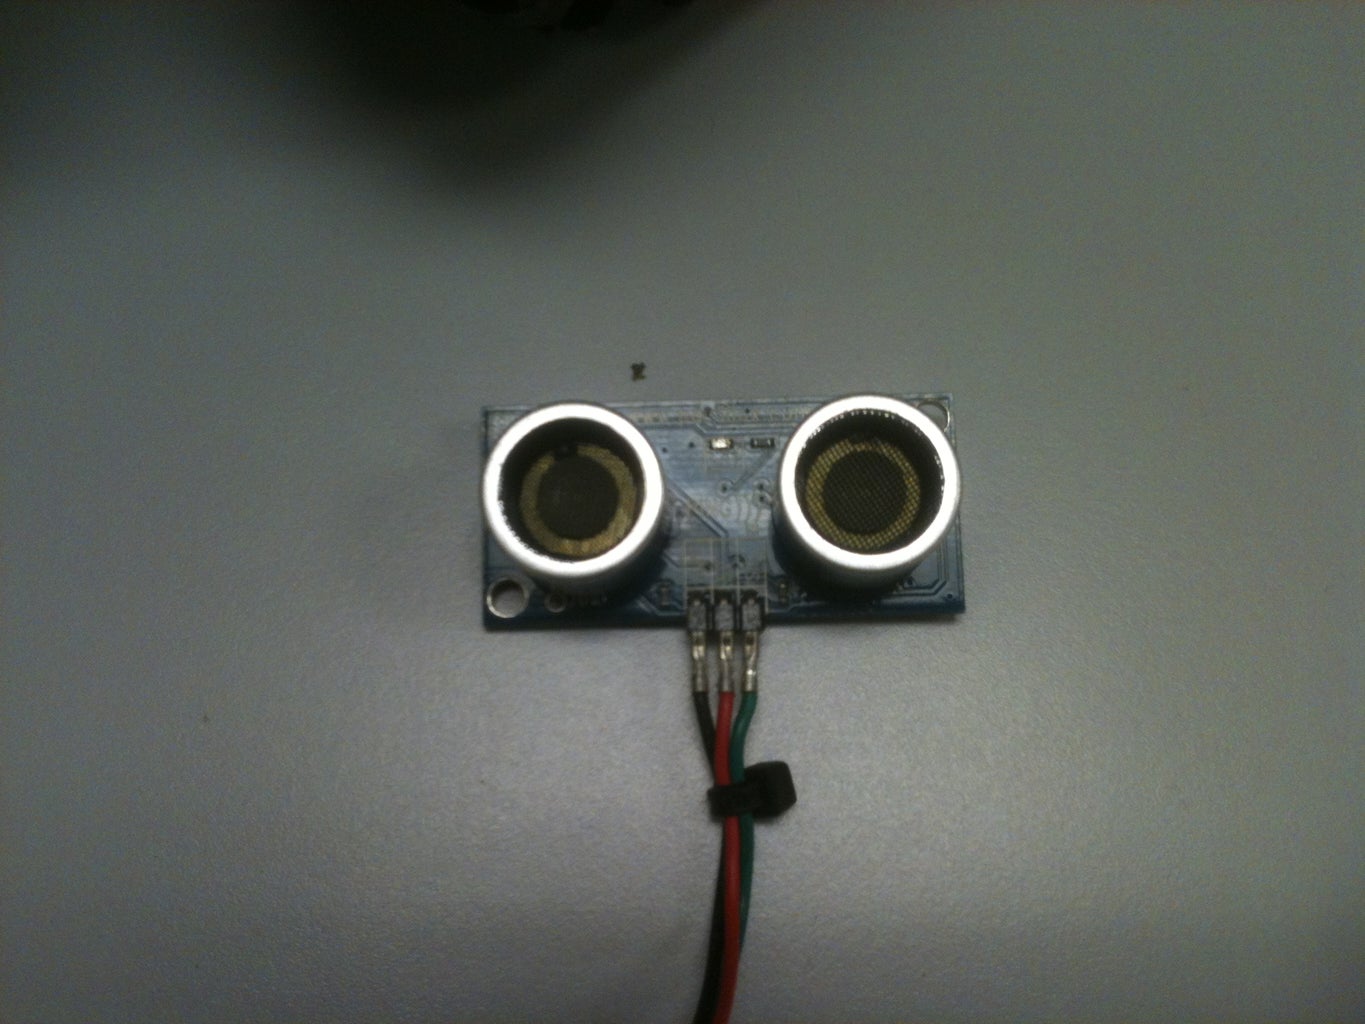
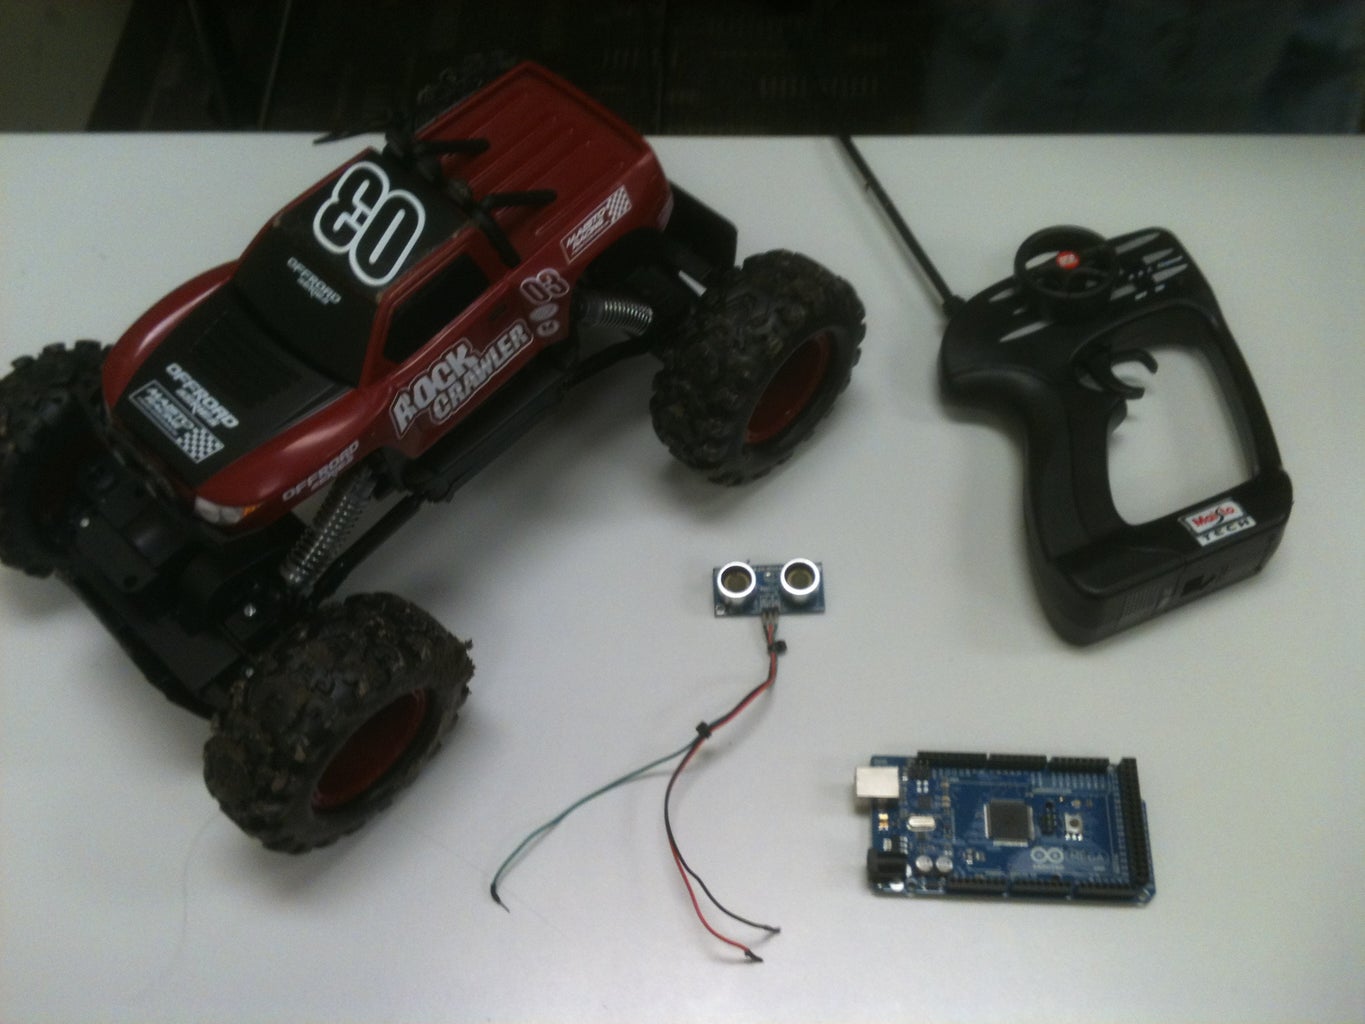
The parts used for this included the RC car , Arduino micro controller, diodes and a Ping ultrasonic sensor.
Step 2: Wiring in the Arduino
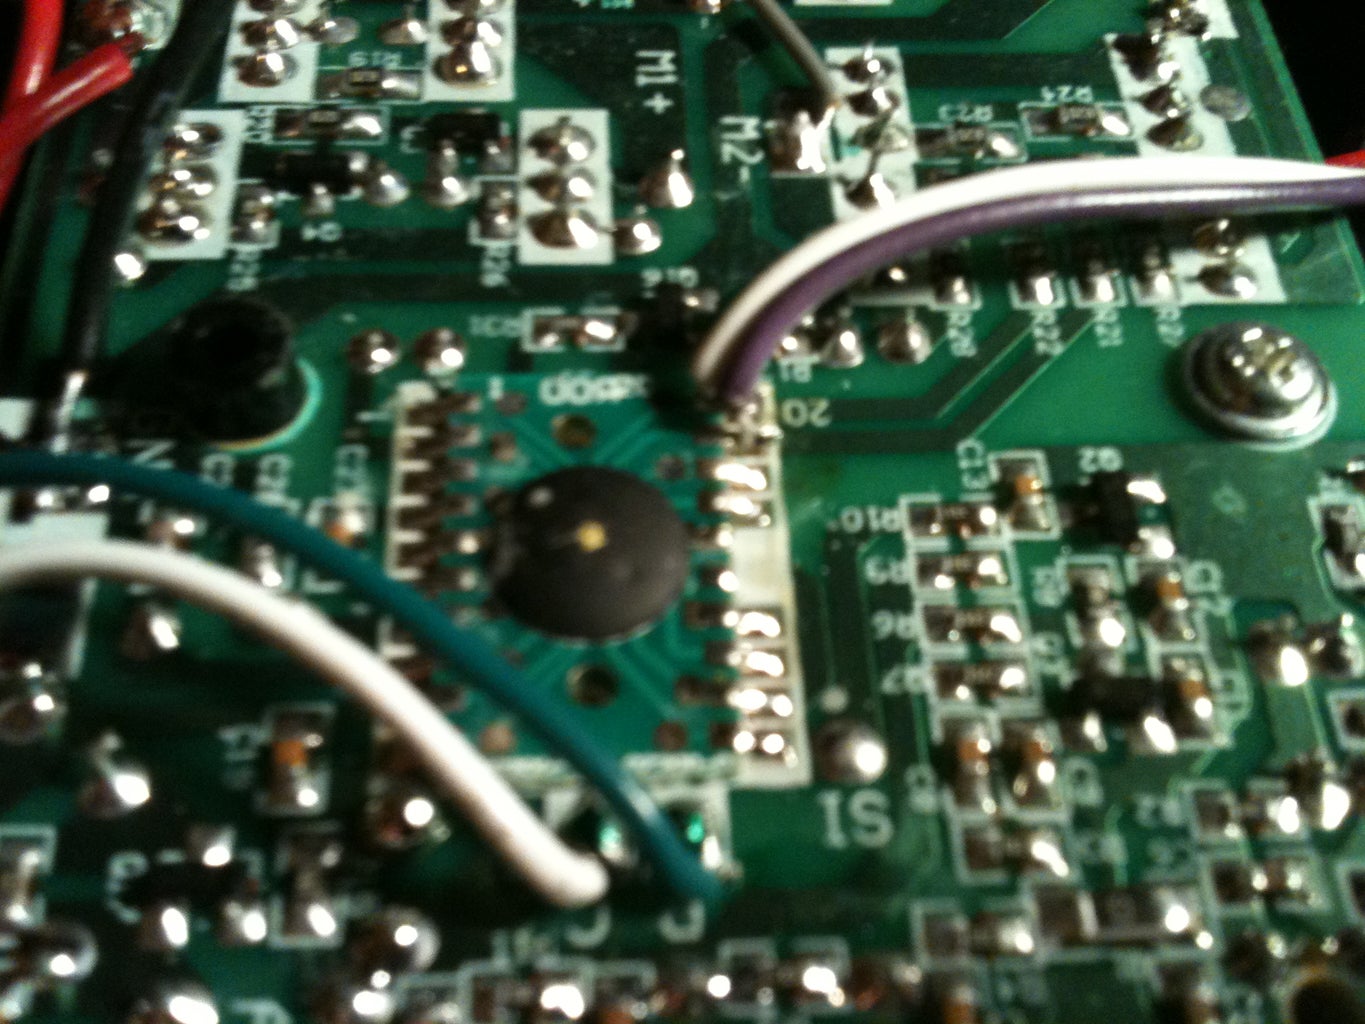
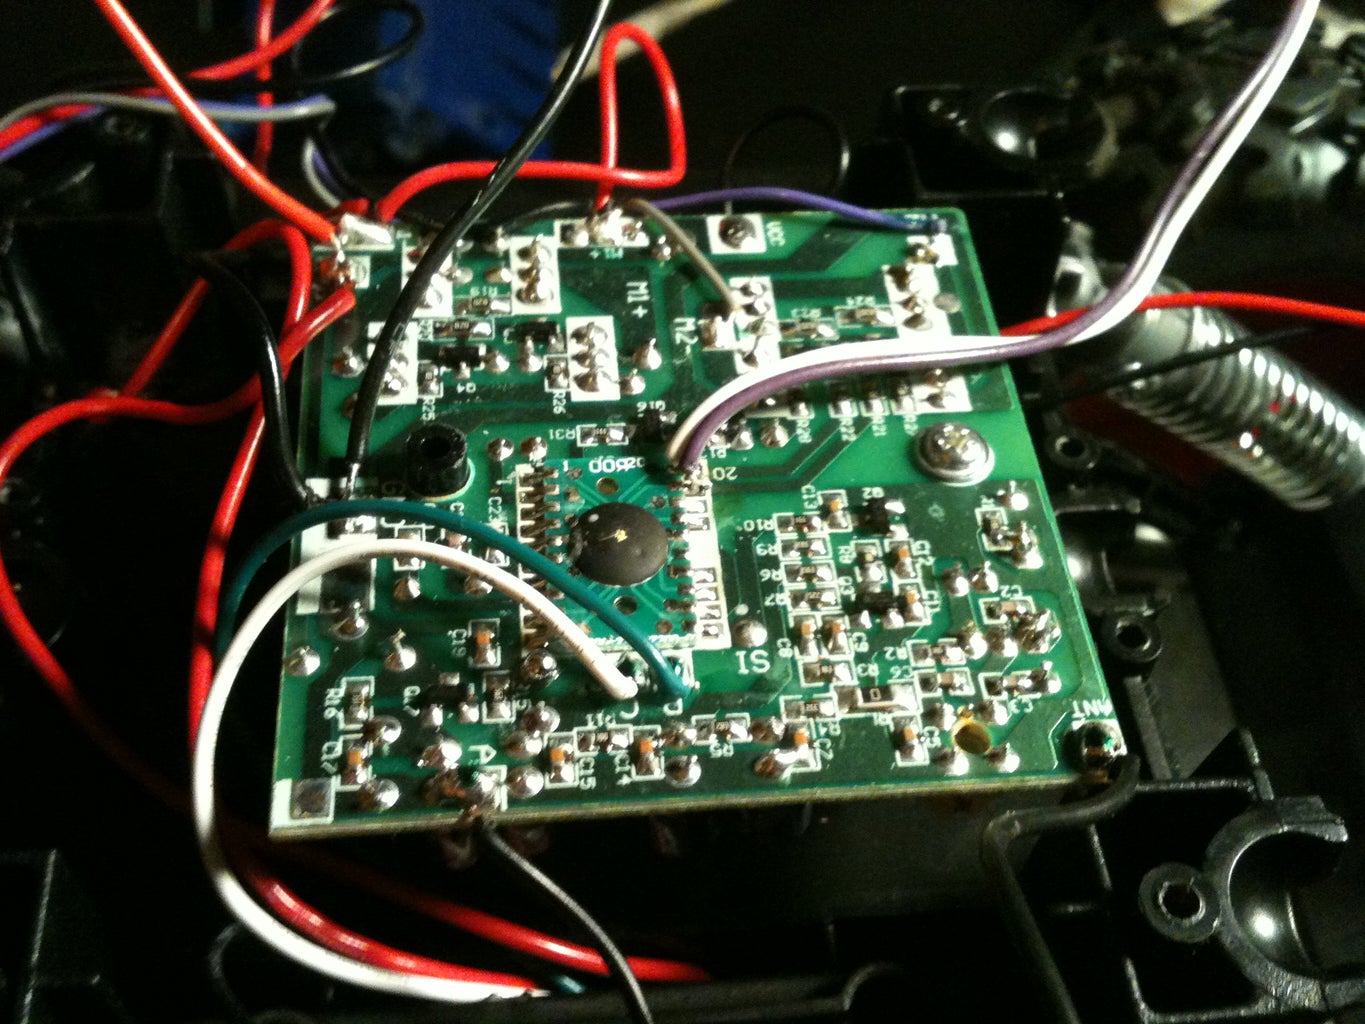


The car I chose was a very simple design. on the radio reciever I used a multimeter to find which lines when high at what times. this allowed me to interface the Arduino with the car with diodes in the path to to protect the Arduino when the car is used with the remote. When the remote is used I have an ON/Off switch mounted on top of the car.
Step 3: Final Testing


After all the componets I tested in both Automatic and manual modes to see the final testing please go to my youtube channel Thejosg77. thanks for checking this out.
