

Introduction: Arduino Dust, Humidity and Temperature Monitor Broadcasted to the Internet With Wifi.


This is my first Arduino project. I wrote this instructable not as a manual, but more as a thread through the labyrinth of available instructions.
I live in Hanoi, Vietnam, and wanted to monitor the dust in the air (PM10 and PM2.5). I wanted to broadcast the data to the internet so I could follow them remotely. Moreover, I would use this as a "proof of concept", as this is something schools and neighbourhood groups could do, from a low knowledge base. When doing this, it struck me I should also get temperature and humidity data.
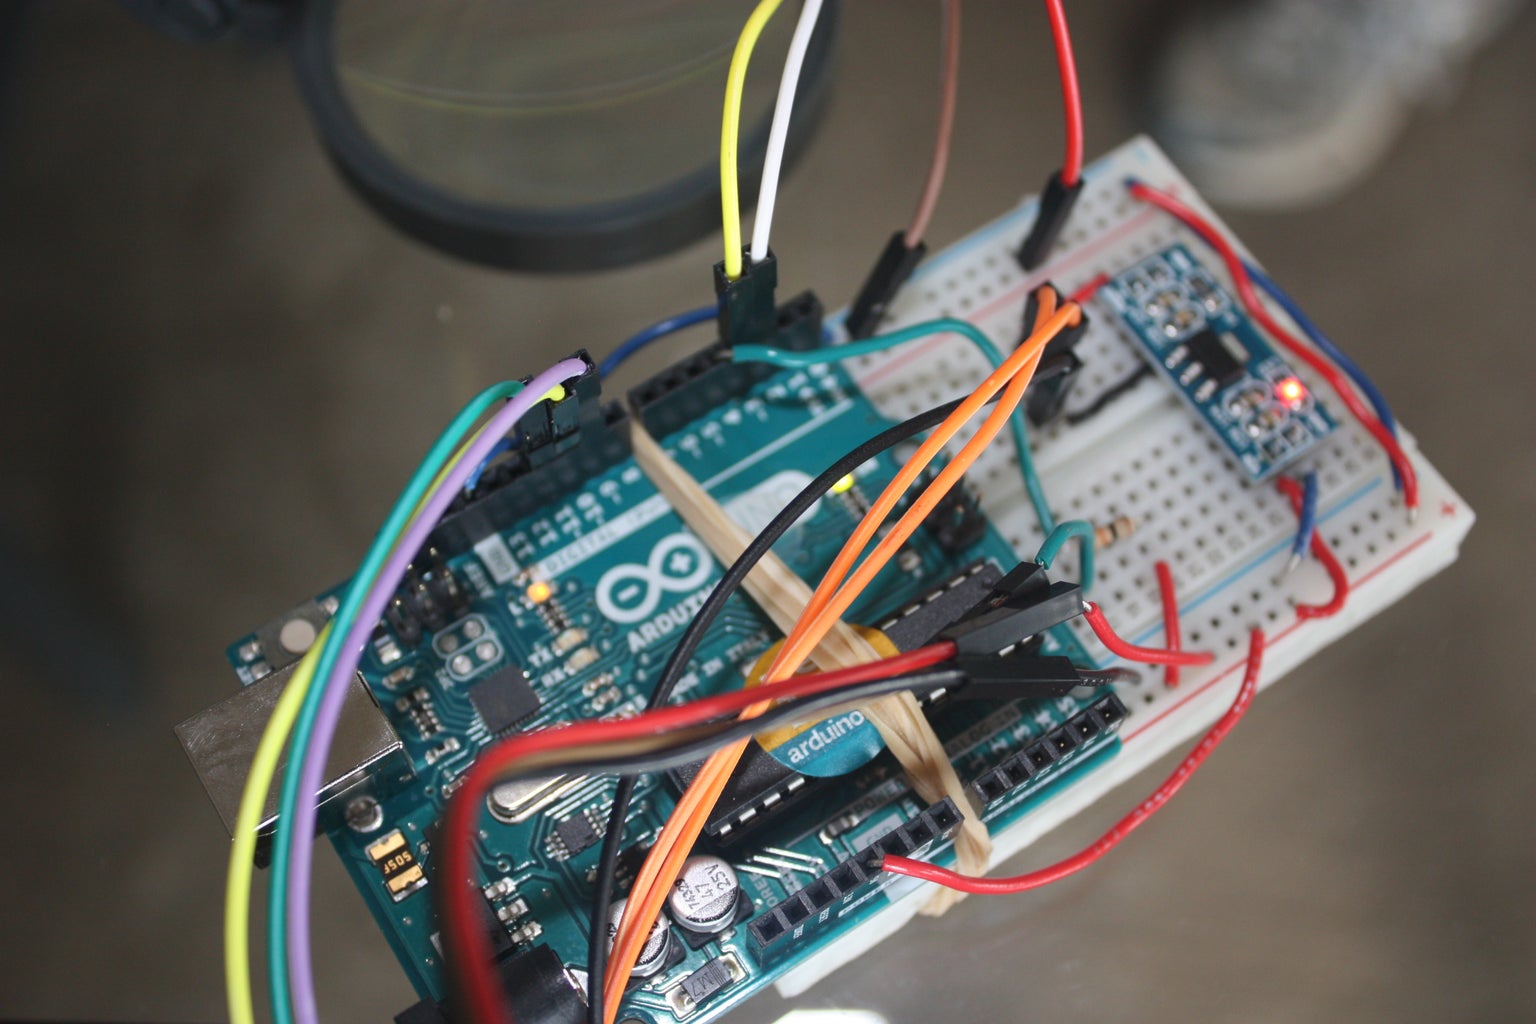
I started with a present of an Arduino Uno R3, breadboard and the dust monitor( Shinyei PDD42) (thanks!). I added to it the ESP8226 module and the DHT22 temperature/humidity module.
To fit it all together you need a wiring, a resistor of 10KOhm and a regulator at 3.3 V. The shopping list is attached. The local shop in Hanoi was extremely helpful, exchanged faulty hardware without complaint and gave very good advice, although my Vietnamese is way worse than their English. They also soldered some pins and wires for free. So some free advertisement for them is the minimum I can do. They should stock the dust module too.
My first task was installing the arduino software and reading the different manuals and instructables in a directed manner in order to get this particular project done, not to learn everything about arduino and climate or pollution.
- Note: an arduino runs one program at a time: they call it a sketch. It is written in the arduino program on the computer. You can check the code. You connect the arduino with the computer with USB, and click upload. The program starts to run. Open the serial monitor, and you see what the arduino answers.
The whole idea of working with sketches and uploading them each time again was new to me, but I learned it quickly. Also nice is to stop anything by just uploading the default "new" sketch. I would also advise to make copies step by step in the project, so you don't have to go too far back if you mess up.
- Note: different instructables give different instructions. Sometimes very different. It is not easy to judge what is the most trustworthy. Going for simple is not always right (and would probably toast some components), but quite often the instructables are needlessly complicated. This instructable is the path I found through the labyrinth.
Note: it took me a while to realize that the choice of the digital pin on the arduino is not important, as you define it in the sketch.
The first thing to do was to fix my arduino on my breadboard. Wonderful.
The major issue was to make the ESP8226 wifi module talk. Every instructable does it differently, and even connects differently, or connects a different number of pins.
The module must work at a speed the Arduino can handle, and the factory setting is too fast. Moreover, some firmware does not allow to work at the right Baud rate, apparently 9600 baud. Without the right baud rate, nothing works. Most people apparently find it necessary to "flash" the ESP8266 module, change the firmware. I wanted to try everything else first, and rightly so.
With this instructable, I managed to control the ESP8266 with AT-commands.Then I tried to change the baud rate to the required 9600. Beware : the code to change the baud rate has changed! This command worked for me .
- Note: ESP8266 uses 3.3V, and more power than the arduino 3.3 V pin can deliver. I first tried to split the 5 V with a few resistors, but for some reason it did not work out, and the voltage was unstable. The module does not to work well with current just a bit too high or low. I have now a decent regulator (see shopping list).
Next I tackled the dust monitor. The Dustduino project is the basis. They manage to measure both pm10 and pm2.5. Moreover, they publish over wifi to the internet. The reading of the dust works like a breeze, but communicating with WIFI is a challenge.
In the end, I found Tom Tobback at Lantaukwcounter, with exactly the same hardware as me. I first tried to adapt his code to what I specifically wanted (other streaming, other pin connections, etc), but I ran into a lot of issues.
Finally I gave in and restarted and just used his code whenever I could. I just opened an account with emoncms for streaming. I just commented out the things that did not work for me: mostly the sharp module related code (Tom his sketch has both a sharp Shinyei PDD42 dust module). An issue I ran into is that Tom listens for feedback from ESP after reset, and my setup blocked there. In the end, I just commented out the listening, and now it works...
Streaming: most instructables skip over the setup of the streaming. As if it just works. It does not. Most streaming services are only controlled by API-codes you send over the internet, it looks very much like spaghetti when you start with it. It is a totally different way of thinking. Reading through the different pages, it starts making sense.
I started with the streaming as Dustduino does it. They use Xively in their sketch, but Xively changed their setup since the sketch was written and it was impossible for me to find out what the monthly price would be. Dustduino themselves created OpenDustMap, but this seems limited in potential. I tried to set up data.sparkfun.com (rather readable instructions, not a lot of graphical gadgeds), grovestream, thingspeak, etc. I concluded I would only be able to make things work just accepting the choice of Tom: emoncms.org.
Emoncms is totally newbie hating, and works without help function nor easy explanations, but with hindsight it is rather straightforward: the inputs are created by the data you send, while the feeds are strangely created by clicking on a link on the API page, adding the security key you received and then renaming your feed (I created five times a "Power" feed). I ignored everything I did not understand, and it turned out fine. Apparently (it seems) the software on their free server is kind of crippleware of their FOSS server you can install yourself. That server has more options, widgets and graphical presentations. The emoncms.org server is in principle limited to energy data (naming units as Watts etc.).
Adding the temperature/humidity module DHT22 is the easy part. The Adafruit instructions are OK: the essence is to do the wiring and install the library. It actually worked as a dream. I added the library, and ran the example code and it just worked (OK, the DHT22 sensor was broken, it gave always 1 % as humidity reading; apparently 30 % of these sensors come broken, the shop replaced it without a problem). Integrating the example code in the sketch and ready. It works.
- Note: there must be a 10 K Ohm resistor between input and data . Probably. Because Adafruit says you should. Other instructables use a 5 KOhm resistor or even nothing.
To do:
- I still don't understand how to program the streaming myself. How it works exactly. I just used exact the same code, with my own keys to the service. I would like a streaming service that gives me more power over my data. Probably my knowledge of programming is the limiting factor. This is also the limiting factor for what I can do with the data.
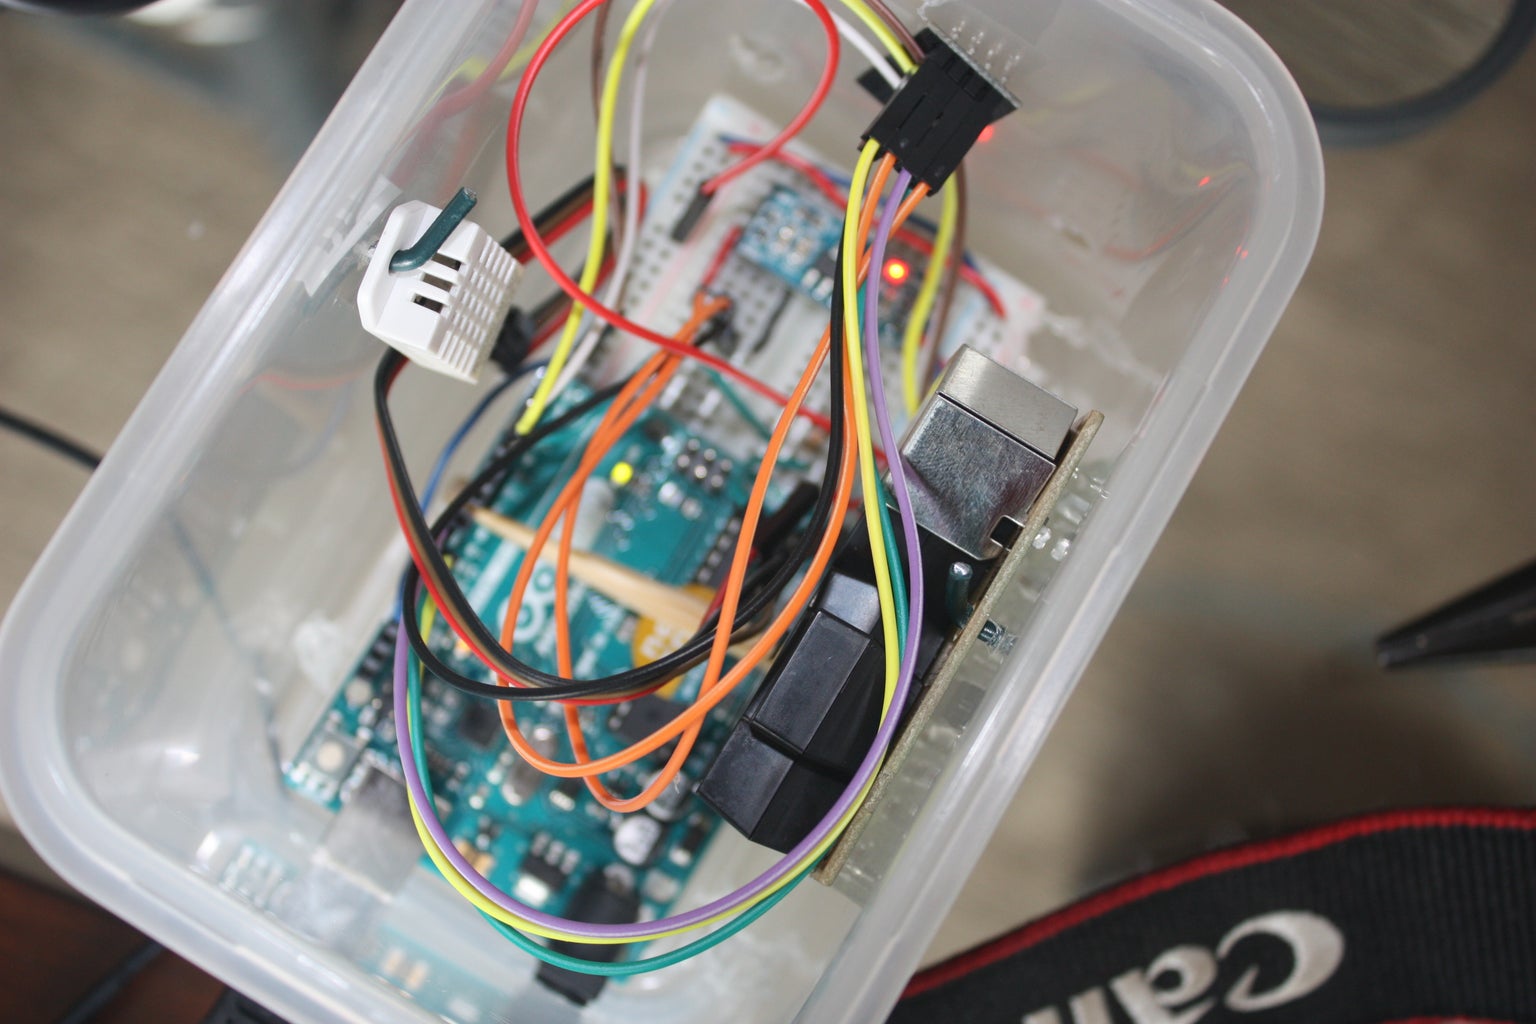
- I still need to find a beautiful box.
- The dust monitor gives now and then aberrant data. This is normal but it makes the graphs ugly. I must find a way to correct this in the presentations. If you need to have results that are 100% reliable and of scientific quality, you would probably better buy an expensive commercial system.
The sketch is uploaded to GitHub (with ssid, passwords and apikey for emoncms as xxxxxx).
