

Introduction: Arduino Keypad 4x4 Tutorial
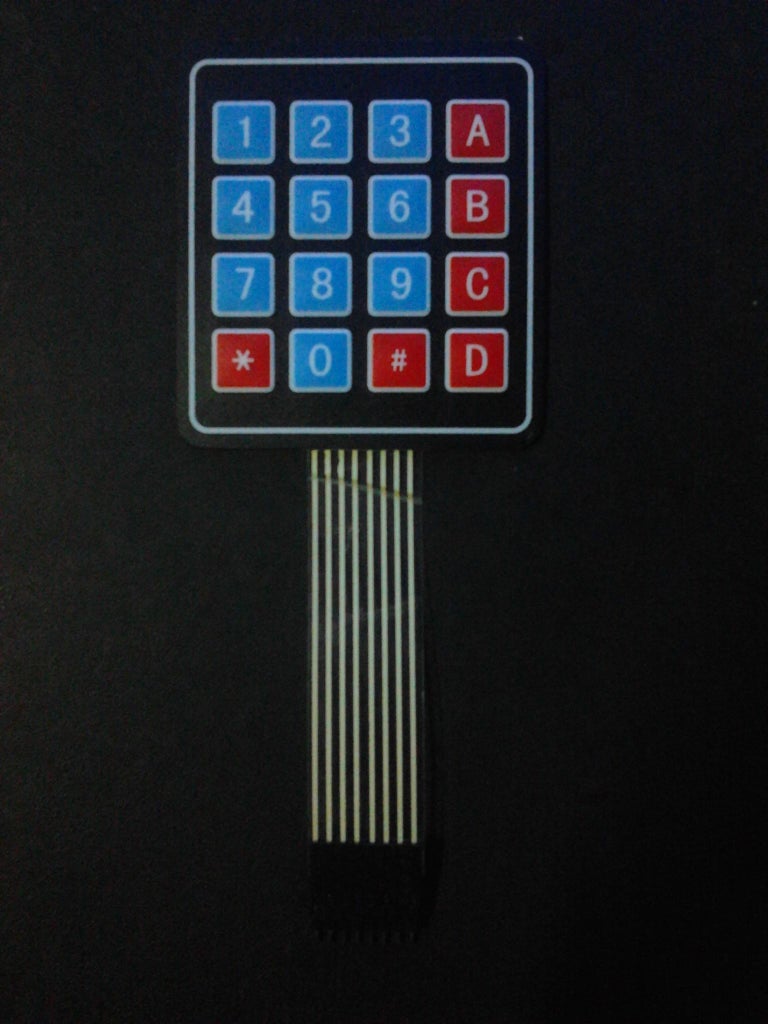


Keypad input showed to serial monitor with arduino uno and 4x4 keypad full code...
Supplies
Step 1: Connecting With Arduino

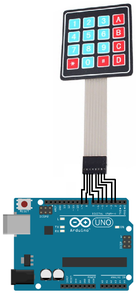
Connecting keypad with aruduino digital pins:
Keypad Pin Connects to Arduino Pin
1 D9
2 D8
3 D7
4 D6
5 D5
6 D4
7 D3
8 D2
Step 2: Code
CODE :
#include <Keypad.h>
const byte numRows= 4
const byte numCols= 4;
keymap[numRows][numCols]= { {'1', '2', '3', 'A'},
{'4', '5', '6', 'B'},
{'7', '8', '9', 'C'},
{'*', '0', '#', 'D'} };
byte rowPins[numRows] = {9,8,7,6}; //Rows 0 to 3
byte colPins[numCols]= {5,4,3,2}; //Columns 0 to 3
//initializes an instance of the Keypad class
Keypad myKeypad= Keypad(makeKeymap(keymap), rowPins, colPins, numRows, numCols);
void setup() {
Serial.begin(9600);
}
//If key is pressed, this key is stored in 'keypressed' variable //If key is not equal to 'NO_KEY', then this key is printed out //if count=17, then count is reset back to 0 (this means no key is pressed during the whole keypad scan process
void loop() {
char keypressed = myKeypad.getKey();
if (keypressed != NO_KEY)
{
Serial.print(keypressed);
}
}
Step 3:
here is my blogspot link it has some extra diagram which you might find helpfull... blogspot link
Attachments

Step 4: Adding Library


Adding the library :
To add the library go to Skeetches -->>Include library--> Type the libray name "keypad" then press install.Then upload the sketch to your arduino.
Here's Some optional link :
