

Introduction: Arduino LCD Clock Thermometer Humidity Project

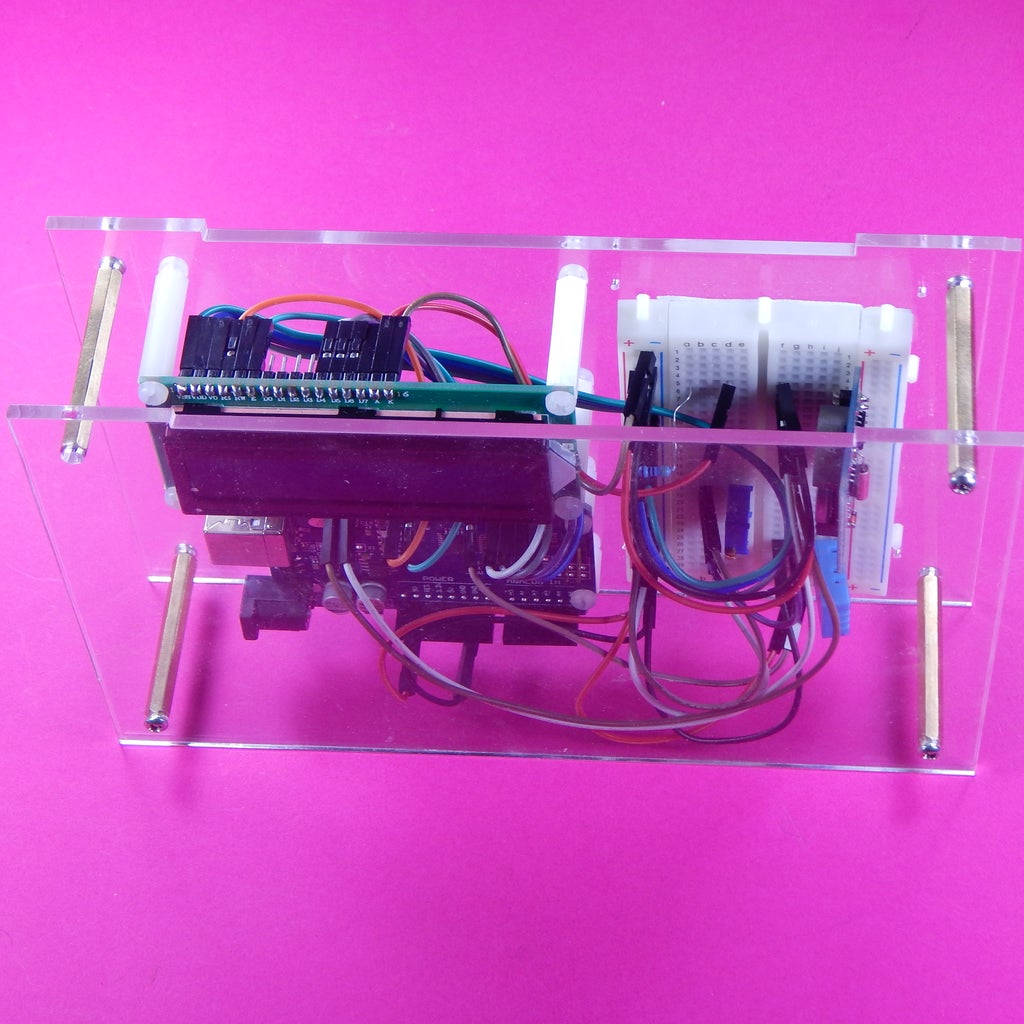


This project is to create an Arduino powered humidity meter, temperature meter and clock. It uses a LCD 16 x 2 module for display a DHT11 temperature humidity module and a real time clock module. I fitted the unit in a laser cut case.
Step 1: Tools Needed
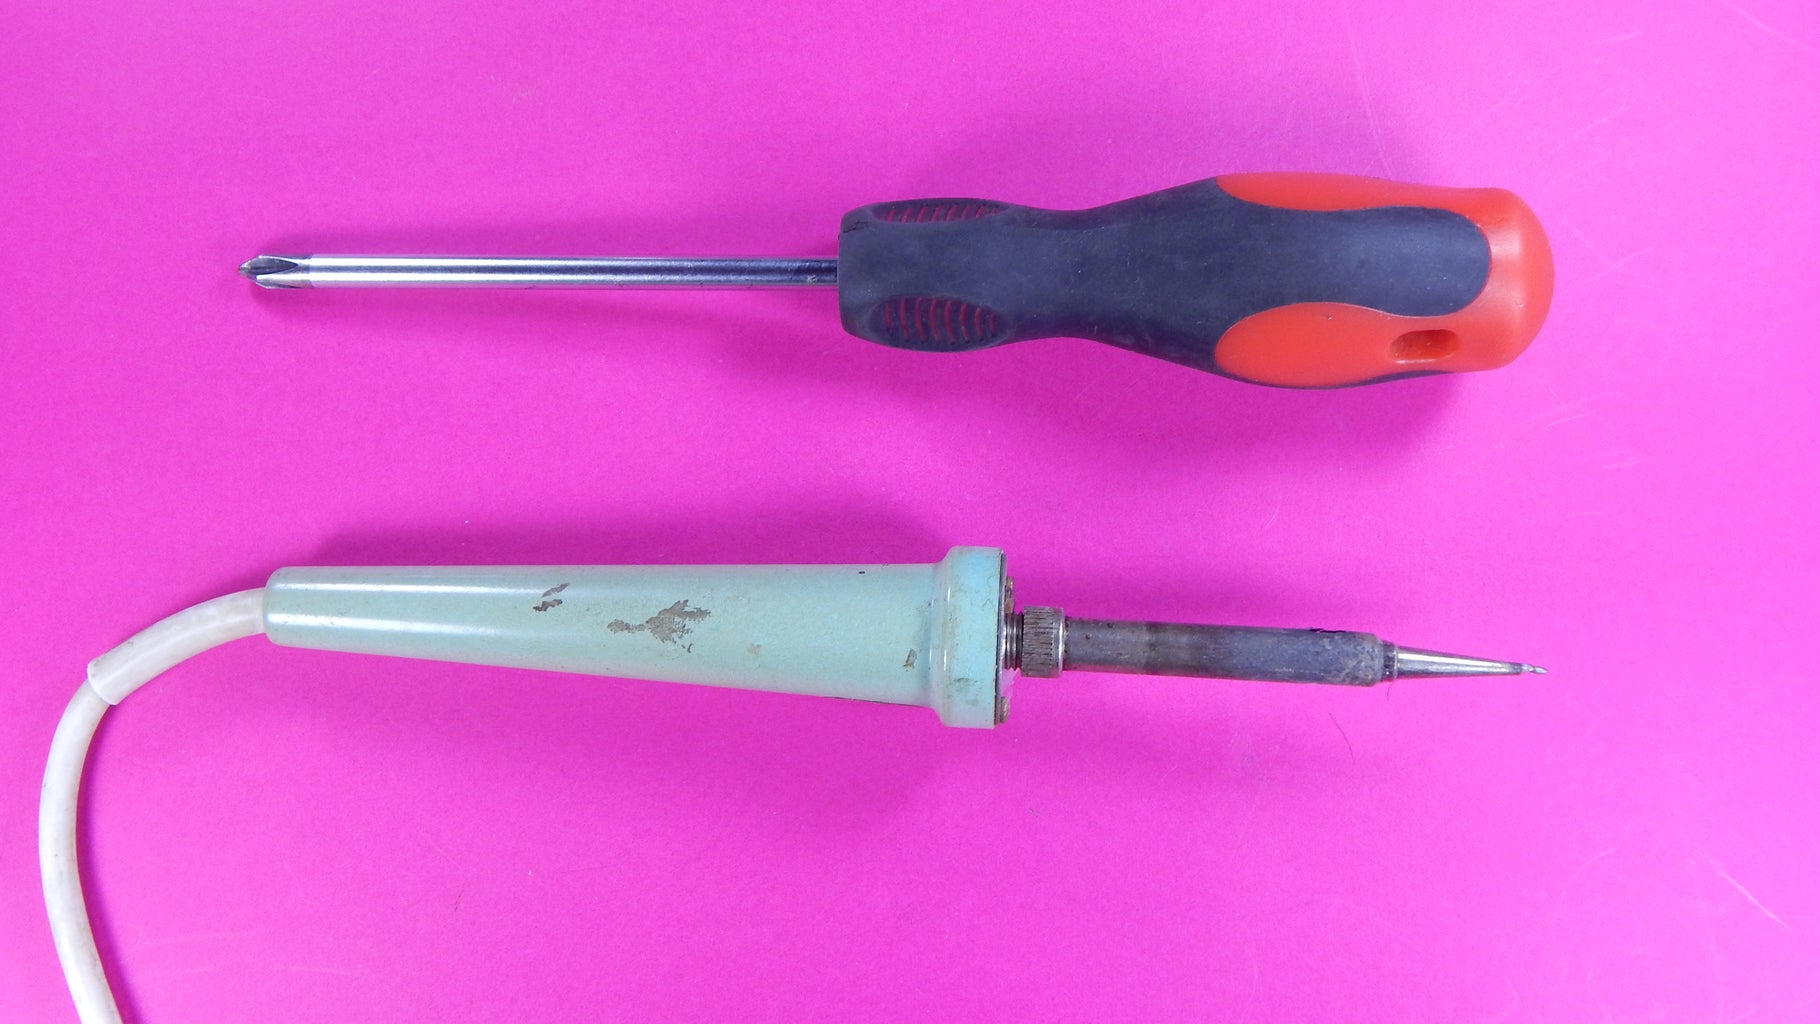
You will need a soldering iron to solder the pin strip to the display and a screwdriver.
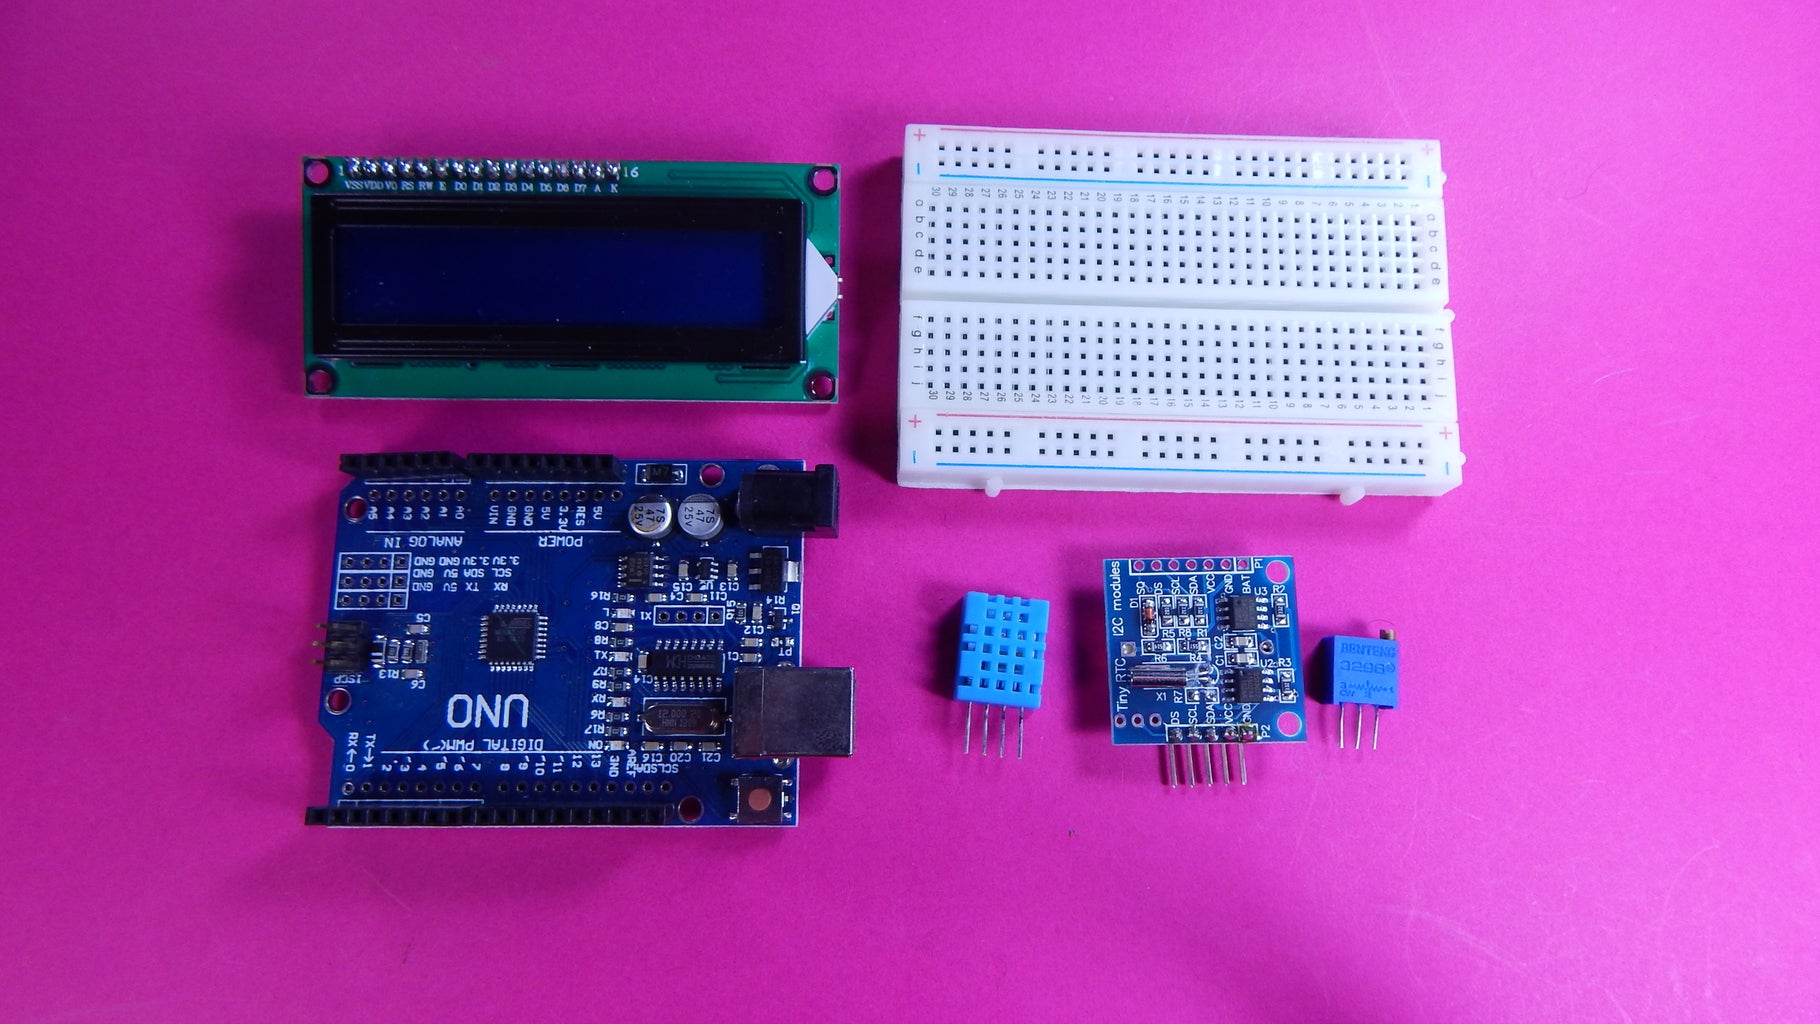
Step 2: Parts List

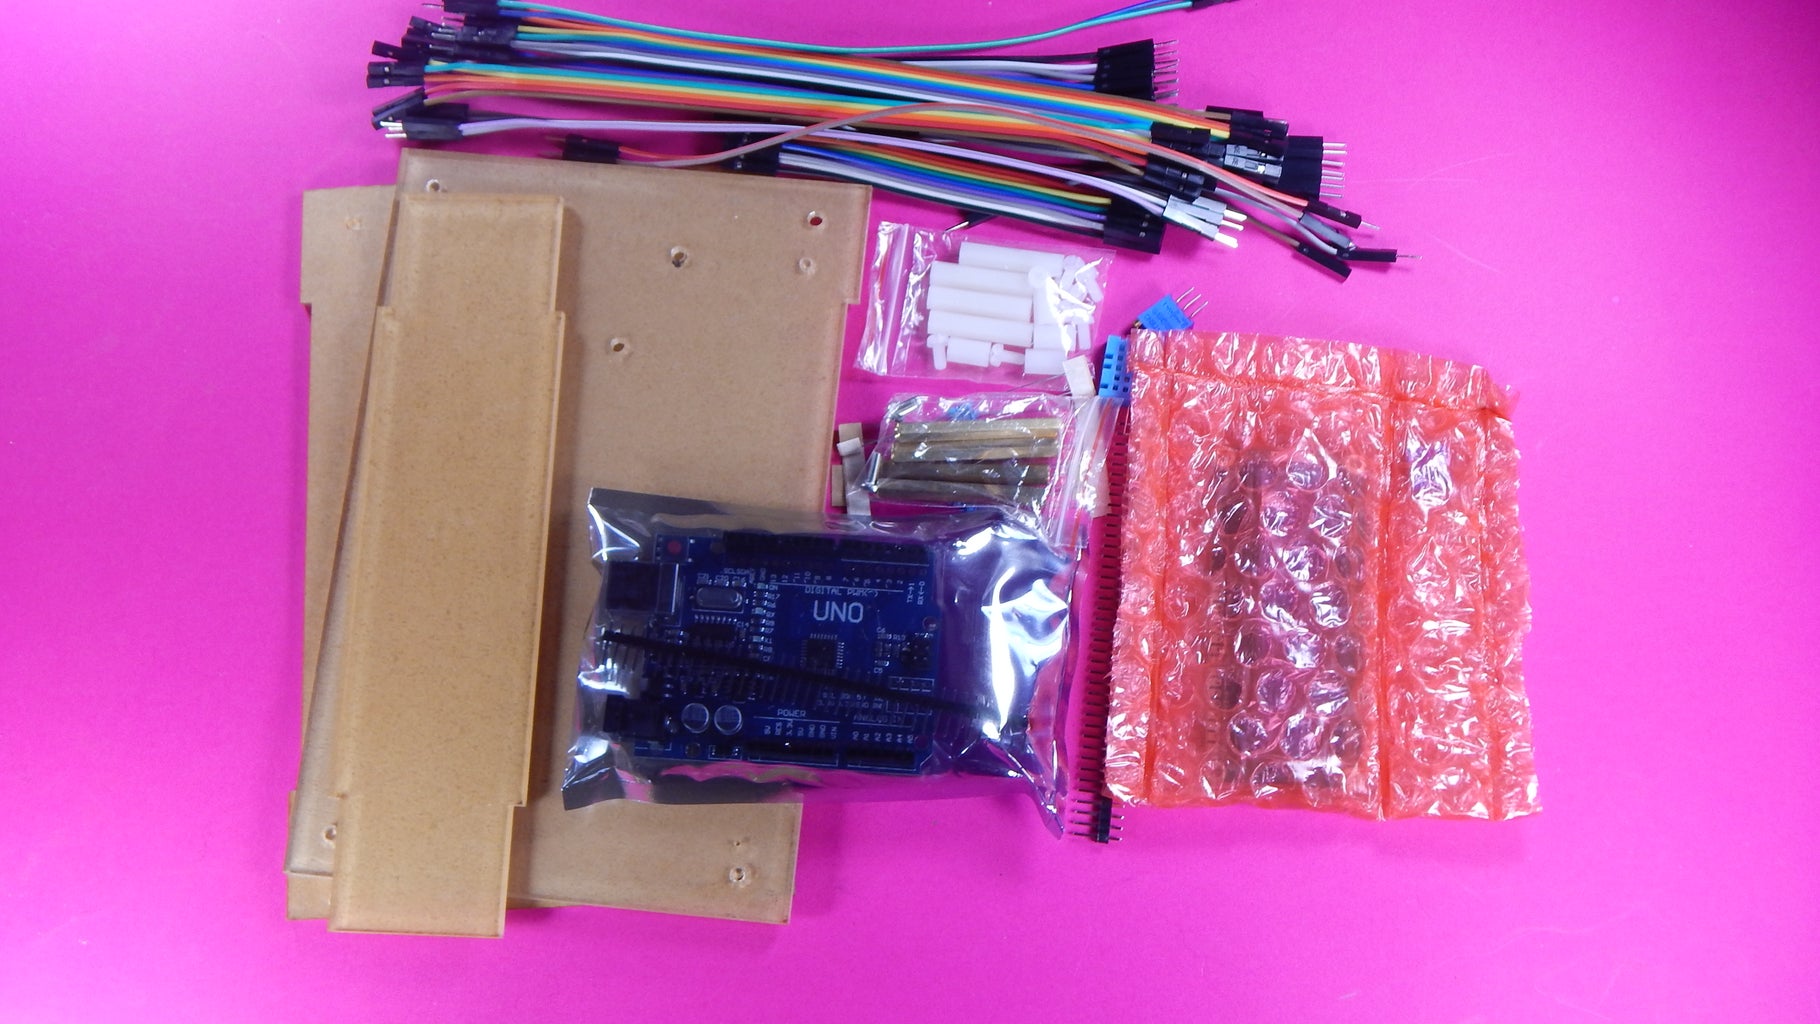
1 x Acrylic base and cover
1 x Arduino Uno Clone
1 x 16x2 LCD module
10 x 20cm dupont leads M-M
10 x 20cm dupont leads M-F
10 x 20cm dupont leads F-F
10 x 10cm dupont leads M-M
10 x 10cm dupont leads M-F
10 x 10cm dupont leads F-F
1 x Temperature Humidity sensor
1 x 10K Multi-turn Potentiometer
4 x 10mm spacers
4 x 25mm spacers
8 x M3x6mm nylon screws
4 x 40mm brass standoffs
4 x M3x8mm metal screws
10 x 470ohm resistor (to limit the led current. A is positive K is negative)
1 x 40 way header pins (need to solder to LCD) 1 x 400 hole solder-less breadboard.
a kit is available from my eBay store in Australia see sikkits.com
Step 3: Solder the Header Pins to the Lcd Display
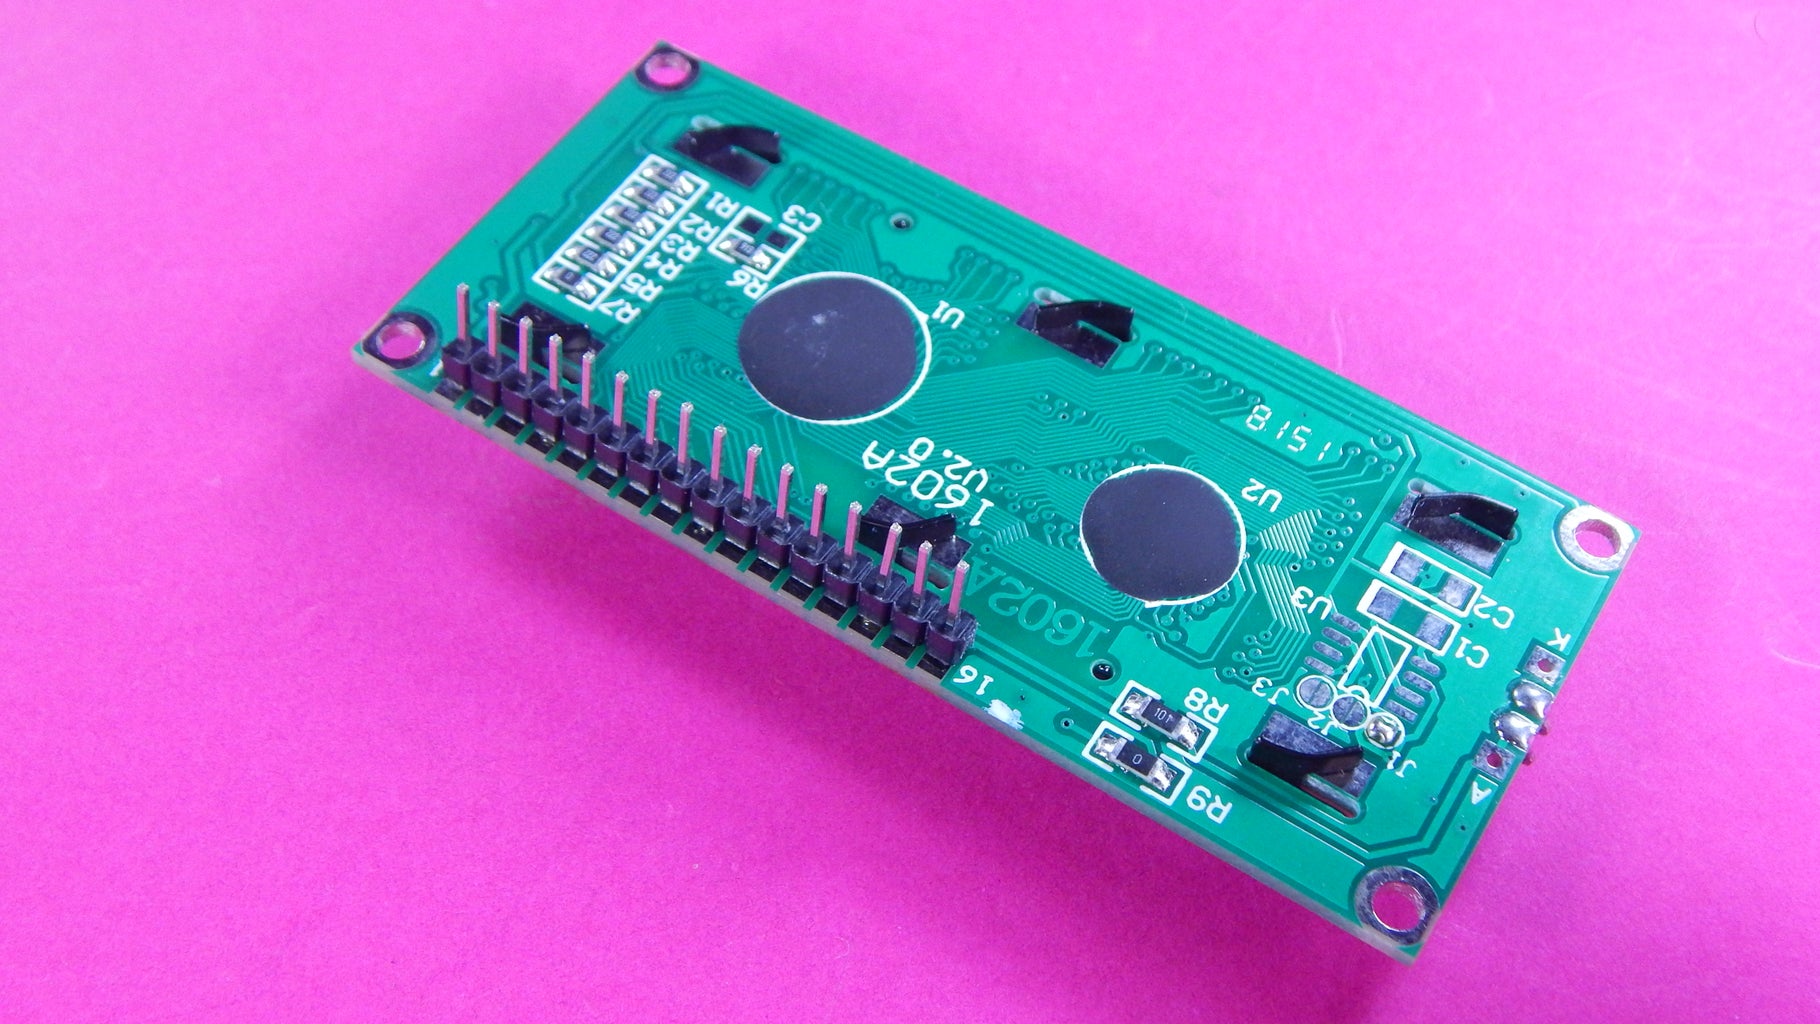


The first step is to solder the header pins to the LCD display. Break off 16 pins and solder to the underside of the display
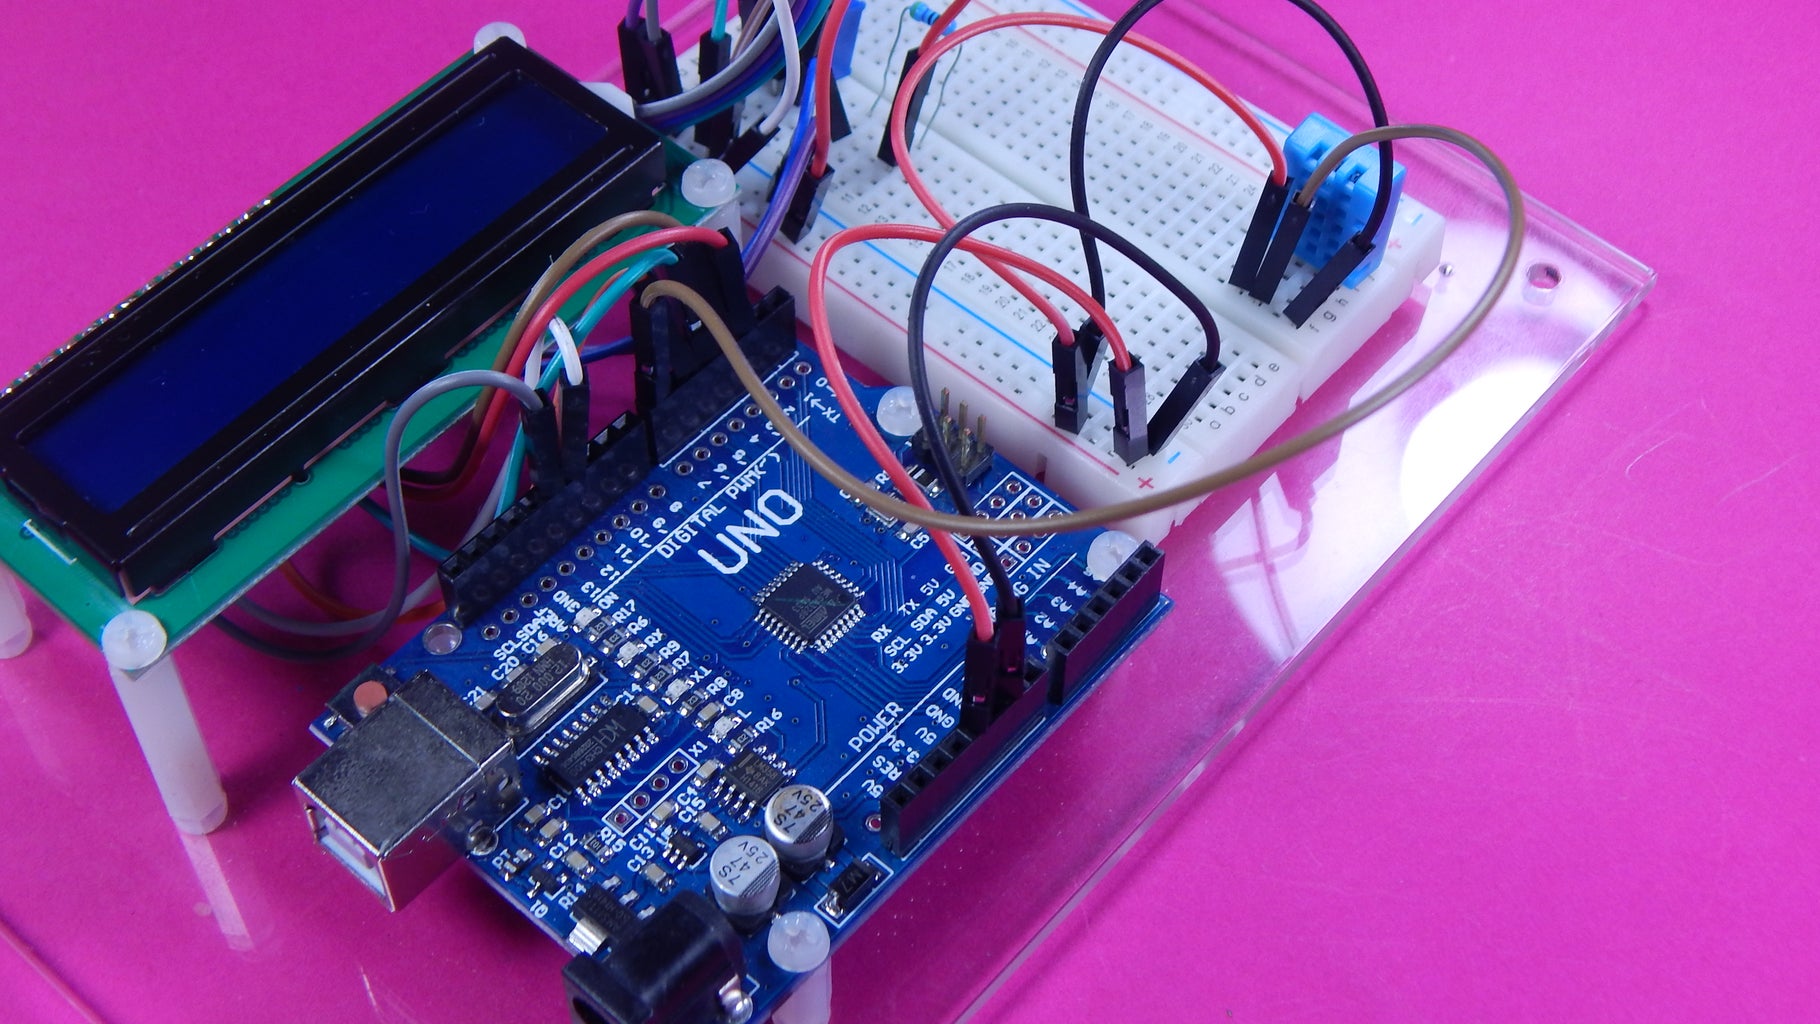
Step 4: Set Up Th LCD


The next step is to attach the Arduino and the breadboard to the base board and wire to the LCD (do not attach the LCD yet)
The circuit:
* LCD RS pin to digital pin 12
* LCD Enable pin to digital pin 11
* LCD D4 pin to digital pin 5
* LCD D5 pin to digital pin 4
* LCD D6 pin to digital pin 3
* LCD D7 pin to digital pin 2
* LCD R/W pin to ground
* LCD VSS pin to ground * LCD VCC pin to 5V
* 10K resistor: * ends to +5V and ground * wiper to LCD VO pin (pin 3)
* LCD A to 5V via a 470R resistor
* LCD K to GND
Step 5: Testing the LCD

Load the example code from the LCD hello world example. You will need to adjust the pot for the text to show.
Attachments

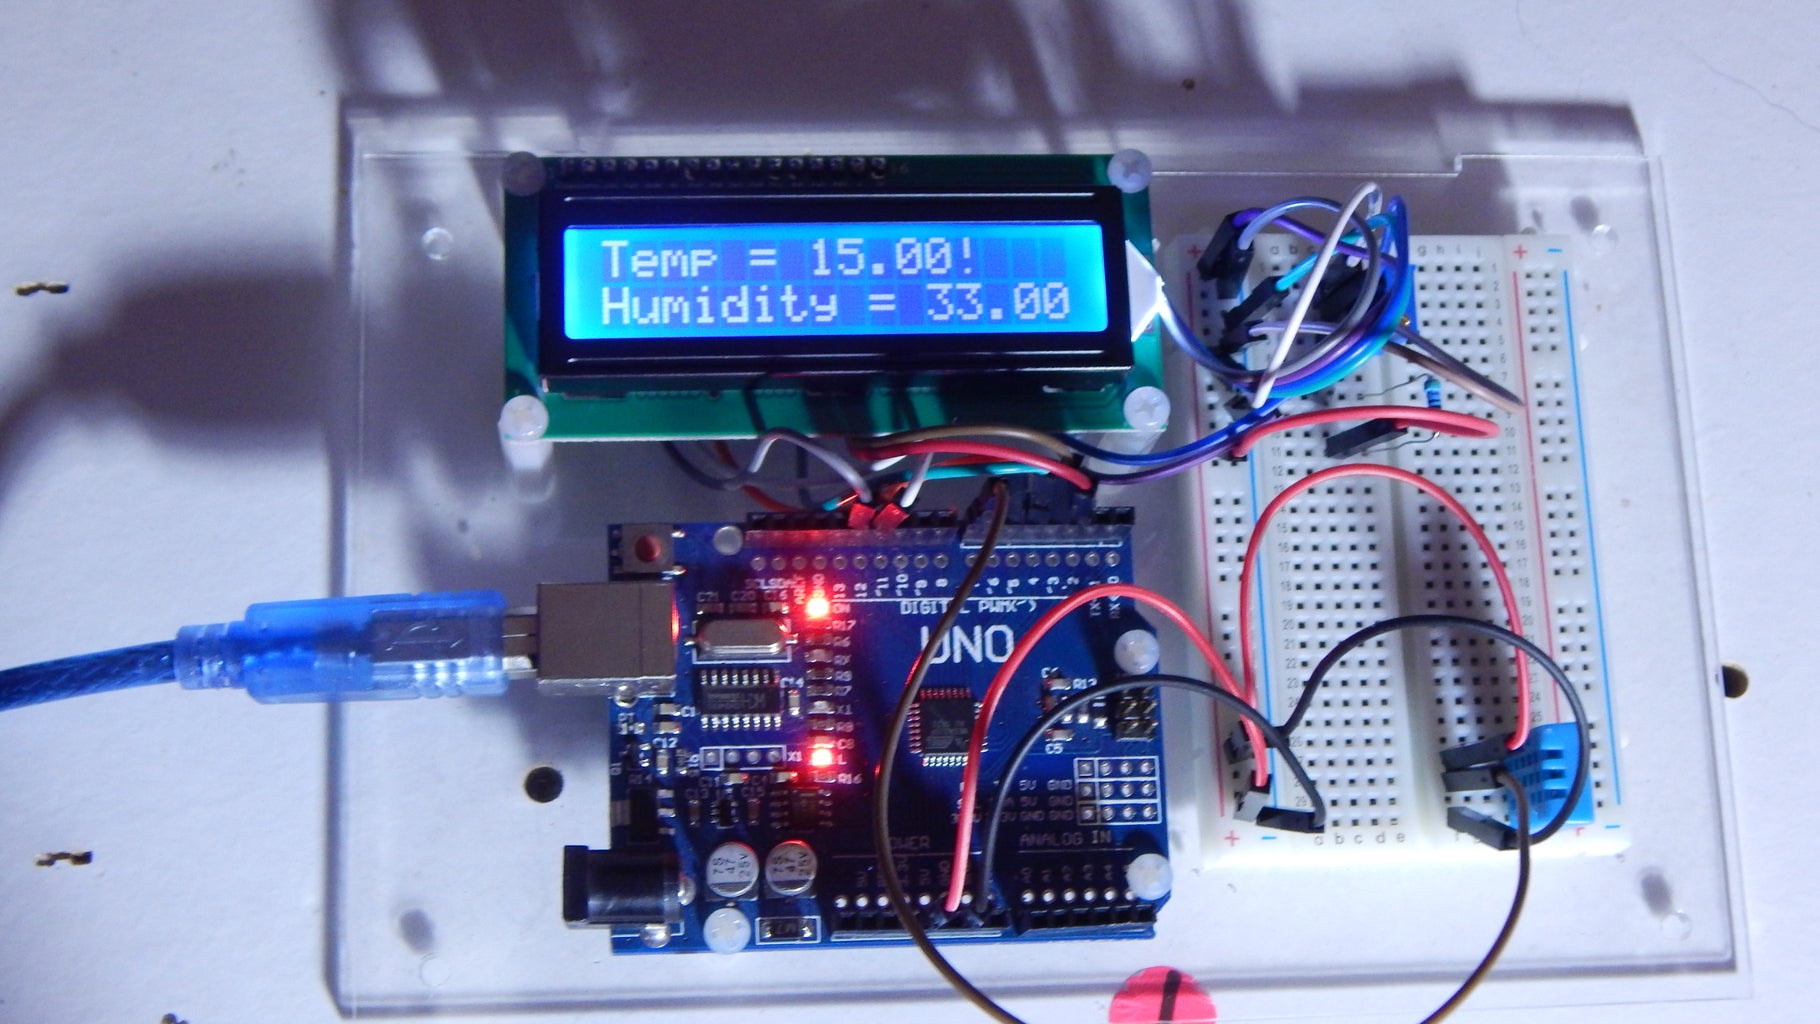
Step 6: Connect the DHT11 Sensor


Because there are different libraries I have modified one to dhtsk. You need to download and install this.
Connect 5V to pin1, GND to pin4 and Arduino D7 to pin2 (data). Load the dhtsk library (dhtsk.zip) and intall the temp_hum_meter.ino sketch and you should have a display of the temp and humidity on the LCD.
Step 7: Install the Real Time Clock Module.

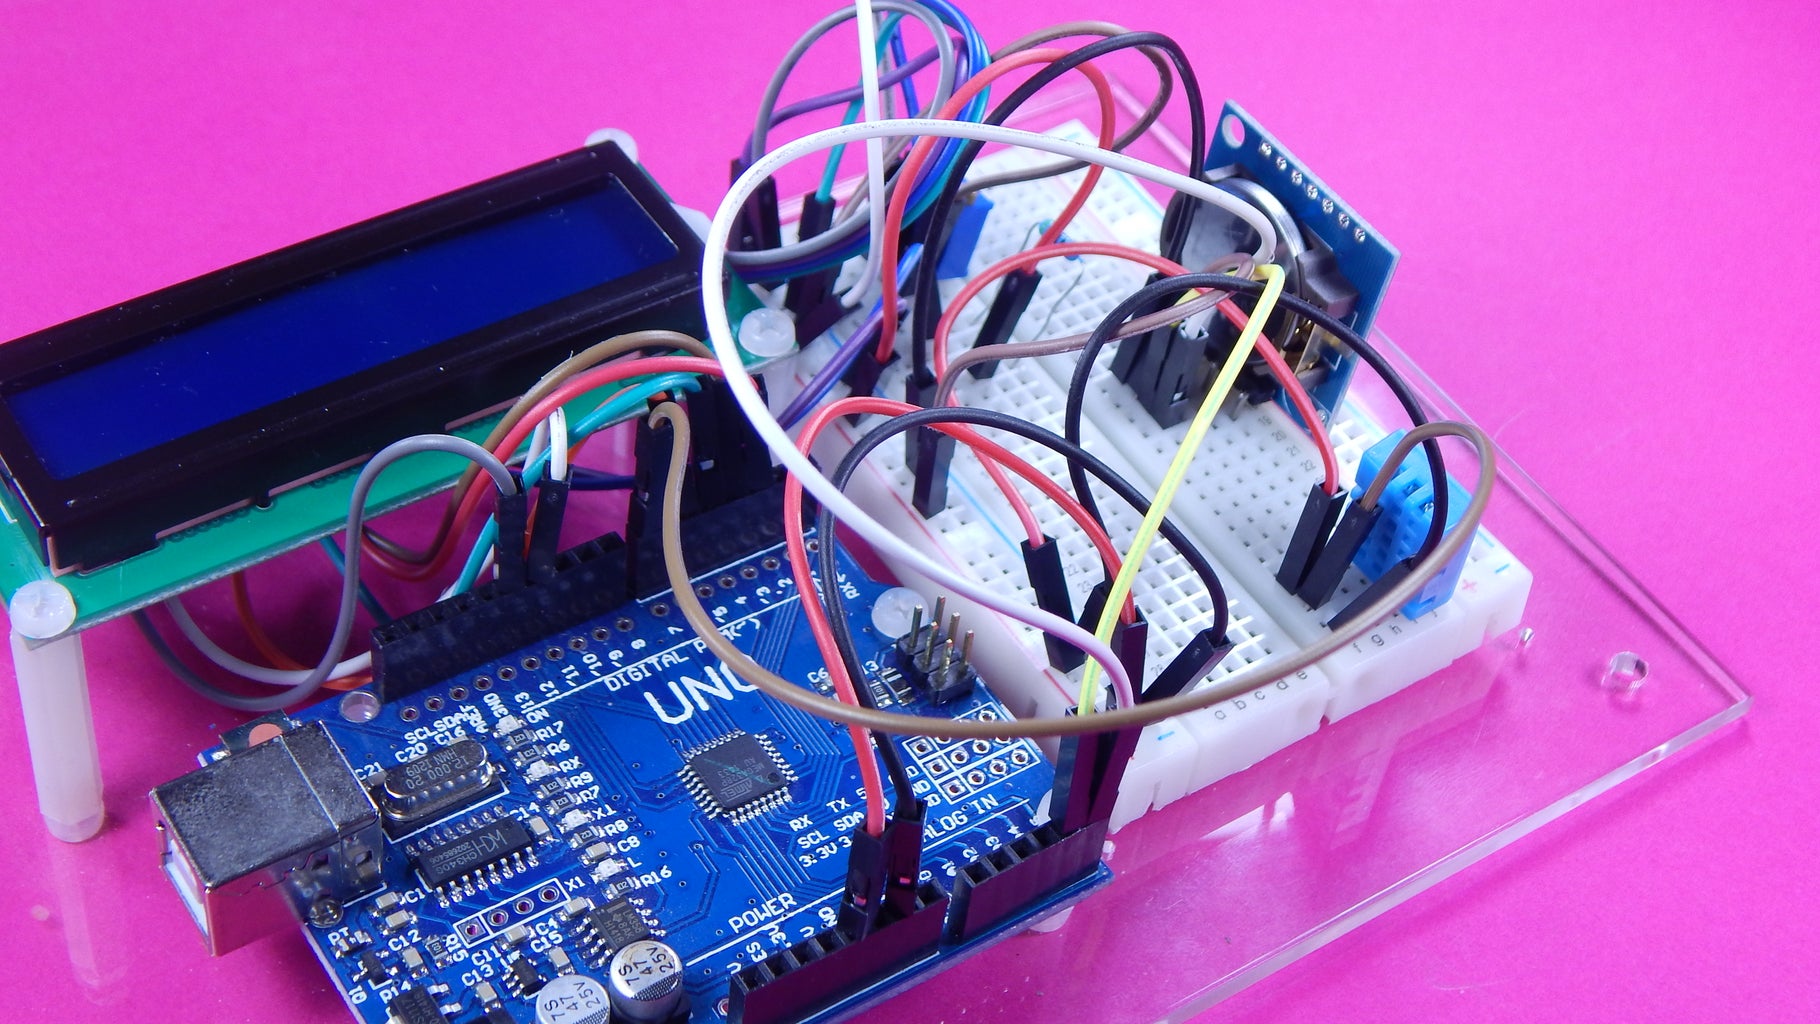
Install the RTC module as per the diagram. Install the clock_lcd_temp_hum sketch to run the final version. It will display the time and the date,temp and humidity in sequence.
To set the time send a string from the serial monitor at 9600 baud
t + seconds + minutes + hours + day of week + day of month +month + year + *
example for 1:25 am on Friday 29th of July 2016
send
t00250105290716*


