

Introduction: Arduino LED Traffic Light


For this project, you will need:
- 3 x LEDs (Recommended colors: green, yellow, red)
- 3 x 220-ohm resistor
- 1 x Arduino UNO
- 1 x USB Cable
- 1 x Breadboard
You will be able to buy the components that I've used on allchips.ai
Their store will be up by the end of January. Stay tuned!
Step 1: Setting Up the LED's
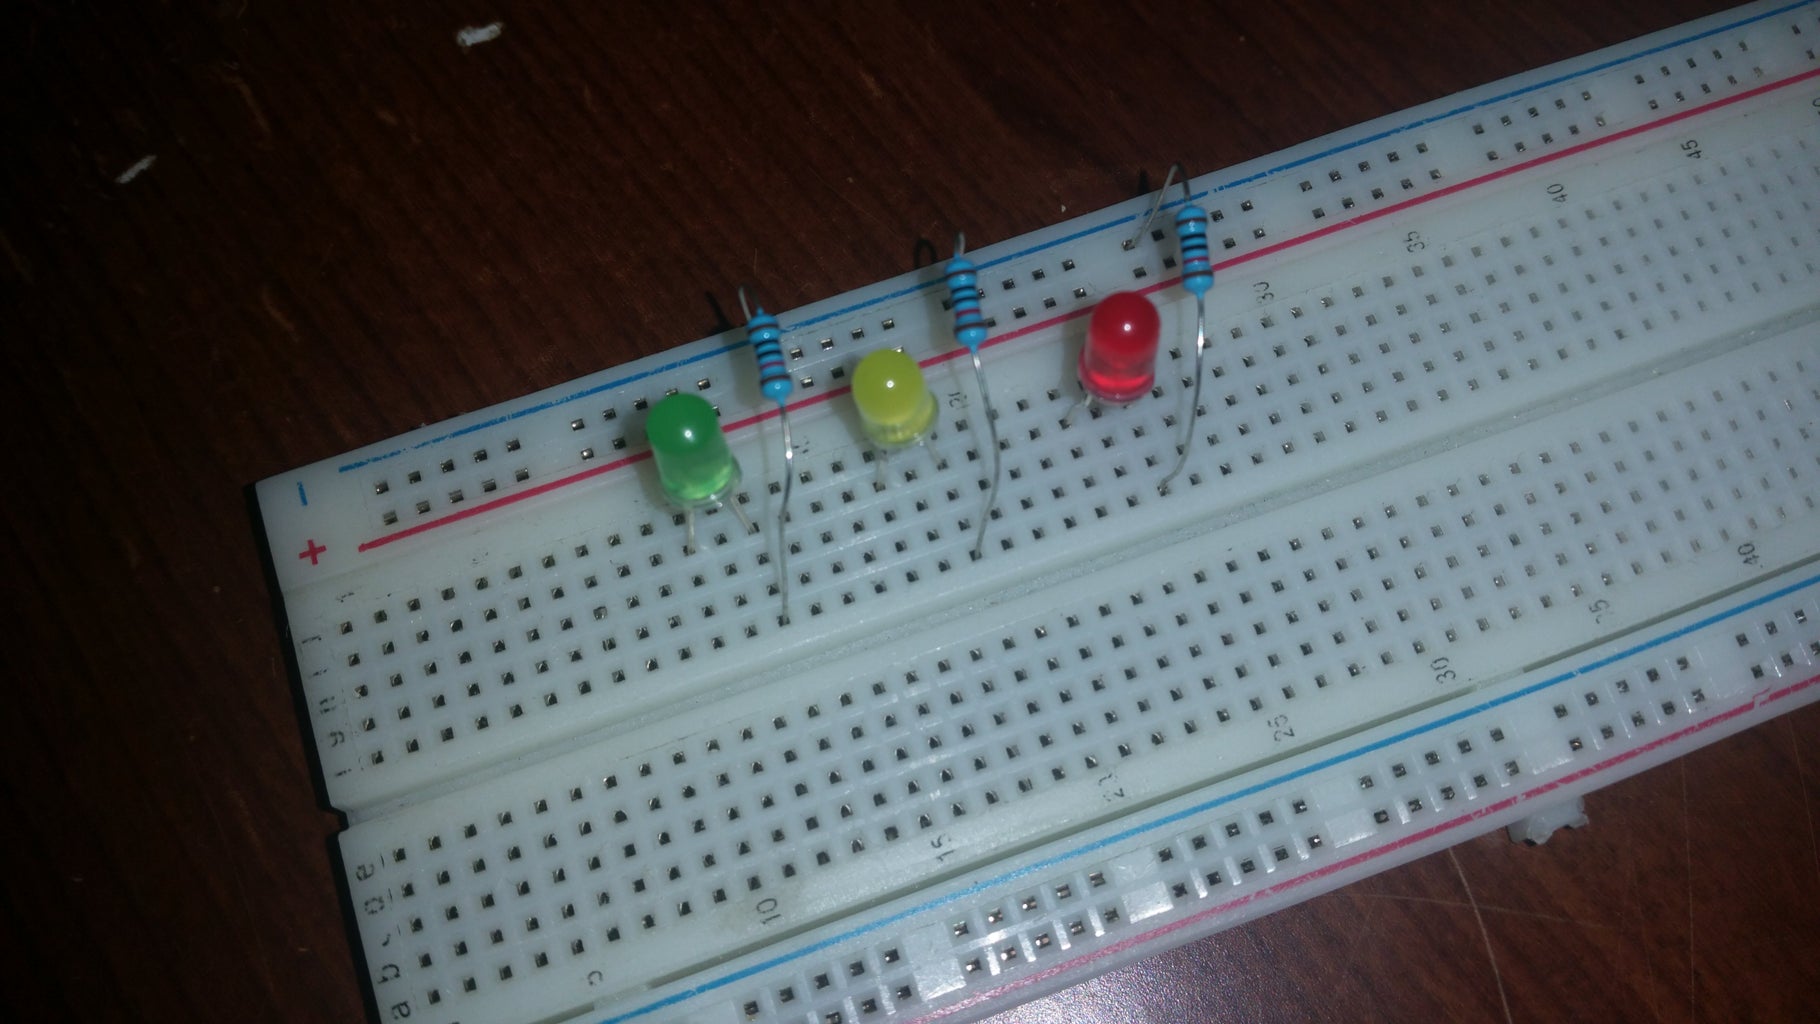

You can now position the components however you like. Just remember that each LED has two leads - a shorter one and a longer one. The shorter one (cathode) needs to be connected to GND (aka Ground, -) of the arduino using a resistor. The anode (aka 5V, +) of each led needs to go to a corresponding digital pin of the arduino. Don't worry, you can change the pins later in the code.
Step 2: Uploading the Code and Finalizing
After finishing the hardware part, we need to do the software. You can find the code that I've developed here. Paste it in you Arduino IDE, connect the board and upload! Done!
It's just a simple concept, feel free to expand it like, for example, adding a start button or adjusting the delay. Above this text, you can see the project in action.
